
Installing vinyl siding directly over existing wood siding is a common strategy to cut upfront renovation costs, but it frequently leads to severe structural and financial drawbacks. Wrapping vinyl over old wood traps moisture, hides rot and insect infestations, distorts exterior trim lines, and creates an uneven finish. In most cases, the long-term repair costs far outweigh initial savings.
The Reality of Installing Vinyl Siding Over Existing Wood
Homeowners faced with peeling paint, cracked clapboards, or deteriorating wood siding often look for low-maintenance remedies. Vinyl siding appears to offer an attractive solution: it eliminates the need to repaint every few years, resists rot on its own face, and comes in a wide variety of profiles and colors.
To save money on demolition and disposal fees, contractors sometimes propose placing vinyl siding directly over the existing wood siding. In this installation method, workers typically apply thin fanfold foam insulation or furring strips over the old clapboards or T1-11 panels, then nail the vinyl cladding on top.
While this approach saves time and labor during installation, building scientists, home inspectors, and structural engineers widely caution against it. Siding is not merely a cosmetic skin; it is the outermost layer of a building envelope designed to control bulk water, airflow, and vapor drive. Placing a synthetic, non-breathable barrier over organic, decay-prone timber disrupts the wall assembly's moisture balance and creates significant long-term risks.
Building Science: How Over-Siding Traps Moisture and Promotes Rot
The primary flaw in installing vinyl over old wood siding lies in fundamental building physics—specifically, bulk water management and vapor movement through wall assemblies.
- Trapped Moisture Dynamics:
- Interior Warm Air: Vapor Drive pushes moisture outward
- Old Wood Siding / Sheathing
- Fanfold Insulation / Vinyl Barrier: Trapped Dampness
- Result: Accelerated fungal decay, hidden studs rot, black mold
1. Interstitial Condensation and Vapor Traps
In temperate and cold climates, warm, moist air inside a home moves outward through walls toward colder ambient temperatures (a process known as vapor drive). In a healthy wall system, moisture that enters wall cavities escapes to the outside atmosphere through permeable materials and designated drainage planes.
When vinyl siding and non-permeable backer board are installed over existing wood, they create an exterior vapor barrier. Moisture migrating from inside the house becomes trapped against the old wood siding. Deprived of adequate airflow and sunlight to dry out, the relative humidity against the old wood remains elevated, creating ideal conditions for wood-decay fungi to thrive.
2. Bulk Water Infiltration Behind Vinyl
Vinyl siding is designed as a rain screen, not a watertight membrane. Panels expand and contract with seasonal temperature fluctuations, requiring loose nailing along factory slots. Water can enter behind vinyl panels through:
- Overlapped joints during wind-driven rains
- Unsealed perimeter channels around windows and doors
- Corner post gaps and roof-to-wall intersections
When vinyl is installed over a clean, flat sheathing layer covered with a modern Water-Resistive Barrier (WRB) like Tyvek or zip system sheathings, trapped water drains down and out through weep holes. However, when installed over contoured, uneven wood clapboards, water pools in the voids between the old siding and the new vinyl. This trapped water saturates the old wood, leading to structural rot that spreads to wall studs, rim joists, and sill plates.
3. Masking Active Rot and Structural Decay
Covering wood siding without removing it conceals pre-existing problems. If old wood siding is already suffering from dry rot, wet rot, or moisture damage due to leaking gutters or flashing failures, burying it under vinyl does not stop the decay. Instead, it creates an uninspectable environment where decay accelerates unnoticed until interior drywall sags, window frames fail, or structural framing gives way.
Architectural and Aesthetic Drawbacks
Beyond moisture management risks, placing vinyl over existing wood causes severe cosmetic issues that impair curb appeal and depress property resale values.
Uneven Substrates Cause "Wavy" Vinyl
Vinyl siding is thin and flexible—typically ranging from 0.040 to 0.046 inches thick. It conforms entirely to the contours of the surface beneath it. Old wood siding is rarely perfectly flat; decades of settling, cupping, warping, and swelling leave uneven ridges across the façade.
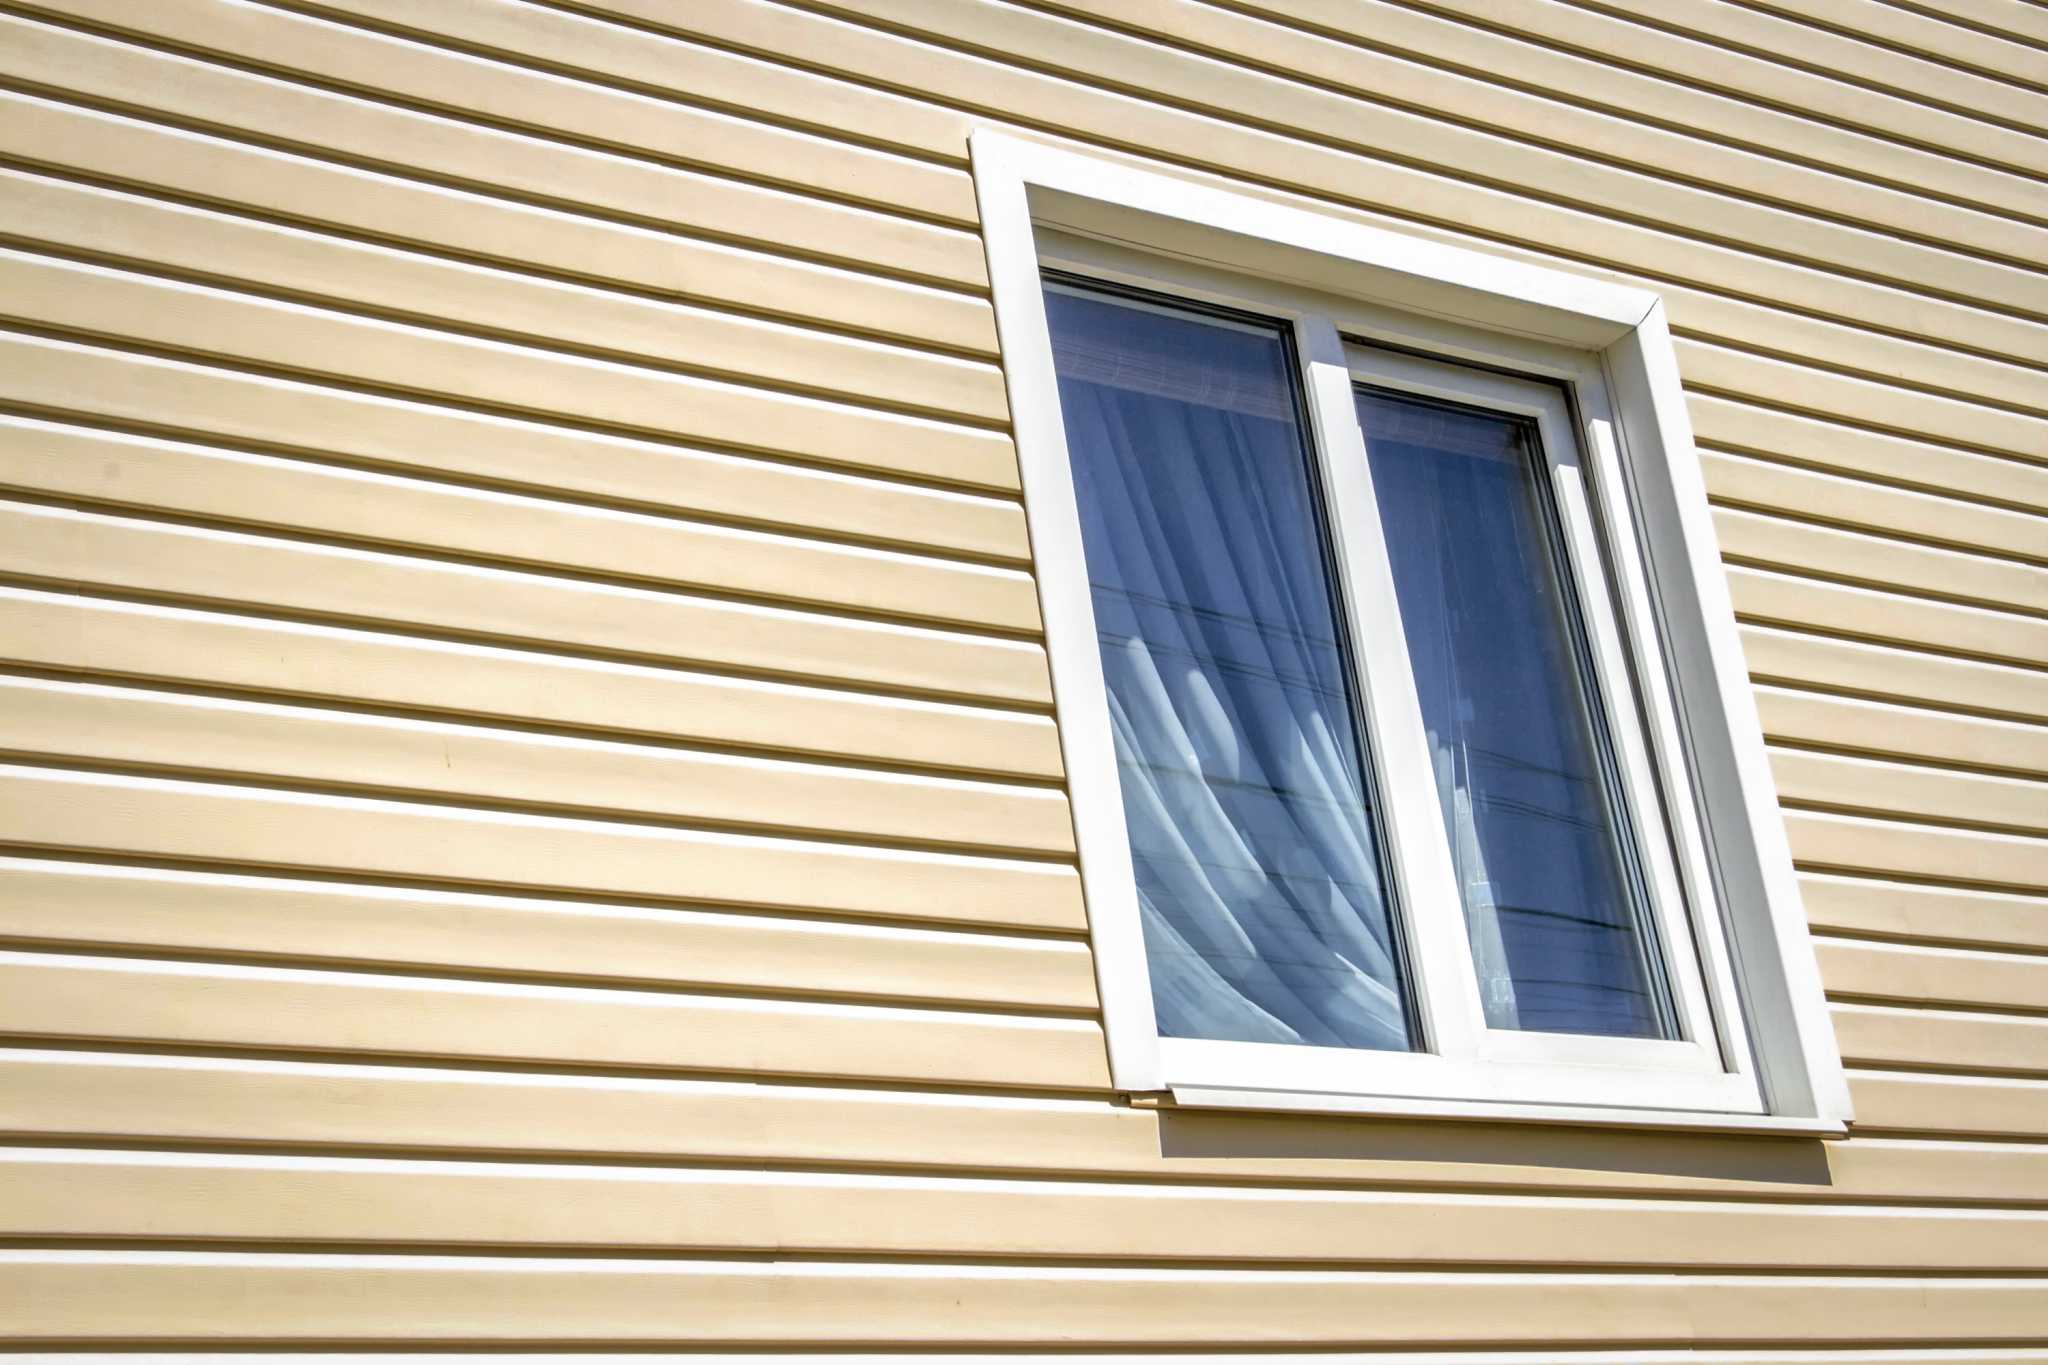
Nailing vinyl panels over uneven wood clapboards creates a noticeable "wavy" or telegraphing effect along the exterior walls. Sunlight hitting the façade highlights these distortions, instantly signaling to observers and home inspectors that the siding was installed over an uncorrected, deteriorating substrate.
- Correct Installation (Tear-Off): Flat Sheathing + WRB + Vinyl Siding = Clean, Straight Lines
- Over-Siding Installation: Warped Wood + Fanfold Foam + Vinyl Siding = Wavy, Distorted Panels
Recessed Windows, Doors, and Trim Out-of-Plane
Adding layers over existing wall cladding increases overall wall thickness by 0.5 to 1.5 inches. This extra depth alters the architectural proportion of windows, exterior doors, fascia, and roof eaves:
- Sunken Window Frames: Windows and door casings become recessed relative to the new siding surface. Rainwater running down the walls can pool around casings rather than shedding off sill noses.
- Bulky J-Channel Framing: To cover the exposed raw edges of thick, multi-layer wall assemblies around openings, installers must use wide, deep J-channels. This creates heavy, plastic-looking borders around historic window trim, stripping the home of detail and character.
- Shortened Roof Overhangs: Thickening the wall reduces the functional overhang of soffits and roof rakes, increasing bulk water exposure along upper wall edges.
Irreversible Loss of Historic Value
For historic or traditional architectural styles—such as Craftsman, Victorian, or Colonial revival—original wood siding contributes significantly to appraisal value and character. Enclosing original wood under vinyl strips away authentic shadow lines and micro-details. In historical districts, covering original wood siding with synthetic vinyl may also violate local preservation guidelines, leading to potential fines or forced removal.
Hidden Pest Infestations and Structural Hazards
Wood siding buried beneath synthetic cladding creates an ideal habitat for destructive pests:
- Termite and Carpenter Ant Pathways: Termites and carpenter ants seek dark, undisturbed, moisture-rich environments. The gap between old wood siding and new vinyl provides an ideal shelter. Because the exterior is covered in vinyl, mud tubes and insect damage remain completely hidden from visual pest inspections.
- Rodent and Bat Harboring: The voids created by furring strips or contoured clapboards allow mice, bats, and stinging insects to nest behind the vinyl, accessing interior wall cavities through unsealed gaps in the old wood.
- Fire Hazards: Stacking multiple layers of materials—especially hollow-backed vinyl over dry, weathered timber—increases wall combustibility. Vinyl siding deforms and melts rapidly when exposed to radiant heat or direct flame. Once vinyl melts away during a house fire or wildfire event, the underlying dry, aged wood siding acts as quick-burning kindle, accelerating fire spread across the building envelope.
Financial Comparison: Direct Over-Siding vs. Complete Tear-Off
While direct over-siding offers initial savings, the long-term financial consequences frequently make it a poor investment.
| Consideration Factor | Direct Vinyl Over Wood | Complete Tear-Off & Re-Siding |
|---|---|---|
| Initial Installation Cost | Lower (Saves $1.50–$3.50/sq.ft. in demo & disposal) | Higher (Includes labor for removal and disposal) |
| Substrate Inspection | Impossible (Leaves hidden rot, mold, and pest damage) | Complete (Exposes sheathing, framing, and insulation) |
| Moisture & Vapor Control | Poor (High risk of trapped moisture and rot) | Optimal (Allows seamless housewrap and integrated flashing) |
| Exterior Aesthetics | Sub-optimal (Wavy panels, deep J-channels, sunken trim) | Professional (Flat profiles, proper trim lines, crisp edges) |
| Structural Longevity | Reduced (Accelerates decay of structural framing) | Extended (Protects structure for 30–50+ years) |
| Resale Value Impact | Neutral to Negative (Red flags on home inspections) | Positive (Strong ROI and clean inspection report) |
| Long-Term Total Cost | High (Eventual tear-off of both layers plus framing repairs) | Predictable (Standard maintenance without structural risk) |
The Real Cost of "Saving" on Tear-Off
Skipping demolition often saves roughly $2,000 to $5,000 on an average two-story home during initial construction. However, if moisture becomes trapped behind the vinyl, repairing the resulting damage 5 to 10 years later requires:
- Stripping off the vinyl siding.
- Stripping off the decayed wood siding beneath it.
- Removing and replacing rotted plywood/OSB sheathing.
- Sistering or replacing compromised wall studs, rim joists, and sill plates.
- Remediating interior mold growth and replacing damaged drywall.
- Installing new siding correctly from scratch.
This full remediation process typically costs two to three times more than doing a proper tear-off initially.
Best Practice Guidelines for Replacing Wood Siding
If your wood siding is damaged beyond economical repair, follow these professional guidelines to ensure a durable, weather-resistant building envelope.
- Recommended As-Built Wall Assembly:
- Interior Drywall
- Wall Framing / Insulation
- New CDX Plywood or OSB Sheathing
- Modern Perm-Rated Water-Resistive Barrier (WRB)
- Self-Adhered Window/Door Flashing Tapes
- Rainscreen Drainage Mat or Furring Strips (Optional/Best Practice)
- New Siding: Insulated Vinyl, Fiber Cement, or Engineered Wood
Step 1: Execute a Complete Tear-Off
Strip all existing wood siding down to the structural sheathing. Remove old felt paper, rusty nails, and deteriorated trim board to inspect the underlying framework.
Step 2: Inspect and Repair the Substrate
Expose the wall sheathing and inspect for moisture damage, fungal rot, termite activity, or sagging. Replace soft or rotted plywood/OSB sheathing panels with new exterior-grade sheathing. Ensure all structural fastenings meet local building code wind-load requirements.
Step 3: Install a High-Performance Vapor-Permeable WRB
Install a high-quality Water-Resistive Barrier (WRB) directly over the clean sheathing. Use commercial-grade housewrap with appropriate perm ratings (typically between 10 and 50 perms) to ensure water drains off while interior moisture vapor escapes freely.
Overlaps should follow shingle fashion (minimum 6-inch horizontal laps, 12-inch vertical laps), and seams should be sealed with specialized builder's tape.
Step 4: Flash Openings Correctly
Apply self-adhered flashing tape (butyl or rubberized asphalt) around all window and door penetrations, integrating it with the WRB. Proper pan flashing under window sills prevents bulk water intrusion—a critical step impossible to perform correctly when slapping vinyl over old wood.
Step 5: Consider Modern Siding Material Alternatives
If you prefer alternatives to standard vinyl once the old wood is removed, consider:
- Insulated Vinyl Siding: Features rigid EPS foam fused to the back of the vinyl profile, improving impact resistance, thermal performance, and panel rigidity.
- Fiber Cement Siding: Composed of cement, sand, and cellulose fibers, offering superior fire resistance, authentic wood appearance, and high durability against pests and decay.
- Engineered Wood Siding: Manufactured with real wood fibers treated with zinc borate and water-resistant resins, combining authentic wood texture with resistance to rot and insects.
Frequently Asked Questions
Can you ever safely install vinyl siding over wood siding?
It is only acceptable if the existing wood siding is flat, structurally sound, free of decay or moisture, and covered with a properly flashed water-resistive barrier and fanfold foam. However, even under these ideal conditions, it remains a secondary installation method that risks trapping moisture and distorting window trim lines.
Does fanfold foam insulation prevent moisture trapped between wood and vinyl?
No. Standard thin fanfold foam (typically 1/4 inch to 3/8 inch thick) provides minimal thermal resistance (around R-1 to R-1.5) and does not stop moisture vapor from condensing on the old wood. If installed incorrectly without proper flashing, it can act as an additional barrier that holds trapped water against the wood siding.
How does installing vinyl over wood affect a home inspection report?
Home inspectors routinely flag vinyl siding installed over wood as a high-risk installation. They often note potential concealed rot, non-standard window jamb depth, bulked-out trim, and lack of visible flashing. This can lead potential buyers to request repair concessions or demand complete siding replacement prior to closing.
Will installing vinyl over wood void the siding manufacturer's warranty?
In many cases, yes. Siding manufacturers mandate installation over flat, approved substrates lined with compliant weather barriers and flashed according to specific technical standards. Installing vinyl over unlevel, degrading wood siding can void manufacturer warranties covering panel distortion, blow-offs, or thermal warping.
What is the average cost difference between over-siding and a full tear-off?
A full tear-off adds roughly $1.50 to $3.50 per square foot to the total installation cost for labor, dumpster rental, and disposal fees. On a standard 2,000-square-foot exterior wall area, tearing off old siding adds $3,000 to $7,000 to the project. However, this upfront expenditure prevents future rot repairs that can cost upwards of $15,000 to $30,000.
Recommended Next Steps
If you are evaluating your home's exterior siding, take these concrete steps before signing a renovation contract:
- Perform a Moisture and Rot Audit: Probe soft spots, lower clapboards, and areas around window sills with a screwdriver to check for subterranean wood decay. If soft, crumbling wood is found, a complete tear-off is mandatory.
- Require Clear Scope of Work Specifications: When requesting quotes from siding contractors, ensure the bid explicitly outlines whether the project includes full removal of old material, sheathing repair rates per sheet, WRB brand and installation details, and integrated window flashing.
- Avoid Unusually Low Bids: Contractors offering significantly lower quotes often achieve those prices by skipping tear-off and flashing steps, leaving your home vulnerable to concealed structural damage.
Investing in a complete tear-off and proper building envelope preparation protects your structural framing, preserves architectural proportions, and ensures long-term home value.
Image Gallery
Select an image to open it in a new tab.
Omar Farooq
EdTech Innovation and Virtual Pedagogy Journalist
