Mastering screen capture on a Mac involves using built-in keyboard shortcuts, the dedicated Screenshot app, and QuickTime Player to capture everything from static desktop windows to high-definition video recordings. Apple provides robust, native tools that eliminate the need for third-party software for everyday capture tasks.
Introduction to macOS Screen Capture Architecture
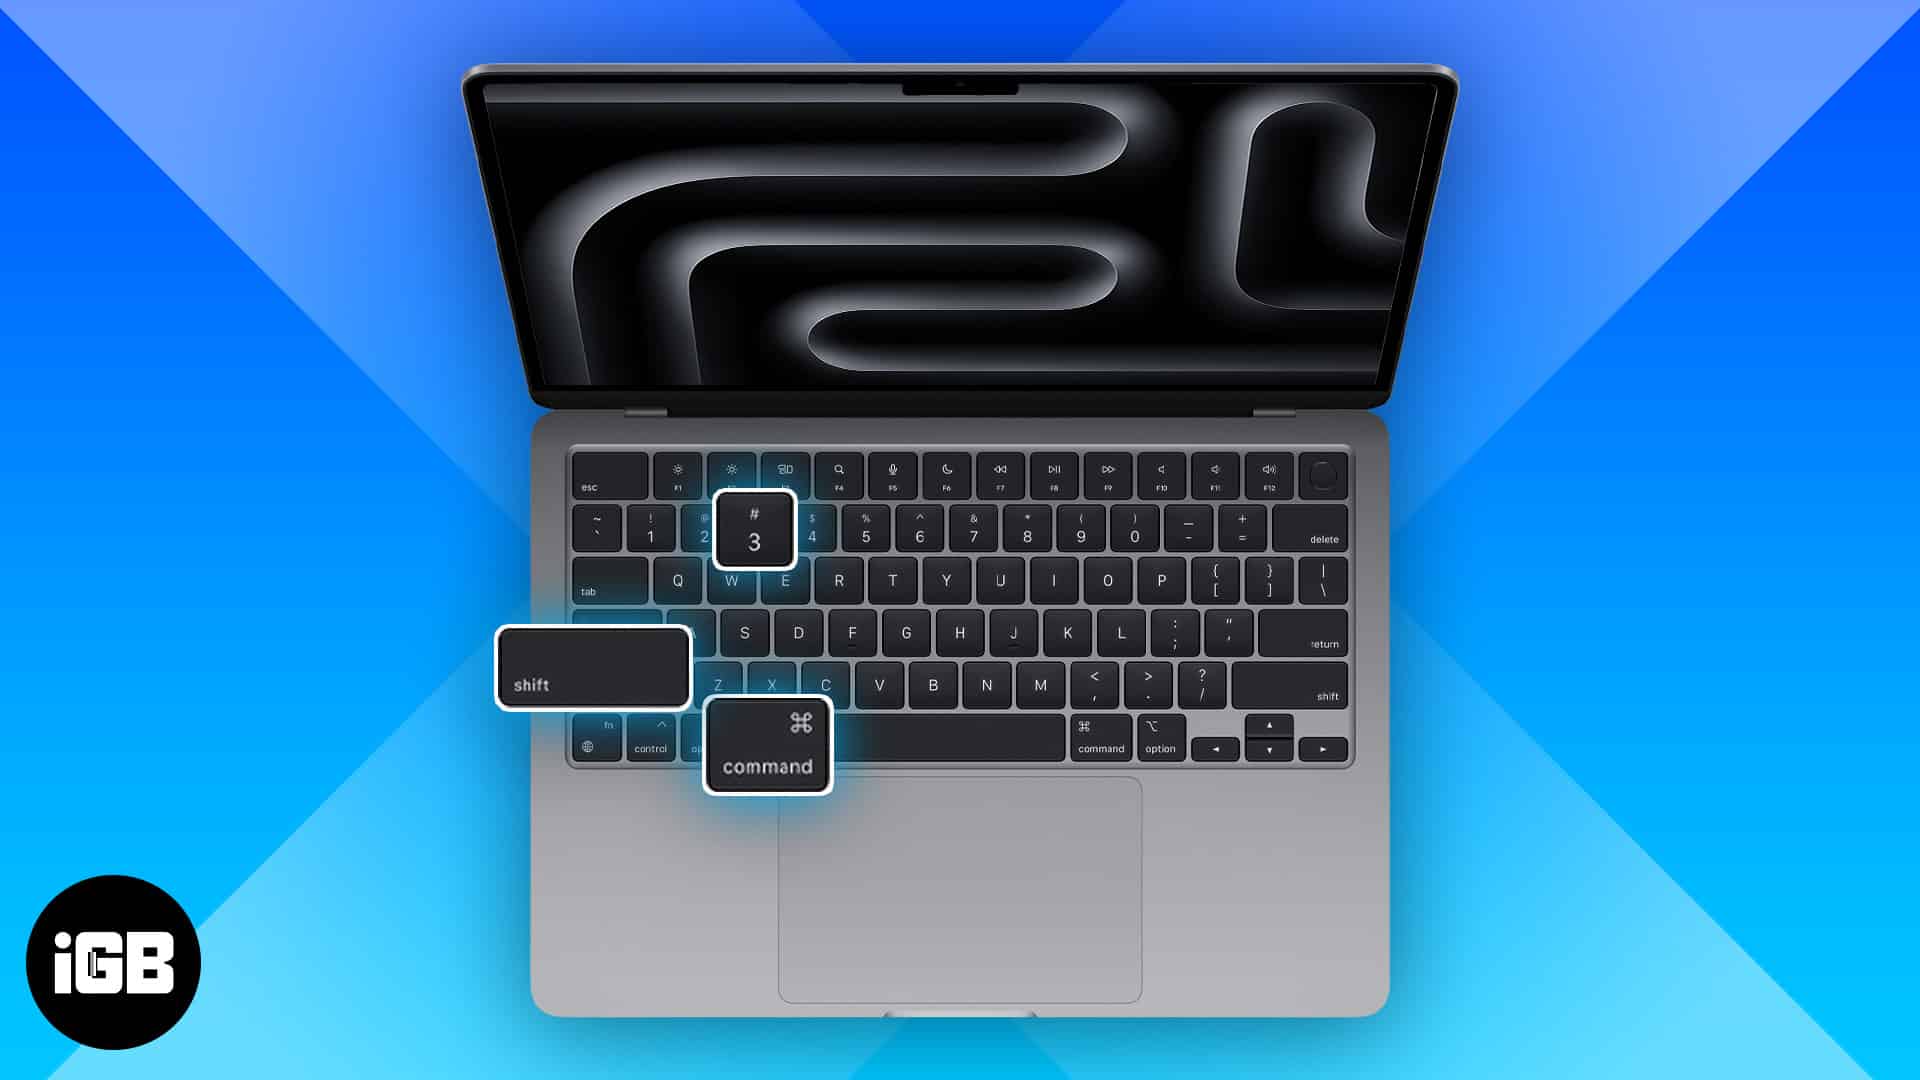
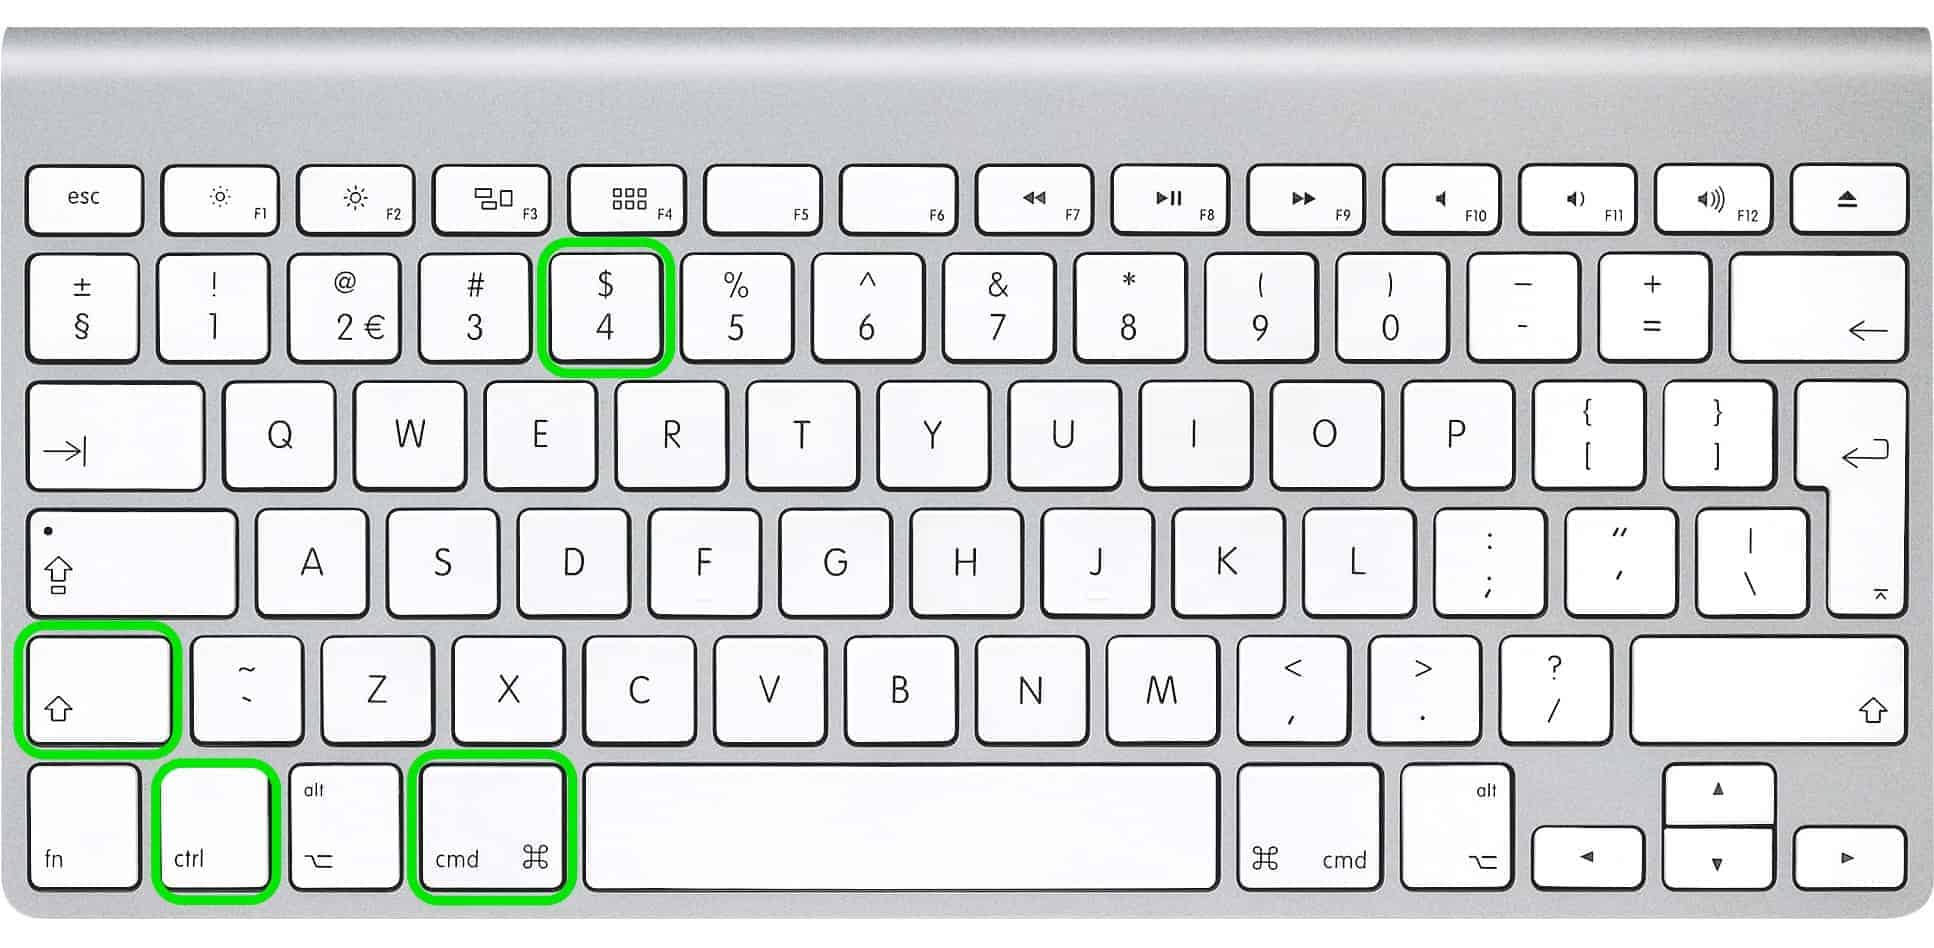
macOS has evolved significantly from its early UNIX-based roots into a refined, multimedia-friendly operating system. For decades, Apple users relied on basic commands like Command-Shift-3 to capture the entire display, sending a raw image file directly to the desktop. While those foundational shortcuts remain operational, modern versions of macOS—from macOS Mojave onward—introduce a unified screenshot interface, floating thumbnails, granular selection controls, and comprehensive video recording engines.
Understanding how to screen capture with a Mac requires looking beyond a single key combination. Depending on your immediate objective, you might need to isolate a single application window, capture a scrolling webpage, record a software tutorial with audio, or delay a capture timer to catch dynamic hover states in a drop-down menu. This guide breaks down every native method available on macOS, detailing the exact commands, file management behaviors, troubleshooting steps, and optimization strategies required to capture your screen efficiently.
Foundational Keyboard Shortcuts for Quick Captures
For rapid, frictionless capturing, native keyboard shortcuts represent the fastest workflow. These commands execute immediately without opening a standalone application window, making them ideal for fast-paced documentation, error reporting, and casual sharing.
Capturing the Entire Screen
To capture everything currently visible on your primary and secondary displays:
- Press and hold Command (⌘) + Shift (⇧) + 3.
- Release the keys simultaneously.
- A thumbnail of the screenshot will briefly appear in the bottom-right corner of your screen. If ignored, it automatically saves to your designated output location (by default, the Desktop).
Capturing a Selected Portion of the Screen
When you need to isolate a specific graphic, text block, or rectangular area:
- Press and hold Command (⌘) + Shift (⇧) + 4.
- The cursor transforms into a crosshair icon.
- Click and drag the crosshair across the area you wish to capture.
- Release the mouse or trackpad button to finalize the capture.
- Pro Tip: While dragging, press and hold the Spacebar to lock the selection size and move the entire bounding box across the screen. Hold the Shift key while dragging to resize only one edge of the selection.
Capturing a Specific Window or Menu
To snap a clean image of an individual application window, menu bar item, or dialog box without including the surrounding desktop wallpaper:
- Press Command (⌘) + Shift (⇧) + 4.
- Press the Spacebar. The crosshair cursor changes into a camera icon.
- Hover the camera over any open window or menu. The window will highlight in blue.
- Click the left mouse button or trackpad to capture the highlighted element. A drop shadow is automatically applied to the window edge for visual separation.
Utilizing the Dedicated Screenshot App
While keyboard shortcuts handle fast executions, launching the native Screenshot app provides access to advanced parameters, timers, and unified video capture controls.
How to Open the Screenshot App
- Press Command (⌘) + Shift (⇧) + 5.
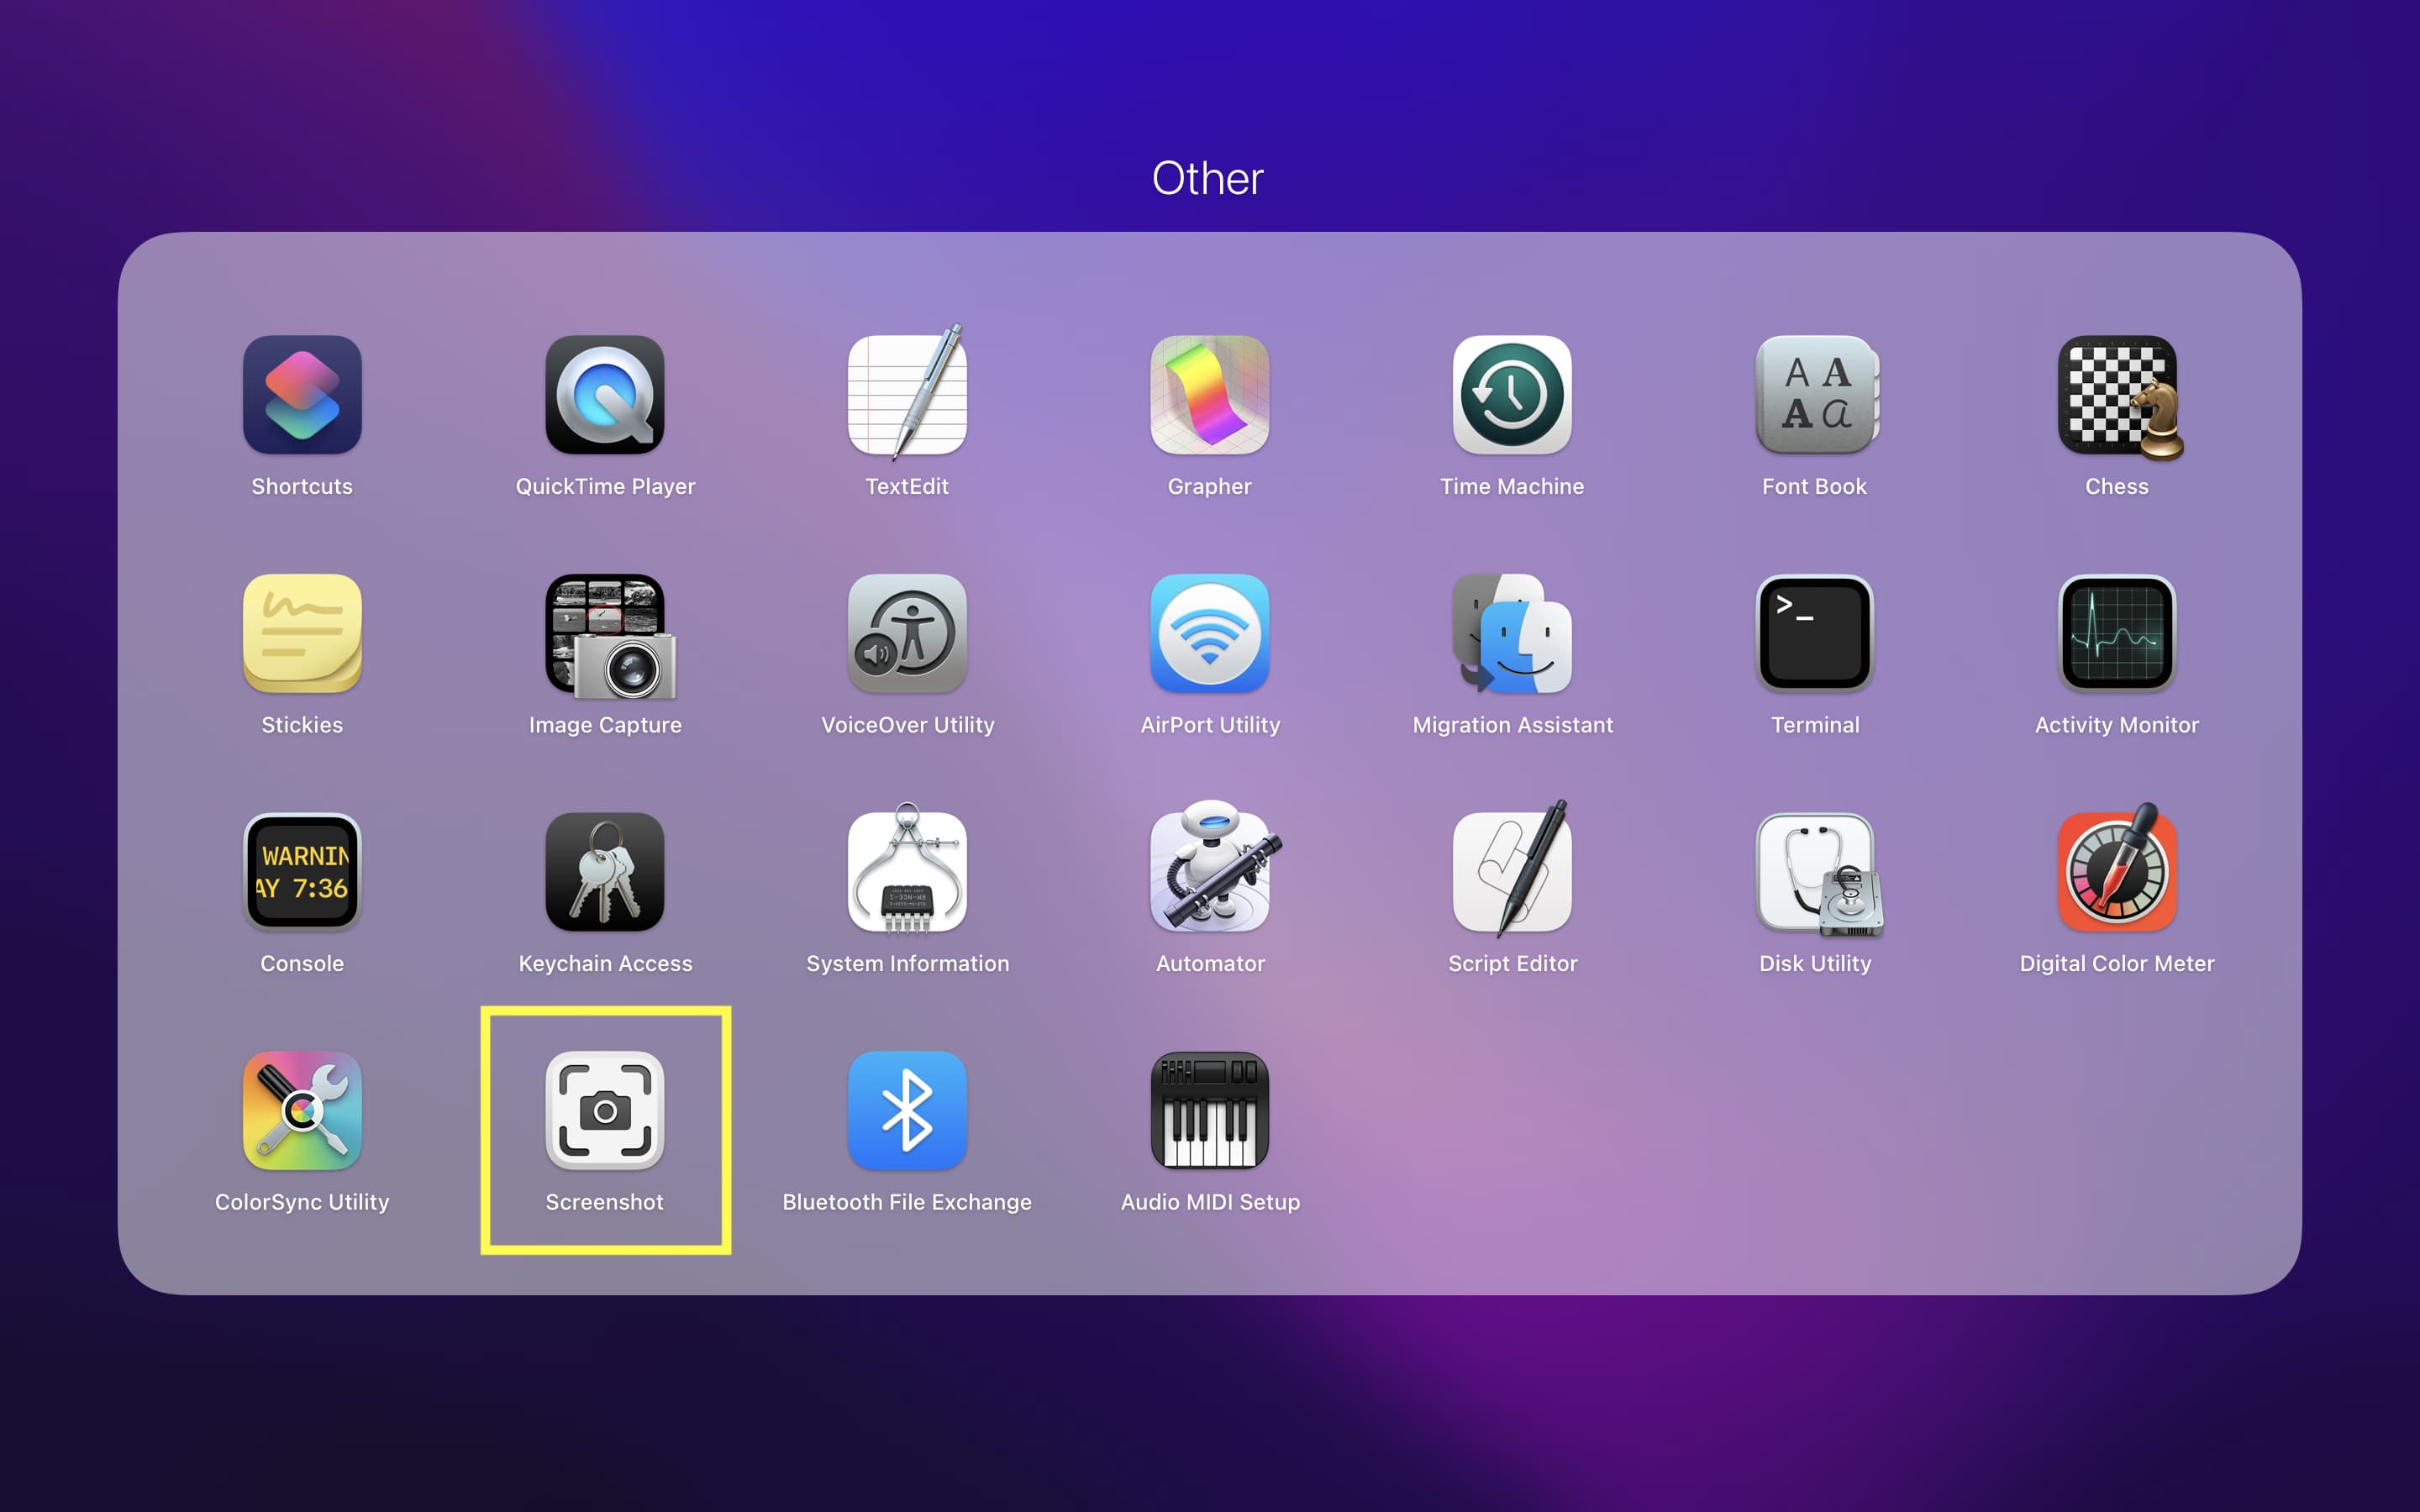
- Alternatively, navigate to Applications > Utilities > Screenshot, or search for "Screenshot" using Spotlight (Command + Space).
Understanding the Screenshot Toolbar
Upon activation, a compact control bar appears at the bottom of the screen. This panel features icons divided into three distinct functional groups:
- Capture Still Images:
- Capture Entire Screen: Icons match the behavior of Command-Shift-3.
- Capture Selected Window: Isolates active windows matching the Command-Shift-4 plus Spacebar method.
- Capture Selected Portion: Triggers the rectangular cropping crosshair.
- Record Video:
- Record Entire Screen: Captures all visual activity and optional audio across your displays.
- Record Selected Portion: Limits the video recording boundary to a customized rectangular frame.
- Options Menu:
- Save To: Directs where files are stored (Desktop, Documents, Clipboard, Mail, Messages, Preview, or Other Location).
- Timer: Sets a 5-second or 10-second countdown delay before the capture executes. This is essential for capturing tooltips, pop-up menus, and cursor-hover states.
- Show Floating Thumbnail: Toggles the preview thumbnail that slides into the corner after a capture.
- Remember Last Selection: Optimizes repetitive workflows by retaining your previous crop dimensions.
- Show Mouse Pointer: Decides whether your cursor is visible in recorded video files.
Comparison of Native macOS Capture Methods
To help determine which tool suits your specific technical workflow, review the comparative breakdown of native macOS capture options below:
| Feature / Method | Cmd + Shift + 3 | Cmd + Shift + 4 (Rectangular) | Cmd + Shift + 4 + Space | Screenshot App (Cmd + Shift + 5) | QuickTime Player |
|---|---|---|---|---|---|
| Primary Output | Still Image (PNG) | Still Image (PNG) | Still Image (PNG) | Still or Video | Video (MOV) |
| Target Scope | All Displays | Custom Rectangle | Single Window / Menu | Flexible (Screen, Window, Region) | Full Screen or Region |
| Audio Recording | No | No | No | Optional Microphone | Internal & Mic Audio |
| Delay / Timer | No | No | No | 5 or 10 Seconds | No |
| Best Used For | Multi-monitor grabs | Cropped elements | Clean UI windows | Precision captures & basic video | Advanced software tutorials |
Recording Video and Audio on a Mac
Capturing video footage of your screen requires managing both visual framerates and audio inputs. macOS provides two primary pathways for video capture: the Screenshot toolbar and QuickTime Player.
Recording via the Screenshot Toolbar (Cmd + Shift + 5)
- Open the Screenshot toolbar using Command (⌘) + Shift (⇧) + 5.
- Select either Record Entire Screen or Record Selected Portion.
- Click Options to configure your microphone if narration is required. Select your built-in microphone or an external USB audio interface.
- Click Record. A stop icon will appear in the top macOS menu bar.
- Click the menu bar stop icon (or press Command (⌘) + Control (⌃) + Esc) to end the recording. The video file saves automatically as a
.movfile.
Recording via QuickTime Player for Advanced Control
QuickTime Player remains a robust utility for video capture, offering fine-tuned control over audio monitoring and camera feeds.
- Open QuickTime Player from your Applications folder.
- From the top menu bar, select File > New Screen Recording.
- Click the dropdown arrow next to the record button to select your preferred microphone and verify options like mouse click visibility.
- Click the red record button. You can click once to record the entire screen, or drag a selection box to record a specific region, followed by clicking Start Recording inside that box.
- Stop the recording by clicking the QuickTime stop button in the menu bar.
Managing Storage Locations and File Formats
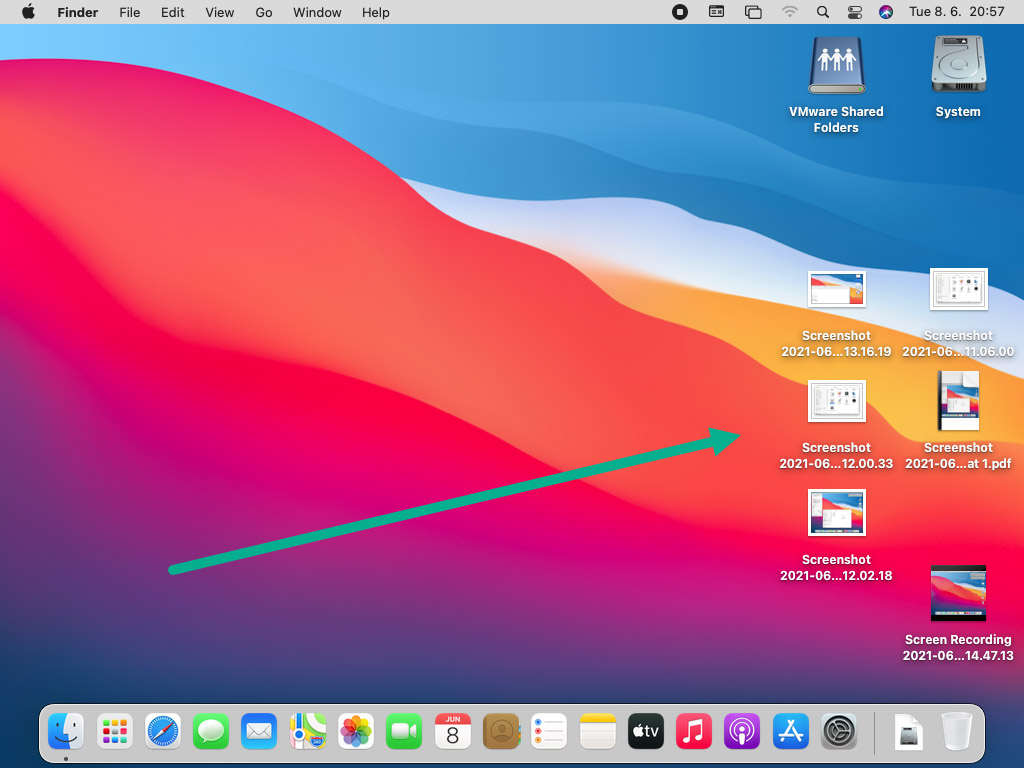
By default, macOS saves screenshots as PNG (Portable Network Graphics) files directly to the Desktop, naming them with the precise date and time (e.g., Screenshot 2026-03-30 at 14.30.00.png). Video recordings are saved in the QuickTime Movie (.mov) format using the same naming convention.
Changing the Default Save Location via Terminal
If your desktop becomes cluttered, you can redirect where screenshots are saved using the Terminal application:
- Open Terminal (located in Applications > Utilities).
- Type the following command, but do not press Enter yet:
defaults write com.apple.screenshot location - Drag and drop your preferred destination folder (such as a dedicated "Screenshots" folder in Documents) from Finder directly into the Terminal window. The file path will automatically populate after the command.
- Press Enter.
- Apply the changes immediately by typing:
killall SystemUIServer - Press Enter. Your future captures will now route directly to the designated folder.
Changing File Formats from PNG to JPEG or PDF
While PNG is lossless and ideal for sharp text and UI elements, PNG files can be excessively large. You can alter the default format to JPEG, TIFF, PDF, or GIF using Terminal:
- Open Terminal.
- Type the following command (replacing
jpgwith your desired format such aspdfortiff):defaults write com.apple.screenshot type jpg - Press Enter.
- Refresh the user interface by entering:
killall SystemUIServer
Troubleshooting Common Screen Capture Issues
Even though macOS capture utilities are stable, users occasionally encounter operational roadblocks. Review these solutions to resolve common errors:
- Captures Result in Blank or Black Screens: This frequently occurs when attempting to capture media protected by HDCP (High-bandwidth Digital Content Protection), such as streaming video platforms (Netflix, Apple TV) inside a web browser. To resolve this, pause the video, disable hardware acceleration in your browser settings, or use alternative browsers like Safari.
- Missing Floating Thumbnail: If your screenshots save instantly without displaying the bottom-right preview thumbnail, open Command + Shift + 5, click Options, and ensure Show Floating Thumbnail is checked.
- Permissions Blocked (Screen Recording Not Working): Modern versions of macOS enforce strict privacy controls. If screen recording buttons are unresponsive or export blank video files, navigate to System Settings > Privacy & Security > Screen & System Audio Recording (or Screen Recording in earlier versions) and ensure your terminal app, QuickTime, or web browser is toggled On.
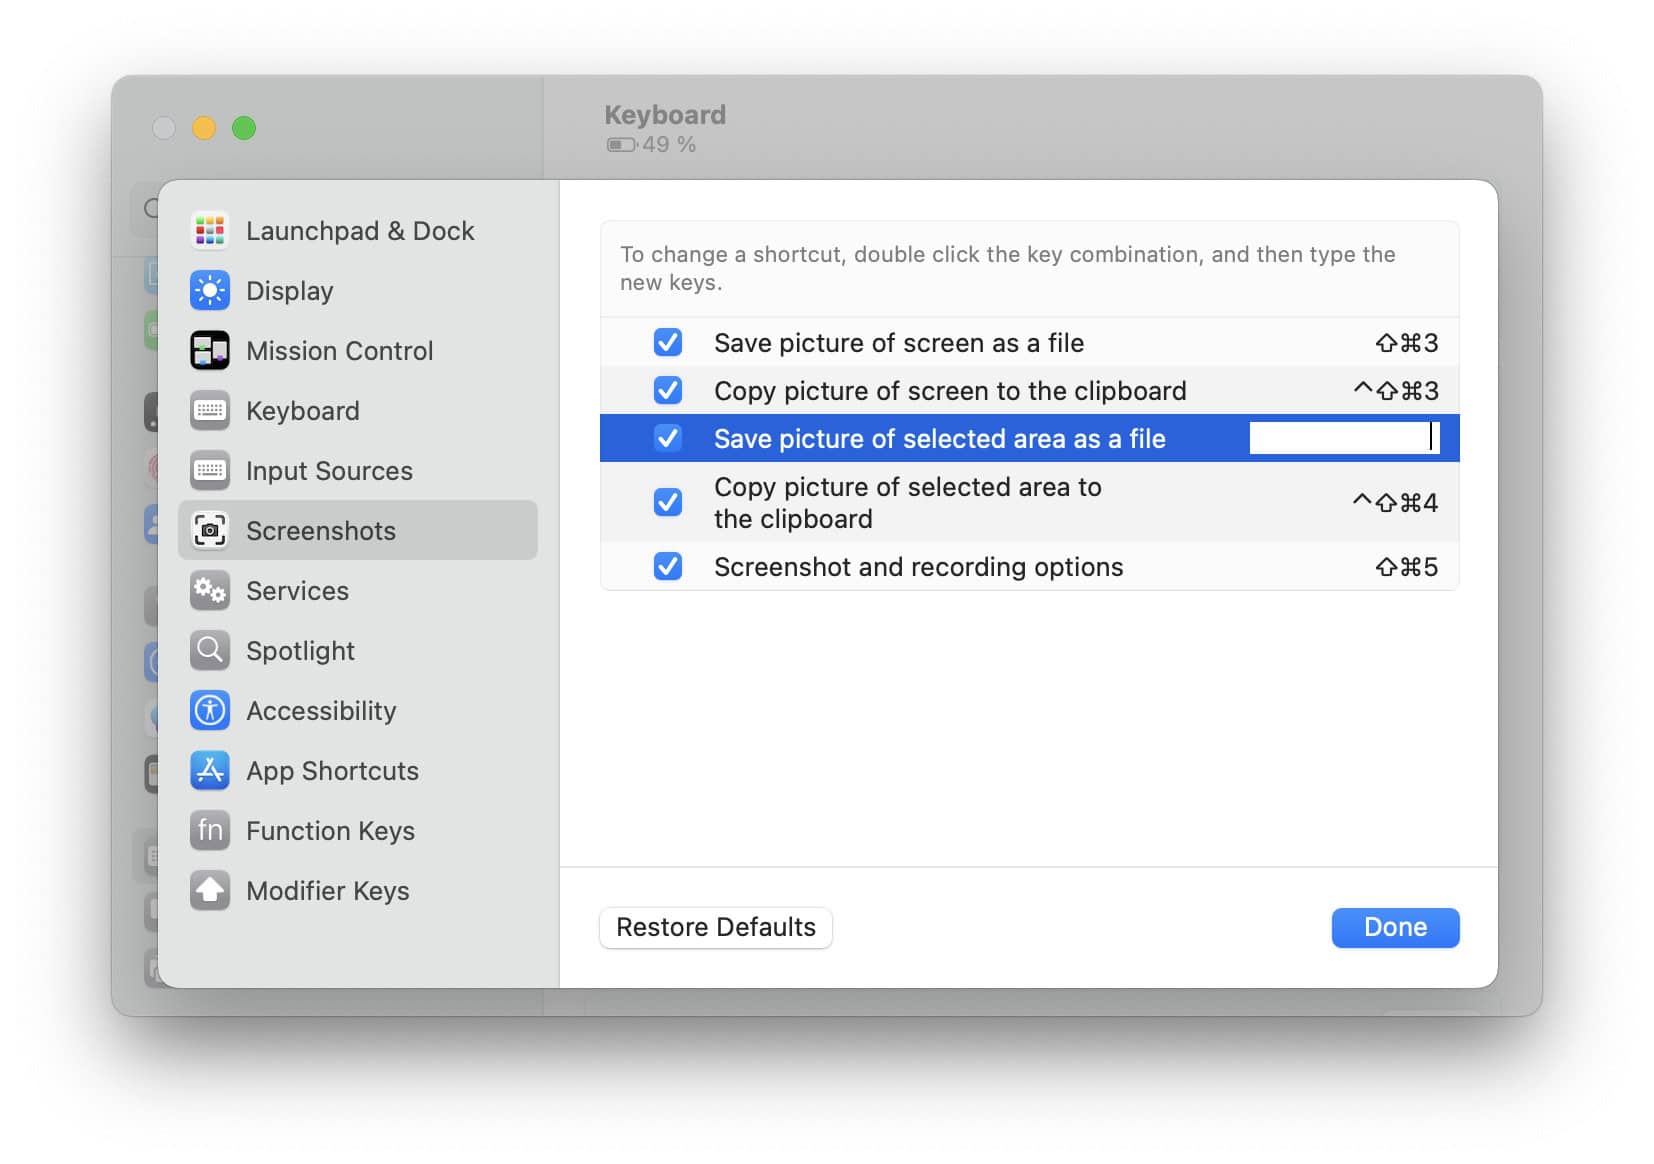
- Shortcut Conflicts: If system shortcuts do not trigger captures, check System Settings > Keyboard > Keyboard Shortcuts > Screenshots to verify that third-party applications have not hijacked your default key bindings.
Frequently Asked Questions
How do I take a scrolling screenshot on a Mac?
macOS does not feature a native one-click scrolling screenshot button for entire web pages. To capture a long webpage, open the page in Safari, choose File > Export as PDF, or use the built-in Developer Tools to take a full-page snapshot. Alternatively, third-party utilities like Shottr or CleanShot X provide native scrolling capture modes.
Where do my screenshots go if I don't see them on my desktop?
By default, screenshots save to the Desktop. If you cannot find them, you may have changed your destination folder or copied the image directly to the clipboard. Press Command (⌘ + V) inside an image editor or document to check if the image is stored on your clipboard. You can also search your Mac using Spotlight for files starting with "Screenshot".
Can I capture a screenshot without the floating thumbnail appearing?
Yes. You can immediately swipe the floating thumbnail to the right to dismiss it instantly. Alternatively, open the Screenshot app (Command + Shift + 5), click Options, and uncheck Show Floating Thumbnail. The file will bypass the preview state and save directly to your designated folder.
How do I capture a screenshot with a timer on Mac?
Open the Screenshot control interface by pressing Command (⌘) + Shift (⇧) + 5. Click on Options in the toolbar and select either Show Timer: 5 seconds or Show Timer: 10 seconds. When you trigger a capture, a visual countdown appears on-screen before the image file is generated.
Can I record internal system audio along with my microphone?
Recording internal system audio directly on macOS requires careful setup due to operating system security restrictions. While native screen recording captures microphone audio easily, capturing system audio typically requires routing through a virtual audio driver—such as BlackHole or Loopback—or configuring your sound output settings within the Audio MIDI Setup utility.
Next Actions and Further Optimization
To streamline your daily workflow, take a moment to evaluate your current storage habits and test out the Command + Shift + 5 menu to customize your save directory. If you frequently produce technical documentation or instructional media, consider pairing these native macOS tools with markup features in Preview or exploring specialized third-party screenshot managers for advanced annotation workflows.
Image Gallery
Select an image to open it in a new tab.


Akira Tanaka
International Academic Trends Correspondent
