
Building a Minecraft Bedrock Edition iron farm involves creating an artificial village with at least 20 beds and 10 to 20 villagers. By ensuring villagers can access workstations and preventing spawns outside a designated water-flow platform, players can funnel Iron Golems into a lava-based collection system for infinite iron ingots and poppies.
Understanding Bedrock Iron Golem Mechanics
To build a successful iron farm in the 2026 environment of Minecraft Bedrock Edition, one must first discard the logic used in the Java Edition. In Java, golems spawn based on a "panic" mechanic involving zombies. In Bedrock, spawning is tied strictly to village density and workstation productivity. A village is defined by the game as at least one villager linked to one bed. However, for Iron Golems to spawn, the requirements are much higher.
An Iron Golem will attempt to spawn in a Bedrock village once every 35 seconds (or 700 game ticks) if the following conditions are met:
- Villager Count: There must be at least 10 villagers in the village. For maximum efficiency, 20 villagers are recommended, as this increases the likelihood of simultaneous spawns.
- Bed Count: There must be at least 20 beds. Every villager must be linked to a bed, though they do not necessarily need to sleep in them.
- Work Requirement: At least 75% of the villagers must have worked at their workstations during the previous Minecraft day. This is the most common point of failure for players; if the villagers cannot "reach" their workstation (even if they are physically next to it), the farm will eventually stop.
- Space Requirements: There must be a valid 2x4x2 space for the golem to spawn within a 17x13x17 area centered on the village center (usually the pillow of the first bed placed).
Choosing the Perfect Location: The 96-Block Rule
Location is the most critical factor in farm reliability. Because the game handles villages as dynamic spheres of influence, placing your farm too close to an existing village, a stray bed, or a lone workstation will cause the "village centers" to merge. This often shifts the spawning zone outside of your collection platform, causing golems to spawn in caves, on the ground, or not at all.
You must ensure your farm is at least 96 blocks away from any other bed, workstation, or bell. This includes:
- Naturally occurring villages.
- Your own base or trading hall.
- Breeding chambers.
- Stray beds used for skipping the night.
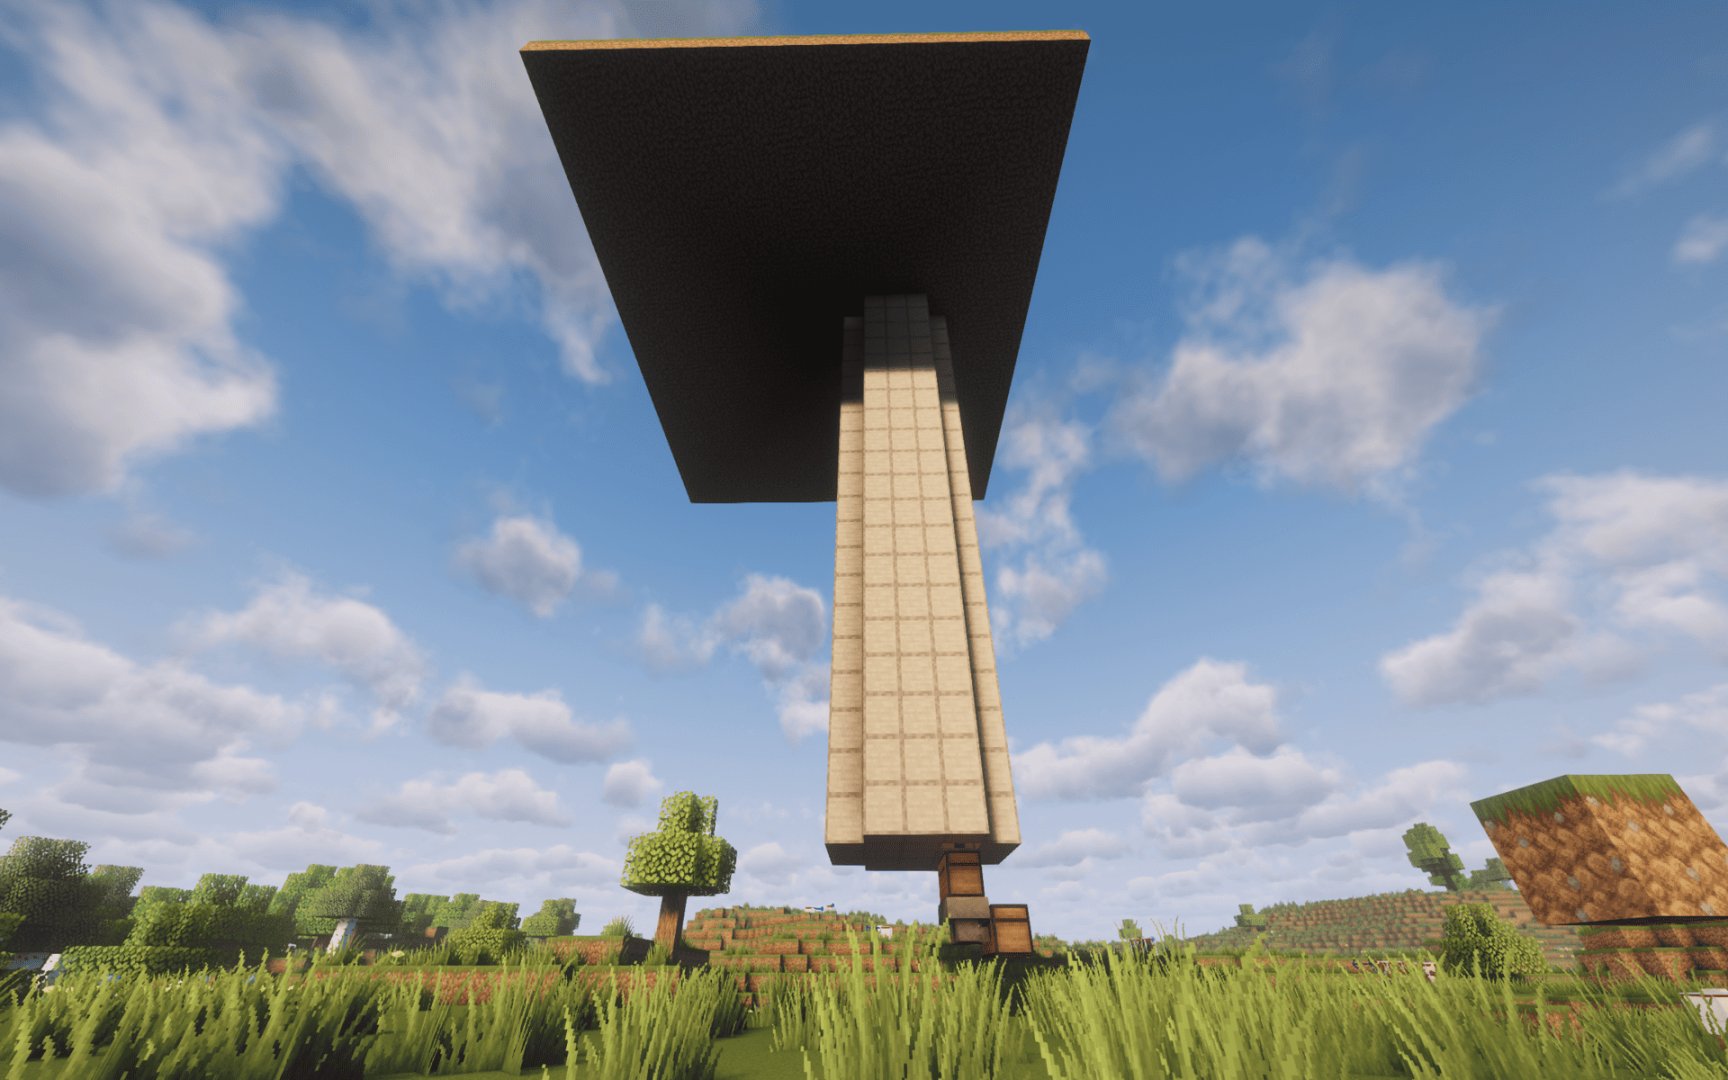
Ideally, build your farm over an ocean or high in the sky (at least 20 blocks above the ground) to prevent golems from spawning on the landscape surrounding your mechanism.
Required Materials and Resource Gathering
Before starting the build, gather the following materials. This list assumes a standard 20-villager high-efficiency design.
- Building Blocks: 10–12 stacks of solid, non-transparent blocks (Smooth Stone, Cobblestone, or Deepslate).
- Beds: Exactly 20 beds (any color).
- Workstations: 20 workstations (Fletching Tables are highly recommended because they do not catch fire and villagers rarely lose their link to them).
- Villagers: At least 2 villagers to start a breeder, or 20 transported from elsewhere.
- Water Buckets: At least 2 for creating infinite water sources.
- Lava Bucket: 1 for the killing mechanism.
- Signs or Buttons: 3–4 (must be non-flammable like Crimson or Warped signs).
- Hopper and Chests: For the collection system.
- Glass Blocks: 2 stacks (for the villager holding cells to allow for visibility and prevent mob spawns).
- Slabs or Leaves: 2 stacks to "spawn-proof" any area where you don't want golems or cats appearing.
Step 1: Constructing the Bed Chamber and Village Center
The "Village Center" is the anchor of your farm. In Bedrock, this is typically the pillow of the first bed that a villager links to. To keep the farm stable, we create a central platform for the beds.
Build a 5x4 platform of solid blocks suspended in the air. Place your 20 beds on this platform. It is often most efficient to place them in two layers of ten or one flat layer if space permits. Once the beds are placed, you will see green sparkles (particles) indicating that the game has registered them.
Pro Tip: Do not break the first bed you placed after villagers have linked to it. If you do, the village center may shift to a different bed, potentially moving the spawning zone outside your water-flow area.
Step 2: Designing the Villager Holding Cells
Safety is paramount. If a zombie reaches your villagers or a lightning strike turns them into witches, the farm will break. Create a ring around or below the bed platform using glass blocks.
Divide this ring into pods. It is often best to put 2 villagers per pod in 10 separate pods, or 5 villagers in 4 pods. Place the Fletching Tables directly in front of the villagers so they can "touch" them. In Bedrock, villagers do not need to move to work; they only need to be within a 1-block horizontal or vertical distance of their specific workstation.
When bringing villagers in, do not use Nitwits (villagers in green coats) as they cannot take jobs and will not contribute to the 75% work requirement. Ensure each villager displays green particles when they link to their workstation.
Step 3: Building the Spawning Platform and Water Channels
The spawning platform needs to cover the 17x13x17 spawning zone. A standard design uses a 17x17 or 18x18 platform situated 3 blocks above the beds.
- The Floor: Construct a flat square of solid blocks.
- The Walls: Build a 2-block high wall around the perimeter to prevent golems from falling out the wrong way.
- Water Flow: Place water source blocks along one edge or in the corners so that all flowing water pushes entities toward a central 3x3 hole.
- The Hole: This 3x3 hole is where the golems will fall to their demise. Ensure the hole is centered directly over the collection area.
Step 4: The Collection System and Killing Mechanism
The killing mechanism must be high enough to kill the 3-block-tall Iron Golems but low enough that their dropped iron ingots fall into hoppers.
At the bottom of the 3x3 chute, place a floor of Hoppers all pointing into a large chest. Above the hoppers, place open Signs or Buttons on the walls. These will hold a layer of lava in place.
Place the lava sources on top of the signs. Because Iron Golems are three blocks tall, their heads will be submerged in the lava, causing constant fire damage, while their feet (and the resulting loot) stay in the water/hopper zone below. This prevents the iron ingots from being destroyed by the lava.
Advanced Automation: Using the Crafter Block
With the introduction of the Crafter block in recent updates, you can now fully automate the output of your iron farm. Instead of manually emptying chests of thousands of ingots, you can pipe the ingots from your collection chest into a Crafter.
Configure the Crafter with a 3x3 grid of iron ingots to output Iron Blocks. This increases your storage density by nine times, allowing the farm to run for hundreds of hours of playtime without the chests overflowing. For more information on automation components, you can visit the Official Minecraft Wiki.
Troubleshooting Common Issues in Bedrock Farms
Even with a perfect build, Bedrock Edition's village logic can be finicky. Here are the most common solutions for a stalled farm:
- The "Work" Reset: If golems stop spawning, it is usually because the villagers lost their link to their workstations. This can happen during a world update or if a villager was moved. To fix this, break all workstations and replace them one by one, watching for the green particles on each villager.
- Cat Overpopulation: Iron farms also spawn cats. Bedrock has a "cat cap" of 5 per village. If you don't kill the cats or tame 5 of them and sit them nearby, they will take up spawn attempts. Most players allow the cats to flow into the lava with the golems to collect string.
- Spawning Underground: If you built the farm too close to the ground, check nearby caves. If a golem spawns in a cave, no more will spawn until that one is killed. Use slabs or buttons to spawn-proof any solid surface within 10 blocks of the farm.
- The 75% Rule: Ensure your villagers are not "linking" to workstations they cannot see. If a villager on the left side of the farm links to a table on the right side, they won't be able to "work," and the farm will eventually fail the 75% threshold.
Farm Efficiency Comparison Table
The following table compares different scales of iron farms based on the 2026 Bedrock Edition mechanics.
| Farm Scale | Villager Count | Bed Count | Estimated Yield (Ingots/hr) | Complexity |
|---|---|---|---|---|
| Basic | 10 | 20 | 100–150 | Low |
| Standard | 20 | 20 | 300–400 | Medium |
| Stacked | 40+ | 40+ | 700–800 | High |
| Industrial | 80+ (4 Villages) | 80+ | 1,200+ | Very High |
Note: "Stacked" farms require precise vertical spacing (76 blocks between village centers) to function without merging.
FAQs
Why aren't any Iron Golems spawning in my farm?
The most likely cause is that the villagers haven't "worked" at their stations. Ensure every villager is linked to a workstation they can physically touch. Also, double-check that there are at least 20 beds; 10 or 15 beds will not trigger golem spawning in Bedrock Edition.
Do I need a zombie to scare the villagers?
No. The "scare" mechanic is exclusive to the Java Edition of Minecraft. In Bedrock Edition, villagers spawn golems based on the number of villagers and their ability to work at workstations. Adding a zombie will only risk killing your villagers or interfering with their pathfinding.
Can I build an iron farm in the Nether or the End?
Yes, but the mechanics are more difficult to manage. You must still provide beds and workstations. In the Nether, you must be careful with bed placement (as they explode), though you can use them as village anchors if you never attempt to sleep in them. Generally, the Overworld is recommended for stability.
What is the best profession for iron farm villagers?
Fletchers (using Fletching Tables) are the industry standard for Bedrock. Fletching tables are cheap to craft, do not catch fire from nearby lava, and are solid blocks that prevent villagers from escaping. Librarians are also popular but their lecterns are slightly more prone to pathfinding glitches.
Does the farm work if I am away?
No. Minecraft Bedrock requires the area to be in "ticking range." This means a player must be within simulation distance (typically 4, 6, or 8 chunks depending on your world settings) for the villagers to work and the golems to spawn. On servers, you can use a "Ticking Area" command if you have administrator permissions to keep it running 24/7.
Practical Recommendations
For most survival players, the Standard 20-villager model is the best balance between effort and reward. It provides enough iron to support full beacon bases and extensive hopper systems without the extreme technical headache of "village stacking." Once your farm is operational, your next action should be to connect the output to an automated sorter that separates the poppies from the iron ingots. You can compost the poppies to create a secondary bone meal farm, maximizing the utility of every spawn.
For those looking to optimize further, ensure your simulation distance is set to at least 6 chunks to prevent the village logic from freezing while you are working on the edges of your base.
Image Gallery
Select an image to open it in a new tab.


Celine Dubois
Contemporary Living and Global Arts Columnist
