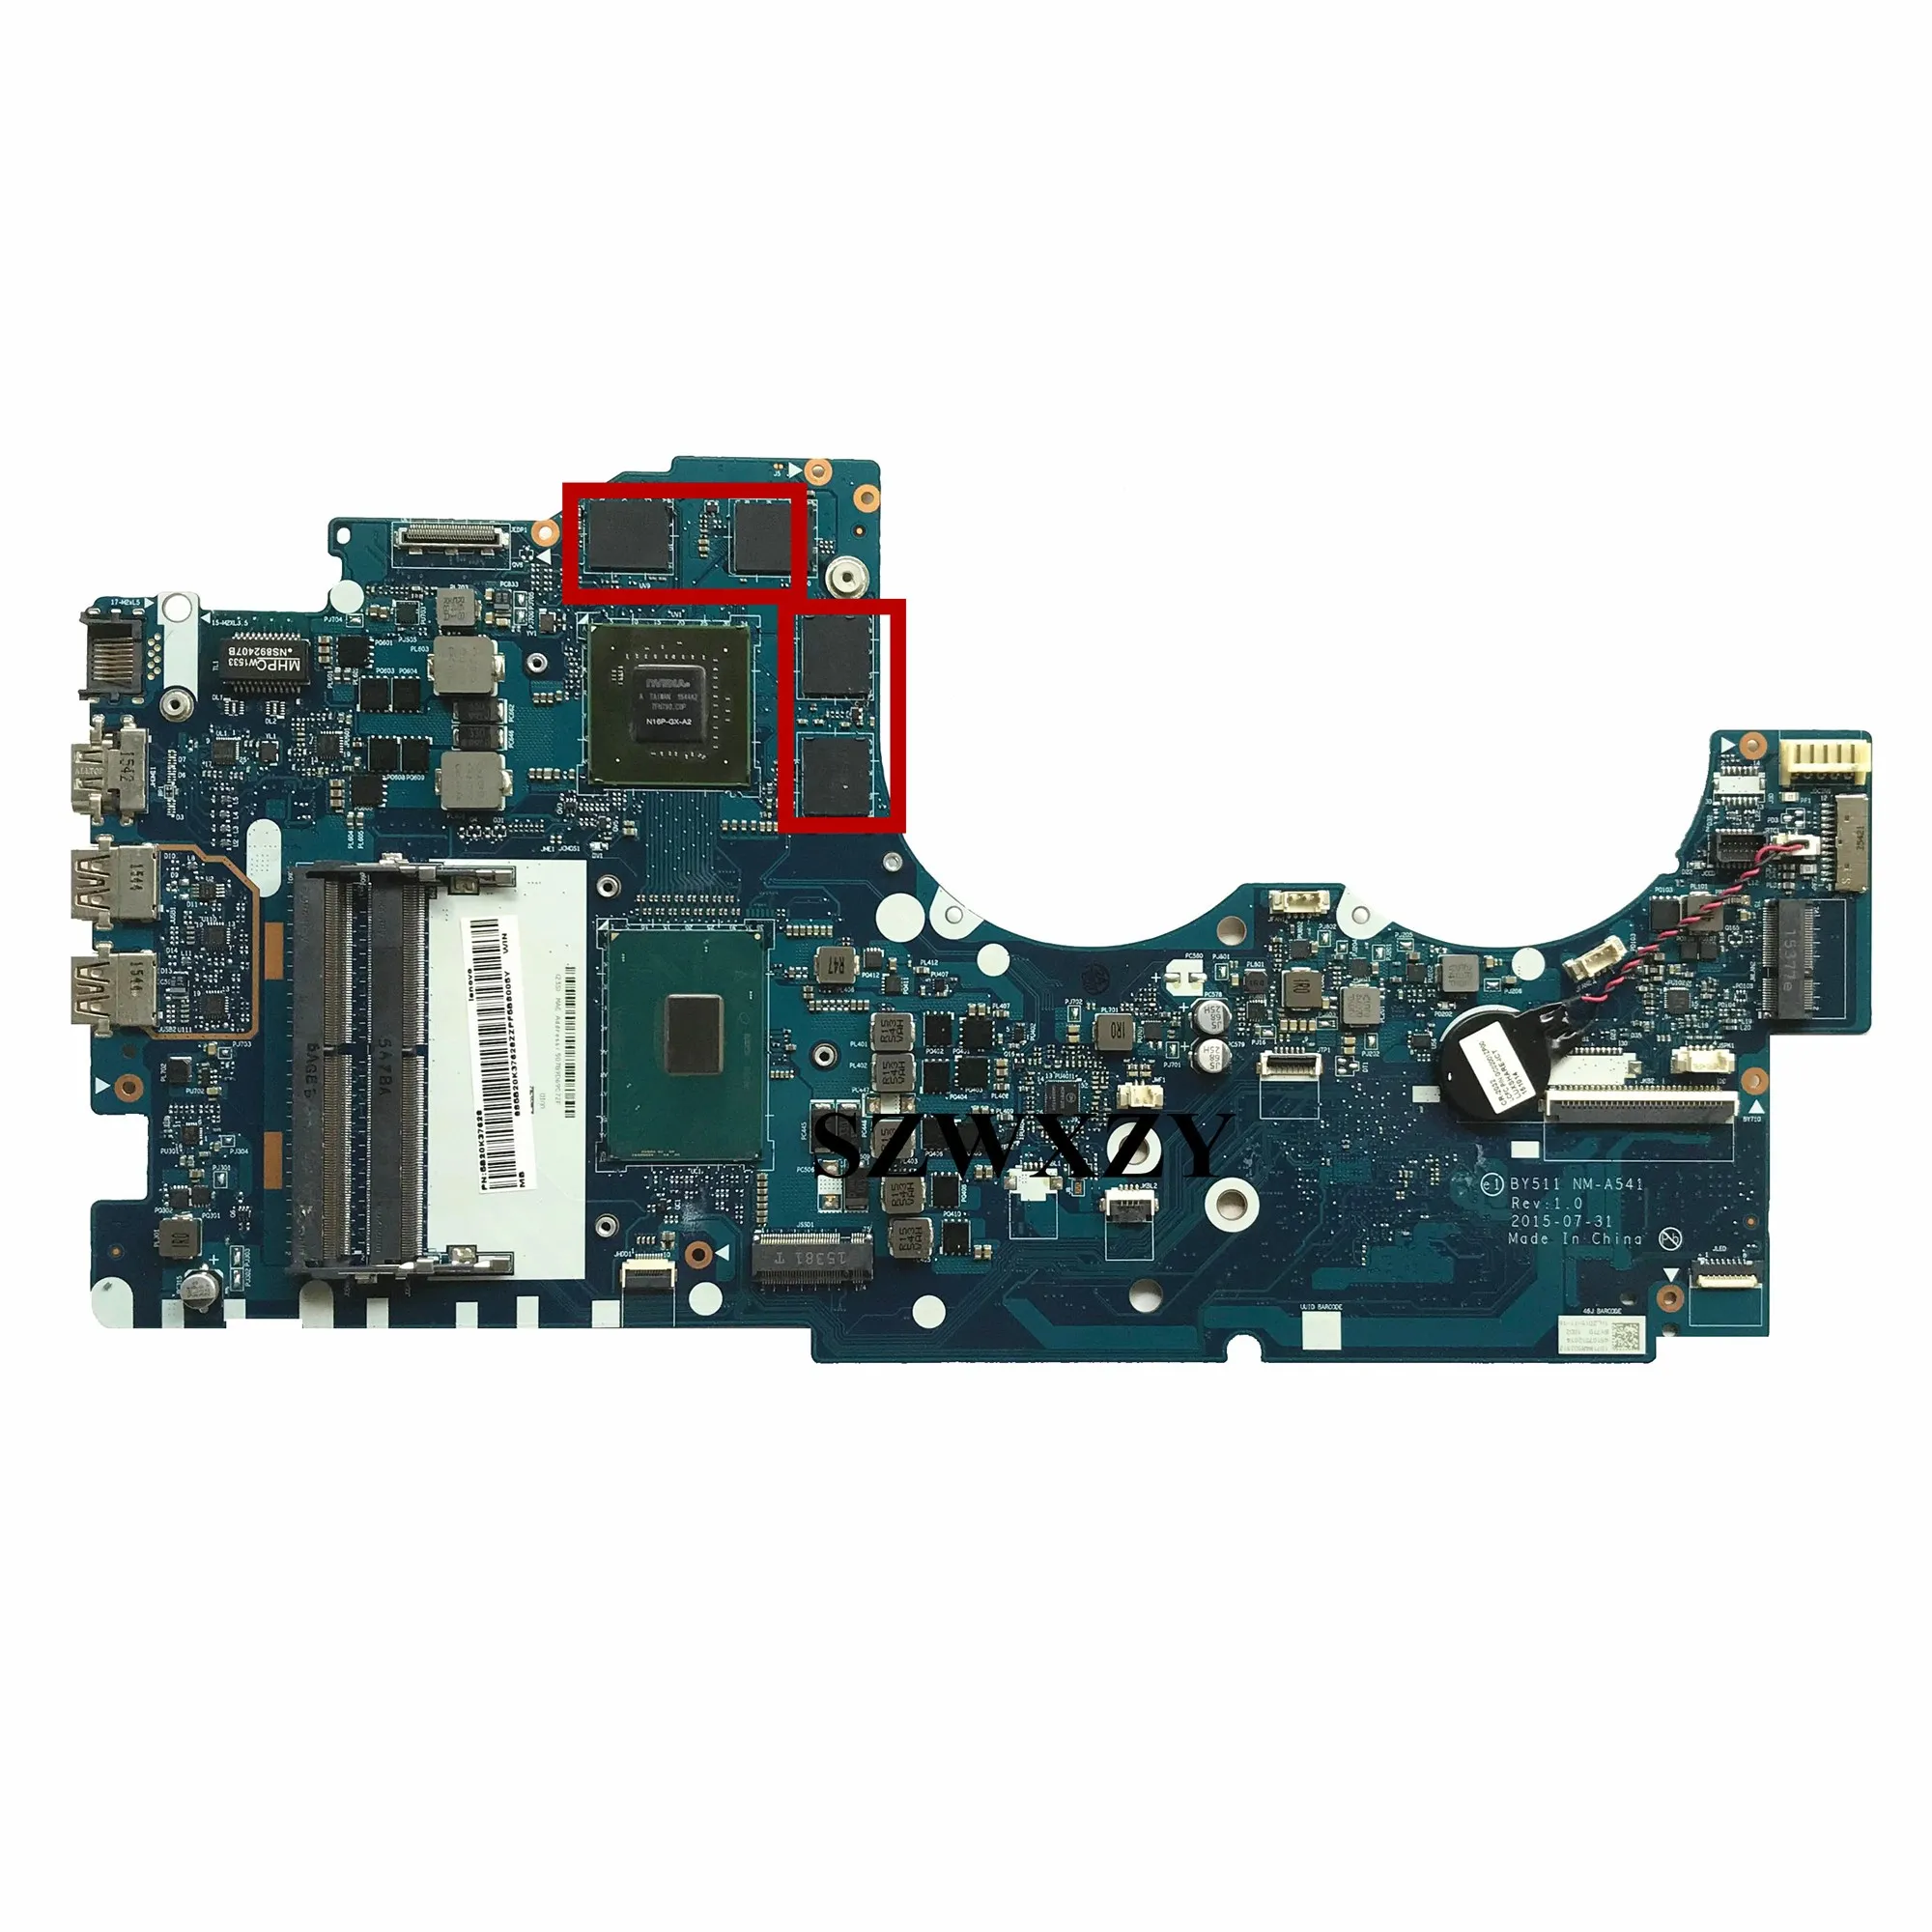
Replacing a CPU on a motherboard is a precise hardware maintenance task that requires verifying socket compatibility, managing thermal interface materials, and ensuring delicate pin alignment. Success depends on cross-referencing your motherboard’s chipset and BIOS support with the specific processor’s requirements, followed by a careful physical installation to avoid damage to sensitive components.
Understanding Component Compatibility and Prerequisites
Before physically handling any hardware, you must verify that the new processor is compatible with your existing motherboard. The primary indicator of compatibility is the CPU socket, such as Intel’s LGA 1700 or AMD’s AM5. However, the socket type is only the first step; the motherboard’s chipset must also support the specific CPU generation.
Always check the manufacturer’s "CPU Support List" on their official website. This list details exactly which processors are supported and, crucially, which version of the BIOS (Basic Input/Output System) is required to recognize that processor. If your current BIOS version is outdated, the motherboard will not boot with the new CPU installed. In such cases, you must update the BIOS using your old CPU before attempting the swap.
Additionally, ensure your power supply unit (PSU) can handle the thermal design power (TDP) of the new processor. If you are moving to a significantly more powerful chip, your existing cooler may also be insufficient. A practical upgrade often necessitates a new thermal solution to maintain operational stability.
Required Tools and Workspace Preparation
The physical replacement of a processor is a low-tool environment, but the tools you do use must be the correct ones. You typically need a high-quality Phillips-head screwdriver (usually size #2) to remove the CPU cooler mounting hardware.
Static electricity is the primary invisible threat to sensitive electronic components. You should perform this task on a non-conductive surface, such as a wooden desk. Avoid working on carpets or in environments with low humidity. To mitigate risk, discharge your body’s static electricity by touching a grounded metal object, such as the unpainted part of the PC case or a dedicated anti-static wrist strap connected to a ground point.
Gather the following items before starting:
- A clean, soft cloth or lint-free microfiber cloth.
- High-purity isopropyl alcohol (90% or higher) for cleaning old thermal paste.
- Fresh thermal interface material (thermal paste).
- Your new CPU and the appropriate screwdriver.

The Physical Installation Process
The process of replacing a CPU involves several high-stakes steps that require a steady hand. Once the computer is powered off and unplugged, disconnect all peripherals and internal power cables from the motherboard. Remove the side panel to gain unobstructed access to the socket.
Removing the Old Processor
- Cooler Removal: Unscrew the CPU cooler. If the thermal paste has acted like an adhesive, gently twist the cooler slightly to break the seal before pulling it vertically away from the CPU. Do not force it, as you risk pulling the processor out of the socket with the cooler attached.
- Socket Release: If you have an Intel LGA socket, gently push the retention lever down and out from under the locking tab to lift the metal frame. For AMD PGA sockets (older AM4), lift the small metal tension arm to the side.
- Extraction: Grasp the processor only by its edges. Never touch the contact pads or pins. Place the old CPU into a protective plastic clamshell or anti-static bag for storage.
Preparing the Socket
Before installing the new chip, inspect the motherboard socket. In LGA (Land Grid Array) designs, the pins are on the motherboard. Ensure no pins are bent, flattened, or missing. If the pins look misaligned, do not attempt to force the CPU in; this can result in catastrophic failure of the motherboard.
Seating the New CPU
- Alignment: Look for the small golden triangle on one corner of the CPU. This must align with the corresponding triangle mark on the motherboard socket.
- Placement: Lower the processor straight into the socket. It should fall into place without any downward pressure. If it does not sit flush, verify the alignment and remove it to try again.
- Locking: Lower the retention bracket (LGA) or tension arm (PGA) and secure it. It is normal to feel some resistance when locking the arm; this ensures the necessary electrical contact pressure is applied.
Thermal Management and Final Assembly
The thermal paste acts as a bridge for heat transfer between the CPU integrated heat spreader and the cooler’s base. If your new cooler comes with pre-applied paste, you do not need to add more. If it is bare, apply a pea-sized drop of high-quality thermal compound to the center of the CPU’s surface.
Reinstall the cooler, ensuring that you tighten the screws in an X-pattern (top-left, bottom-right, then top-right, bottom-left) to apply even pressure across the processor. Connect the cooler's fan cable to the header labeled CPU_FAN on the motherboard. Neglecting to plug in this cable will typically cause the system to trigger a "CPU Fan Error" upon startup, which will prevent the OS from booting to protect the hardware from overheating.
Comparison of Common Socket Requirements
| Feature | Intel LGA (e.g., LGA 1700) | AMD AM5 (LGA-style) |
|---|---|---|
| Pins Location | Motherboard Socket | Motherboard Socket |
| Handling Sensitivity | Extremely High (Easy to bend) | Extremely High (Easy to bend) |
| Locking Mechanism | Tension Frame | Single Lever |
| Installation Force | Moderate | Minimal |
Post-Installation Verification and Troubleshooting
Once the system is reassembled, plug the power cable in and turn on the PC. It is common for the system to take longer to boot on the first start after a CPU change as the motherboard performs "memory training." Do not panic if the screen remains black for 30 to 60 seconds.
If the system boots, immediately enter the BIOS (usually by pressing Del or F2 during startup). Verify that the new CPU is correctly identified and check the CPU temperature. If the temperature climbs rapidly toward 90°C or 100°C while idling, the cooler is likely improperly seated or the thermal paste was applied incorrectly. Power down immediately and re-evaluate the cooler mount.
Troubleshooting Common Issues
- System fails to power on: Ensure all power cables, particularly the 8-pin CPU power connector at the top left of the motherboard, are fully seated.
- Post error regarding "New CPU detected": This is normal. You will need to reconfigure your BIOS settings, such as XMP/EXPO memory profiles, which are often reset during a CPU swap.
- No display output: If your CPU does not have integrated graphics, ensure your monitor is plugged into the dedicated graphics card and not the motherboard video output.
Frequently Asked Questions
Does replacing a CPU require a reinstall of Windows? Generally, no. Modern versions of Windows are adept at detecting hardware changes and will update the necessary drivers for the new processor automatically. However, you may need to re-activate Windows if the change is significant enough that Microsoft's licensing server considers it a "new" machine.
Can I reuse my old thermal paste? No. Thermal paste dries out and loses its effectiveness over time. Once the cooler is removed, the existing paste is compromised by air bubbles and contaminants. Always clean the surface with high-purity isopropyl alcohol and apply a fresh layer to ensure optimal heat dissipation.
What happens if I bend a pin on the motherboard? If you bend a pin on an LGA-style motherboard, you may experience erratic system behavior, random crashes, or a complete failure to boot. While a steady hand and a fine-tipped tool can sometimes carefully straighten a bent pin, this is a delicate, high-risk operation that can easily result in permanent damage.
Is it necessary to update the BIOS before replacing the CPU? Yes, if your new CPU was released after your motherboard was manufactured. Check your motherboard manufacturer’s website for a CPU compatibility list. If your current BIOS version is older than the "Validated" version listed for your new CPU, the motherboard will not recognize the chip, and the system will not boot.
How do I know if my cooler is compatible with my new CPU? Check the cooler manufacturer’s product page for "socket compatibility." Coolers designed for specific sockets (e.g., AM4) may not fit newer sockets (e.g., AM5) without an additional mounting bracket kit. Most major cooler manufacturers offer these brackets for a low cost or sometimes free for customers with proof of purchase.
Final Recommendation
When planning a CPU replacement, spend 80% of your time on preparation. Verify your BIOS version and physical socket compatibility against the official manufacturer support page. During the installation, handle the hardware with extreme care, specifically focusing on the pins. By taking your time during the physical seating of the CPU and the application of thermal paste, you minimize the risk of hardware damage and ensure the longevity of your system upgrade.
Image Gallery
Select an image to open it in a new tab.

Mateo Castillo
Decentralized Finance and E-Payments Strategist
