
Mic placement in professional audio recording is the systematic art and science of positioning microphones relative to sound sources and acoustic environments to capture clean, accurate, and phase-coherent audio signals. Achieving professional results requires balancing microphone polar patterns, acoustic reflections, distance factors, and instrument-specific radiation characteristics.
The Fundamentals of Acoustic Physics and Transducer Interaction
Understanding how sound travels through space and interacts with microphone transducers is the foundation of professional audio engineering. Sound waves are longitudinal pressure variations that propagate through the air, carrying energy from a source—such as a vocalist’s vocal cords or a guitar amplifier's speaker cone—to the diaphragm of a microphone. The physical positioning of the mic dictates not only the frequency balance of the captured signal via proximity effect and off-axis coloration, but also the time alignment and phase relationships between multiple microphones.
Every microphone exhibits a specific polar pattern—such as cardioid, figure-eight, omnidirectional, or hypercardioid—which defines its sensitivity to sound arriving from different angles. In a professional recording environment, leveraging these patterns allows engineers to isolate desired sources while rejecting bleed from nearby instruments or undesirable room reflections. Furthermore, the inverse-square law dictates that as distance between the source and the microphone doubles, the sound pressure level drops by six decibels. Mastering this mathematical and physical relationship ensures that direct sound is captured cleanly while maintaining an optimal balance of ambient room sound.
Phase Coherence and Multi-Mic Setup
When utilizing multiple microphones on a single source—such as a drum kit or a grand piano—phase cancellation becomes a critical operational hazard. Phase cancellation occurs when sound waves reach multiple microphone diaphragms at slightly different times due to varying distances. When these signals are summed together in the console or digital audio workstation (DAW), certain frequencies reinforce one another while others cancel out completely, resulting in a thin, hollow, or comb-filtered tone.
To mitigate phase issues, engineers rely on the 3:1 Distance Rule, which states that any secondary microphone should be placed at least three times farther away from the primary microphone than the primary microphone is from its source. Additionally, deploying tools such as polarity inversion switches, precise physical alignment, and phase-alignment plugins ensures that transient attacks remain punchy and low-frequency content stays robust and focused.
Core Microphonic Techniques for Studio Instruments
Different instruments demand tailored microphone placement strategies based on their transient response, frequency distribution, and physical radiation patterns. Applying a generalized miking approach across diverse sound sources inevitably leads to compromised audio fidelity that requires excessive equalization and dynamic processing downstream.
Vocals
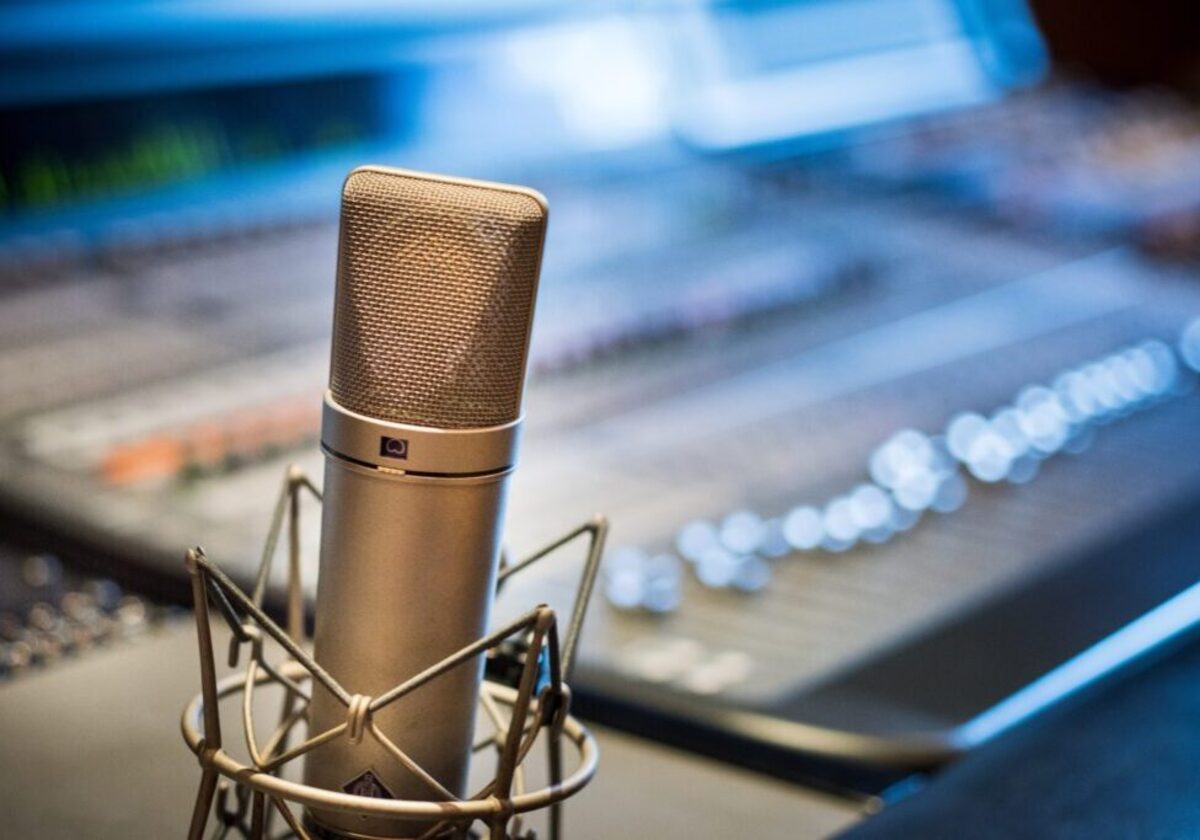
Vocals typically sit at the center of a modern mix, demanding clarity, intimacy, and controlled dynamics. A large-diaphragm condenser microphone is the industry standard for studio vocal recording.
- Distance: Position the vocalist approximately 6 to 12 inches away from the capsule to balance intimacy with manageable proximity effect.
- Height & Angle: Align the capsule slightly level with or just below the bridge of the nose, pointing straight ahead or tilted slightly downward toward the mouth. Tilting the mic downward can help minimize sibilance and plosive bursts (pops caused by "P" and "B" consonants), though a dedicated pop filter remains an absolute necessity.
- Acoustic Control: Utilize a reflection filter or treated vocal booth to eliminate early reflections bouncing off the rear wall and entering the microphone's sensitive pickup area.
Acoustic Guitars
Acoustic instruments possess complex harmonic structures that require careful spatial placement to capture both string definition and body resonance.
- The 12th Fret Technique: Place a small-diaphragm condenser or pencil microphone approximately 6 to 8 inches away, pointed directly at the 12th fret where the neck meets the body. This location captures a balanced blend of fingerpicking articulation and warm woody resonance.
- The Bridge Approach: For a thicker, more percussive tone, angle a second microphone toward the lower bout near the bridge. Ensure that the distance between the two mics satisfies the 3:1 rule if they are summed to mono, or pan them stereo for a wide acoustic image.
Electric Guitar Cabinets
Electric guitar amplifiers produce immense sound pressure levels, making dynamic and ribbon microphones the preferred choice for handling high transients without distortion.
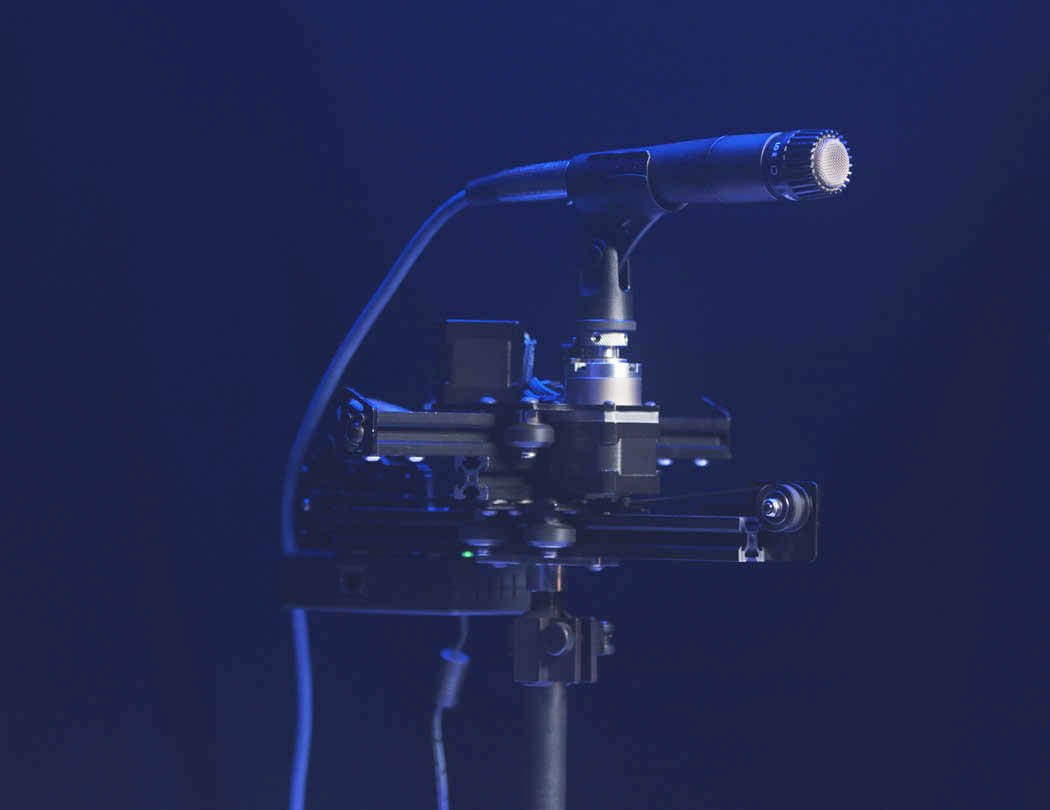
- On-Axis Close Miking: Position a dynamic microphone (such as a Shure SM57) right against the grille cloth, pointing directly at the center of the speaker cone where the dust cap meets the cone. This yields maximum high-frequency bite and midrange aggression.
- Off-Axis and Edge Placement: Moving the microphone slightly toward the edge of the cone or angling it at a 45-degree angle rolls off harsh high frequencies and yields a warmer, rounder tone. Combining an on-axis dynamic mic with an off-axis ribbon microphone offers a versatile dual-source blend during mixing.
Drum Kits
Recording a drum kit is widely considered the ultimate test of microphone placement due to the sheer number of sound sources, high SPLs, and extreme risk of phase cancellation and bleed.
| Drum Component | Recommended Mic Type | Standard Placement Strategy |
|---|---|---|
| Kick Drum | Large-Diaphragm Dynamic | Place just inside the soundhole for attack, or 1 to 2 feet outside the front head for sub-frequency resonance. |
| Snare Drum | Dynamic | Position 1 to 2 inches above the rim, angled across the head to capture stick impact and shell resonance while avoiding drummer hits. |
| Toms | Dynamic / Small Condenser | Mount tightly to the rim, pointed toward the center of the drum head with high-pass filters engaged to reduce bleed. |
| Overheads | Matched Pair Condensers | Suspend in an spaced pair, ORTF, or X/Y configuration above the kit to capture the stereo image and overall kit cohesion. |

Room Acoustics and Boundary Interference
Even the most expensive microphone placed inches away from a world-class instrument will yield poor results if the surrounding acoustic environment is flawed. Sound waves do not travel solely from the source to the microphone; they radiate outward, striking walls, ceilings, and floors before reflecting back into the microphone capsule at delayed intervals. These reflections cause comb filtering and muddy the low-mid frequency response.
Combating Boundary Effects and Standing Waves
Boundary interference occurs when sound waves reflect off hard surfaces close to a microphone. When these reflections combine with the direct sound, specific frequencies are boosted while others are cancelled, creating a comb-like frequency response curve.
- The Rule of Thirds and Symmetry: Position recording setups away from the direct center of untreated rooms to avoid modal resonances and standing waves. Utilize broadband porous absorbers and bass traps at primary reflection points.
- Floor Reflections: In mobile or semi-treated recording environments, floor bounces are a primary culprit of thin vocal and acoustic instrument recordings. Deploying a heavy rug or an isolation pad directly beneath the mic stand breaks up early floor reflections.
Advanced Stereo Miking Techniques
When engineers want to capture a three-dimensional acoustic space with realistic width and depth, they transition from mono miking to advanced stereo miking configurations. These techniques rely on precise geometric alignment to translate inter-level differences and time-arrival differences into a coherent stereo image.
Coincident Pair (X/Y)
The X/Y technique involves crossing two cardioid microphones at a 90-degree angle, with the capsules placed as close together vertically as physically possible without touching. Because the capsules share nearly the same physical point in space, time-arrival differences are virtually eliminated, resulting in zero phase cancellation when summed to mono. The stereo image is derived entirely from amplitude (volume) differences as sound arrives louder on the side the capsule is pointing toward.
Spaced Pair (A/B)
The A/B technique utilizes two identical omnidirectional or cardioid microphones placed parallel to each other at a distance (typically ranging from two to ten feet, depending on the source width). This method captures exceptional spaciousness and natural arrival-time differences, mimicking how human ears perceive distance and direction. However, engineers must carefully monitor phase relationships, as wide spacing increases the risk of comb filtering if the stereo mix is ever collapsed to mono.
Blumlein Pair
Named after Alan Blumlein, this classical technique utilizes two figure-eight microphones crossed at 90 degrees, similar to X/Y. Because figure-eight patterns capture sound from both the front and the back, a Blumlein configuration captures both the direct front sound source and the ambient rear reflections of the room simultaneously. This technique is exceptionally effective in acoustically superior rooms for recording classical ensembles, string sections, or ambient room tracks.
Troubleshooting Common Miking Issues
Even with meticulous planning, tracking sessions often present acoustic anomalies that require immediate identification and troubleshooting. Recognizing the root cause of poor audio capture saves countless hours during the mixing stage.
- Hollow or Phasing Sound: If an instrument sounds distant, thin, or phase-y despite being close-miked, check for multi-mic phase cancellation. Flip the polarity switch on the preamplifier or physically adjust the offending microphone forward or backward by a few inches.
- Excessive Low-End Mud: Proximity effect causes directional microphones to boost low frequencies heavily when placed close to a source. Engage the high-pass filter (low-cut filter) on the microphone or preamp, or physically back the microphone away from the source.
- Mechanical Rumble and Footsteps: Low-frequency thumps traveling through the floorboards can ruin an otherwise pristine take. Always mount sensitive studio microphones in heavy-duty shockmounts and utilize sturdy, weighted microphone stands isolated from vibrating stages.
Conclusion and Best Practices for Clean Tracking
Mastering mic placement in professional audio recording is an ongoing discipline that requires patience, critical listening, and an understanding of acoustic physics. Always begin the tracking process by auditioning the source raw in the room before introducing any processing. Move the microphone in small increments—shifting just an inch left, right, or angling it slightly off-axis—to hear how radically the tonal balance shifts. By prioritizing physical mic positioning over corrective equalization, engineers capture higher-fidelity raw tracks that sit effortlessly in a professional mix.
Image Gallery
Select an image to open it in a new tab.



Simon Caldwell
Enterprise Technology and Systems Editor
