Understanding the Tension System in Server Hardware for Optimal Thermal Management
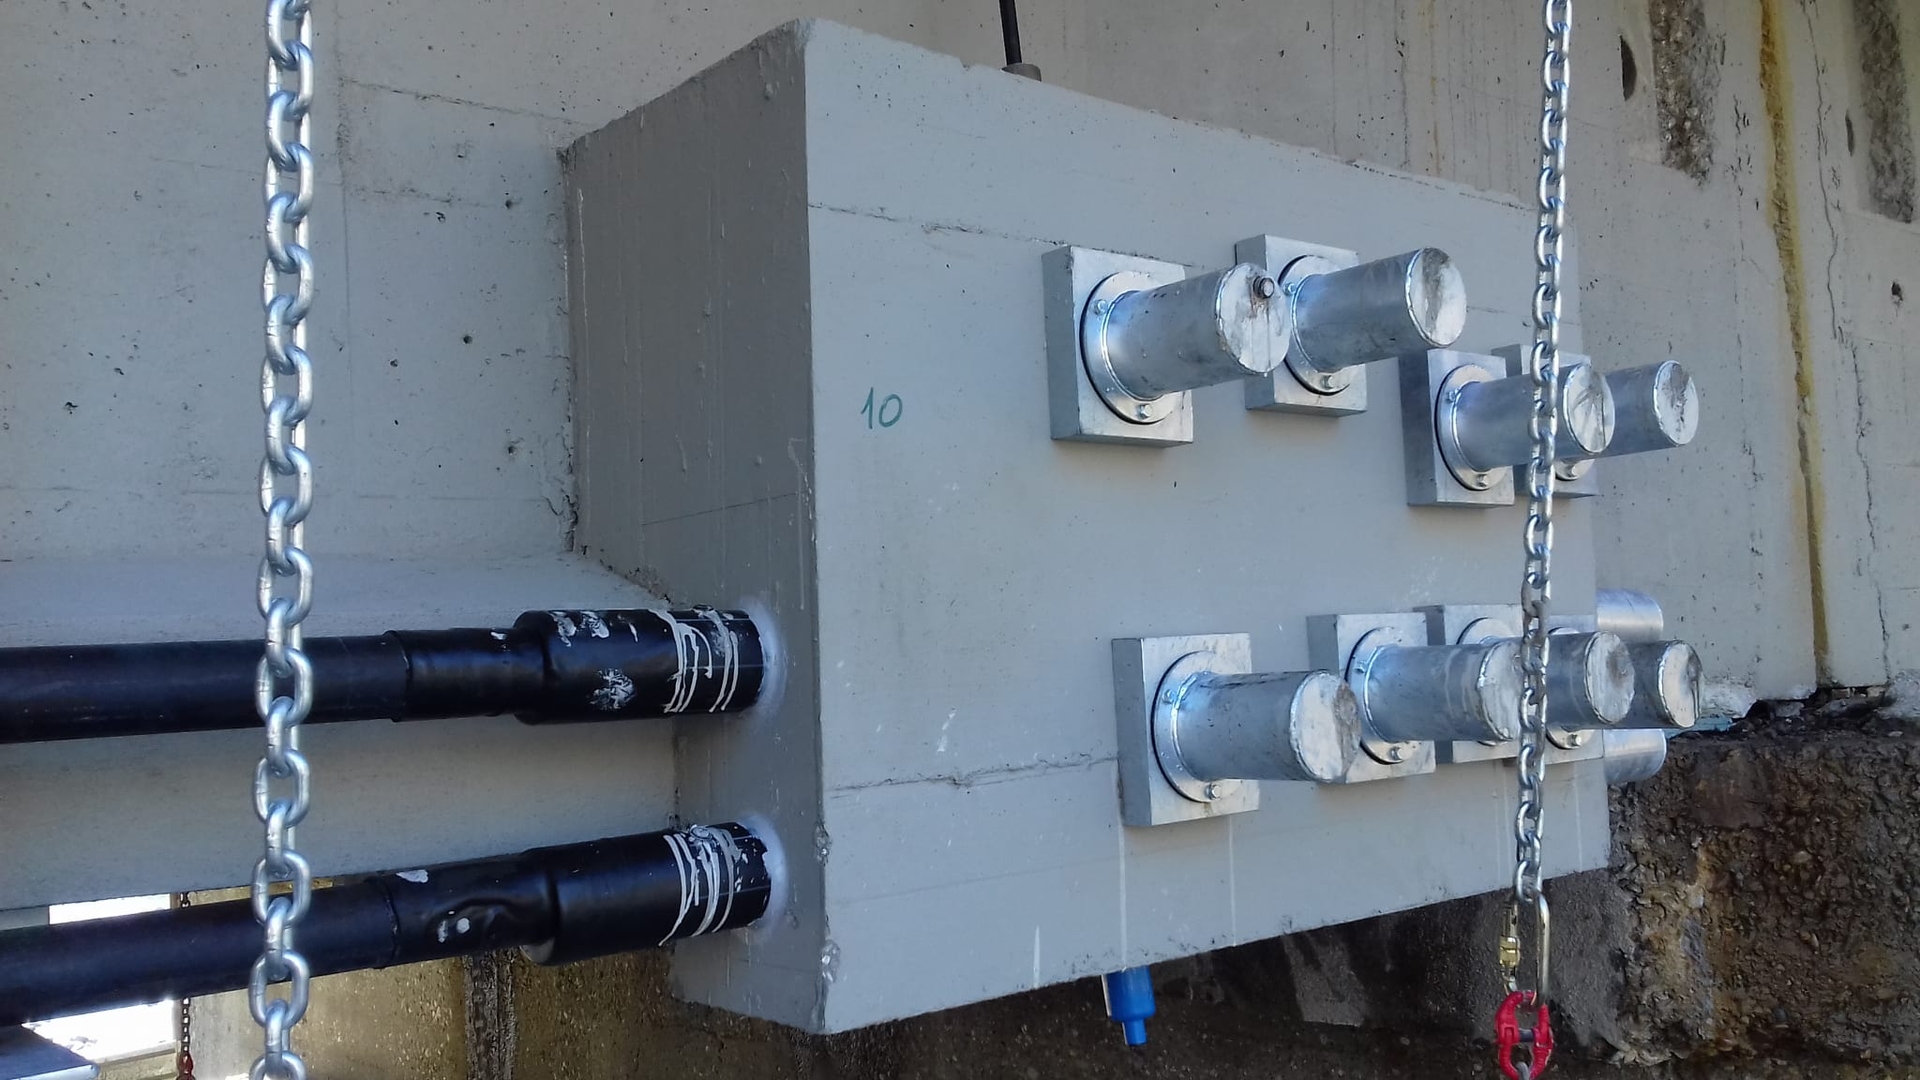
The tension system in server hardware refers to the mechanical load-bearing mechanism designed to maintain consistent, uniform pressure between the Integrated Heat Spreader (IHS) of a high-performance CPU and the cold plate or heatsink of its cooling solution. This system is critical for maximizing thermal conductivity and preventing structural deformation of delicate silicon and socket components under the high-pressure requirements of modern data center infrastructure.
The Role of Tension in Modern Server Architecture
In the high-density environment of modern server racks, the efficiency of heat dissipation is arguably the most critical factor influencing sustained performance. Modern server CPUs, such as the AMD EPYC 9005 series or Intel Xeon 6 series processors, output significant thermal energy—often exceeding 400W for a single package. To move this heat effectively, the thermal interface material (TIM) between the processor and the cooling block must be as thin as possible while maintaining perfect surface contact.
The tension system—typically comprised of spring-loaded screws, retention brackets, and backplates—is tasked with applying the precise amount of force measured in pounds per square inch (PSI) required to achieve this optimal contact. If the tension is too low, the TIM layer will be too thick, creating a thermal bottleneck. If the tension is too high, the risk of micro-fractures in the motherboard PCB (Printed Circuit Board) or damage to the CPU’s contact pads increases significantly, potentially leading to intermittent signal degradation or permanent hardware failure.
Mechanical Components of a Retention System
A robust tension system is not a single component but an integrated assembly. Understanding these parts is essential for any technician responsible for deploying or servicing server hardware in 2026.
- The Backplate: Located behind the motherboard, the backplate acts as the structural anchor. It distributes the mechanical stress over a wider surface area of the motherboard, preventing the board from bowing under the tension of the cooling solution.
- The Retention Bracket/Frame: This frame interfaces directly with the socket or the board to guide the heatsink into place. It ensures that the tension is applied symmetrically across the four corners of the processor.
- Spring-Loaded Fasteners: These are the most vital components of the tension system. The springs are calibrated to a specific spring constant. As a technician tightens the screws, the springs compress; once they reach the end of their travel or a specified torque, they ensure that the applied pressure is identical across all mounting points.
- Integrated Heat Spreader (IHS) Interface: The top surface of the processor. The tension system must compress the cooling solution against this surface without introducing "tilt," which is the leading cause of uneven temperature distribution across CPU dies.
The Science of Uniform Pressure
Achieving uniform pressure is the primary goal of the tension system. Even a slight deviation in the torque applied to one screw compared to its neighbor can result in a significant temperature delta across the CPU cores. In multi-die server processors, where different chiplets are located at different areas of the package, uneven tension can cause one die to throttle thermally while others remain relatively cool, severely impacting the server's overall compute performance.
The industry standard for mounting pressure is usually defined by the CPU manufacturer’s design specifications. Technicians should never rely on "feel" when tightening these systems. Instead, the "cross-pattern" or "star-pattern" tightening method is strictly required. By tightening opposing corners incrementally, the pressure is distributed evenly, preventing the cooling block from shifting as it is secured.
Comparison of Cooling Mounting Mechanisms
Different server architectures utilize distinct tension philosophies. Below is a comparison of standard approaches used in modern enterprise hardware.
| Mechanism Type | Primary Application | Tension Control Method | Mechanical Complexity |
|---|---|---|---|
| Spring-Load Screw | Standard 1U/2U Servers | Calibrated internal springs | Moderate |
| Cam-Lever/Latch | Quick-Deploy Modular Servers | Pre-set cam geometry | High |
| Captive Nut/Stud | High-Density Compute Blades | Fixed-depth standoff | Low |
| Hydraulic/Press | Specialized Liquid Cooling | External pressure regulation | Very High |
Risks of Improper Tensioning
Failure to adhere to the manufacturer's tension specifications can lead to several catastrophic failures. In a data center environment, these are often the most difficult issues to diagnose because they manifest as intermittent software errors rather than immediate hardware crashes.
1. Thermal Throttling and Performance Inconsistency If the tension is insufficient, the thermal interface material fails to fill the microscopic gaps between the IHS and the heatsink. This results in air pockets that act as insulators. Sensors will report rapid temperature spikes, forcing the CPU to lower its clock speed to prevent damage. This leads to erratic application performance that is notoriously difficult to troubleshoot.
2. Mechanical Stress and Board Warping Over-tightening is a common mistake when technicians assume "tighter is better." The physical force applied to the motherboard can cause the PCB to bend or "warp." Because high-end motherboards utilize dense multi-layer circuitry, this bending can cause internal signal traces to micro-crack. This often results in memory channel failures, as the high-speed data lines between the CPU and the DIMM slots are highly sensitive to even microscopic shifts in board geometry.
3. Pin Contact Issues In Land Grid Array (LGA) sockets, the processor relies on physical contact between pads on the bottom of the CPU and pins within the socket. Uneven tension can cause the processor to "tilt" within the socket. One side of the CPU may have excellent contact, while the other side loses connectivity. This often manifests as a server that fails to boot, fails to recognize all installed memory, or experiences PCIe lane errors.
Best Practices for Maintenance and Installation
When performing maintenance in a 2026 enterprise setting, follow these industry-standard guidelines to ensure the longevity of your tension system:
- Use Torque-Limiting Drivers: Whenever possible, use a torque-limiting screwdriver set to the exact specification provided by the server chassis manufacturer. Never guess the required torque.
- Clean the Mounting Surfaces: Before re-installing a cooling solution, remove all old TIM residue. Any microscopic debris trapped between the cold plate and the IHS will create a high-pressure point that prevents proper leveling.
- Cross-Pattern Tightening: Always tighten screws in a diagonal pattern. Turn each screw only a partial rotation at a time until all are engaged. This allows the spring tension to balance itself out across the entire surface.
- Check for "Spring Bottoming": Ensure that the spring has not been fully compressed to the point of "coil bind." If the coils are touching, the tension system is no longer providing spring-force, but is instead acting as a rigid, potentially damaging post.
- Verify with Diagnostics: After installation, run a stress-test utility. Monitor the temperature of individual CPU dies. If you see a variance of more than 5-8 degrees Celsius between the hottest and coolest cores during a full-load test, it is highly likely that your tension system is improperly seated.
FAQ: Troubleshooting Tension Systems
Q: Why does my server report "Socket Error" after replacing the heatsink? A: This usually indicates uneven pressure. The processor is likely tilted in the socket, causing poor contact with the LGA pins. Loosen the screws, ensure the heatsink is perfectly level, and re-tighten in the correct cross-pattern.
Q: Is it safe to use third-party retention brackets? A: Generally, no. Server manufacturers design the tension system to work with the specific weight and thermal requirements of their chassis and heatsinks. Third-party components may not meet the required spring constants or structural integrity standards, leading to board damage.
Q: How do I know if I have applied enough tension? A: If using a professional torque driver, follow the manufacturer's Newton-meter (Nm) or inch-pound (in-lb) specification. If no specific tool is available, the "stop-point" is usually when the spring-loaded screw reaches the physical limit of the mounting standoff, provided the cross-pattern method was used.
Q: Does liquid cooling require a different tension approach? A: Yes. Liquid cooling blocks are often heavier and have different centers of gravity. They usually require reinforced mounting brackets to prevent the weight of the cooling loop from pulling the tension system out of alignment. Always consult the liquid cooling vendor's specific mounting manual for 2026 hardware.
Q: Can I reuse the tension screws after a repair? A: If the threads are not stripped and the springs retain their original tension—they do not look compressed or "tired"—they are generally reusable. However, if any part of the mechanical assembly shows signs of oxidation or metal fatigue, the entire bracket kit should be replaced.
Next Steps for System Reliability
If you are currently experiencing thermal instability or intermittent hardware errors, your first action should be to verify the tension system. Do not immediately assume a fault in the CPU or motherboard. Conduct a physical inspection of the heatsink mounting points, check for any visible bowing of the motherboard, and verify that all fasteners are tightened to the manufacturer's exact specifications. If you are deploying new hardware, ensure that your technical staff is trained on the specific torque requirements for your server model to prevent early-life failures caused by mechanical stress. For further technical specifications, always refer to the Service Manual provided by your server's OEM (Original Equipment Manufacturer), as these documents contain the definitive torque and sequence requirements for your specific hardware generation.
Image Gallery
Select an image to open it in a new tab.
Mateo Castillo
Decentralized Finance and E-Payments Strategist
