How to Perform a Windows 7 Factory Reset: Step-by-Step Guide
To perform a factory reset on Windows 7, back up your files, restart your computer, and press the manufacturer's recovery key—commonly F8, F11, or Alt + F10—during initial boot. Select Repair Your Computer, log in as an administrator, and launch the built-in factory restore wizard to erase the drive and reinstall the original operating system.
Understanding Windows 7 Factory Reset Options
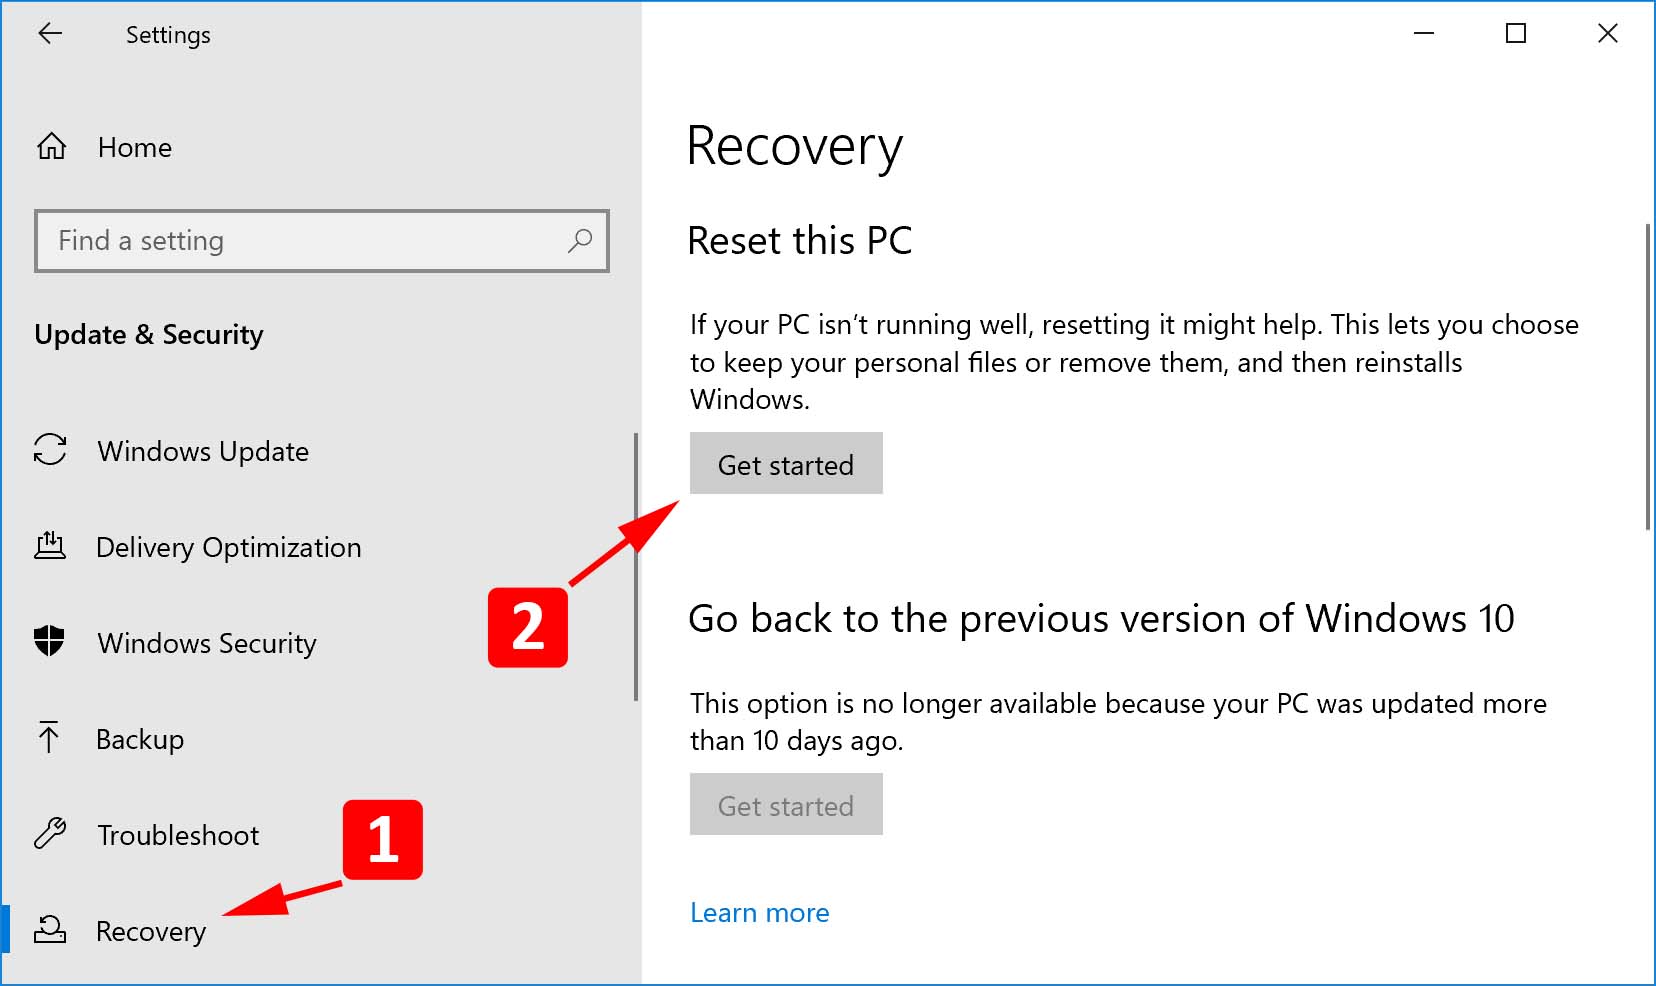
Unlike modern operating systems like Windows 10 or Windows 11, which include a built-in "Reset this PC" option within system settings, Windows 7 relies on older system recovery architectures. Restoring a Windows 7 computer to its original factory state requires using manufacturer-supplied recovery partitions, system repair disks, or original installation media.
Understanding the difference between the available restoration paths ensures you select the correct process for your specific situation:
- OEM Factory Reset (Recovery Partition): Most pre-built desktop and laptop computers (from vendors such as Dell, HP, Lenovo, Acer, and ASUS) ship with a hidden partition on the hard drive. This partition contains an image of the original system configuration, including default drivers and pre-installed utilities. Triggering this process completely overwrites the system drive, restoring the machine to the exact software state it was in when removed from its original packaging.
- Clean Installation (Installation Media): If the recovery partition is corrupted, deleted, or missing, a factory reset requires booting from a Windows 7 installation DVD or bootable USB flash drive. This process wipes the hard drive and installs a fresh copy of the operating system without manufacturer bloatware.
- System Restore: System Restore is not a true factory reset. It reverts system files, registry keys, and installed applications to an earlier point in time without removing personal files or executing a complete disk format.
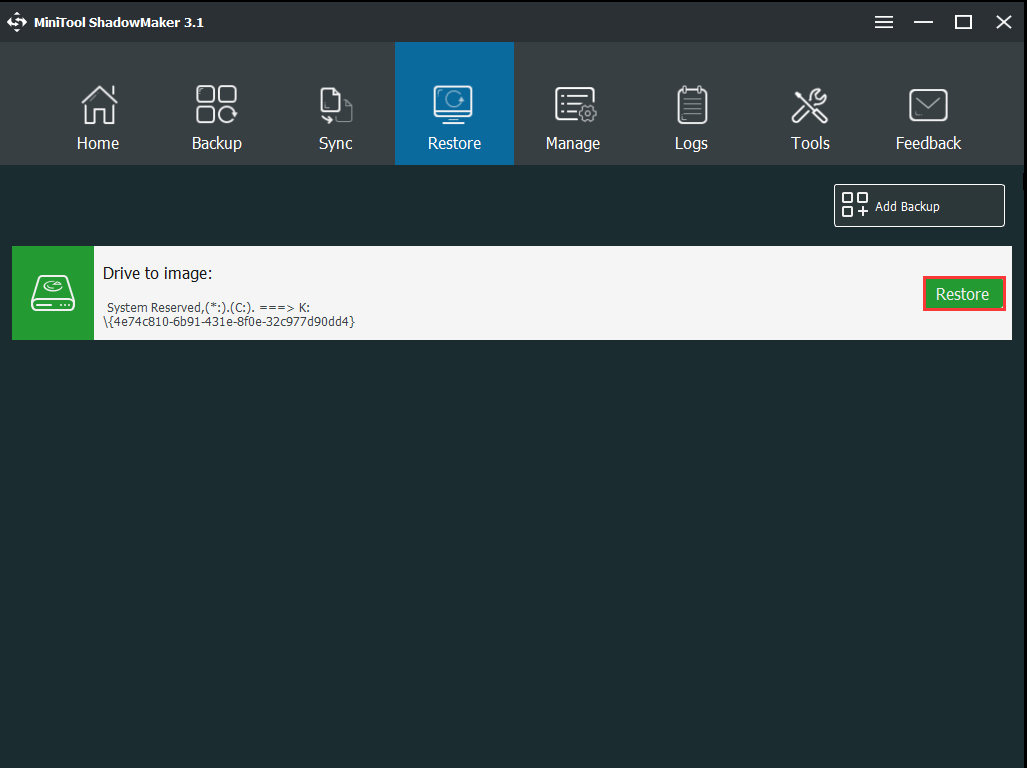
- System Image Recovery: This process restores the operating system from a complete system image backup previously created by the user using the Windows 7 Backup and Restore tool.
Critical Steps Before Resetting Windows 7
A factory reset is an irreversible action that formats the target hard drive partition. Before beginning the restoration process, complete the following preparations to prevent permanent data loss and post-reset configuration issues.
| # | Pre-Reset Checklist |
|---|---|
| 1 | Back up all personal files to an external storage device. |
| 2 | Locate your 25-character Windows 7 Product Key. |
| 3 | Export network and motherboard drivers to a flash drive. |
| 4 | Deauthorize software licenses (e.g., Adobe, specialty tools). |
| 5 | Ensure your laptop is connected to a reliable power source. |
1. Back Up Personal Data
Save all critical files—including documents, photos, browser bookmarks, downloads, and software configuration files—to an external hard drive, cloud storage service, or secondary local volume. A factory reset completely wipes the primary boot drive (typically C:).
2. Locate Product Keys and License Information
Although OEM factory resets utilizing a hidden partition typically activate automatically upon completion, clean reinstalls using standard installation media require a 25-character Windows 7 product key.
- For desktop computers, locate the official Certificate of Authenticity (COA) sticker on the side or rear of the computer case.
- For laptops, check the bottom casing or inside the battery compartment.
- If the sticker is worn or missing, use a key extraction utility prior to formatting to retrieve the license key from the active Windows registry.
3. Back Up Hardware Drivers
Original factory images restore stock drivers, but clean reinstalls install only baseline generic drivers. Download essential network adapters (Wi-Fi and Ethernet) and storage controller drivers from the hardware manufacturer's official support page and save them to a USB flash drive. Without network drivers, your computer cannot connect to the internet after a reinstall to fetch missing updates or hardware profiles.
Method 1: Resetting Windows 7 via OEM Recovery Partition
The primary method for factory resetting a Windows 7 system without installation media is utilizing the manufacturer’s built-in recovery environment accessed through the Advanced Boot Options menu.
Step 1: Access the Advanced Boot Options Menu
- Turn off the computer completely.
- Disconnect all non-essential external peripherals, including printers, scanners, flash drives, and external hard drives. Leave only the monitor, keyboard, and mouse connected.
- Power on the system.
- Immediately press and hold (or repeatedly tap) the designated boot menu key before the Windows logo appears on the screen.
- For most standard systems, press F8.
- When the Advanced Boot Options menu appears, release the key.
Step 2: Launch System Repair
- Use the keyboard arrow keys to highlight Repair Your Computer and press Enter.
(Note: If "Repair Your Computer" is not listed, your machine lacks a built-in recovery environment, and you must use Method 3.)
- Select your keyboard layout (e.g., US) and click Next.
- Log in using an administrative user account. If no password is set, leave the password field blank and click OK.
Step 3: Run the Manufacturer Recovery Wizard
Once inside the System Recovery Options dialog, locate the bottom menu item. This option is typically customized by the original hardware manufacturer.
| System Recovery Options |
|---|
| [ ] Startup Repair |
| [ ] System Restore |
| [ ] System Image Recovery |
| [ ] Windows Memory Diagnostic |
| [ ] Command Prompt |
| OEM Recovery Management (e.g., Dell Factory Image Restore, HP Recovery Manager, Acer eRecovery, Lenovo Rescue System) |
Common manufacturer recovery utility names include:
- Dell: Dell Factory Image Restore or Alienware Respawn
- HP / Compaq: HP Recovery Manager
- Lenovo: Lenovo OneKey Recovery or ThinkVantage Rescue and Recovery
- Acer: Acer eRecovery Management
- ASUS: ASUS System Recovery
Click on your manufacturer’s utility, select Format Hard Drive and Restore System Software to Factory Condition (wording varies by brand), and confirm the action. Do not interrupt or power off the machine during the restoration process, as this can corrupt the primary boot sectors.
Brand-Specific Hotkeys for Windows 7 Factory Reset
If pressing F8 does not bring up the option to launch manufacturer recovery tools, many computer vendors configure direct hardware shortcuts that trigger recovery software straight from startup.
To use these direct shortcuts, power on the machine and immediately tap the specific key combination repeatedly:
| Manufacturer | Direct Recovery Hotkey | Default Wizard Name |
|---|---|---|
| Acer / Gateway / Packard Bell | Alt + F10 |
Acer eRecovery Management |
| ASUS | F9 |
ASUS System Recovery |
| Dell / Alienware | F8 or Ctrl + F11 |
Dell Factory Image Restore |
| HP / Compaq | F11 |
HP Recovery Manager |
| Lenovo / IdeaPad | OneKey Button or F11 |
Lenovo OneKey Recovery |
| MSI | F3 |
MSI System Restore |
| Samsung | F4 |
Samsung Recovery Solution |
| Sony VAIO | F10 or Assist Button |
VAIO Care / Recovery Center |
| Toshiba | Press and hold 0 (zero) while powering on |
Toshiba HDD Recovery |
Method 2: Resetting via Windows Control Panel
If Windows 7 boots normally into the desktop environment, you can trigger an OEM reset or clean reinstall directly from the Windows graphical user interface.
- Click the Start button and open the Control Panel.
- Select System and Security, then click Backup and Restore.
- Click the link at the bottom of the window that reads Recover system settings or your computer.
- In the main window, click Advanced recovery methods.
- You will be presented with two primary options depending on your system configuration:
- Return your computer to Factory Condition: This option boots into the manufacturer recovery partition.
- Reinstall Windows (requires Windows installation disc): This option guides you through an operating system re-installation using physical media.
- Choose Return your computer to Factory Condition.
- Windows will prompt you to back up your files. Select Back up now if you have not done so, or click Skip if your files are safely copied to external storage.
- Click Restart. The computer will reboot into the system repair screen and launch the automatic restoration wizard.
Method 3: Performing a Clean Reinstall Using Windows 7 Installation Media
If the manufacturer recovery partition was deleted during a previous disk repartitioning process, replaced with a custom OS image, or lost due to drive failure, you must perform a clean installation using a Windows 7 installation DVD or USB drive.
Step 1: Create or Prepare Bootable Media
You will need a valid Windows 7 ISO image matching your licensed edition (e.g., Home Premium, Professional, or Ultimate) and system architecture (32-bit or 64-bit).
- Use tools like Rufus to burn the ISO file to an 8GB or larger USB flash drive using the MBR partition scheme for legacy BIOS system configurations.
Step 2: Boot from the Installation Media
- Insert the Windows 7 installation USB flash drive or DVD disc.
- Restart the computer and tap the boot menu key (typically F12, F11, F9, or Esc) to bring up the temporary boot device selector.
- Select your USB drive or Optical Disk Drive (DVD) and press Enter.
- When prompted with "Press any key to boot from CD or DVD...", press any key on your keyboard.
Step 3: Execute the Setup and Format Procedure
- Set your preferred Language, Time/Currency Format, and Keyboard Layout, then click Next.
- Click Install now.
- Accept the Software License Terms and click Next.
- Choose Custom (advanced) as the installation type.
| Name | Total Size | Free Space | Type |
|---|---|---|---|
| Disk 0 Partition 1: System | 100.0 MB | 70.0 MB | System |
| Disk 0 Partition 2: Primary | 465.0 GB | 120.0 GB | Primary |
[Refresh] [Drive options (advanced)] [Load Driver]
- In the partition management window:
- Select your existing primary system partition (typically
Disk 0 Partition 2). - Click Drive options (advanced).
- Click Format and confirm. (Warning: This permanently erases all data on that partition.)
- Alternatively, select each partition on the primary installation drive and click Delete until only Unallocated Space remains, then select that space.
- Select your existing primary system partition (typically
- Highlight the freshly formatted partition or unallocated space and click Next.
- The installer will copy files, expand assets, install features, and complete updates automatically. The machine will reboot several times during this process.
Step 4: Complete the Out-of-Box Experience (OOBE)
Once the files are expanded and installed:
- Create a user account name and computer name.
- Set an account password and password hint.
- Enter your 25-character Windows 7 Product Key. (You may uncheck "Automatically activate Windows when I'm online" to defer online activation for up to 30 days).
- Select your security settings preferences (Use recommended settings).
- Set your Time Zone, Date, and Time.
- Select your Network Location (Home, Work, or Public).
Technical Comparison of Windows 7 Recovery Methods
| Feature / Criteria | OEM Recovery Partition | Control Panel Initiated Reset | Clean Media Installation |
|---|---|---|---|
| Requires External Media? | No | No (unless prompted) | Yes (USB Drive or DVD) |
| Data Retention | Complete Wipe of System Drive | Complete Wipe of System Drive | Complete Wipe or Select Partition |
| Original Drivers Included? | Yes | Yes | No (Generic drivers only) |
| Bundled Software (Bloatware) | Reinstalled automatically | Reinstalled automatically | Excluded (Clean environment) |
| Product Key Required? | Automated via BIOS/OEM Table | Automated via BIOS/OEM Table | Manual 25-Character Entry |
| Partition Integrity Needed | Must be intact and unmodified | Must be intact and unmodified | Works even on blank/new drives |
Troubleshooting Common Windows 7 Reset Errors
Problem: "Repair Your Computer" Option Is Missing from the F8 Menu
This issue occurs when the Windows Recovery Environment (WinRE) file link is disabled or the dedicated recovery partition was deleted during a previous operating system upgrade or manual disk partition adjustment.
Solution via Command Prompt:
- Open the Start menu, type
cmd, right-click Command Prompt, and select Run as Administrator. - Type the following command and press Enter:
reagentc /enable - If the command line returns an error indicating that the WinRE image was not found, you must perform a clean installation using a bootable USB or DVD as detailed in Method 3.
Problem: Recovery Utility Demands a Password You Forgot
If the OEM recovery utility prompts for an administrative password that you no longer remember:
- Restart the machine into Safe Mode with Command Prompt from the F8 Advanced Boot Options menu.
- In the command console, enable the built-in hidden Administrator account by running:
net user administrator /active:yes - Restart the computer, access the recovery environment, and select the newly enabled default Administrator account without entering a password.
Problem: No Hard Drives Found During Clean Reinstallation
If the Windows 7 setup installer displays a blank box on the "Where do you want to install Windows?" screen, the setup wizard lacks the specific SATA host controller or RAID drivers for your storage chipset.
Solution:
- Download the AHCI/RAID storage controller drivers for your specific motherboard or laptop model from the manufacturer's official support website.
- Extract the driver files (containing
.infand.sysformats) onto an unencrypted USB flash drive. - Insert the flash drive during the installation step and click Load Driver at the bottom of the disk selection screen.
- Browse to the driver folder on the USB drive, select your storage controller, click OK, and proceed with the installation once the target disk appears.
Essential Post-Reset Tasks and 2026 Security Realities
Executing a factory reset returns a Windows 7 machine to a baseline operational state. However, because Windows 7 is an older operating system, operating a freshly reset system requires vital post-installation steps.
| # | Post-Reset Configuration & Audit |
|---|---|
| 1 | Install hardware drivers (Network to Chipset to Graphics). |
| 2 | Verify system activation status in System Properties. |
| 3 | Apply offline service packs (e.g., Windows 7 SP1 & Rollups). |
| 4 | Install legacy-compatible modern security tools. |
| 5 | Restrict internet exposure and avoid sensitive transactions. |
1. Install Motherboard and Device Drivers
After a clean reinstallation, check the Device Manager (devmgmt.msc) for any items flagged with yellow exclamation marks. Install drivers in the following recommended order:
- Motherboard Chipset Driver
- Storage Controller / AHCI Drivers
- Network Adapter Drivers (Ethernet / Wi-Fi)
- Graphics Card (GPU) Drivers
- Audio and Input Peripheral Drivers
2. Verify Windows Activation Status
Confirm that your operating system license key activated successfully:
- Open the Start Menu, right-click Computer, and select Properties.
- Scroll to the bottom under Windows activation.
- Verify that the status reads "Windows is activated". If not, click Change product key to re-enter your 25-character key manually or follow the automated telephone activation prompt.
3. Understanding Security Risks
Microsoft officially ended Mainstream Support for Windows 7 on January 13, 2015, and terminated Extended Security Updates (ESU) programs in early 2023. As a result, Windows 7 no longer receives security patches, kernel updates, or vulnerability fixes.
If you choose to operate a Windows 7 machine:
- Limit Internet Exposure: Avoid using the reset system for high-risk online tasks, such as online banking, sensitive personal communications, or primary file storage.
- Use Up-to-Date Offline Installers: Standard web browsers and third-party antivirus suites have largely discontinued support for Windows 7. Download legacy-compatible, extended-support software installers onto a secure secondary machine before moving them to your Windows 7 system via a USB drive.
- Consider Upgrading Hardware/OS: If the underlying hardware supports modern system architectures, consider migrating to a actively supported operating system—such as Windows 10, Windows 11, or a lightweight Linux distribution—to maintain reliable security and software support.
Frequently Asked Questions
Will a factory reset remove all my personal files?
Yes. A true factory reset formats the system partition, removing all user accounts, installed applications, personal documents, pictures, and saved settings. Always perform a comprehensive external backup prior to triggering a reset.
Can I factory reset Windows 7 without an administrator password?
Yes. If you cannot log in to an administrative user account, boot the system using physical Windows 7 installation media (USB or DVD). Booting directly from installation media bypasses local operating system account authentication, allowing you to format the target disk and reinstall the operating system cleanly.
What should I do if I do not have the original factory installation disc?
You do not need an original physical disc if your computer retains its intact hidden recovery partition. Access this partition using your machine's boot-time OEM shortcut key (such as F11 for HP or Alt + F10 for Acer). If the partition is missing, you can create a bootable installation USB drive using a verified Windows 7 ISO image and media creation utility.
Why is my manufacturer recovery option missing from the F8 menu?
The recovery option disappears if the hidden OEM recovery partition was manually deleted, corrupted during a previous repartitioning process, or rendered inaccessible after an operating system upgrade. If this option is not visible, a factory reset must be executed using an external installation disk or USB flash drive.
Does a factory reset remove viruses and malware?
Yes. In almost all circumstances, formatting the system partition and restoring original disk images completely removes conventional viruses, spyware, trojans, and ransomware. However, advanced rootkits that infect system BIOS/UEFI firmware or secondary non-formatted storage drives can theoretically survive a standard operating system format.
Recommended Next Steps
If you are restoring your Windows 7 machine to resolve system instability or prepare it for disposal, ensure your strategy matches your final objective:
- If selling or donating the hardware: Run a secure disk sanitization tool (such as DBAN or
diskpartwith theclean allcommand) prior to reinstalling the base OS. This overwrites data sectors completely, preventing third parties from recovering your deleted personal information using data restoration tools. - If repairing a daily-use computer: Test your hard drive's hardware health using built-in SMART diagnostics before running a reset. Repeated system crashes and file corruption are often symptoms of failing physical storage rather than software errors.
Image Gallery
Select an image to open it in a new tab.
Declan O'Connor
Higher Education and Campus Culture Reporter
