Mastering Print on Heat Shrink Tubing: Professional Cable Identification in 2026
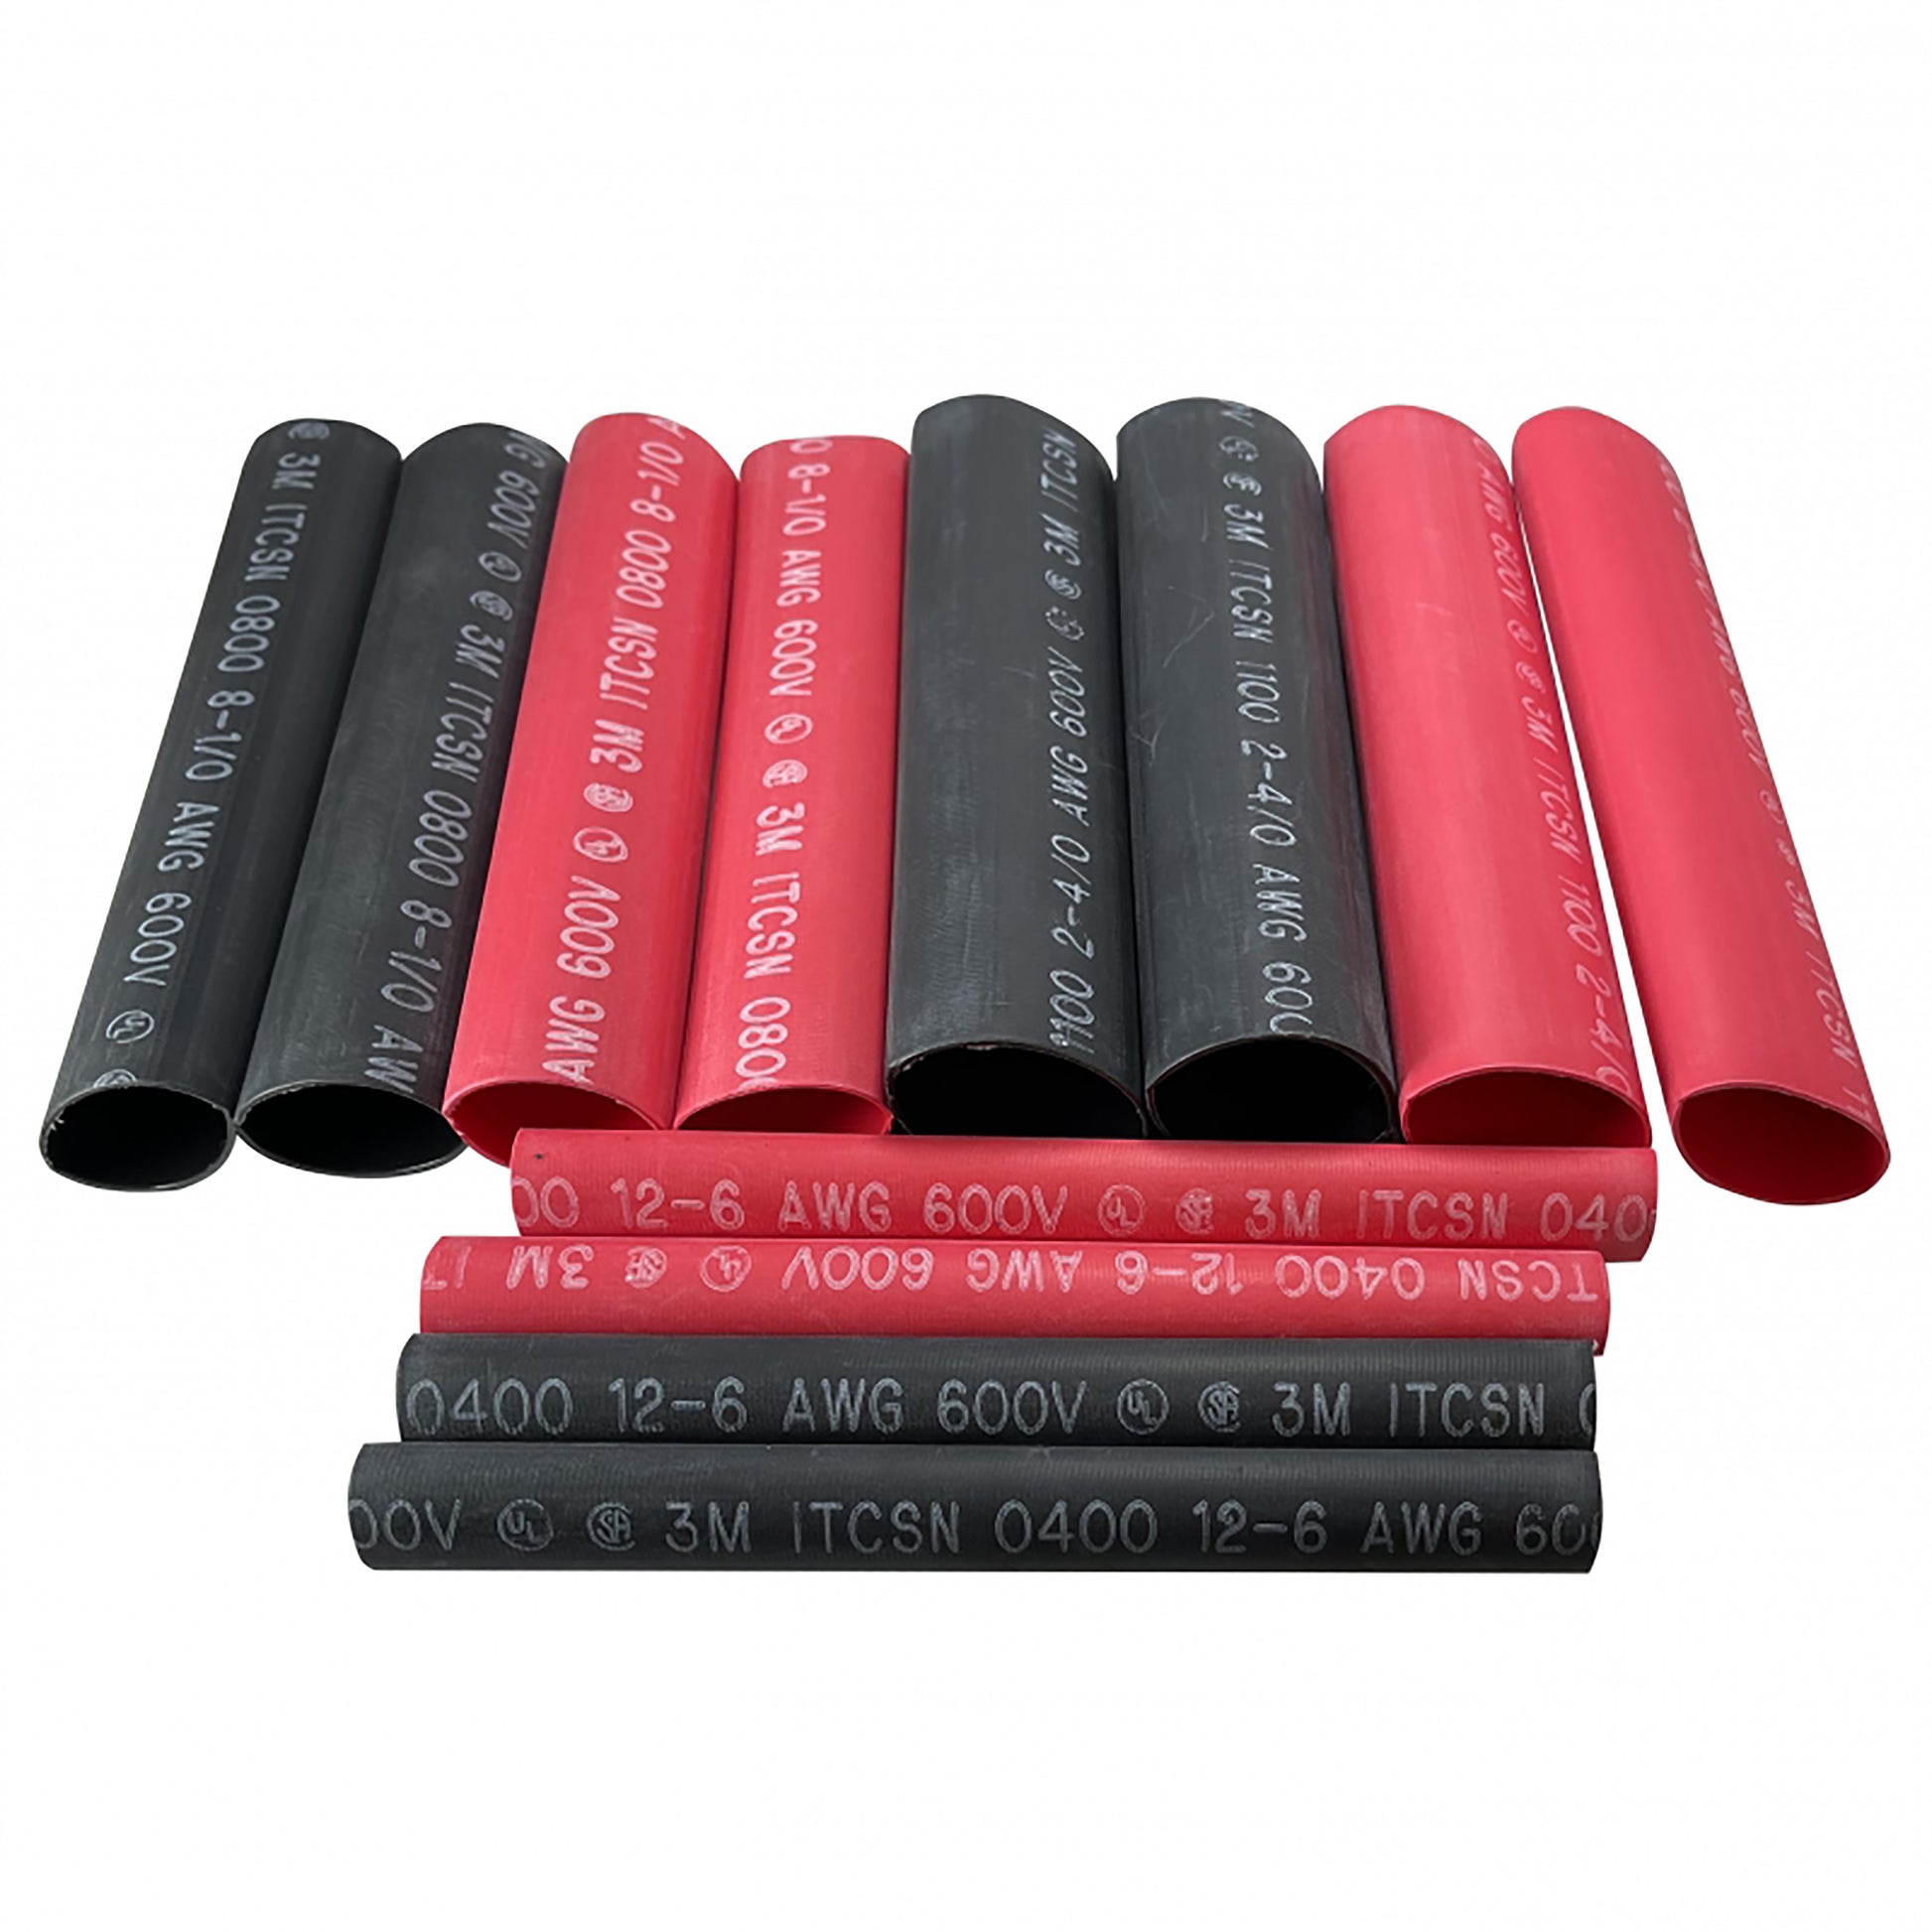
Printing on heat shrink tubing is the process of applying permanent, legible text or graphics onto specialized polyolefin or fluoropolymer sleeves using thermal transfer technology. This method ensures that wire identifications remain intact under extreme heat, chemical exposure, and mechanical friction. In 2026, this remains the gold standard for cable management in aerospace, maritime, and industrial automation sectors.
The Evolution of Heat Shrink Identification
For decades, the challenge of wire identification was met with adhesive wrap-around labels. However, these often failed in high-vibration or oily environments. The shift toward printing directly onto heat shrink tubing solved the "flagging" issue—where labels peel off over time—by creating a 360-degree identification sleeve that conforms to the wire's shape.
As of 2026, the technology has matured from simple monochromatic text to high-resolution, multi-color thermal transfer systems. Modern printing processes utilize a "flattened" tubing format, allowing standard thermal print heads to apply resin-based inks with precision. Once printed and positioned, the tubing is heated, causing it to shrink and "lock" the identification in place, creating a permanent bond that survives the lifespan of the equipment.
Essential Hardware: Choosing the Right Printer
Not every printer is capable of handling heat shrink media. Because the tubing has significant thickness and a curved profile (even when flattened), it requires specific mechanical configurations.
Thermal Transfer Printers (TTP)
The industry standard for printing on heat shrink is the thermal transfer printer. Unlike direct thermal printing (which uses heat-sensitive paper), TTP uses a heated print head to melt a resin or wax-based ribbon onto the tubing. In 2026, high-end industrial models feature specialized "drive rollers" that prevent the tubing from slipping, a common issue with cheaper desktop units.
Desktop vs. Industrial Systems
- Portable/Handheld Units: Brands like Brady, Dymo, and Brother offer handheld devices designed for field use. These are excellent for maintenance and small-scale repairs but often use proprietary cartridges that are more expensive per foot.
- Industrial Benchtop Printers: For high-volume manufacturing, benchtop printers (such as those from Zebra or Cab) offer faster throughput and the ability to use bulk "ladder style" tubing. These machines often include integrated cutters or perforators to automate the production of individual sleeves.
Print Head Resolution
To ensure legibility on small-diameter wires (such as 22 AWG or smaller), a printer with at least 300 DPI (dots per inch) is recommended. For ultra-fine medical or aerospace applications, 600 DPI printers are increasingly common in 2026 to ensure that even microscopic font sizes remain crisp and scan-able by automated vision systems.
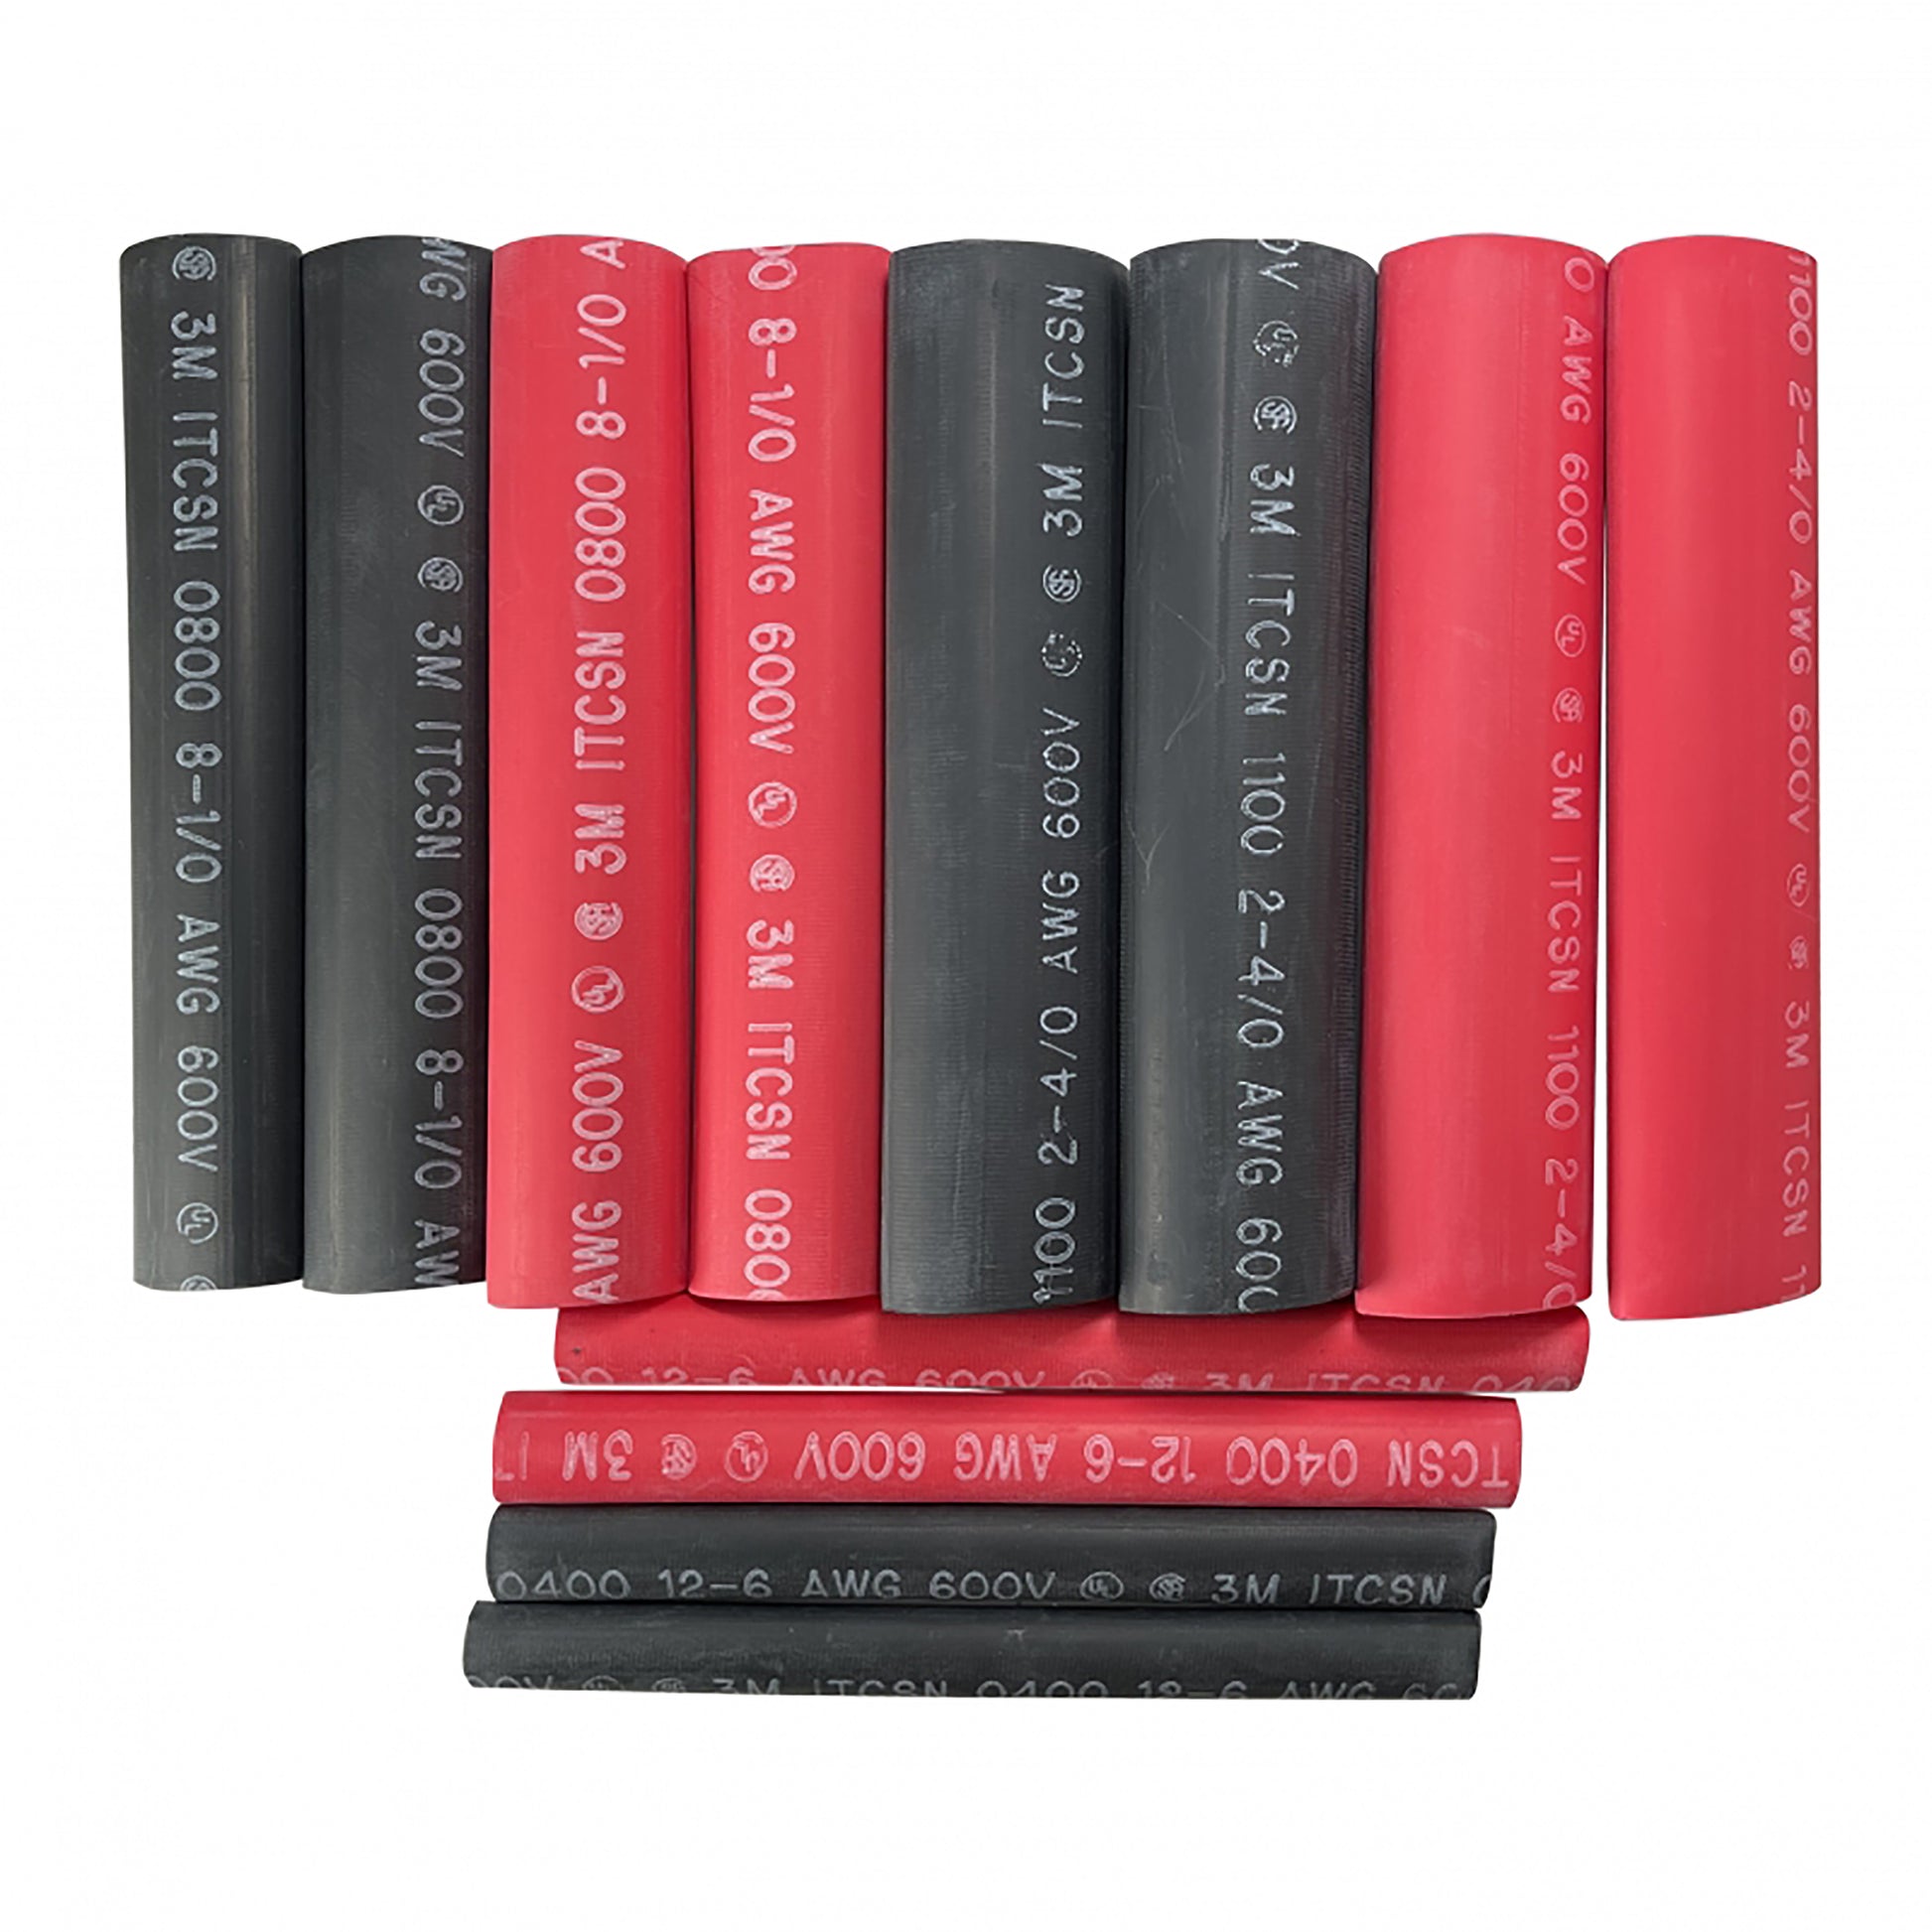
Material Science: Tubing and Ribbon Compatibility
The success of a printed heat shrink label depends entirely on the chemical compatibility between the tubing material and the thermal transfer ribbon.
Tubing Materials
- Polyolefin: The most common material due to its flexibility and flame-retardant properties. It typically comes in 2:1 or 3:1 shrink ratios.
- Fluoropolymers (Kynar/PVDF): Used in high-temperature environments (up to 175°C) or where extreme chemical resistance is required. These materials are harder to print on and require specialized high-heat resin ribbons.
- Zero-Halogen Tubing: Required in confined spaces like subways or data centers to prevent the release of toxic gases in the event of a fire.
The Role of the Ribbon
You cannot use a standard wax ribbon for heat shrink. Because the tubing will be subjected to a heat gun (reaching 200°C+), the ink must have a high melting point.
- Full Resin Ribbons: These are mandatory for heat shrink applications. Resin provides the highest level of resistance to abrasion, heat, and chemicals (like fuels and hydraulic fluids).
- Smear Resistance: In 2026, resin ribbons have been optimized for "instant cure," meaning the print is smudge-proof the second it exits the printer, allowing for immediate shrinking.
Industry Standards and Compliance
In regulated industries, "printing on heat shrink" is not just about legibility; it is about meeting rigorous legal and safety standards. If you are working in defense or aerospace, your printed labels must adhere to specific benchmarks.
MIL-STD-202G, Method 215
This is the Department of Defense standard for "Resistance to Solvents." To pass this, the print on the heat shrink must remain legible even after being scrubbed with harsh chemicals like Isopropyl Alcohol and Mineral Spirits. Using a high-quality resin ribbon is the only way to ensure compliance with this standard.
SAE-AMS-DTL-23053
This specification governs the physical properties of the tubing itself, including its insulation strength, flame retardancy, and shrink temperature. When purchasing media in 2026, ensure the manufacturer provides a certificate of compliance (CoC) for this standard if your project is for military or aviation use.
UL 224 and RoHS
For consumer electronics and industrial panels, UL 224 ensures the tubing meets Underwriters Laboratories safety requirements for electrical insulation. RoHS (Restriction of Hazardous Substances) compliance ensures the tubing and ink do not contain lead, mercury, or other hazardous materials, which is a mandatory requirement for products sold in the EU and most global markets.
Step-by-Step Guide to Printing on Heat Shrink Tubing
To achieve a professional result, follow this standardized workflow used in modern production environments.
1. Media Preparation
Select the correct tubing diameter. A common mistake is choosing tubing that is too large. For a 3:1 shrink ratio, the "as-supplied" diameter should be roughly double the wire diameter to allow for easy sliding, but not so large that it fails to "snug" the wire after shrinking.
2. Software Configuration
Use dedicated labeling software (such as BarTender or LabelMark). In 2026, most software allows you to import Excel or CSV files to batch-print thousands of unique serialized wire markers. Ensure the "print darkness" and "print speed" settings are calibrated for resin ribbons—resin typically requires higher heat (darkness) and slower speeds than wax.
3. Loading the Printer
Ensure the tubing is centered. Most industrial printers use center-aligned media guides to prevent the tubing from drifting. If using "ladder-style" media (where sleeves are held between two carrier tapes), ensure the sensors are set to "Gap" or "Notch" mode so the printer knows where one sleeve ends and the next begins.
4. The Printing Phase
Perform a test print of 2-3 sleeves. Check for "ribbon wrinkle," which manifests as diagonal white lines through the text. If this occurs, adjust the tension on the ribbon supply spindle.
5. Application and Shrinking
Slide the printed sleeve onto the wire. Use a calibrated heat gun with a reflector nozzle. The reflector nozzle is crucial because it wraps the heat around the tube, ensuring even shrinkage and preventing the "scorching" of the print on one side.
Comparing Printing Methods
While thermal transfer is the dominant method, other technologies exist. The following table compares the most common methods available in 2026.
| Method | Durability | Equipment Cost | Best Use Case |
|---|---|---|---|
| Thermal Transfer | Extreme | Moderate | Industrial, Aerospace, Long-term identification |
| Inkjet (Continuous) | High | High | High-speed production lines, non-contact printing |
| Laser Marking | Permanent | Very High | Direct marking on specialized UV-reactive tubing |
| Hot Stamping | Moderate | Low | Simple numeric coding, older legacy systems |
Thermal Transfer vs. Laser Marking
Laser marking is gaining traction in 2026 for ultra-high-reliability sectors. It works by using a UV laser to cause a color change in the tubing material itself. While it is the most permanent method possible (as there is no "ink" to scrape off), the equipment cost is often ten times that of a high-end thermal transfer printer.
Troubleshooting Common Printing Issues
Even with high-end equipment, technical hurdles can arise. Here is how to resolve the most frequent problems:
- Faded or "Speckled" Print: This is usually caused by insufficient heat. Increase the "Darkness" setting in your printer driver. If the problem persists, the print head may need cleaning with 99% Isopropyl Alcohol to remove accumulated resin dust.
- Ink Smearing After Shrinking: This indicates a ribbon/tubing mismatch. You are likely using a wax/resin blend instead of a full resin ribbon. The high heat of the shrink process is re-melting the ink. Switch to a high-temp resin ribbon designed for heat shrink.
- Tubing Jamming: Heat shrink is thicker than standard labels. Ensure your printer's "head pressure" is adjusted to the highest setting to help pull the media through the rollers.
- "Ghosting" Images: If you see a faint second image of your text, the ribbon tension is too loose, causing the ribbon to "stick" to the tubing for a fraction of a second after printing.
Cost Analysis and ROI
Investing in a dedicated heat shrink printing system involves significant upfront costs, but the long-term Return on Investment (ROI) is driven by labor savings and error reduction.
In 2026, the cost of a mid-range industrial thermal transfer printer is approximately $1,500 to $2,500. Professional-grade polyolefin tubing costs between $0.15 and $0.50 per foot, depending on the diameter and compliance certifications.
While manual marking (using a pen or basic tape) might seem cheaper, the labor cost of replacing failed labels in a complex control panel can be 50 times the cost of the original label. Furthermore, in sectors like aerospace, a single unidentifiable wire can lead to days of diagnostic downtime, making the "cost per print" negligible compared to the cost of system failure.
Frequently Asked Questions
Can I use a standard office laser printer for heat shrink tubing?
No. Standard laser printers use a fuser that reaches temperatures high enough to begin shrinking the tubing inside the printer, which will cause a catastrophic jam and potentially damage the printer's drum. Additionally, the curved surface of the tubing prevents the toner from adhering correctly.
What is the "Ladder Style" format?
Ladder style refers to heat shrink sleeves that are pre-cut and attached to a carrier tape, resembling the rungs of a ladder. This format is preferred for high-volume jobs because the printer's sensor can easily detect the gaps between sleeves, and the carrier tape provides a flat surface for superior print quality.
Is printed heat shrink tubing UV resistant?
Most black polyolefin tubing is naturally UV resistant due to the carbon black used in the material. However, the print itself must be made with a high-grade resin ribbon to avoid fading. For outdoor applications in 2026, it is recommended to use "UV-stabilized" tubing specifically rated for 10+ years of exposure.
Does the print shrink along with the tubing?
Yes. As the polyolefin molecules contract, the resin ink (which has bonded to the surface) moves with the material. While the text will become slightly smaller and denser, the aspect ratio remains consistent, and legibility often improves because the ink becomes more concentrated.
Can I print barcodes and QR codes on heat shrink?
Absolutely. In fact, 2D data matrix codes and QR codes are standard in 2026 for digital twin integration. As long as you use a 300 DPI or higher printer and ensure the code is printed along the longitudinal axis of the tube (to minimize distortion during shrinking), barcodes are highly reliable.
Final Recommendations
When implementing a print-on-heat-shrink system in 2026, prioritize system compatibility over individual component price. A printer, ribbon, and tubing sourced from the same manufacturer are tested to work together, ensuring that the ink will not flake or smear during the critical shrinking phase. For those in high-stakes industries, always verify that your media carries the necessary MIL-SPEC or UL certifications before beginning a production run. Start by calibrating your printer's darkness settings with a small test batch, and always use a reflector nozzle on your heat gun to ensure a professional, uniform finish.
Image Gallery
Select an image to open it in a new tab.


Akira Tanaka
International Academic Trends Correspondent
