
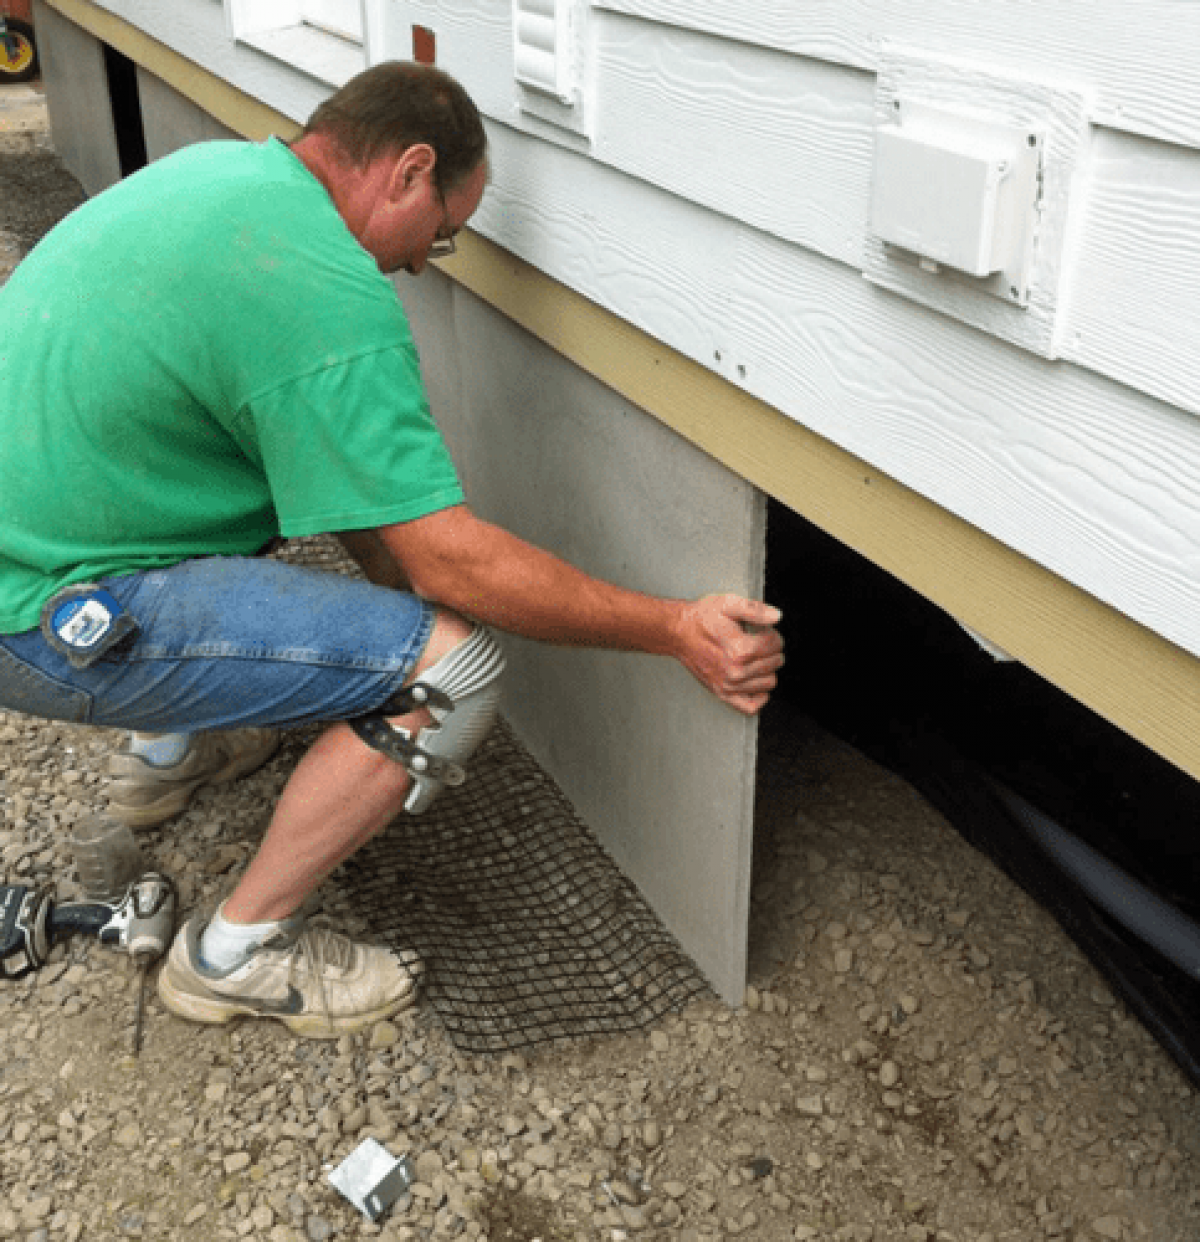
Installing metal skirting on a mobile home involves securing a ground track to the earth or a concrete pad, mounting a top rail to the home’s rim joist, and then cutting and fastening metal panels between these two points. This process provides a durable barrier that improves energy efficiency, protects the plumbing from freezing, and prevents pests from nesting beneath the structure.
Metal skirting, often referred to as underpinning, is one of the most significant upgrades a manufactured home owner can perform. Unlike vinyl, which can become brittle and crack over time or succumb to weed-whacker damage, metal skirting—typically made of galvanized steel or aluminum—offers superior impact resistance and longevity. In 2026, as building codes in many regions move toward stricter fire-resistance standards (especially in Wildland-Urban Interface areas), metal has become the preferred material for its non-combustible properties.
This guide provides a comprehensive walkthrough for a professional-grade installation, covering everything from initial measurements to the final trim.
Prerequisites and Planning
Before purchasing materials, it is essential to understand the structural and legal requirements of your project. Mobile home skirting is not merely decorative; it serves as a thermal envelope and a structural shield.
Local Building Codes and Permits
In 2026, most jurisdictions require a permit for major exterior modifications to manufactured homes. Check with your local building department regarding specific requirements for ventilation ratios and frost heave considerations. The HUD (Department of Housing and Urban Development) Code generally dictates that you must have 1 square foot of ventilation for every 150 square feet of crawl space area, unless a vapor barrier is installed on the ground, which may allow for reduced venting.
Material Selection
Metal skirting usually comes in 29-gauge or 26-gauge steel. The 29-gauge is standard for residential use, while 26-gauge is thicker and more suitable for areas with high winds or heavy snow loads. You will need:
- Metal Panels: Typically available in 10-foot or 12-foot lengths that you cut to the required height.
- Ground Channel (Bottom Track): A U-shaped channel that holds the bottom of the panels.
- Top Rail (J-Channel or Trim): This is fastened to the home and hides the top edge of the panels.
- Self-Tapping Screws: Color-matched to your panels, usually with rubber washers to prevent leaks and rust.
- Vents and Access Doors: Pre-fabricated units designed to snap into the metal panels.
Tool Requirements
- Power Shears or Nibblers: While tin snips work for small cuts, power shears are necessary for clean, long cuts across corrugated metal without deforming the ribs.
- Laser Level or Chalk Line: To ensure the top rail and ground track are perfectly aligned.
- Impact Driver: For driving screws into the rim joist and ground stakes.
- Rotary Hammer: If you are mounting the ground track to a concrete slab.
Measuring and Estimating Materials
Accuracy at this stage prevents waste and ensures you don't run out of material mid-project. Because most mobile homes are not perfectly level and the ground beneath them often slopes, you cannot simply measure one corner and multiply.
- Determine Total Linear Footage: Measure the entire perimeter of the home. Subtract the width of any permanent porches or decks that already have skirting, but include them if you plan to skirt around them.
- Calculate Average Height: Measure the distance from the ground to the bottom of the home (the rim joist) at every corner and at 10-foot intervals along the sides.
- Factor in Overlap: Metal panels are corrugated. When calculating how many panels you need, remember that they overlap by one or two "ribs." If a panel is 36 inches wide, it might only provide 32 to 34 inches of actual coverage.
- Order Extra: Always order 10% more material than your calculations suggest to account for cutting errors and the slope of the terrain.

Site Preparation
The area where the skirting will sit must be prepared to ensure a stable foundation.
- Clear the Perimeter: Remove all vegetation, rocks, and debris within 12 inches of the home's footprint. This prevents plants from growing through the skirting and allows for a level ground track.
- Soil Compaction: If the soil is loose, tamp it down where the ground track will be placed. If your area is prone to heavy moisture, consider digging a shallow trench (2-3 inches) and filling it with pea gravel to provide better drainage under the track.
- Vapor Barrier: If not already present, 2026 best practices recommend laying a 6-mil polyethylene vapor barrier over the ground in the crawl space. This drastically reduces moisture buildup, which protects the metal panels from interior corrosion and prevents wood rot in the home’s floor joists.
Step-by-Step Installation Process
1. Installing the Top Rail
The top rail is the "anchor" for the aesthetics of your skirting. Use a laser level to find the lowest point of the home's rim joist and use that as your baseline.
Fasten the J-channel or top trim directly to the rim joist (the heavy wooden or metal beam at the base of the home's walls). Use self-tapping screws every 12 to 16 inches. Ensure the rail is perfectly straight; even a minor dip will be magnified once the vertical panels are installed. If your home has "belly wrap" (the protective fabric under the floor), be careful not to tear it excessively, but ensure the trim is tucked tightly against the structure.
2. Setting the Ground Track
The ground track must be positioned directly beneath the top rail. Use a plumb bob or a laser level to ensure vertical alignment. If the ground track is shifted inward or outward, the panels will lean, creating a sloppy appearance and structural weakness.
Secure the track to the ground using 12-inch galvanized stakes driven through the track every 24 inches. If you are installing on a concrete pad, use a rotary hammer to drill holes and secure the track with Tapcon screws. In areas with significant frost heave, some installers prefer "floating" the track by not over-tightening the stakes, allowing the ground to move slightly without buckling the metal panels.
3. Cutting the Panels
This is the most labor-intensive part of the project. Measure the distance between the top rail and the ground track at the specific location where the panel will be installed.
Subtract approximately 1/2 inch from that measurement to allow for expansion and contraction. Use your power shears to cut the panel to height. If the ground is sloping, the top of your panel will be square, but the bottom may need to be cut at an angle to sit flush in the ground track.
Safety Note: Cut metal edges are extremely sharp. Always wear cut-resistant gloves and eye protection during this phase.
4. Mounting the Panels
Slide the top of the panel into the J-channel first, then tuck the bottom into the ground track. Overlap the subsequent panel over the edge of the previous one, following the manufacturer’s rib-lap pattern.
Secure the panels to the top rail using color-matched screws. Do not screw the panels to the bottom track unless you are in an extremely high-wind zone; leaving the bottom "floating" in the track allows the home and the ground to move independently during seasonal changes.
5. Corner Pieces and Trim
Corners require specific attention to remain watertight and rodent-proof. You can purchase pre-bent metal corners or bend a flat piece of trim yourself. The corner piece should overlap the panels on both sides by at least 2 inches and be secured with several screws to prevent wind from catching the edges.
Ventilation and Access
A common mistake in DIY skirting installation is failing to provide adequate airflow. Without ventilation, humidity will build up, leading to mold, mildew, and rot of the home's wooden subfloor.
Installing Vents
Install one vent within 3 feet of each corner to ensure there are no "dead air" pockets. Space the remaining vents evenly around the perimeter. In 2026, many homeowners opt for automatic foundation vents that open and close based on the temperature, though manual plastic or metal grates are still standard. To install, cut a hole in the metal panel using your shears, insert the vent housing, and secure it with screws and a bead of exterior-grade silicone caulk.
Creating an Access Door
You must have a way to get under the home for plumbing repairs or inspections. Most pros recommend building an access door at least 24 inches wide by 24 inches tall. This can be a simple frame made of pressure-treated lumber covered with the same metal skirting material, or a pre-fabricated metal access door that integrates into the track system. Locate the door near the main water shut-off valve for convenience.
Comparison of Skirting Materials (2026 Standards)
The following table compares metal skirting with other common materials available in 2026.
| Feature | Metal (Steel/Aluminum) | Vinyl | Faux Stone/Brick |
|---|---|---|---|
| Durability | High (Impact Resistant) | Low (Prone to Cracking) | Very High |
| Expected Lifespan | 20–30 Years | 10–15 Years | 30+ Years |
| Fire Resistance | Excellent (Non-combustible) | Poor (Melts/Burns) | Excellent |
| Average Cost (Installed) | $15–$25 per linear foot | $10–$18 per linear foot | $35–$60 per linear foot |
| Maintenance | Low (Occasional Wash) | Moderate (Repairs) | Very Low |
| DIY Difficulty | Moderate | Easy | High |
Common Mistakes to Avoid
- Ignoring the Frost Line: In cold climates, the ground expands when it freezes. If the skirting is fastened too tightly to both the home and the ground, the force of the rising earth can buckle the metal panels or even damage the home's rim joist. Always allow for a small amount of "play" in the bottom track.
- Inadequate Fastening: Using the wrong screws or too few of them can lead to "rattling" during high winds. Use screws with neoprene washers to create a seal and prevent the metal-on-metal vibration that causes noise.
- Poor Drainage: If the ground track creates a "dam" that holds water against the skirting, the metal will eventually corrode at the base, regardless of its coating. Ensure the ground slopes away from the home before installation.
- Mismatched Ribs: If the corrugated ribs do not line up perfectly at the overlaps, the skirting will look wavy. Take the time to "dry fit" each panel before driving screws.
Maintenance and Care
Once installed, metal skirting is relatively low-maintenance. In 2026, most metal panels come with a factory-applied Kynar or silicone-modified polyester (SMP) coating that resists fading and chalking.
- Annual Inspection: Check for loose screws or panels after the winter season. Ensure that vents are not blocked by debris or snow.
- Cleaning: Wash the skirting once a year with a garden hose and a mild detergent. Avoid using a high-pressure power washer, as it can force water behind the panels and into the crawl space.
- Rust Prevention: If you scratch the paint during installation, apply a touch-up paint immediately. Once rust starts on a steel panel, it can spread quickly under the coating.
FAQ
How many vents do I need for metal skirting?
As a general rule, you need 1 square foot of ventilation for every 150 square feet of floor space. For a 1,500-square-foot double-wide, you would need 10 square feet of total vent area. If you use standard 8"x16" vents (which are roughly 0.88 square feet each), you would need approximately 12 vents distributed evenly around the perimeter.
Can I install metal skirting directly on the dirt?
Yes, but it is better to use a ground track. Placing metal panels directly in contact with the soil can lead to premature corrosion due to constant moisture and soil acidity. A galvanized ground track acts as a buffer and provides a straight line for the panels to sit in.
Is metal skirting better than vinyl?
In most metrics, yes. Metal is more durable, fire-resistant, and less likely to be damaged by yard equipment. While it has a higher upfront cost than vinyl, its lifespan is significantly longer, making it more cost-effective over the life of the home.
How do I cut the metal panels without a power tool?
If you do not have power shears, you can use aviation snips (yellow handle for straight cuts). However, this is physically demanding and often results in jagged edges. Another option is a circular saw with a dedicated metal-cutting blade (ferrous metal blade), but this creates significant sparks and heat, which can damage the paint coating near the cut.
Does metal skirting help lower energy bills?
Yes. By stopping the wind from blowing under the home, metal skirting creates a pocket of dead air that acts as insulation. This prevents the floor from becoming cold in the winter and reduces the workload on your HVAC system. Combined with a ground vapor barrier, it also helps regulate humidity levels.
Recommendation for Next Steps
If you are planning a DIY installation, start by verifying your local wind zone and snow load requirements to ensure you select the correct gauge of metal. For those in high-moisture environments, prioritize the installation of a ground-cover vapor barrier before the skirting is enclosed. For high-quality materials, consult specialized manufactured housing supply outlets rather than general big-box hardware stores, as they carry the specific trim and track systems designed for the unique dimensions of mobile home rim joists.
Image Gallery
Select an image to open it in a new tab.

Mateo Castillo
Decentralized Finance and E-Payments Strategist
