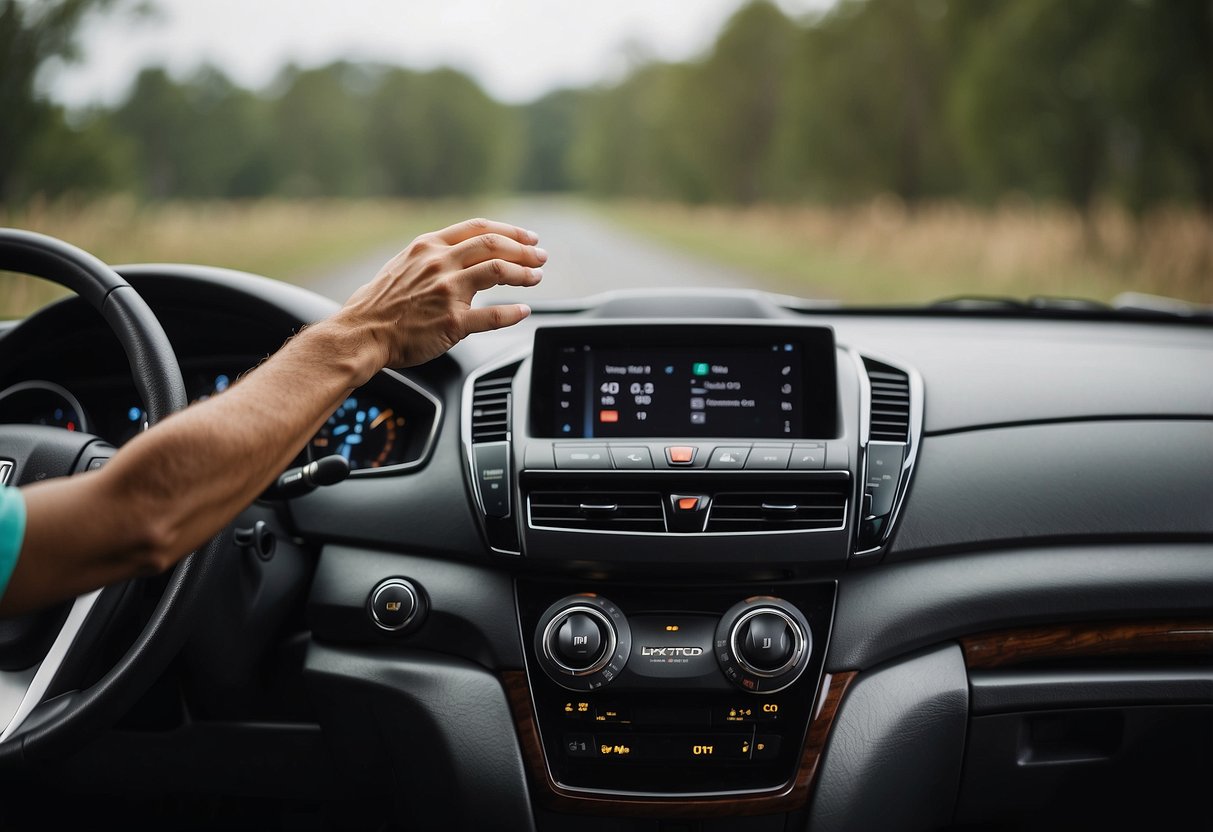
Popping the hood in a Honda CR-V is a straightforward process once you know where the interior release lever is located. To open the hood, pull the driver’s side interior release handle located near the floorboard or kick panel, locate the secondary safety latch beneath the front center of the hood, push it sideways or upward, and lift the hood while securing it with the prop rod or gas struts depending on your model year.
Whether you are checking your engine oil level, topping off windshield washer fluid, inspecting the battery terminals, or preparing for routine seasonal maintenance, knowing how to access the engine bay safely is an essential skill for any Honda CR-V owner. Because Honda has manufactured the CR-V across multiple generations since the mid-1990s, interior latch placements and secondary release mechanisms can vary slightly depending on the model year. However, the core mechanical principles remain remarkably consistent across the vehicle's lifespan.
This comprehensive guide will walk you through the precise mechanics of opening your Honda CR-V's hood, safety precautions, maintenance procedures you can perform once inside, and troubleshooting steps if the release mechanism fails.
Understanding Your Honda CR-V Hood Release System
Before diving into the physical steps, it helps to understand how a modern automotive hood latch system works. The hood of a Honda CR-V is held securely closed by a dual-stage latching mechanism designed to prevent accidental opening while driving at high speeds.
The first stage is controlled directly from inside the cabin via a high-tensile steel cable connected to a pull handle. When you pull this handle, it retracts the primary latch hook, allowing the hood to pop open slightly (usually an inch or two). However, the hood remains physically captured by a secondary safety catch. This secondary catch protects the driver in the event that the primary cabin latch is pulled accidentally while the vehicle is in motion. To fully release the hood, you must manually disengage this secondary safety lever from the outside.
Understanding this dual-layer safety design ensures that you do not force the hood or damage the release cable through improper pulling technique.
Prerequisites and Safety Preparations
Before attempting to open or work under the hood of your Honda CR-V, several important safety and environmental conditions must be met. Working around an automotive engine bay carries inherent risks, including hot components, moving parts, and electrical currents.
- Park on a Level Surface: Always ensure your CR-V is parked on flat, stable ground. Engage the parking brake firmly to prevent any accidental rolling.
- Turn Off the Engine: Never attempt to open the hood and service the engine while the vehicle is running, unless specifically instructed to do so by a diagnostic manual for a specific troubleshooting procedure. Ensure the ignition is completely off and the key or key fob is out of the ignition or safely away from the vehicle.
- Allow the Engine to Cool: If the vehicle has been driven recently, give the engine compartment 20 to 30 minutes to cool down. Components like the exhaust manifold, radiator hoses, and coolant reservoir reach extremely high temperatures and can cause severe burns.
- Secure Loose Clothing and Jewelry: Keep hair, loose clothing, ties, and jewelry away from cooling fans and drive belts. Electric cooling fans can activate automatically even when the engine is turned off if the engine bay temperature remains elevated.
Step-by-Step Instructions: How to Pop the Hood
Opening the hood of a Honda CR-V requires a two-step process involving an interior lever and an exterior safety latch. Follow these detailed steps to safely access your engine compartment.
Step 1: Locate and Pull the Interior Release Lever
Open the driver’s side door of your Honda CR-V and look down toward the lower-left corner of the dashboard, near the kick panel and the driver's left foot rest (dead pedal).
- On most generations of the CR-V, you will find a small plastic lever featuring an international icon of a car with its hood raised.
- Firmly pull this lever toward you until you hear a distinct "pop" sound or feel the tension release. You will notice the front edge of the hood lift slightly away from the vehicle body, creating a small gap.
- Note on resistance: If the lever feels completely loose or offers no resistance at all, the release cable may have snapped, slipped off its anchor, or become jammed. If it feels stuck, do not yank it violently; gentle wiggling while pulling can sometimes free a sticky latch.
Step 2: Locate the Secondary Safety Latch
Walk around to the front of your Honda CR-V. Center yourself in front of the Honda emblem on the front grille.
- Reach your hand into the gap that was created when you pulled the interior lever.
- Slide your fingers underneath the front lip of the hood, roughly dead-center above the grille, until you feel a spring-loaded metal or plastic lever. This is the secondary safety catch.
- Depending on your specific model year, you will either need to push this lever upward or push it horizontally to the side (usually indicated by an arrow molded into the plastic or stamped into the metal).
Step 3: Release and Lift the Hood
While holding or pushing the secondary safety latch to disengage it, lift the hood upward.
- As you lift, the gas struts or prop rod will take over the weight of the hood.
- For older CR-V generations (typically First through Fourth Generations, spanning roughly 1997 through 2016), you will need to locate the metal prop rod secured in clips along the engine bay frame or underside of the hood, lift it out, and insert its tip firmly into the designated slot on the inner fender or hood underside. Ensure the rod is securely seated before letting go of the hood.
- For newer CR-V generations (Fifth and Sixth Generations, spanning 2017 to present, depending on trim level), dual hydraulic gas struts will automatically support the hood as you lift it into the fully open position. Do not force a gas-strut hood past its natural stopping point.
Honda CR-V Hood Release Characteristics by Generation
| Generation | Approximate Model Years | Interior Latch Location | Exterior Latch Style | Support Mechanism |
|---|---|---|---|---|
| 1st Generation | 1997 – 2001 | Lower left kick panel | Center push-up lever | Manual Prop Rod |
| 2nd Generation | 2002 – 2006 | Lower left kick panel | Center push-up lever | Manual Prop Rod |
| 3rd Generation | 2007 – 2011 | Lower left kick panel | Center push-up/side lever | Manual Prop Rod |
| 4th Generation | 2012 – 2016 | Lower left kick panel | Center push-up lever | Manual Prop Rod |
| 5th & 6th Gen | 2017 – Present | Lower left kick panel | Center push-up/side lever | Hydraulic Gas Struts |
Common Maintenance Tasks After Opening the Hood
Once your Honda CR-V hood is safely secured, you have access to several critical fluid reservoirs and maintenance check-points. Familiarizing yourself with these locations helps keep your vehicle running reliably.
Checking Engine Oil
The engine oil dipstick typically features a brightly colored yellow or orange ring handle. Pull the dipstick completely out, wipe it clean with a lint-free shop rag or paper towel, reinsert it fully, and pull it out again to read the fluid level against the lower and upper hash marks.
Windshield Washer Fluid
The washer fluid reservoir cap is usually translucent blue with a windshield wiper symbol printed on top. This is the most frequently accessed fluid point. Always use appropriate automotive washer fluid rather than plain water, especially in freezing climates where water can crack the plastic reservoir.
Engine Coolant Reservoir
The coolant overflow tank is made of translucent plastic, allowing you to check the fluid level against the "MIN" and "MAX" lines without opening the cap. Warning: Never open the radiator cap or the coolant reservoir cap while the engine is hot, as pressurized boiling coolant can cause severe scalding injuries.
Brake Fluid and Battery
The brake fluid reservoir sits near the back of the engine bay on the driver's side, directly in front of the steering column area. The 12-volt battery is securely clamped down on one side of the engine compartment. Inspect battery terminals periodically for white or blue powdery corrosion, which can prevent the vehicle from starting.
Troubleshooting: What to Do If the Hood Won't Pop
Encountering a stuck hood can be frustrating, but structured troubleshooting can usually resolve the issue without requiring an expensive trip to a mechanic.
The Interior Lever Feels Loose or Floppy
If pulling the interior lever yields zero resistance, the steel release cable has likely snapped or detached from the handle mechanism behind the kick panel.
- Solution: Remove the lower plastic trim panel near the driver's feet to inspect the cable anchor. If the cable is intact at the handle end, it has likely snapped or slipped off the latch mechanism at the front of the vehicle. You may need to access the latch from underneath the front bumper using a long tool to manually trip the release mechanism.
The Hood Pops Inside, But Won't Lift Outside
If the interior lever works and the hood pops up an inch, but the hood remains firmly stuck when you pull the exterior safety catch, the secondary latch mechanism is likely jammed or rusted.
- Solution: Spray a penetrating lubricant such as WD-40 or PB Blaster directly onto the secondary latch mechanism through the gap in the grille. Allow it to soak for five to ten minutes. While applying gentle upward pressure on the hood with one hand, gently tap or wiggle the secondary release lever with your other hand to free the stuck spring.
The Hood is Stuck Due to Ice (Winter Freezing)
In freezing winter climates, moisture can enter the latch mechanism and freeze solid, locking the hood shut.
- Solution: Do not pry aggressively on the hood with metal tools, as this will bend the sheet metal and damage the paint. Instead, pour warm (not boiling) water over the front grille and hood seam, or use a portable hair dryer to warm the latch area until the ice melts. Once the ice thaws, spray the latch with a silicone-based lubricant to displace moisture.
Properly Closing and Securing Your Honda CR-V Hood
Failing to close the hood properly can result in the hood flying open while driving, which shatters the windshield and creates an immediate safety hazard. Always follow these steps to secure your CR-V hood:
- Lower the Hood: If your model uses a manual prop rod, release the rod from its slot, secure it back into its retaining clips, and lower the hood gently until it is roughly 12 inches (30 cm) above the closed position. If your model uses gas struts, simply pull the hood down until it approaches the latch point.
- Drop, Don't Push: Let the hood drop freely from a height of about 10 to 12 inches. The weight of the hood combined with gravity provides the exact kinetic energy required to engage both the primary and secondary latches securely.
- Avoid Hand-Pressing: Avoid pressing down heavily on the sheet metal of the hood with your hands to force it closed, as modern automotive sheet metal is lightweight and can easily dent or crease under direct palm pressure.
- Verify Latch Engagement: Always perform a manual pull-test by grabbing the front edge of the hood and pulling upward without releasing the interior lever. If the hood remains firmly shut with no play, it is safely locked and ready for the road.
Frequently Asked Questions
Where is the hood release lever located on a Honda CR-V?
The interior hood release lever is located on the lower-left side of the driver's footwell, near the kick panel and door frame. Look for a small plastic lever marked with an icon of a vehicle with its hood open. Pulling this lever unlatches the primary catch from inside the cabin.
What should I do if my Honda CR-V hood won't stay open?
If your Honda CR-V uses a manual prop rod, ensure the rod is securely slotted into the designated hole on the inner fender or hood structure. If your CR-V is equipped with gas struts and the hood slowly sags or falls, the internal gas pressure has degraded. You will need to replace the worn hydraulic gas struts, which can be easily unclipped and swapped out with basic hand tools.
Can I drive my Honda CR-V if the hood isn't fully latched?
No. Driving with an unlatched hood is extremely dangerous. If the secondary safety latch fails or is left unengaged, oncoming airflow at highway speeds can force the hood violently upward against the windshield, blocking your vision entirely and causing severe structural damage. Always verify the hood is fully secured before driving.
How often should I lubricate the hood latch on my Honda CR-V?
It is recommended to lubricate your hood latch mechanism at least once a year—ideally before winter weather sets in. Apply a small amount of white lithium grease or specialized cable lubricant to the moving pivot points and the latch loop to prevent rust, corrosion, and sticking.
Do I need any special tools to open the hood of a Honda CR-V?
No special tools are required under normal circumstances. The entire hood opening process is designed to be operated manually using the interior release lever and the exterior safety catch built into the vehicle. Tools are only necessary if the release cable snaps or the mechanism malfunctions.
Image Gallery
Select an image to open it in a new tab.
Vivian Cho
Executive IT and Emerging Technologies Reporter
