
Repairing hairline foundation cracks involves sealing minor fissures—typically less than 1/8 inch wide—using specialized hydraulic cement, epoxy injections, or masonry caulk to prevent water infiltration and aesthetic degradation. While most hairline cracks are a normal byproduct of concrete curing and settling, addressing them promptly preserves the structural integrity of the foundation and prevents them from widening over time.
Understanding Hairline Foundation Cracks
Concrete is a porous material that naturally contracts as it cures. Because the foundation of a home is subject to external pressures—such as soil moisture levels, thermal expansion and contraction, and the physical weight of the structure above—it is common to see minor fissures appear within the first few years of a home’s life.
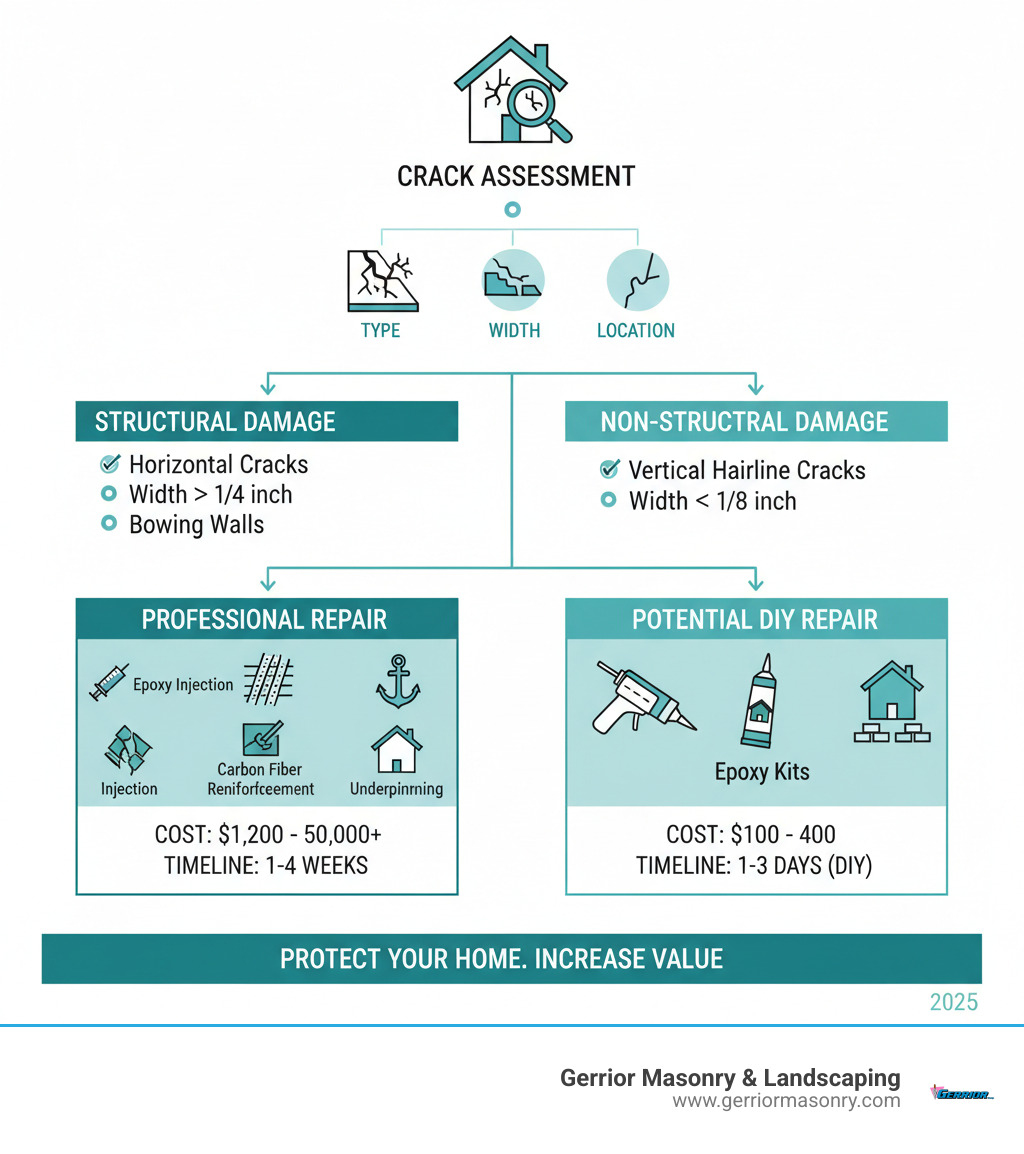
In the industry, a "hairline crack" is defined as a surface fissure measuring approximately 1/16 to 1/8 of an inch in width. These are generally considered non-structural, meaning they do not indicate a catastrophic failure of the foundation wall. However, even if they do not threaten the home’s stability, they serve as conduits for moisture. If left unsealed, water can seep into the crack, undergo freeze-thaw cycles in colder climates, and slowly widen the opening into a more serious structural problem.
Distinguishing between a benign hairline crack and a structural hazard is a critical prerequisite. If a crack runs diagonally across the wall, is wider at the top than the bottom, or appears to be moving or displacing the concrete wall, you should consult a structural engineer before attempting a DIY repair.
Assessing the Requirement for Repair
Before purchasing materials, perform a detailed inspection of the crack. Dry the area completely and monitor it for signs of "efflorescence"—a white, powdery mineral deposit that indicates water has been traveling through the concrete.
| Crack Characteristic | Repair Strategy | Urgency |
|---|---|---|
| Vertical, < 1/8 inch wide | DIY Patch/Injection | Moderate |
| Horizontal, < 1/8 inch wide | Monitor for bowing | High |
| Diagonal, > 1/4 inch wide | Engineer Inspection | Immediate |
| Moving/Displacing wall | Engineer Inspection | Immediate |
If the crack is vertical and does not show signs of significant wall displacement, it is a suitable candidate for a homeowner-performed repair. If the wall is bowing or the crack is wide enough to fit a coin, avoid filling it, as this may hide warning signs of a failing foundation wall that requires professional excavation and structural reinforcement.
Choosing the Right Repair Material
The choice of material depends on whether the wall is interior or exterior and whether the crack is active or dormant.
- Hydraulic Cement: This material expands as it sets, making it excellent for filling cracks in damp environments. It is highly durable but provides no flexibility if the foundation continues to shift.
- Polyurethane/Epoxy Injection: This is the gold standard for sealing cracks in poured concrete basement walls. The material is injected into the crack under pressure, filling the entire depth of the wall and curing into a flexible rubber-like seal that accommodates minor future movement.
- Masonry Caulk: Suitable only for very thin, non-leaking cracks. It is the easiest to apply but has the shortest lifespan and is susceptible to UV degradation if used on the exterior.
Step-by-Step: The Injection Repair Method
For active or wet cracks in poured concrete, the injection method provides the most reliable long-term result. This process assumes a basement wall context.
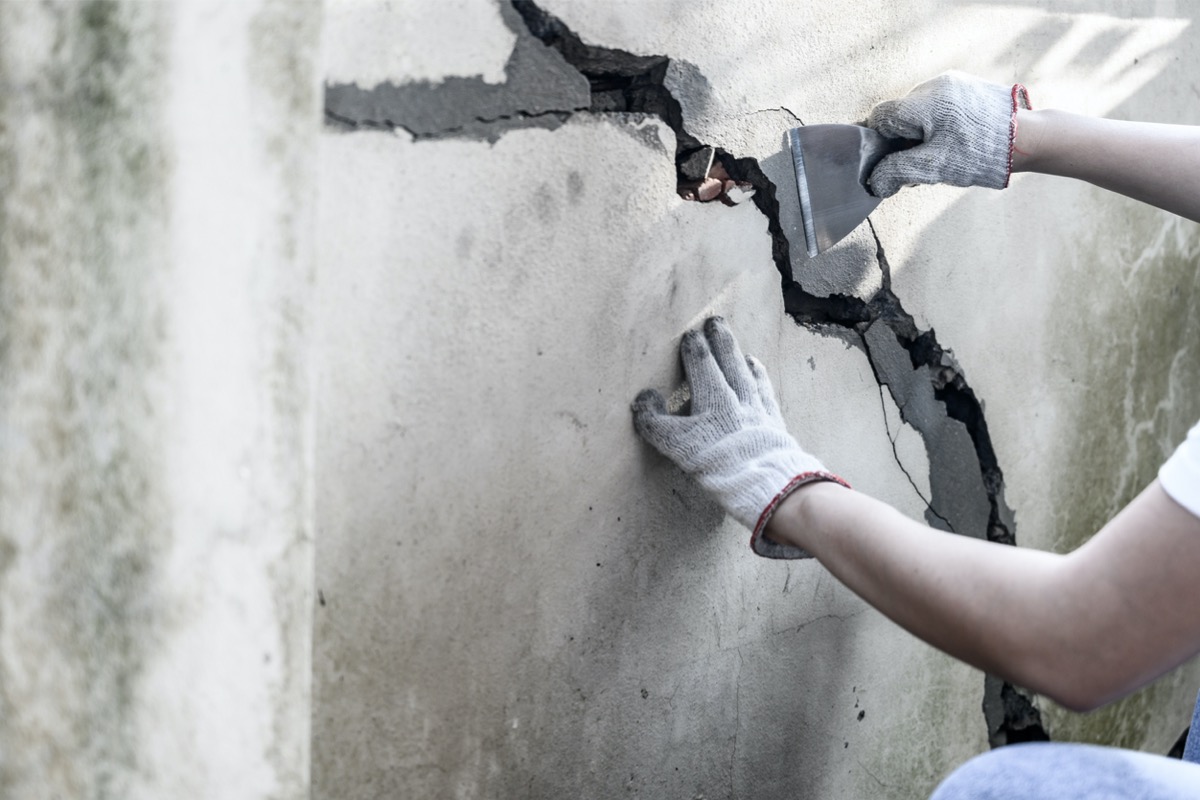
1. Surface Preparation: Use a wire brush to remove loose concrete, dust, and any existing paint around the crack. The area must be clean for the adhesive to bond properly. 2. Installing Injection Ports: Apply an epoxy paste over the surface of the crack at intervals of 8 to 12 inches. Place a plastic injection port over these spots, embedding them into the epoxy paste. 3. Sealing the Crack: Once the port adhesive has cured (usually in one to two hours), cover the remainder of the crack with the same epoxy paste. This "seal" ensures that when you inject the repair material, it stays inside the crack rather than leaking out. 4. Injection: Starting from the bottom port, inject the polyurethane or epoxy resin using the provided manual pump. Continue until the material begins to emerge from the next port above it. Cap the lower port and move upward until the entire crack is filled. 5. Curing and Finishing: Allow the material to cure according to the manufacturer’s instructions, which typically takes 24 to 48 hours. Once cured, you can break off the injection ports and scrape away excess surface epoxy if aesthetic uniformity is required.
Avoiding Common Mistakes
One of the most frequent errors is attempting to fill a crack without addressing the underlying moisture source. If the foundation is leaking because of poor drainage outside the home, the pressure will simply force water through the next weakest point in the concrete. Always ensure your downspouts discharge water at least six feet away from the foundation and that the soil grade around the house slopes away from the perimeter.
Another mistake is over-tightening or forcing injection materials. If the crack is too narrow for the resin, do not force it. You may need to widen the crack slightly with a masonry chisel to allow the material to penetrate the full thickness of the wall. Always wear personal protective equipment, including safety glasses and gloves, as epoxy resins can be skin irritants and are difficult to remove once hardened.
FAQ
Are hairline cracks in a foundation a sign of major structural damage? Generally, no. Most hairline cracks are related to concrete shrinkage during the curing process. However, they should be monitored; if they begin to widen or appear in groups that indicate foundation settling, they transition from a maintenance issue to a structural concern.
Can I fix a foundation crack from the inside if my basement is finished? The injection method is designed for inside use on poured concrete, but a finished basement complicates the process. You will need to remove the drywall and insulation to access the concrete wall. If you are unable to access the wall, you may need to investigate exterior waterproofing methods, which are significantly more invasive and costly.
Does a repaired crack eliminate the chance of water leaking again? When performed correctly, a pressure-injected repair creates a permanent, waterproof seal that is often stronger than the surrounding concrete. However, if the foundation continues to settle or if exterior drainage remains poor, water can eventually find a path through a different section of the wall.
How do I know if a crack is "active"? An active crack changes width over time. A simple way to track this is to place a small piece of clear tape across the crack in several locations. If the tape tears or shifts over the course of a few months, the foundation is moving, and you should consult a geotechnical engineer.
Final Recommendation
If you have identified a vertical hairline crack that is localized, dry, and stable, you should purchase a high-quality polyurethane injection kit. The cost of DIY materials—typically ranging from $100 to $300—is significantly lower than hiring a professional. However, if you observe horizontal cracking, "stair-step" cracking in masonry blocks, or signs of significant water intrusion, prioritize a professional consultation to rule out soil-related structural failure before investing in surface repairs.

Image Gallery
Select an image to open it in a new tab.
Ingrid Bjornson
Global Cyber Policy and Regulation Analyst
