How to Install Solar Panels on a Slate Roof Safely
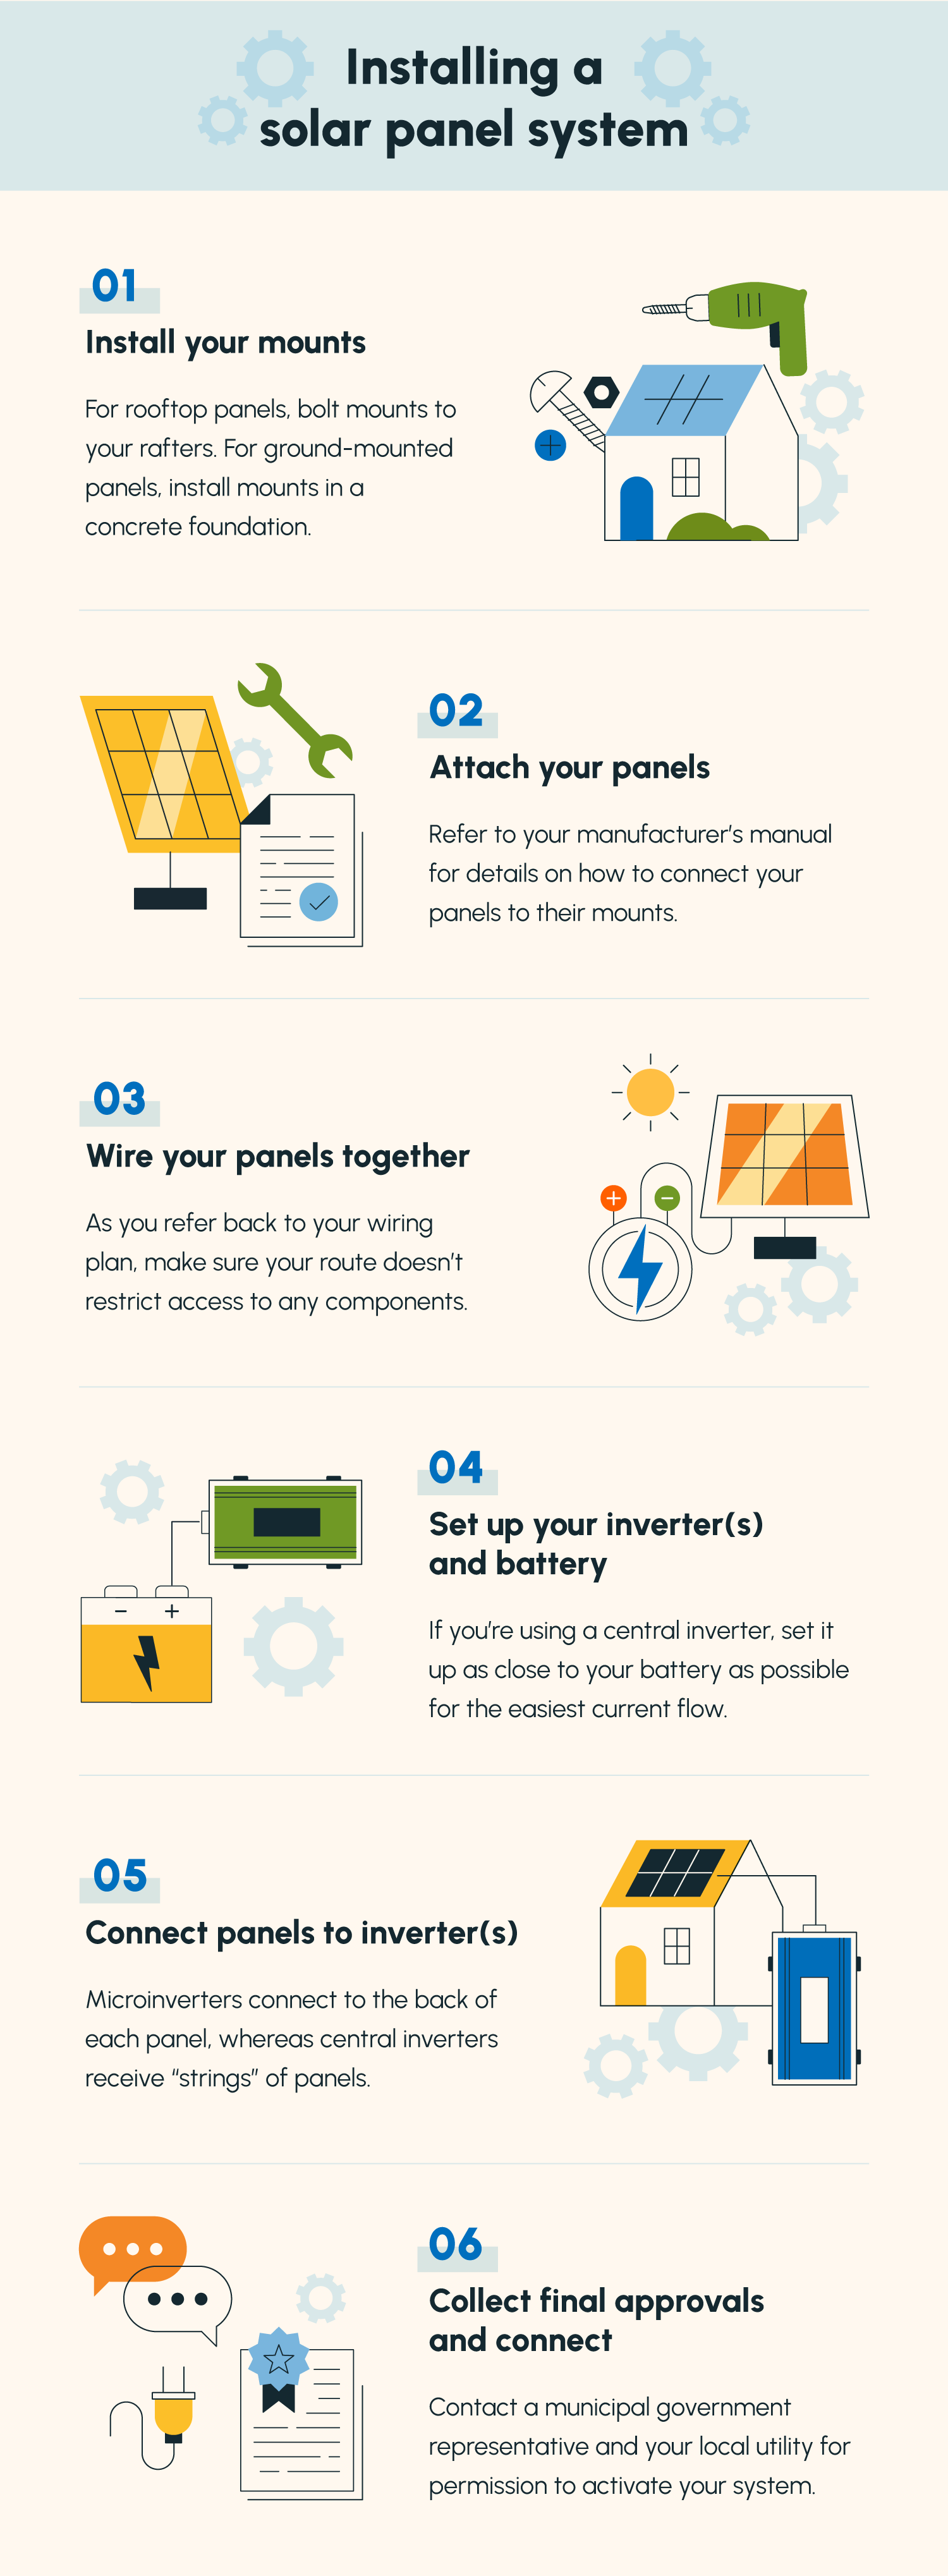
Installing solar panels on a slate roof requires specialized hardware and precise methodology to prevent damaging the fragile stone tiles. The process involves removing specific slates, installing high-quality stainless-steel hook mounts into the roof rafters, and ensuring the slate is properly flashed or repaired to maintain the home's water-tight integrity.
The Unique Challenges of Slate Roofing
Slate is a high-quality, long-lasting roofing material, but it is notoriously fragile and difficult to penetrate without specialized knowledge. Unlike asphalt shingles, which can be easily lifted or drilled, slate is brittle; applying pressure incorrectly will cause the tiles to crack, shatter, or delaminate. Furthermore, because slate roofs often last for 50 to 100 years, they may be older than the structure they cover. The underlying wooden battens or decking may be aged, making it critical that the solar installation is performed by professionals who understand how to distribute weight and secure fasteners into structural members rather than the slates themselves.
Essential Prerequisites for Installation
Before attempting to mount solar panels on a slate roof, you must verify the structural and material health of your roof.
- Roof Inspection: A qualified roofing contractor should inspect the slate for existing cracks, loose tiles, or signs of water infiltration. If the slate is nearing the end of its life, installing solar panels—which are meant to last 25–30 years—may result in expensive repairs shortly after the panels are mounted.
- Structural Assessment: Solar panels, racking systems, and the potential weight of snow or ice place significant stress on rafters. A structural engineer or a licensed installer must verify that your roof framing can support the additional dead load of the solar array.
- Hardware Selection: You cannot use standard mounting hardware intended for asphalt shingles. You must use stainless-steel slate hooks or "slate-specific flashing kits." These are designed to slide underneath the slate tiles, anchoring into the roof deck or rafters while keeping the external mounting points clean and waterproof.
- Safety Gear: Because slate is slippery—especially when wet or covered in fine stone dust—rigorous fall protection is mandatory. This includes OSHA-compliant harness systems, roof jacks, and, if necessary, scaffolding or man-lifts.
Step-by-Step Installation Methodology
Safety and integrity are the primary concerns during the installation process. The following steps outline the professional standard for a solar deployment on slate.
1. Site Preparation and Safety Setup
Establish a perimeter and set up safety equipment. Use a ridge-mounted anchor point for fall protection. When accessing the roof, use foam-padded "ladder mitts" or ladder stabilizers to avoid resting the weight of the ladder directly on the brittle edge of the slate tiles.
2. Slate Removal and Replacement
To access the rafters, installers must remove specific slate tiles. This is done using a "slate ripper"—a thin, flat tool used to reach up under the tile and cut the copper or galvanized nail securing it. Once the nail is cut, the tile slides out. Never force a tile upward, as this will crush the tile above it.
3. Installing the Mounting Hooks
Once the necessary tiles are removed, the installer fixes the stainless-steel hook to the rafter. These hooks are thin enough that they do not interfere with the natural "lap" of the remaining slate. The hook is secured with heavy-duty structural screws. It is essential to ensure these screws are driven into the center of the rafter; missing the rafter will compromise the holding power of the entire array.
4. Flashing and Water Management
Waterproofing is the most critical stage. After the hook is installed, the area around the hook must be flashed. This typically involves placing a lead or aluminum flashing plate over the hook base, which sits underneath the adjacent slate tiles. This creates a "water-shedding" system where rain flows over the flashing and onto the tile below, preventing any moisture from reaching the fastener holes.
5. Racking and Panel Attachment
With the mounting hooks securely in place and flashed, the aluminum rails are attached to the hooks. Once the rails are level, the solar modules are secured to the rails using clamps. Great care must be taken during this phase to ensure that no debris or heavy tools are dropped onto the surrounding slate.
Comparison of Roofing Materials for Solar
Understanding the difference in mounting systems helps clarify why slate requires specific, professional-grade components.
| Feature | Asphalt Shingle | Slate Tile |
|---|---|---|
| Material Durability | Moderate | High (but brittle) |
| Mounting Difficulty | Low | High |
| Flashing Type | Standard L-bracket with boot | Hook with integrated flashing |
| Risk of Breakage | Minimal | Significant |
| Installation Time | Standard | Extended (labor intensive) |
Common Mistakes and How to Avoid Them
- Walking on the Slate: Never walk directly on slate tiles. Professionals use foam-padded crawling boards or roof ladders that distribute their weight across multiple rafters. Walking on slate will almost certainly cause breakage.
- Skipping the Rafters: Attempting to anchor panels into the thin wooden decking or battens is dangerous. If the mount pulls out during a high-wind event, it can cause catastrophic roof damage. Always locate and anchor into the structural rafters.
- Over-tightening Fasteners: Because slate is a natural stone, it has no "give." Over-tightening mounts or failing to account for thermal expansion can cause the stone to crack after the installation is complete.
Professional Guidance and Safety Limitation
Installing solar panels on a slate roof is not a suitable DIY project. It involves specialized tooling, precise handling of heavy materials at height, and the ability to maintain a waterproof seal on a roof system that is highly sensitive to damage. Failure to execute these steps correctly can void your roofing warranty and lead to expensive interior water damage. Always consult with a licensed contractor who provides a warranty specifically covering both the solar installation and the roof integrity.
Frequently Asked Questions
Can I install solar panels on an old slate roof? Yes, but you must first have the roof inspected. If the slate is brittle, delaminating, or loose, the roof may need a partial restoration before mounting heavy racking systems.
Does solar panel installation damage slate? It should not damage the slate if performed by experienced installers. Using professional slate rippers and proper hooks prevents unnecessary breakage. Any tile broken during the process should be replaced immediately with matching salvaged or new slate.
Do I need special permits for a slate roof installation? Yes. In almost all jurisdictions, you will need a building permit and an electrical permit. Some historic districts may also have specific ordinances regarding the aesthetic impact of solar panels on heritage roofing.
How do you prevent leaks around the solar mounts? Leaks are prevented by using high-quality metal flashing that directs water away from the fastener point and adheres to the natural shingling pattern of the slate, ensuring the roof remains a "shedding" system.
Is the installation more expensive than on other roofs? Yes. The labor costs are significantly higher due to the time-consuming nature of carefully removing and resetting slate tiles and the need for specialized, durable mounting hardware.
Next Actions
Start by searching for local solar installers in your area who explicitly list "slate roof experience" in their project portfolio. Request a site visit and ask to see evidence of their previous work on similar roofs. Ensure that the contract includes a clause detailing their responsibility for replacing any slate broken during the installation process, protecting your investment from start to finish.

Image Gallery
Select an image to open it in a new tab.


Vivian Cho
Executive IT and Emerging Technologies Reporter
