Adding your debit card to your iPhone allows you to make secure, contactless purchases in stores, buy items within apps, and check out quickly on websites using Apple Pay. To get started, you need a compatible iPhone model, an active card issued by a participating financial institution, and an Apple Account signed into your device. You can add your card through the Wallet app or the Settings menu, authenticate the addition with your bank, and then use your iPhone to pay by double-clicking the side button and authenticating with Face ID, Touch ID, or your passcode.
Understanding Apple Pay and Debit Card Integration on iOS
Using a debit card on your iPhone relies on Apple Pay, Apple's proprietary mobile payment and digital wallet service. Introduced to provide a secure and private alternative to physical plastic cards, Apple Pay stores your credit and debit card information digitally on your device. When you add a debit card to your iPhone, the system does not store your actual card number on the device or on Apple servers. Instead, a unique Device Account Number is assigned, encrypted, and securely stored in the Secure Element—a certified, hardware-isolated chip designed to keep financial data safe.
Integrating your debit card transforms your iPhone into a contactless payment instrument capable of interacting with Point of Sale (POS) terminals via Near Field Communication (NFC) technology. Unlike traditional magnetic stripe or chip-and-PIN transactions, Apple Pay transactions require biometric authentication or passcode verification for every single purchase. This adds an inherent layer of security that protects your funds even if your physical iPhone is misplaced or lost. Furthermore, using a debit card through Apple Pay allows you to access your checking account funds directly without incurring the interest rates or fee structures typically associated with credit cards.
Prerequisites and System Requirements
Before you can successfully add and use a debit card on your iPhone, your setup must meet specific hardware, software, and financial requirements. Ensuring these conditions are met prevents common setup errors and verification failures.
Device and Software Compatibility
Apple Pay requires an iPhone equipped with an NFC chip and Touch ID or Face ID. Compatible models include iPhone 6 and later, though older devices without Face ID or Touch ID may have limitations regarding online purchases. Your device must also run a supported version of iOS. It is always recommended to update your iPhone to the latest software release through the Settings app under General > Software Update to ensure optimal security, bug fixes, and compatibility with updated banking protocols.
Supported Financial Institutions
Not every bank or credit union supports Apple Pay globally. While the vast majority of major national banks, regional credit unions, and digital neo-banks integrate seamlessly with Apple, you should verify that your specific card issuer participates in the network. You can check Apple's official support documentation listing participating partner banks by region or search directly within your bank's mobile application for an "Add to Apple Wallet" integration button.
Regional Availability
Apple Pay availability varies by country and territory, governed by local banking regulations and payment network capabilities. You must set your iPhone's region to a supported country, and your Apple Account region should match your physical location and the issuing country of your debit card.
Step-by-Step Instructions: How to Add Your Debit Card
Adding a debit card to your iPhone takes only a few minutes. You can accomplish this using either the Wallet app or the iOS Settings menu.
Method 1: Using the Wallet App
- Open the Wallet app on your iPhone. If you cannot locate the application, swipe down on your home screen and type "Wallet" into the search bar.
- Tap the Plus (+) icon located in the upper-right corner of the screen to add a new card.
- Select Debit or Credit Card from the menu options and tap Continue.
- Position your debit card inside the camera frame so that the card number is automatically detected. Alternatively, you can tap Enter Card Details Manually at the bottom of the screen.
- Verify that the name and card number are correct, then tap Next.
- Enter the three-digit security code (CVV) found on the back of your card (or the four-digit code on the front of American Express cards) and confirm the expiration date.
- Read and accept the Terms and Conditions provided by your bank or card issuer.
Method 2: Using the Settings App
- Open the Settings app on your iPhone.
- Scroll down and tap Wallet & Apple Pay.
- Tap Add Card.
- Select Debit or Credit Card and follow the on-screen prompts to scan your card or enter your account details manually.
| Setup Method | Primary Advantage | Best Suited For |
|---|---|---|
| Wallet App | Direct access to digital pass management and quick launching. | Everyday users looking for a streamlined, visual setup. |
| Settings App | Centralized device preference management alongside other system controls. | Users already navigating system configurations and privacy options. |
Bank Verification and Authentication
Once you input your card details, Apple Pay communicates with your bank or credit union to verify your identity and authorize the tokenization process. Because debit cards give direct access to your liquid checking funds, financial institutions enforce strict verification protocols.
You will typically be prompted to choose a verification method from a list provided by your bank:
- Text Message (SMS) or Email: Your bank sends a one-time verification code to the phone number or email address on file with your account. You must enter this code into your iPhone to proceed.
- Phone Call: The app provides a direct button to call your bank's customer service or automated verification line. Once authenticated by a representative or automated system, the card is approved.
- Bank App Integration: Some modern banking apps allow you to verify the card directly within their proprietary mobile app by tapping a confirmation button that redirects you back to the Wallet app.
After successful verification, a confirmation message appears stating that your card is ready for Apple Pay. If verification fails, contact your bank's customer support line to ensure your contact details match their internal records and to clear any fraud alerts that may have blocked the tokenization request.
How to Use Your Debit Card for Different Types of Purchases
With your debit card successfully added, you can use your iPhone to make transactions across multiple environments securely.
In-Store Contactless Purchases
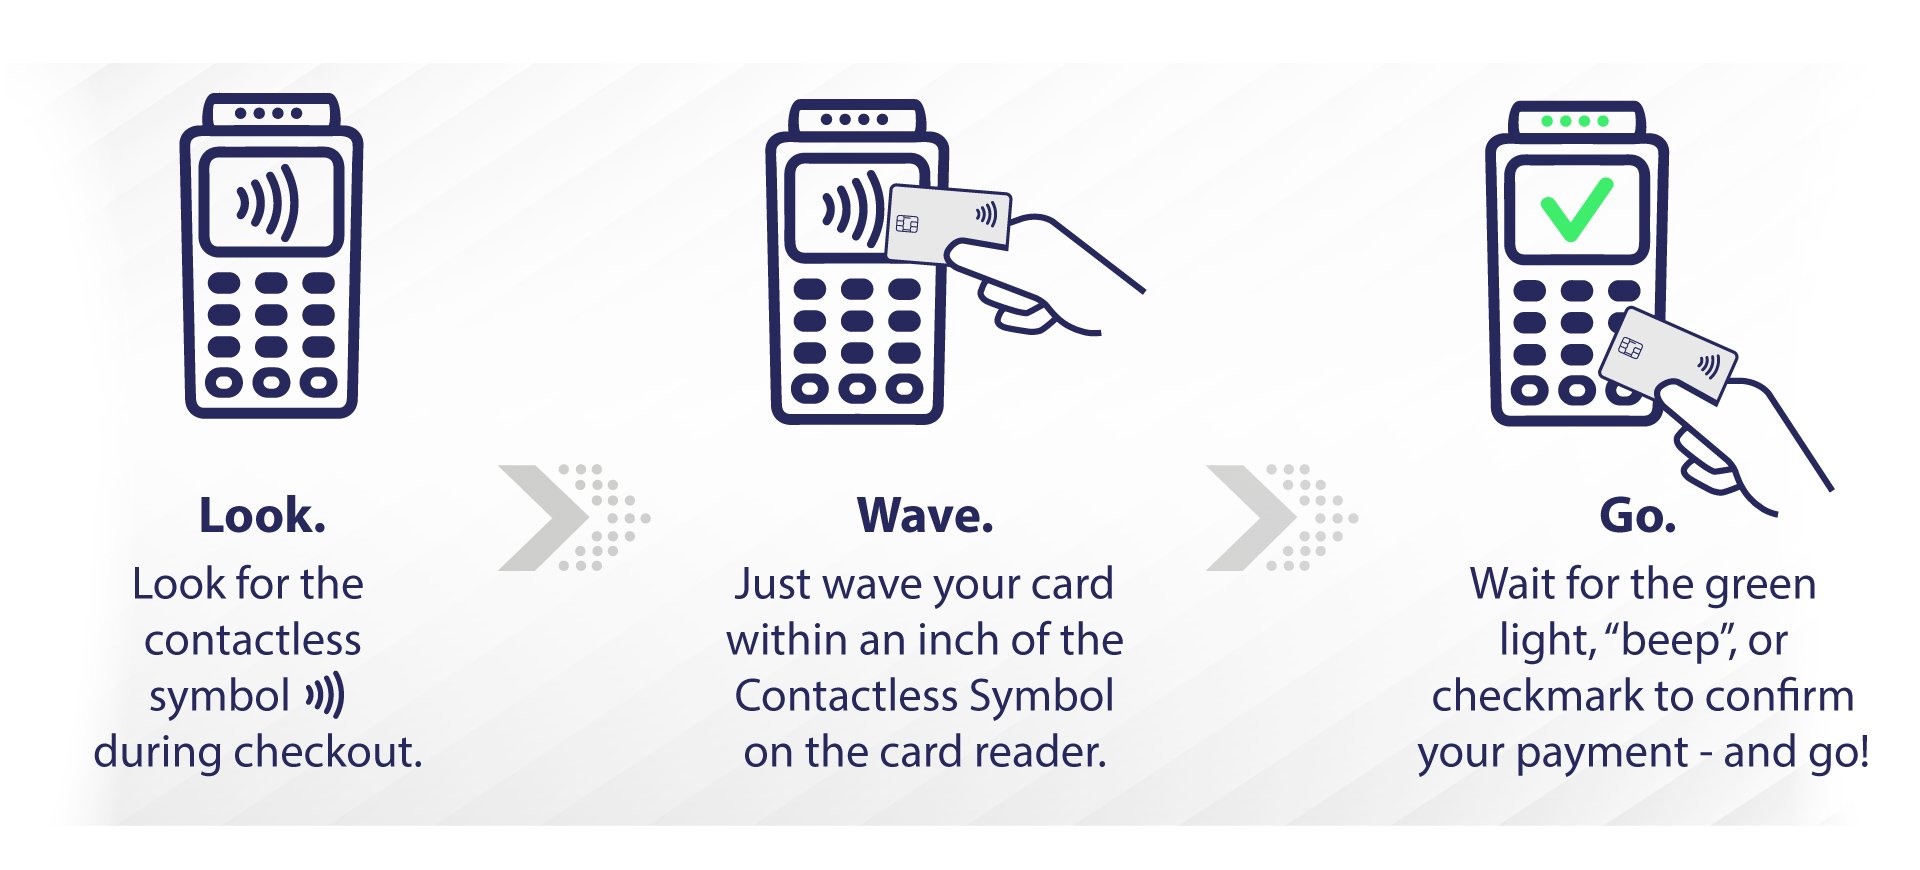
When shopping at a physical retail store, restaurant, or transit turnstile, look for the contactless payment symbol or the Apple Pay logo on the payment terminal.
- Double-click the side button (on iPhones with Face ID) or rest your finger on the Touch ID sensor (on iPhones with a Home button).
- If your default card is not the debit card you wish to use, tap the card image on your screen and select your debit card from your list of added passes.
- Glance at your iPhone screen to authenticate via Face ID, or hold your finger on Touch ID. If prompted, you may need to enter your device passcode.
- Hold the top of your iPhone within a few centimeters of the contactless reader until a checkmark appears on your screen alongside a subtle vibration or chime indicating that the payment is complete.
In-App and Online Checkout
When purchasing items through mobile applications or supporting Safari websites:
- Tap the Buy with Apple Pay or Apple Pay checkout button during the payment phase of your transaction.
- Review your billing, shipping, and contact information displayed on the sheet that appears from the bottom of the screen.
- Double-check that your debit card is selected as the payment instrument. If not, tap the arrow next to the card to select your debit card.
- Double-click the side button and authenticate with Face ID, Touch ID, or your passcode to authorize the transfer of funds.
Managing Your Cards and Default Settings
As you add multiple cards to your Apple Wallet, managing your preferences ensures a seamless payment experience. You can designate a primary card for quick access.
To change your default card:
- Open the Wallet app on your iPhone.
- Touch and hold the debit card you wish to make your default.
- Drag the card and drop it to the front of the stack (the top position). Alternatively, go to Settings > Wallet & Apple Pay, scroll down to Transaction Defaults, tap Default Card, and select your debit card.
You can also view past transaction histories for individual debit cards by tapping on the card within the Wallet app, though detailed itemized receipts are typically provided separately by your bank's mobile application.
Troubleshooting Common Issues
While adding and using a debit card on your iPhone is generally straightforward, users occasionally encounter technical hurdles.
- Card Not Added / Not Supported: If your bank rejects the card during setup, ensure that your card is not expired, locked, or reported lost. If the bank does not yet support Apple Pay, you will need to use a physical card or open an account with a participating institution.
- Transaction Declined at Terminal: Ensure the merchant accepts contactless payments. If the terminal fails to read your iPhone, check that your device is powered on, your default card is loaded, and your iPhone's NFC antenna (located near the top rear of the device) is positioned close to the reader. Occasionally, banks may flag high-value or unusual transactions as fraudulent; calling your bank can resolve temporary freezes.
- Face ID / Touch ID Authentication Failures: If biometric sensors fail to recognize you, enter your device passcode manually when prompted by the double-click action. Clean your device's TrueDepth camera or Touch ID sensor if physical debris interferes with authentication.
Security, Privacy, and Lost Device Protocols
Apple Pay is designed with user privacy and financial security as core principles. Apple does not store or have access to your raw credit or debit card numbers, transaction amounts, or merchant details. Transaction data remains strictly between you, the merchant, and your financial institution.
If your iPhone is lost or stolen, you do not necessarily need to cancel your physical debit card immediately. You can remotely suspend or permanently remove your cards using Find My iPhone via iCloud.com or by logging into your Apple Account management page on another device. Putting your iPhone into Lost Mode temporarily suspends Apple Pay functionality on that device, protecting your checking account funds until you recover your phone or perform a remote wipe. Additionally, because every single transaction requires biometric authentication or your secure device passcode, unauthorized individuals cannot easily access your digital wallet even if they physically hold your unlocked phone.
Image Gallery
Select an image to open it in a new tab.
Lars Thomsen
Global Labor Markets and Economic Strategy Editor
