A Comprehensive Guide on How to Approach Outdoor Foundation Crack Repair

Approaching outdoor foundation crack repair requires a systematic assessment of the crack's origin, width, and activity level. Homeowners must first distinguish between non-structural shrinkage cracks and signs of structural failure, such as shifting or differential settlement, to determine whether they can safely perform a cosmetic repair or if they must engage a licensed professional.
Distinguishing Between Types of Foundation Cracks
Before selecting a repair method, you must identify what kind of crack is present in your foundation. Foundations—typically composed of poured concrete or concrete masonry units (CMU)—are susceptible to various environmental pressures.
- Shrinkage Cracks: These are the most common. They occur as concrete cures and loses water, leading to minor cracks that are usually vertical or diagonal. These are generally considered non-structural and are often less than 1/8 inch wide.
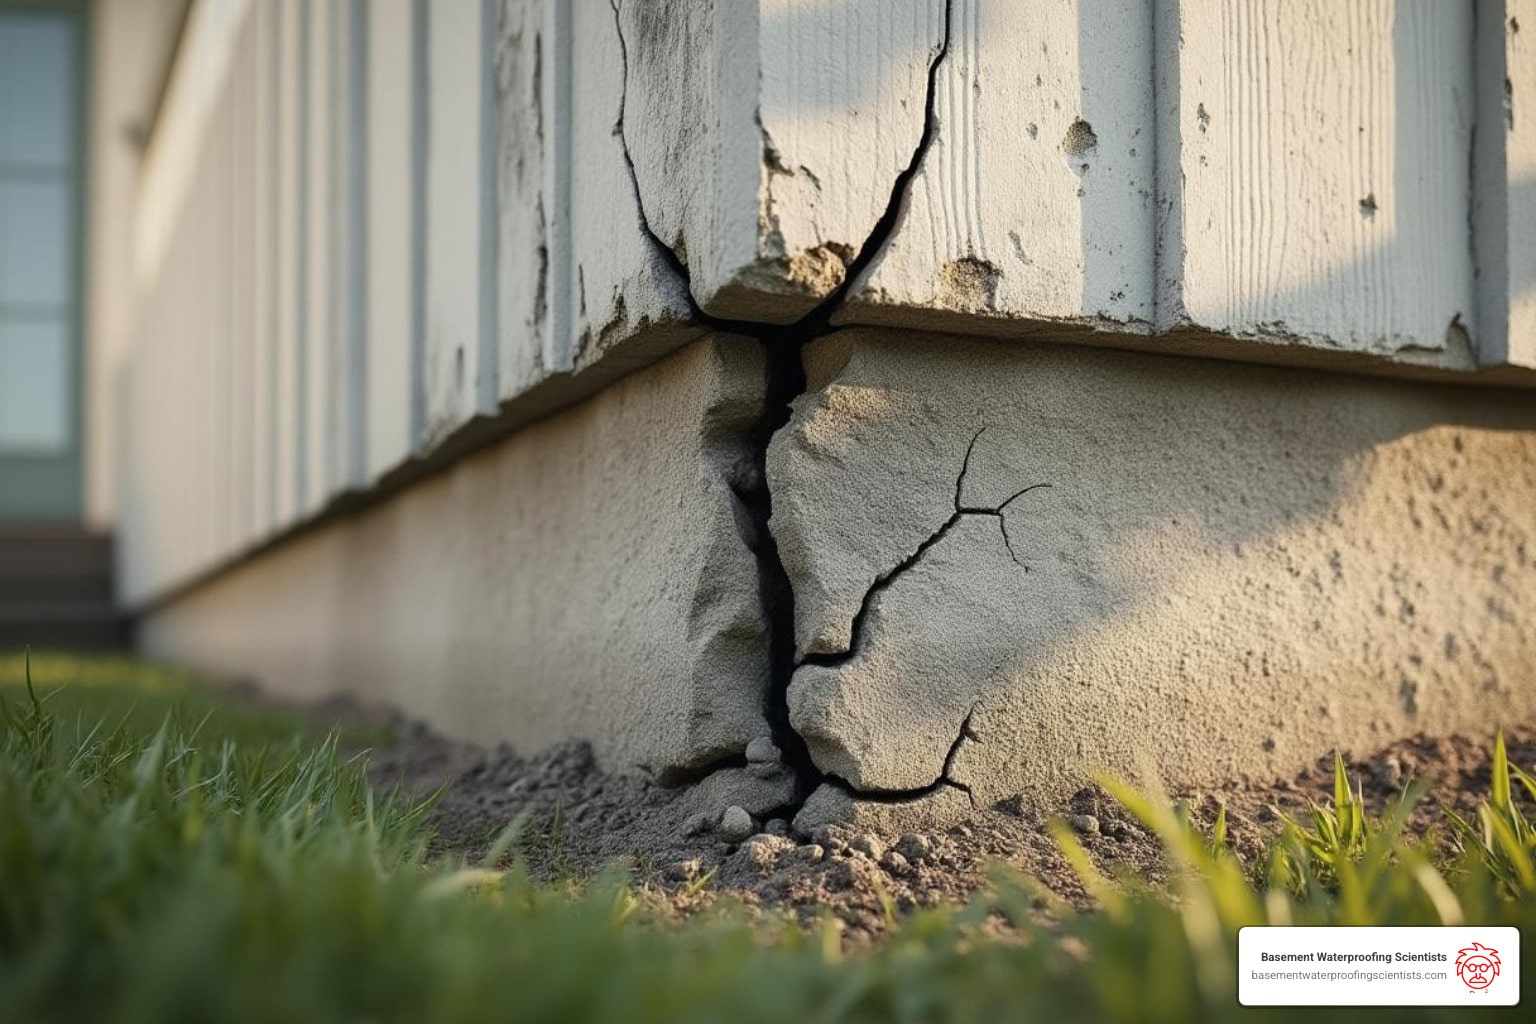
- Settlement Cracks: These occur when the soil beneath the foundation shifts or compresses unevenly. These cracks are often wider than 1/4 inch, may be horizontal or "stair-stepped" along mortar joints, and often appear in conjunction with sticking doors or windows elsewhere in the home.
- Heaving Cracks: Often caused by expansive clay soils or frost heave, these cracks are frequently horizontal and signal significant pressure against the wall from the exterior.
If a crack shows signs of active movement—meaning it continues to widen over time—simply filling the void will not solve the underlying issue. In these cases, you are treating a symptom rather than the root cause of the foundation instability.
Assessing the Severity and Structural Integrity
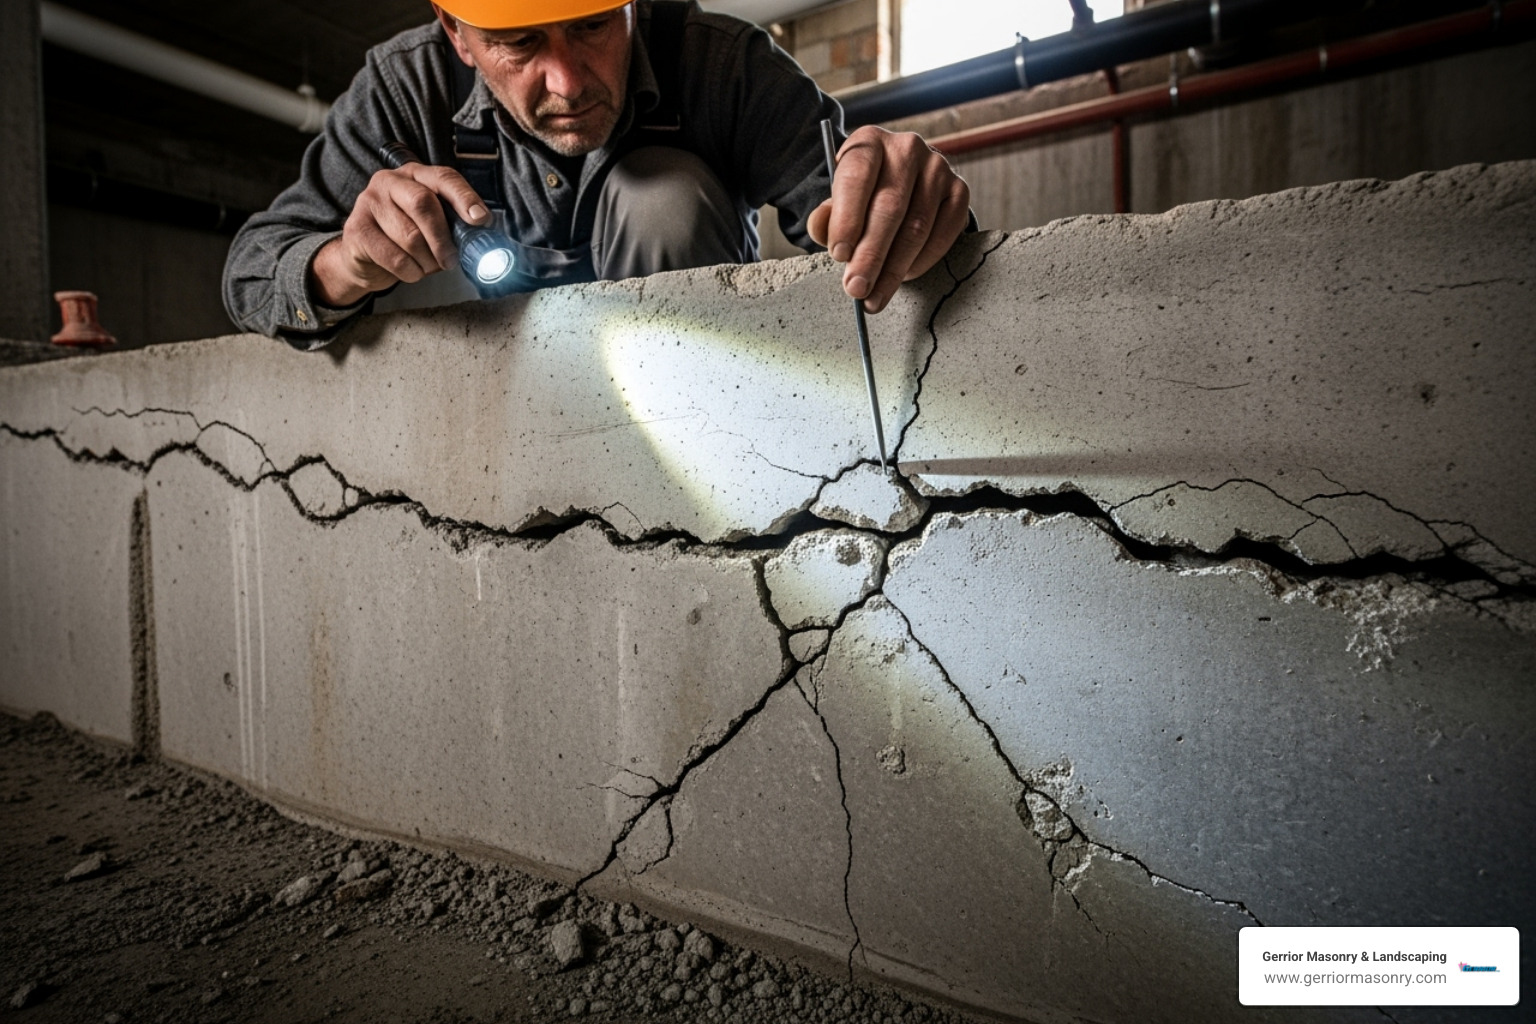
The "how" of your repair is dictated by the crack's depth and the wall's movement. You can conduct a basic assessment by measuring the width and monitoring the depth with a probe.
- Width Measurement: Use a crack gauge or a simple ruler. Cracks under 1/8 inch are often categorized as cosmetic. Cracks exceeding 1/4 inch often suggest structural strain.
- Depth and Consistency: A crack that goes entirely through the foundation wall creates a path for water intrusion. If the edges of the crack are uneven, it indicates a structural displacement rather than simple curing shrinkage.
- The "Check" Method: Place a thin piece of glass or a specialized crack monitor over the crack. If the glass breaks or the monitor shows movement over a period of three to six months, the foundation is currently settling, and DIY repair is inappropriate.
When to Call a Professional
Not all foundation repairs are suitable for DIY approaches. You should consult a structural engineer or a foundation repair specialist if you observe any of the following:
- Horizontal Cracking: This is a red flag for lateral earth pressure, which can lead to complete wall failure.
- Significant Water Inflow: If the crack allows active water seepage, it indicates a failure of the exterior waterproofing membrane or drainage system.
- Visible Bulging or Bowing: If the foundation wall is no longer plumb (vertical), it is under extreme pressure that requires specialized carbon fiber reinforcement or steel beam stabilization.
- Cracks Wider Than 1/4 Inch: Such cracks frequently indicate significant structural movement that may require underpinning or pier installation.
Materials and Methods for DIY Repair
If you have confirmed that the crack is a non-structural, passive shrinkage crack, you can approach the repair using materials designed to seal the concrete and prevent moisture penetration.
1. Polyurethane Injection
Polyurethane is a popular choice for active or damp cracks because it expands upon contact with moisture. It remains flexible, allowing for minor future movement of the foundation without re-cracking. This is typically done via a low-pressure injection kit where ports are bonded to the wall, and the resin is forced into the void.
2. Epoxy Injection
Epoxy is used when structural integrity is the priority and the crack is dry. It cures into a rigid, rock-hard seal that is often stronger than the surrounding concrete. This is not recommended for cracks that might still be moving, as the epoxy will not accommodate the expansion.
3. Hydraulic Cement or Masonry Patch
For surface-level cosmetic fixes, hydraulic cement is used to fill a V-notched crack. While it is excellent for plugging leaks, it lacks the tensile strength to hold a wall together and should not be used as a structural repair.
Comparative Overview of Repair Methods
| Method | Best Use Case | Flexibility | Skill Level |
|---|---|---|---|
| Polyurethane | Leaking cracks, wet conditions | High | Moderate |
| Epoxy | Dry, structural bonding | None (Rigid) | Moderate/High |
| Hydraulic Cement | Minor leaks, surface aesthetic | Low | Beginner |
| Carbon Fiber | Bowing or severe shifting walls | N/A (Structural) | Professional Only |
Step-by-Step Procedure for a Basic Surface Repair
If you are performing a repair on a simple, non-structural crack, follow these professional-grade steps to ensure a lasting seal:
- Prepare the Surface: Use a wire brush to remove loose concrete, dirt, and debris from the crack. If the crack is very tight, use an angle grinder with a masonry blade to open it into a V-shape. This provides more surface area for the sealant to bond to.
- Clean the Area: Vacuum or blow out the dust created by the grinding. A clean surface is essential for proper adhesion.
- Install Injection Ports (if using kits): Space the ports 8–12 inches apart along the length of the crack. Use the surface-sealing paste included in your kit to bond the ports to the wall and seal the space between the ports.
- Apply Surface Sealant: Ensure the sealant is thick enough to withstand the pressure of the injection material. Allow it to cure according to the manufacturer's directions (usually several hours).
- Inject the Resin: Start from the bottom port and work your way up. As the resin begins to weep out of the next port above, plug the current port and move upward. This ensures the entire void is filled.
- Curing and Finishing: Allow the material to cure fully as per the product specifications (typically 24–48 hours) before removing the injection ports and smoothing the surface.
Common Mistakes to Avoid
The most frequent error in outdoor foundation repair is failing to address the drainage around the home. If the soil outside the foundation is saturated due to poor grading, the hydrostatic pressure will eventually force water back through the concrete, regardless of how well you patch the crack.
- Ignoring Exterior Drainage: Always ensure that your gutters direct water at least 6–10 feet away from the foundation. The grade of the soil should slope away from the house at a minimum of 6 inches over the first 10 feet.
- Over-filling Rigid Materials: Filling a moving crack with a rigid material like standard mortar will cause the crack to migrate or cause a new crack to appear nearby.
- Lack of Safety: Always wear protective eyewear and a respirator when grinding concrete. The silica dust produced is a significant respiratory hazard.
Troubleshooting Persistent Issues
If you have repaired a crack and water continues to appear in the basement or crawlspace, the issue likely resides outside the wall. In such cases, exterior excavation and the installation of a waterproofing membrane or a drain tile system are often necessary. Exterior excavation is a labor-intensive, high-cost task that involves removing soil, cleaning the foundation, applying a waterproof coating, and installing a gravel-lined perforated pipe (French drain) to manage groundwater.
If you suspect this level of repair is needed, you should request quotes from multiple reputable foundation contractors. Ensure that any contractor you choose is licensed and insured, and ask for a detailed description of how they plan to manage the soil stabilization and site drainage, not just how they plan to fill the crack.
Frequently Asked Questions
1. Does a foundation crack always mean my house is sinking? No. Most concrete foundations develop small shrinkage cracks as they cure. These are generally vertical and do not threaten the home's structural integrity. However, stair-step cracking or horizontal shifts are more serious and should be evaluated by a structural engineer.
2. Can I repair a foundation crack from the outside? Yes, and in many cases, it is preferable. Exterior repair allows you to see the source of the water infiltration and apply a waterproof membrane. However, it requires significant excavation, which can be expensive and disruptive to landscaping.
3. How long should an injection-based repair last? When performed correctly using high-quality materials, a polyurethane or epoxy injection can last for the life of the foundation. The primary cause of failure is usually improper cleaning of the crack before the repair or continued, unaddressed foundation movement.
4. What is the difference between a contractor and a structural engineer? A contractor is trained to perform the labor of repairing the foundation based on established methods. A structural engineer is a licensed professional who assesses the building's structural load, identifies the root cause of the damage, and prescribes the specific remedy required to ensure the home remains safe.
5. Is a foundation crack covered by my homeowner's insurance? Standard homeowner's insurance typically covers sudden, accidental damage. It rarely covers the cost of repairing foundation cracks caused by normal wear and tear, settling, or faulty construction. You should review your specific policy, as some may offer limited coverage for specific events like water backup or sudden structural collapse.
Next Steps and Recommendations
If you have identified a crack, the first step is to monitor it. Mark the ends of the crack with a pencil and write the date. Check it again in 30, 60, and 90 days. If the crack does not grow, and it is under 1/8 inch, you can proceed with a DIY surface repair using a high-quality injection kit. If the crack expands or shows signs of structural displacement, contact a licensed structural engineer before applying any sealant, as you need a comprehensive plan to stabilize the home's structure.

Image Gallery
Select an image to open it in a new tab.



Lars Thomsen
Global Labor Markets and Economic Strategy Editor
