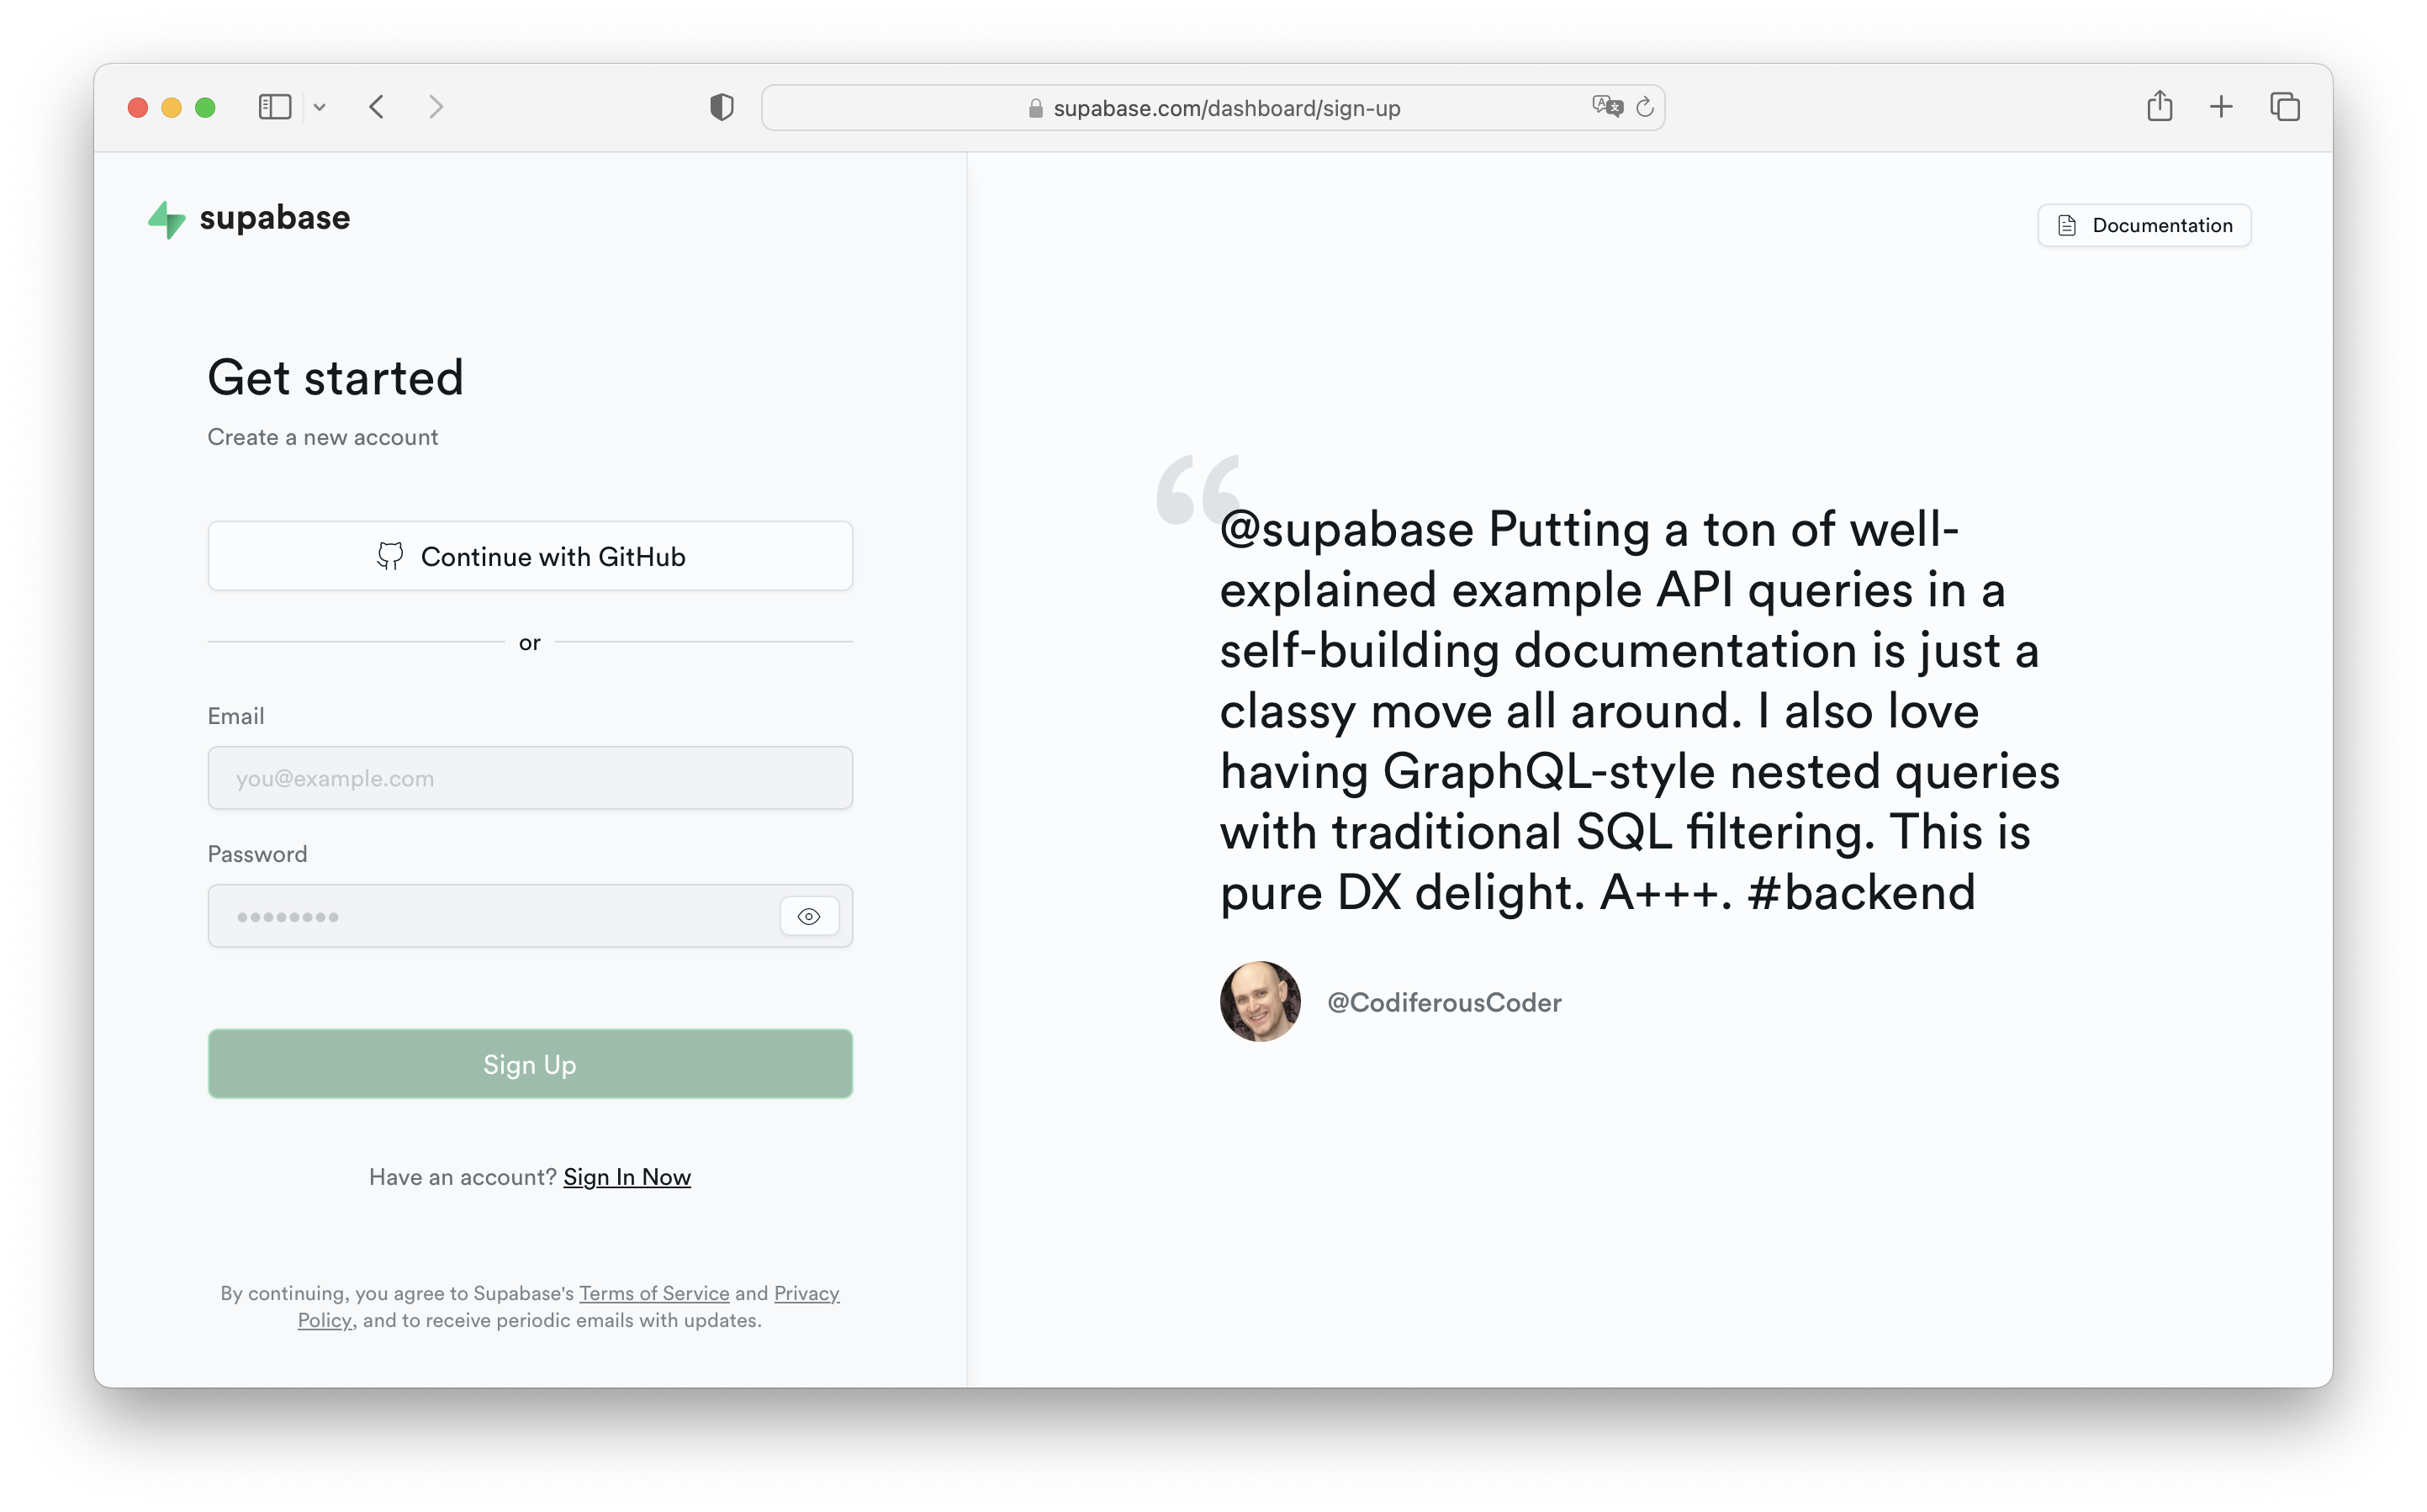
Getting started with Supabase involves creating an account on the Supabase dashboard, provisioning a new project which automatically initializes a PostgreSQL database, and connecting your application via the provided API credentials. This platform acts as an open-source alternative to Firebase, offering a suite of backend services—including authentication, database management, and real-time subscriptions—built directly on top of PostgreSQL.
Understanding the Supabase Ecosystem
Supabase simplifies the complexities of backend development by providing a unified interface for interacting with a PostgreSQL database. Unlike traditional backends where you must manually provision servers, configure relational database management systems (RDBMS), and build REST or GraphQL APIs from scratch, Supabase abstracts these layers.
When you start a new project in the Supabase ecosystem, you are essentially deploying a managed PostgreSQL instance. Supabase then automatically generates a RESTful API and a real-time engine based on your database schema. This means that every time you create a new table in your database, your API endpoints are updated dynamically. This "database-first" approach ensures that your frontend and backend remain synchronized without the need for extensive boilerplate code.
Prerequisites and Preparation
Before embarking on your first Supabase project, ensure you have a clear understanding of your requirements. While the platform is beginner-friendly, it assumes a foundational knowledge of SQL (Structured Query Language) and standard web development practices.
- Technical Foundation: Familiarize yourself with basic SQL commands. Because Supabase uses Postgres, knowing how to create tables, define relationships, and write basic queries will allow you to leverage the full power of the platform.
- Environment: Ensure you have a Node.js environment set up on your local machine if you plan to use the Supabase client libraries (supabase-js).
- Account Access: You will need a GitHub account to sign into the Supabase dashboard. As of 2026, Supabase continues to use GitHub as the primary authentication provider for administrative access to the platform.
- Project Scope: Determine if you are building a prototype or a production-grade application. Supabase offers a generous free tier for projects in development, but production applications requiring dedicated resources or high availability should account for the cost of scaling.

Step-by-Step Initialization
Initializing your workspace is a straightforward process that takes only a few minutes. Follow these steps to establish your environment:
Step 1: Create a Project
Navigate to the Supabase dashboard. Once signed in, select "New Project." You will be prompted to select an organization and choose a database region. Selecting a region geographically closest to your target audience reduces latency for your application’s database requests. Set a strong password for your database; this will be used for administrative connections if you ever need to access the database directly via a GUI tool like pgAdmin or DBeaver.
Step 2: Database Setup
Once the project is provisioned, navigate to the "Table Editor." Here, you can create tables either by using the visual interface or by executing raw SQL queries in the SQL Editor. If you are migrating an existing database, you can use the SQL Editor to run your migration scripts directly.
Step 3: Configure Authentication
Supabase includes a full authentication suite. Go to the "Authentication" tab to enable providers such as Email/Password, Magic Links, or third-party OAuth providers like Google, Apple, or GitHub. You do not need to build custom authentication logic; Supabase handles the session management and JSON Web Token (JWT) verification out of the box.
Step 4: Connecting the Client
To connect your frontend to your project, you will need the Project URL and the API Key (specifically the "anon" key) found in the "Project Settings." Install the client library using your package manager:
npm install @supabase/supabase-js
Initialize the client in your application:
import { createClient } from '@supabase/supabase-js'; const supabase = createClient('YOUR_SUPABASE_URL', 'YOUR_SUPABASE_ANON_KEY');
Core Features Comparison
Understanding the difference between Supabase and other managed backend services is vital for long-term architectural planning. The table below outlines the primary components you will interact with.
| Feature | Supabase Capability | Benefit |
|---|---|---|
| Database | PostgreSQL | Standard relational power and ACID compliance. |
| Authentication | Managed Auth | Secure, pre-built login/signup flows. |
| API Layer | Auto-generated REST/GraphQL | Eliminates manual CRUD endpoint creation. |
| Real-time | Broadcast/Presence | Live updates without managing WebSockets. |
| Storage | Object Storage | Managed media/file handling with policies. |
Managing Security with Row Level Security (RLS)
A common pitfall for new developers is neglecting security. Supabase uses PostgreSQL’s built-in Row Level Security (RLS). By default, RLS is disabled for new tables, meaning the tables are essentially public. Once enabled, no data can be read or written unless you explicitly define a policy.
For example, if you want users to only view their own data, you would create a policy such as:
CREATE POLICY "Users can only view their own data" ON my_table FOR SELECT USING (auth.uid() = user_id);
This ensures that even if an attacker guesses your API endpoint or manages to extract your public API key, they cannot retrieve unauthorized data because the database itself enforces these constraints at the row level.
Common Challenges and Troubleshooting
Transitioning to a managed backend service often brings specific hurdles. Addressing these early ensures a smoother development cycle.
- Policy Conflicts: If your frontend receives a 403 or 401 error, it is almost always due to an improperly configured RLS policy. Always verify your policies in the SQL Editor if data appears empty.
- Performance Bottlenecks: While Supabase scales well, inefficient SQL queries will impact performance. If you have slow read times, use the "Query Performance" monitor in the dashboard to identify missing indexes on your table columns.
- Cold Starts: For projects on the free tier, the database may enter a paused state after a period of inactivity. This is a standard procedure for idle projects in the Free plan; you can resume your project manually through the dashboard at any time.
Frequently Asked Questions
Is Supabase suitable for high-traffic production applications?
Yes. Supabase is built on PostgreSQL, which is an industry-standard, high-performance database. When you move beyond the free tier, you gain access to point-in-time recovery, increased storage, and dedicated compute resources suitable for high-scale environments.
Do I need to know how to write SQL?
While you can perform basic operations through the dashboard UI, knowing SQL is highly recommended. It allows you to define complex relationships, create database triggers, and write stored procedures that move logic closer to the data, resulting in faster application performance.
Can I migrate my current PostgreSQL database to Supabase?
Yes. Supabase supports direct migration. You can use the pg_dump utility to export your current schema and data and then import it via the SQL Editor. There are also various CLI tools provided by Supabase to facilitate this migration.
How does Supabase handle real-time updates?
Supabase leverages the PostgreSQL "Realtime" server, which listens for database changes (inserts, updates, deletes) via logical replication slots. When a change occurs, it broadcasts the change to subscribed clients via WebSockets. You simply subscribe to a table in your code, and the UI updates automatically.
What happens if I want to leave Supabase?
Because Supabase is built on standard PostgreSQL, there is no vendor lock-in regarding your data. You can export your database at any time and move it to any other PostgreSQL hosting provider or a self-hosted server without needing to rewrite your data structure.
Final Recommendations
To successfully start with Supabase, begin by building a small, feature-limited project, such as a personal task manager or a simple content feed. This will force you to interact with all the primary modules: authentication, database tables, RLS policies, and storage. Focus on implementing security policies from the very first day to develop good architectural habits. Once you are comfortable with the workflow, explore the advanced features like Edge Functions for server-side logic and database hooks for automation.
Image Gallery
Select an image to open it in a new tab.



Akira Tanaka
International Academic Trends Correspondent
