How to Fix Temperature Sensor Failure in a Water Heater
To fix a temperature sensor failure in a water heater, you must first identify whether the issue lies with a thermistor, thermocouple, or high-limit switch. Diagnosis involves using a multimeter to check resistance or voltage against manufacturer specifications. Once confirmed, you must shut off power or gas, drain the tank if necessary, and replace the faulty sensor with a model-specific component.
Understanding the Role of Temperature Sensors in Modern Units
By 2026, water heater technology has evolved significantly, yet the fundamental reliance on temperature sensors remains constant. These components, often referred to as thermistors in electric or high-efficiency gas models and thermocouples in traditional gas units, act as the "brain" of the appliance. They monitor the internal water temperature and relay this data to the control board or gas valve.
In a standard electric water heater, the sensor is typically an NTC (Negative Temperature Coefficient) thermistor. As the temperature of the water rises, the electrical resistance of the thermistor decreases. The control board interprets these resistance changes to decide when to engage or disengage the heating elements. If this sensor fails, the board may receive no signal or an erratic one, leading to "lockout" modes where the heater refuses to operate for safety reasons.
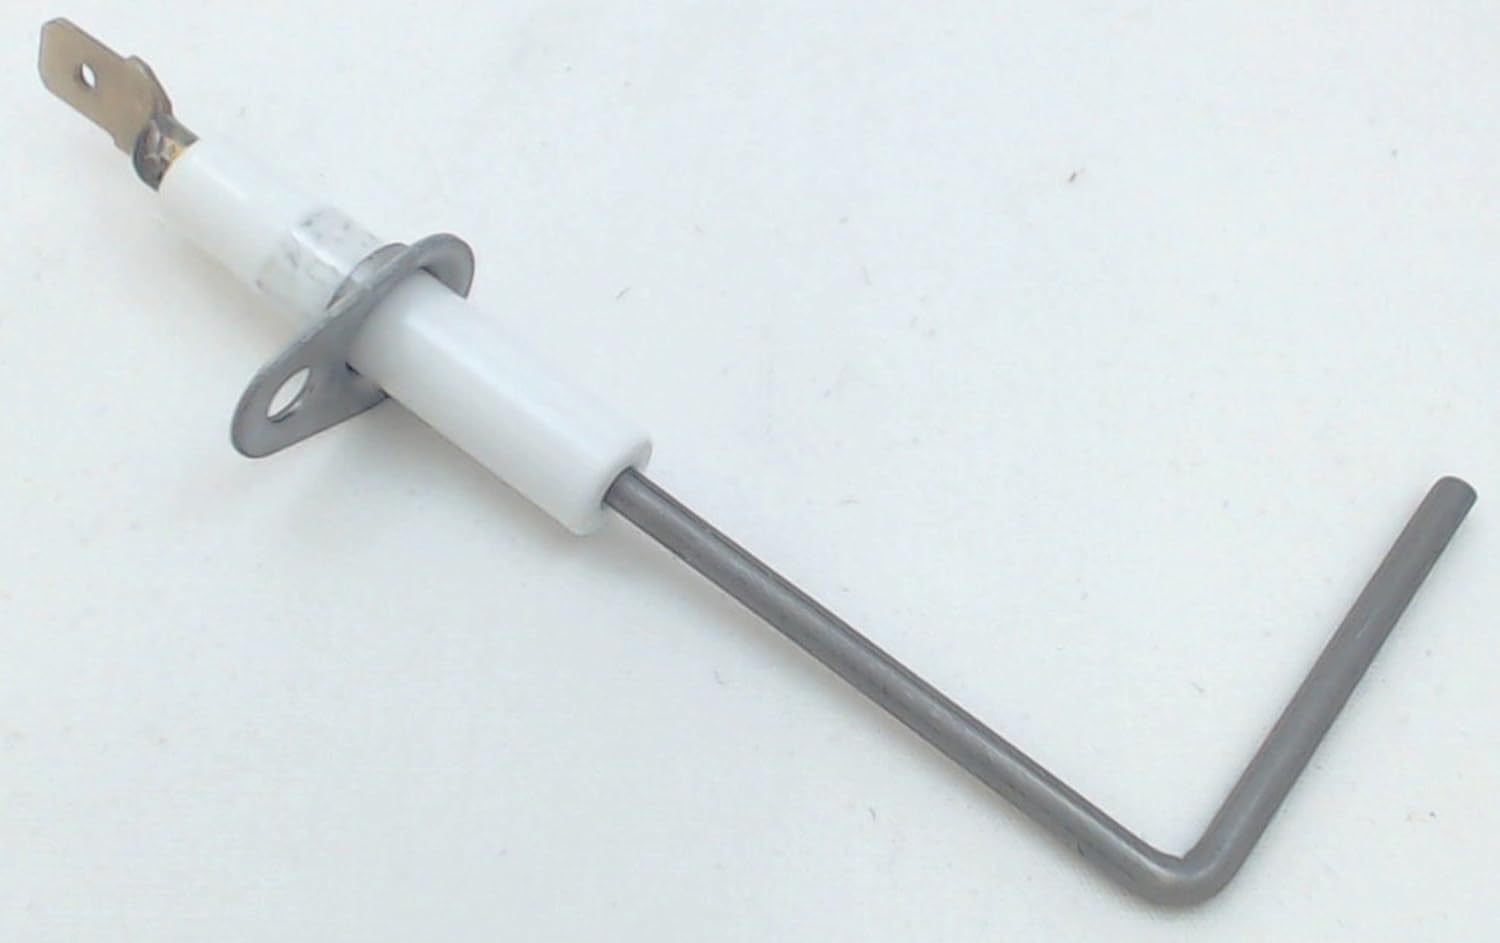
In gas water heaters, the "sensor" often refers to the thermocouple or the flame sensor in electronic ignition models. These devices ensure that gas is only flowing when a flame is present or when the water actually needs heating. Additionally, modern high-efficiency and tankless units utilize multiple sensors to monitor incoming cold water, outgoing hot water, and even heat exchanger temperatures to prevent "stacking" or scalding.
Identifying Symptoms of Sensor Failure
Before dismantling your unit, it is essential to confirm that the sensor is indeed the culprit. Sensor failures often mimic other problems, such as heating element burnout or gas supply issues. Common indicators include:
- Error Codes: Most units manufactured in the last decade feature a digital display or a blinking LED light on the gas valve. Common codes for sensor failure include "E02," "E03," or specific "Sensor Open/Short" alerts.
- No Hot Water: If the sensor fails in the "open" position, the control board assumes the water is already at the target temperature or that a safety breach has occurred, preventing the heating cycle from starting.
- Inconsistent Temperatures: A drifting sensor might report that the water is 120°F when it is actually 90°F, leading to lukewarm showers.
- Water Overheating: Conversely, if the sensor fails to report the rise in temperature, the heating elements may stay on indefinitely until the T&P (Temperature and Pressure Relief) valve triggers or the high-limit switch (ECO) trips.
- Pilot Light Failure: On gas units, a failing thermocouple will prevent the pilot light from staying lit, as it can no longer generate the millivoltage required to hold the gas safety valve open.
Safety Protocols and Required Tools
Working on a water heater involves two major hazards: high-voltage electricity (usually 240V for electric tanks) and combustible gas. You must adhere to strict safety guidelines to prevent injury or property damage.
Necessary Tools
- Digital Multimeter: Essential for testing resistance (ohms) and continuity.
- Adjustable Wrench or Socket Set: For removing the sensor or access panels.
- Screwdrivers (Phillips and Flathead): To access the wiring and control covers.
- Non-Contact Voltage Tester: To ensure electricity is completely off.
- Replacement Sensor: Ensure this is the exact OEM (Original Equipment Manufacturer) part or a certified equivalent.
Safety Steps
- Cut the Power: For electric heaters, switch off the dedicated double-pole breaker in your home's main electrical panel. Use a voltage tester at the heater to confirm no power is present.
- Shut Off the Gas: For gas units, turn the manual shut-off valve on the gas line to the "Off" position (perpendicular to the pipe).
- Cool the Water: If you need to remove a "wet-well" sensor (one that is in direct contact with water), allow the tank to cool for several hours or flush a few gallons of cold water through it to avoid scalding.
Diagnostic Testing with a Multimeter
The most accurate way to fix a sensor failure is to prove the failure through electrical testing. This prevents "parts cannon" repairs where components are replaced unnecessarily.
Testing a Thermistor (Electric/Tankless)
Set your multimeter to the Ohms (Ω) setting. Disconnect the sensor wires from the control board. Place the probes on the sensor terminals. At room temperature (approx. 77°F or 25°C), most water heater thermistors should read around 10,000 ohms (10k Ω) or 50,000 ohms (50k Ω), depending on the brand.
If the meter reads "OL" (Open Loop), the sensor is dead. If it reads "0.00," the sensor is shorted. Compare your reading to the resistance chart usually found in the service manual or on the inside of the access panel.
Testing a Thermocouple (Gas)
Set the multimeter to Millivolts (mV). While the pilot light is burning and hitting the tip of the thermocouple, you should see a reading between 25 and 30 mV. If the reading is below 20 mV, the thermocouple is weak and will likely fail to keep the gas valve open, necessitating a replacement.
Step-by-Step Repair Guide for Electric Water Heaters
Electric water heaters often utilize "dry" sensors that are clipped against the tank wall or inserted into a plastic sleeve.
- Access the Sensor: Remove the upper or lower access panel on the side of the tank. Move the insulation aside (wear gloves to avoid fiberglass irritation).
- Locate the Thermistor: It is usually a small plastic-encased bulb held against the tank by a metal clip or integrated into the thermostat bracket.
- Disconnect Wiring: Carefully unplug the wire harness leading to the control board. Do not tug on the wires themselves; pull from the plastic connector.
- Remove the Old Sensor: Slide the sensor out of its mounting clip. If it is a "wet" sensor (screwed into the tank), you must drain the water level below the sensor port before unscrewing it.
- Install the New Sensor: Place the new sensor in the exact position as the old one. Proper contact with the tank wall is crucial for accurate temperature readings.
- Reconnect and Reassemble: Plug the wiring harness back in, replace the insulation, and screw the access panel back on.
- Restore Power: Turn the breaker back on and monitor the unit for one full heating cycle.
Step-by-Step Repair Guide for Gas and Tankless Water Heaters
Modern gas units and tankless systems are more complex and may require more specific disassembly.
- Clear the Area: Ensure the workspace is well-ventilated.
- Access the Burner Assembly (Tank-style): You may need to remove the outer and inner door at the base of the heater.
- Replace the Thermocouple: If the thermocouple is the issue, unscrew it from the gas valve and unclip it from the burner bracket. Shape the new thermocouple lead to match the old one, ensuring it doesn't touch the burner's hot surfaces, and snap it into place.
- Tankless Sensor Replacement: Tankless units often have sensors on both the inlet and outlet copper pipes. These are usually held in place by a single screw and an O-ring.
- Note: You must shut off the water supply and drain the unit's internal heat exchanger before removing these, as they are in direct contact with the water.
- Apply Thermal Paste: If the manufacturer provides a small tube of thermal grease, apply it to the tip of the sensor. This ensures efficient heat transfer from the pipe/tank to the sensor.
- Check for Leaks: After installing a "wet" sensor, turn the water back on and check for drips before restoring gas or power.
Sensor Resistance Reference Table
The following table provides typical resistance values for NTC thermistors used in many residential water heaters as of 2026. Note: Always verify with your specific manufacturer's service manual.
| Water Temperature (°F) | Water Temperature (°C) | Expected Resistance (10k Ohm Scale) | Expected Resistance (50k Ohm Scale) |
|---|---|---|---|
| 50°F | 10°C | 18,700 Ω | 96,000 Ω |
| 68°F | 20°C | 12,200 Ω | 62,000 Ω |
| 77°F | 25°C | 10,000 Ω | 50,000 Ω |
| 104°F | 40°C | 5,800 Ω | 29,000 Ω |
| 122°F | 50°C | 4,100 Ω | 20,000 Ω |
| 140°F | 60°C | 3,000 Ω | 15,000 Ω |
Cost Analysis and Professional Guidance
Repairing a temperature sensor is one of the more cost-effective water heater fixes.
- DIY Cost: A replacement thermistor typically costs between $20 and $60. A universal thermocouple for a gas unit usually ranges from $15 to $35.
- Professional Cost: If you hire a licensed plumber or HVAC technician, expect to pay between $150 and $350. This includes the service call fee, diagnostic time, and the part markup.
While the repair is manageable for a confident DIYer, you should call a professional if you smell gas, see signs of significant tank corrosion, or if the control board itself appears charred or damaged. Improperly bypassing a safety sensor is extremely dangerous and can lead to tank explosions or carbon monoxide leaks.
Preventive Maintenance to Avoid Future Failure
Sensor failures are often caused by environmental factors rather than internal defects.
- Sediment Management: If you have a "wet" sensor, heavy sediment buildup in the tank can insulate the sensor, causing it to read temperatures incorrectly or overheat and burn out. Flush your tank annually to remove calcium and lime scale.
- Electrical Protection: For high-efficiency units with control boards, use a dedicated surge protector. Power surges can fry the sensitive resistors within a thermistor.
- Corrosion Check: Inspect the wiring harness every year. Humidity in a basement or garage can lead to terminal corrosion, which increases resistance and tricks the control board into thinking the sensor has failed. Cleaning terminals with electronic cleaner can often "fix" a sensor without needing a replacement.
Frequently Asked Questions
Can I bypass a water heater temperature sensor?
No, you should never bypass a temperature sensor or a high-limit switch. These components are vital safety devices that prevent the water from boiling and turning the tank into a pressurized vessel. Bypassing them can lead to catastrophic tank failure or fire. If the sensor is failing, it must be replaced.
Why does my sensor keep failing every few months?
Recurrent sensor failure is usually a symptom of a larger issue. In gas units, it may be due to poor venting causing "backdrafting," which overheats the sensor. In electric units, it may be caused by a heating element that is partially shorted to ground, or significant scale buildup on the sensor probe if it is an immersion-style model.
How long do water heater sensors typically last?
A high-quality thermistor or thermocouple should last 8 to 12 years, often the entire lifespan of the water heater. However, harsh water conditions (hard water) or frequent power fluctuations can shorten this lifespan significantly. In 2026, many homeowners choose to replace the sensor proactively if the unit is over 10 years old and undergoing other repairs.
Do I need to drain the entire tank to fix a sensor failure?
It depends on the model. If your heater uses a "dry" sensor clipped to the outside of the tank, no draining is required. If it uses an immersion sensor (common in tankless and some high-end electric tanks), you only need to drain the water level down until it is below the sensor's port. You do not always need a 100% empty tank.
Can a dirty sensor be cleaned instead of replaced?
If the sensor is an immersion type (wet), it can accumulate lime scale. You can try cleaning the probe with white vinegar and a soft cloth to remove the mineral deposits. This may restore accurate readings. However, if the internal electrical components are compromised, cleaning the exterior will not help, and replacement is necessary.
Practical Recommendation
If your water heater is displaying a sensor-related error code or failing to heat, start by performing a hard reset. Power down the unit at the breaker for 60 seconds and then restore power. If the error returns immediately, proceed with the multimeter resistance test described above. Always ensure you purchase an OEM replacement part using your water heater's specific model and serial number, as resistance curves vary significantly between brands like Rheem, AO Smith, and Bradford White. For safety and compliance with the U.S. Department of Energy guidelines, ensure all covers are securely replaced before operating the unit.
Image Gallery
Select an image to open it in a new tab.


Ingrid Bjornson
Global Cyber Policy and Regulation Analyst
