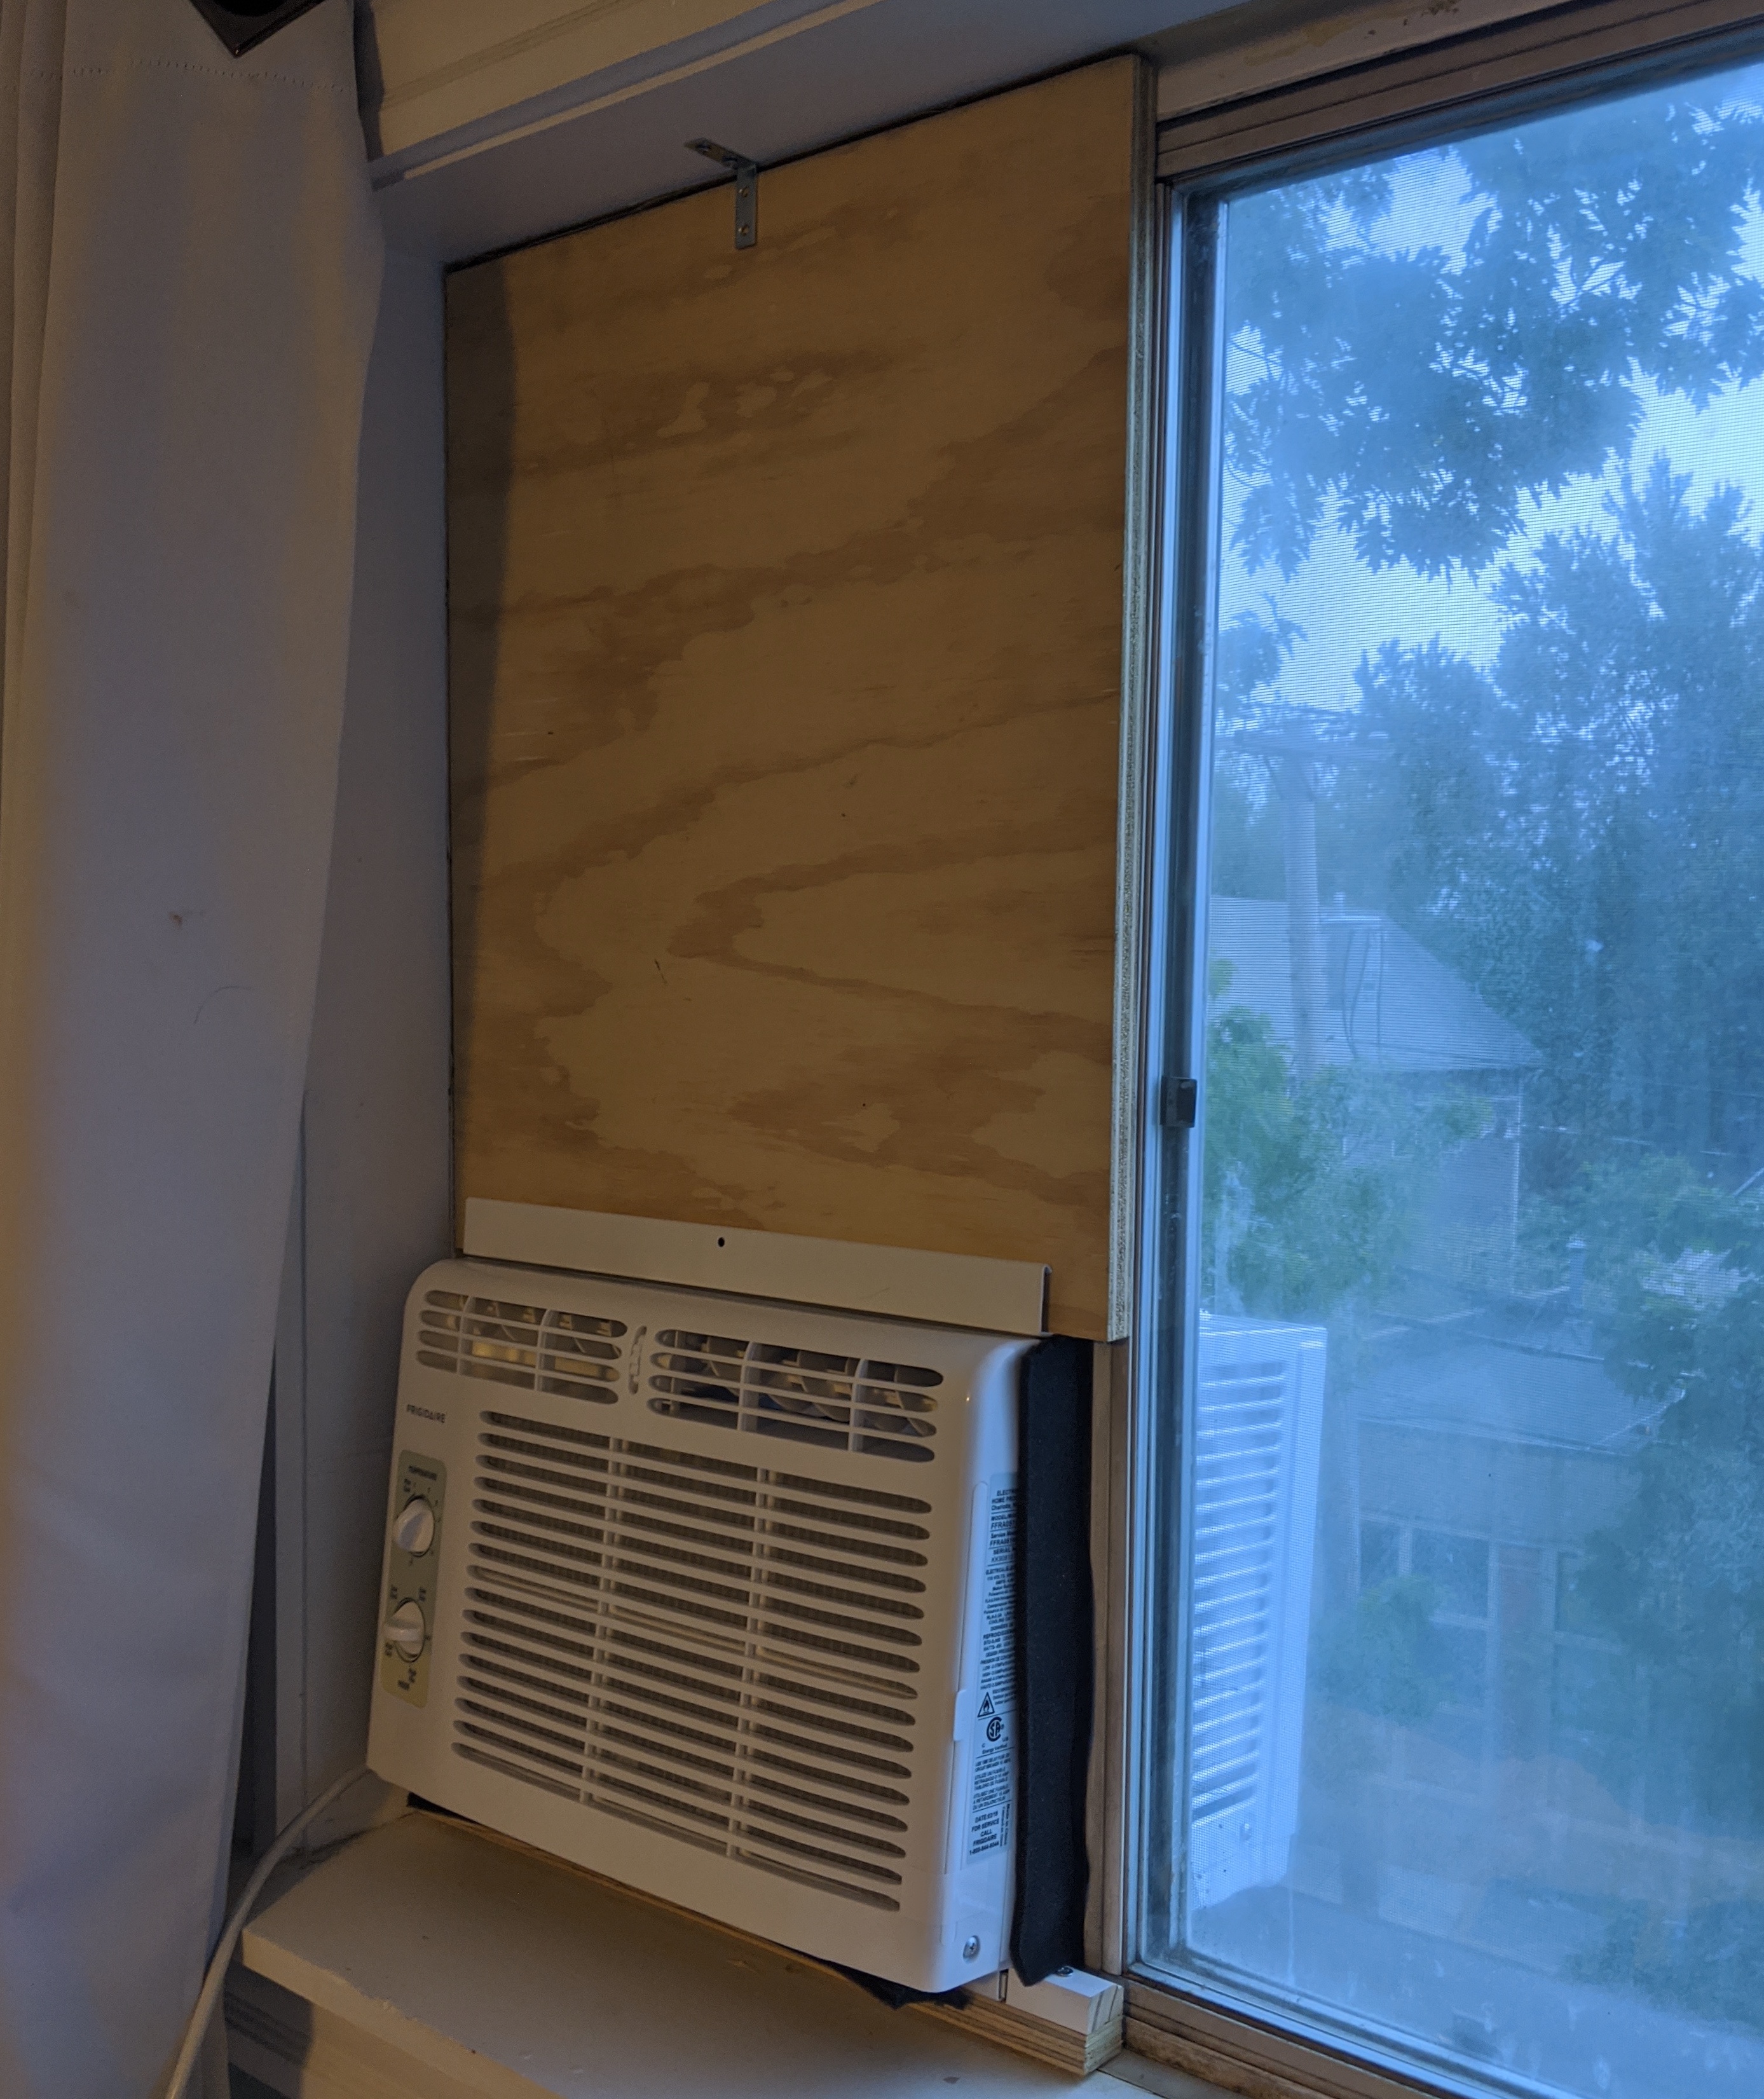
Repairing a window air conditioner unit involves diagnosing electrical or mechanical failures—such as a faulty capacitor, clogged drainage, or dirty evaporator coils—and performing targeted maintenance or part replacement. Most issues, ranging from insufficient cooling to power failure, can be resolved by cleaning the internal components, testing for electrical continuity, or ensuring proper installation tilt for drainage.
Window air conditioning units are robust, self-contained cooling systems designed to provide localized climate control. However, like any mechanical system subject to constant thermal cycling and environmental exposure, they are prone to specific failure modes. As of 2026, many units utilize advanced inverter technology and more environmentally friendly refrigerants, but the fundamental principles of the vapor-compression cycle and the electrical components governing them remain consistent. Understanding how to safely disassemble, diagnose, and repair these units can save homeowners significant replacement costs and extend the life of the appliance by several years.
Safety Protocols and Initial Assessment
Before attempting any repair on a window air conditioner, safety must be the primary consideration. These units contain high-voltage electrical components and pressurized refrigerant systems.
Electrical Safety and Capacitor Discharge
The most dangerous component in a window AC unit is the run capacitor. This device stores an electrical charge even after the unit has been unplugged from the wall. Before touching any internal wiring, you must unplug the unit and discharge the capacitor. To do this, use an insulated screwdriver to short the terminals of the capacitor, or preferably, use a specialized discharge tool that includes a resistor to bleed the charge off slowly and safely. Failure to do so can result in a severe electrical shock.
Understanding the Cooling Cycle
To repair a unit effectively, one must understand its four main components: the compressor, the condenser (outdoor coils), the expansion valve (or capillary tube), and the evaporator (indoor coils). A failure in any part of this loop results in a "not cooling" symptom. While homeowners can clean coils and replace fans, repairs involving the refrigerant itself—such as recharging or fixing a leak in the copper lines—require a Section 608 certification from the EPA. In 2026, handling newer refrigerants like R-32 requires specific gauges and safety equipment due to their mild flammability (A2L rating).
Required Tools and Materials for Repair
To perform a comprehensive repair, you will need a specialized toolkit. Relying on improper tools can damage the delicate aluminum fins or strip the fasteners holding the chassis together.
- Multimeter: Essential for testing the thermostat, capacitors, and fan motor windings for continuity and correct voltage.
- Fin Comb: Used to straighten bent aluminum fins on the evaporator or condenser coils to restore airflow.
- Nut Drivers and Screwdrivers: Most window units use a combination of Phillips-head screws and 1/4-inch or 5/16-inch hex head screws.
- No-Rinse Coil Cleaner: An alkaline or specialized foaming agent designed to dissolve grime without damaging the metal.
- Shop Vacuum: For removing standing water and debris from the base pan.
- Replacement Parts: Common items include new filters, capacitors, and occasionally a replacement thermostat or control board.

Troubleshooting Common Window AC Failures
Diagnostic accuracy is the difference between a quick fix and an expensive mistake. The following table outlines the most frequent symptoms encountered by users in 2026 and their likely resolutions.
| Symptom | Likely Root Cause | Recommended Action |
|---|---|---|
| Unit will not turn on | Blown fuse, tripped GFCI, or faulty control board. | Check the LCDI plug reset button; test internal fuses with a multimeter. |
| Compressor hums but doesn't start | Failed run capacitor or seized compressor. | Test and replace the capacitor; if failed, check compressor for "grounding." |
| Unit runs but does not cool | Dirty coils, frozen evaporator, or refrigerant loss. | Clean all coils; check for airflow obstructions; inspect for oily residue (leak). |
| Water dripping into the room | Clogged drain hole or improper installation angle. | Clear the drain path; ensure the unit tilts slightly toward the outside. |
| Ice buildup on indoor coils | Low airflow or low refrigerant. | Replace the air filter; clean the evaporator; check fan speed. |
| Extremely loud vibrating noise | Loose fan blade or worn motor bearings. | Tighten the fan hub screw; lubricate or replace the fan motor. |
Deep Cleaning: The Most Common Repair
Often, what appears to be a mechanical failure is simply a lack of maintenance. Over time, dust, pollen, and biological growth insulate the coils, preventing heat exchange.
Step 1: Chassis Removal
Most window units are "slide-out" or "fixed-chassis." For fixed units, you must remove the front plastic grille and then unscrew the metal outer casing. Carefully lift the casing away to reveal the internal components. Be cautious of the sharp aluminum fins, which can easily cause skin lacerations.
Step 2: Cleaning the Evaporator and Condenser
Apply a foaming coil cleaner to the indoor (evaporator) and outdoor (condenser) coils. Allow the foam to sit for the duration recommended by the manufacturer—usually 10 to 15 minutes. The foam will break down the "biofilm" and dust trapped deep within the fins. Rinse the condenser (outdoor) coils with a low-pressure garden hose, ensuring you do not spray water directly into the electrical control box. For the indoor coils, a no-rinse cleaner is preferred as the condensation during operation will eventually wash the residue into the drain pan.
Step 3: Clearing the Drainage System
The base pan of the AC unit is designed to collect water (condensate) and channel it toward the back of the unit. Many modern units use a "slinger ring" on the outdoor fan to pick up this water and throw it against the hot condenser coils to help with cooling. However, if the drain holes are plugged with debris or algae, water will back up and leak into the home. Use a pipe cleaner or compressed air to clear these channels.
Electrical Component Testing and Replacement
If the unit is clean but still malfunctioning, the problem is likely electrical. In 2026, even units with digital displays still rely on a few standard components.
Testing the Run Capacitor
The capacitor provides the "kick" needed to start the compressor and the fan motor. If you hear a humming sound followed by a click (the thermal overload protector tripping), the capacitor is the primary suspect. Using your multimeter set to the Capacitance (µF) setting, touch the probes to the terminals. If the reading is more than 10% below the rating printed on the part, it must be replaced. Ensure the replacement matches the microfarad (µF) and voltage rating exactly.
Fan Motor Issues
If the compressor is running but the air isn't moving, the fan motor has likely failed. First, try to spin the fan blades by hand (with the power off). If they are difficult to turn, the bearings are seized. If they spin freely, use a multimeter to check for continuity across the motor windings. No continuity indicates a broken internal wire or a blown thermal fuse within the motor itself, requiring a full motor replacement.
Thermostat and Control Board Replacement
In units with digital controls, the thermostat is usually a thermistor—a small sensor that changes resistance based on temperature. If the AC won't cycle on or stays on indefinitely, test the thermistor’s resistance. If it reads "O.L" (open loop), it is faulty. If the thermistor is fine but the unit behaves erratically, the main control board may have scorched solder joints or failed relays. Replacement boards can often be sourced using the specific model number of the unit, though as of 2026, some manufacturers have moved toward integrated modules that are replaced as a single assembly.
Mechanical Repairs and Fin Maintenance
The physical structure of the AC unit is vital for its efficiency. The aluminum fins on the coils are paper-thin and easily damaged by hail, debris, or improper handling.
Straightening Coils
Bent fins restrict airflow, which increases the pressure in the system and forces the compressor to work harder, leading to premature failure. Use a fin comb that matches the "fins per inch" (FPI) count of your unit. Gently draw the comb through the bent sections to restore the vertical alignment. This simple mechanical repair can often improve cooling capacity by 10-15%.
Addressing Vibrations and Noise
Window units are notorious for rattling. This is often caused by the copper tubing vibrating against the metal casing or the base pan. You can resolve this by carefully bending the tubing (taking care not to kink it) so it doesn't touch other surfaces, or by applying high-temperature foam insulation or "thumb gum" (a putty-like sealant) to dampen the vibrations. Additionally, check the mounting of the compressor; if the rubber isolation grommets have dry-rotted, they should be replaced to prevent metal-on-metal contact.
When to Repair vs. Replace in 2026
By 2026, the efficiency standards for window air conditioners have tightened. When facing a significant repair, homeowners must weigh the cost of parts against the benefits of a new unit.
- Refrigerant Leaks: If a unit has a leak in the evaporator or condenser, the repair cost (labor + refrigerant + sealing) usually exceeds 70% of the cost of a new unit. In most cases, replacement is the more economical and environmentally friendly option.
- Compressor Failure: A "grounded" or "shorted" compressor is a terminal illness for a window AC. The cost of a new compressor and the labor to sweat (braze) it into the system is almost always higher than the price of a new, high-efficiency inverter unit.
- Minor Electrical/Cleaning: If the repair is a capacitor, fan motor, or deep clean, the cost is typically under $100 for a DIYer. This is highly recommended for units less than 8-10 years old.
FAQ
How do I know if my window AC is low on Freon? Standard window units are "critically charged" and hermetically sealed, meaning they do not have service ports for checking levels easily. Signs of low refrigerant include the unit blowing lukewarm air while the compressor is running, or ice forming in a specific pattern on the evaporator coils (often just one or two loops of the coil being frozen while the rest are warm). If you see oily residue on the copper lines, that is a sign of a refrigerant leak.
Why is my window air conditioner blowing a fuse? A blown fuse or tripped breaker usually indicates an "overcurrent" situation. This happens if the compressor is struggling to start (bad capacitor), the coils are so dirty that the unit is overheating, or there is a direct electrical short in the wiring. Always check the power cord for damage and ensure the unit is on a dedicated circuit, as window ACs pull significant amperage.
Can I use a pressure washer to clean the coils? No. You should never use a pressure washer on an air conditioner. The high-pressure water will instantly flatten the delicate aluminum fins, permanently damaging the unit and blocking all airflow. Use a standard garden hose with a gentle spray or a specialized coil cleaning brush.
How often should I clean the internal components? While the mesh filter should be cleaned every month during the cooling season, a full "case-off" deep cleaning should be performed once a year, ideally in the spring before the first heatwave. This prevents the buildup of mold and maintains the unit's Seasonal Energy Efficiency Ratio (SEER2) rating.
What is the "Slinger Ring" and why is it making a splashing noise? The slinger ring is a part of the outdoor fan blade assembly. It is designed to pick up condensate water from the base pan and splash it onto the hot condenser coils. This is a deliberate design feature in many modern units to improve efficiency through evaporative cooling. A "splashing" or "pinging" sound is normal; however, if it becomes a loud "thunking," there may be debris caught in the fan path.
Final Recommendations for Maintenance
To avoid the need for major repairs, implement a preventative maintenance schedule. Ensure the unit is installed with a 1/4-inch to 1/2-inch rearward tilt to prevent water from pooling in the front. Use a high-quality surge protector specifically rated for appliances to protect the sensitive electronic control boards from voltage spikes. Finally, during the off-season, either remove the unit from the window or use a heavy-duty insulated cover to prevent the internal components from being damaged by freezing water and debris.
Image Gallery
Select an image to open it in a new tab.


Akira Tanaka
International Academic Trends Correspondent
