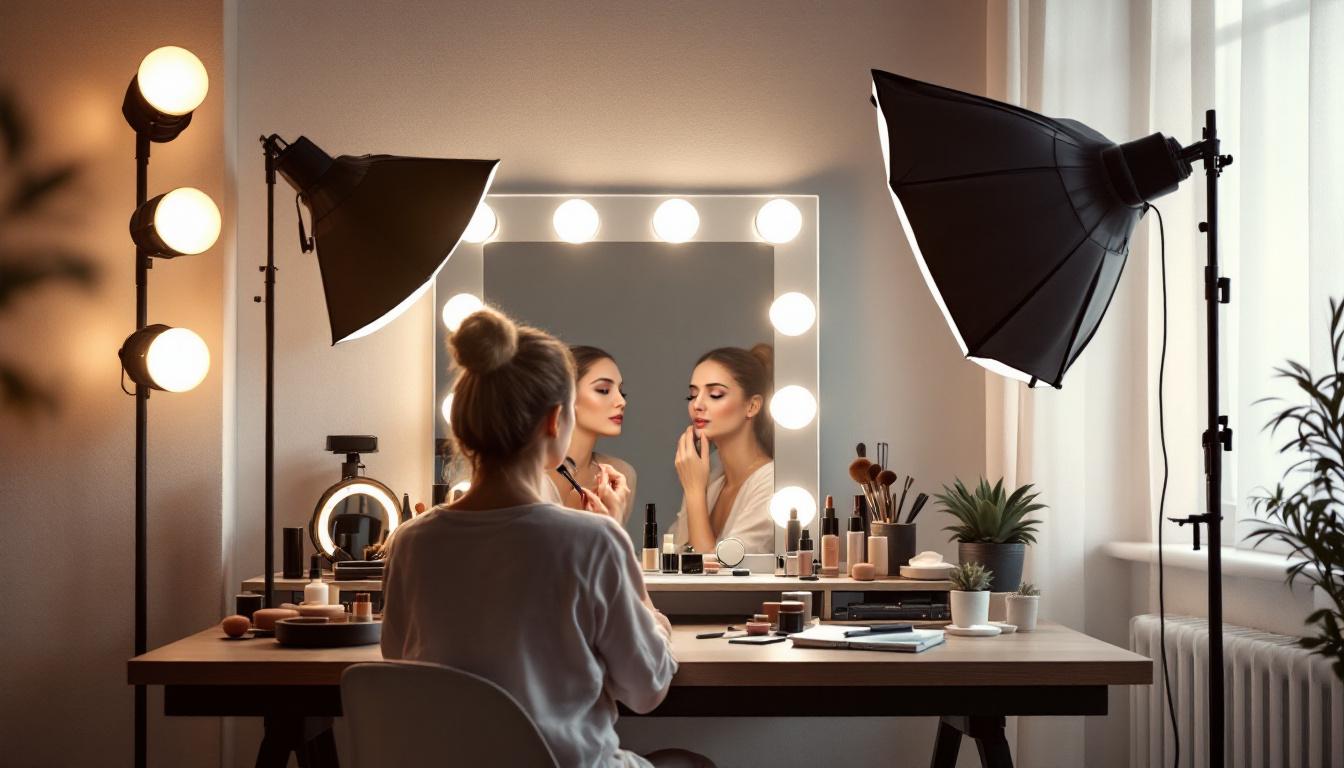
Choosing the right makeup look for engagement photos requires balancing your personal everyday style with the technical demands of high-definition digital cameras. The ideal look enhances your features, coordinates naturally with your chosen location and wardrobe, controls excess shine without eliminating dimension, and builds enough color saturation to prevent high-resolution camera sensors and flash lighting from washing out your skin.
Why Camera Makeup Differs from Everyday Application
Everyday makeup is designed to look seamless to the human eye under ambient natural light. Photographic makeup, however, must perform under digital camera sensors, off-camera flashes, and high-definition lenses that interpret light, shadow, and texture quite differently than the naked eye. Understanding these technical nuances prevents common photography mishaps, such as washed-out complexion features or chalky reflections.
| Everyday Lighting | Camera & Flash Lighting |
|---|---|
| Absorbs ambient bounce | Washes out 20%-30% color depth |
| Soft natural shadows | Flattens 3D facial contours |
| Subtle shimmer looks radiant | High particle reflection/glare |
The Camera Flattening Effect and Color Absorption
Digital camera sensors—particularly when shooting in RAW format—and powerful strobes or natural sun glare flatten three-dimensional objects into two-dimensional images. During this digital translation, cameras absorb approximately 20% to 30% of the color intensity applied to the face. A subtle blush or natural lip tint that looks soft and flushed in your bathroom mirror often appears virtually invisible on raw photo files.
To counter this effect, facial features require slightly more defined contrast, intentional structure, and deeper color saturation than you would wear for a typical day out. Contouring must establish artificial shadows to reclaim the dimension that flat lighting strips away. Eyebrows need crisp definition to frame the eyes, and cheek color requires strategic layering so the skin appears healthy and vibrant in final edits.
Managing Light and Avoiding Flashback
Flashback occurs when light bouncing off specific cosmetic ingredients reflects back into the camera lens, creating a ghostly white cast over the face. This phenomenon is primarily caused by two factors: high concentrations of physical sunscreens (such as non-nano titanium dioxide or zinc oxide) and loose finishing powders packed with pure silica or talc.
While physical sunscreens are critical for daily skin protection, they work by sitting on top of the dermis and reflecting ultraviolet rays. Under a strong camera flash, that reflection turns bright white. When selecting products for an engagement shoot, opt for chemical sunscreens or skip SPF in your base products entirely if shooting late in the afternoon or indoors. Similarly, choose tinted, finely milled powders or micro-fine setting sprays engineered specifically for photography rather than heavy translucent HD silica powders.
Key Factors in Choosing Your Engagement Photo Look
Selecting your makeup style should never happen in isolation. The most successful engagement portraits showcase harmony between your facial features, your attire, the shoot setting, and the time of day.
- Environment: Natural vs Studio
- Wardrobe: Casual vs Chic
- Makeup Intensity: Defined vs Soft
Location, Environment, and Lighting
The physical setting dictates both the aesthetic vibe and the durability requirements of your makeup:
- Golden Hour / Outdoor Nature Settings: Direct sunlight and warm ambient glow complement soft, earth-toned palettes, warm bronzers, and hydrated skin finishes. However, outdoor shoots expose makeup to wind, humidity, and heat, requiring long-wear liquid foundations and sweat-resistant primers.
- Urban / Architectural Settings: Clean lines, cityscapes, and modern backdrops pair exceptionally well with structured makeup styles, such as sharp winged eyeliner, a classic neutral lip, or precise facial contouring.
- Indoor / Studio Settings: Controlled studio strobes demand absolute control over facial shine. While outdoor natural light can forgive a bit of extra dewiness, studio lights convert extra oil into harsh hot spots on the forehead, nose, and chin, making satin-to-matte foundations essential.
Wardrobe Cohesion and Color Palettes
Your makeup should complement—not clash with—your clothing choices. If you are changing outfits during the shoot (for example, transitioning from a casual daytime look to formal evening attire), your makeup base must remain versatile enough to bridge both styles.
- Neutral Wardrobe (Cream, Beige, Navy, Black): Allows for greater flexibility on the face. You can introduce a bolder berry lip, a classic red, or deeper bronze eyeshadows without overwhelming the frame.
- Vibrant or Patterned Wardrobe: Demands softer, more muted makeup. Stick to neutral rose tones, warm taupes, and soft peach blush to ensure your face remains the focal point of the photograph rather than competing with bright clothing prints.
Personal Style vs. Upgraded Glamour
A common mistake is selecting a makeup style completely detached from your daily identity. If you rarely wear heavy eye makeup, suddenly opting for a dark, dramatic smoky eye can make you feel self-conscious and unrecognized in your own portraits.
The goal of engagement makeup is an elevated version of yourself. If your everyday routine consists of tinted moisturizer and mascara, target a refined "soft glam" or "elevated natural" aesthetic. If you love full glam daily, embrace that structured look, ensuring the technical application holds up to camera lenses. Confidence translates directly through the camera lens; feeling comfortable in your skin produces authentic poses and relaxed facial expressions.
Popular Engagement Photo Makeup Styles Compared
To help you decide which look aligns best with your vision, evaluate how different makeup styles perform across lighting scenarios, maintenance needs, and outfit combinations.
| Makeup Style | Best Lighting Match | Camera Impact | Maintenance Level | Recommended Outfits |
|---|---|---|---|---|
| Elevated Natural | Natural sunlight, Golden hour outdoor shoots | Softly frames features; requires subtle bronzing to prevent washout | Low; easy to touch up with lip balm and powder | Sundresses, casual denim/knitwear, cozy outdoor wear |
| Soft Glamour (Most Popular) | Indoor, outdoor, shade, and studio lighting | Excellent balance; captures defined features without looking heavy | Medium; requires mid-shoot lip reapplication and blotting | Cocktail dresses, tailored suits, romantic midi dresses |
| Classic Bold / Editorial | Studio strobes, evening cityscapes, indoor venues | High contrast; draws immediate focus to lips or eyes | High; demands precise lip lining and spot-checking for smudges | Formal gowns, sharp tuxedos, sleek monochromatic attire |
The Elevated Natural Look
This look focuses on polished skin, light-reflecting hydrators, subtle brown or taupe eye definition, groomed brows, and a "your-lips-but-better" shade. It is ideal for couples planning a relaxed, outdoor engagement shoot in a park, beach, or mountain setting.
- Focus: Perfecting skin texture while letting freckles show gently through.
- Technique: Using cream blushes layered over medium-coverage hydrating foundation, soft cream bronzer, and individual lash clusters placed only on the outer corners of the eyes.
Soft Glamour
Soft Glam is the industry gold standard for portrait and wedding photography. It provides structure, symmetry, and definition without appearing overly harsh or heavy under bright lights.
- Focus: Defined, almond-shaped eye contouring, smooth matte-satin skin complexion, seamless blending, and sculpted cheekbones.
- Technique: Neutral-toned eyeshadow transitions (champagne, rose gold, medium brown), subtle smudged eyeliner, full strip lashes with tapered ends, and a satin nude-pink lip framed by a defined lip liner.
Classic Bold Statement
Designed for high-fashion engagement concepts or formal evening photography, this look centers around a singular strong feature—most commonly a striking red or deep berry lip, paired with clean, sharp eye definition.
- Focus: High contrast, crisp lines, and flawless skin tone uniform down to the collarbones.
- Technique: Precision liquid or gel eyeliner, matte long-wear lipstick applied with a lip brush, precise facial highlighting, and a balanced matte complexion to hold up against dramatic urban lighting.
Step-by-Step Application Guide for Photo-Ready Skin
Achieving long-lasting, camera-ready makeup requires a systematic, layered approach. Skipping essential preparation steps can lead to premature melting, patchiness, or unflattering reflection.
- Prep & Prime: Cleanse, hydrate, apply skin-type primer
- Base & Correct: Medium-to-full foundation, spot concealing
- Sculpt & Color: Cream/powder contour, bronzer, blush layering
- Define Eyes: Matte transitions, defined liner, lash clusters
- Set & Lock: Micro-fine powder, dual setting spray application
Skin Preparation and Priming
Flawless makeup application always begins with thorough skin prep, tailored specifically to your skin type:
- Exfoliation (24–48 Hours Prior): Gently exfoliate skin two days before the shoot using a mild chemical exfoliant (such as lactic acid or mandelic acid) to remove dry flakes. Avoid harsh physical scrubs or aggressive chemical peels right before the shoot to prevent redness.
- Hydration Layering: Apply a lightweight, hyaluronic acid-based serum followed by an oil-free moisturizer. Allow products to absorb completely for 5–10 minutes before applying makeup.
- Targeted Priming: Use a silicone-based pore-minimizing primer on the T-zone (forehead, nose, chin) to smooth out skin texture, and a hydrating or illuminating primer on the perimeter of the face for natural radiance.
Foundation and Concealer Matching
Matching foundation for photography requires matching the shade to your chest and shoulders, not just your jawline. Because portraits often capture your face next to exposed necklines and shoulders, color inconsistencies become glaringly obvious in high-resolution photos.
- Formula Selection: Choose a liquid medium-to-full buildable coverage foundation with a natural satin finish. Luminizing or "dewy" foundations contain micro-shimmer that can make skin look greasy under camera strobes, while extreme matte foundations can settle into fine lines and appear chalky.
- Concealer Application: Apply a creamy concealer one shade lighter than your foundation under the eyes in an inverted triangle shape to illuminate the center of the face. Use a pinpoint concealer matching your exact foundation shade to cover any active blemishes.
Sculpting, Bronzing, and Blush Placement
Because the camera flattens natural shadows, reintroducing dimension is crucial.
- Contouring vs. Bronzing: Contour with a cool, taupe-toned shade under the cheekbones, along the jawline, and down the sides of the nose to simulate natural shadows. Apply warm bronzer higher on the face—across the top of the forehead and upper cheekbones—to add warmth.
- Blush Layering: Layering is key to blush longevity. Apply a cream blush onto the apples of the cheeks first, blend upwards toward the hairline, and set it with a matching powder blush. This double-application technique guarantees your blush will survive hours of moving between photoshoot locations.
Eye Definition and Lash Selection
Eyes are the focal point of portrait photography. Defining the eyes prevents them from looking small or lost in wider shots.
Inner Corner: Shortest individual lashes
Outer Corner: Double length/density
Shadow Palettes: Stick primarily to matte eyeshadows in your crease to create depth, using shimmer or satin shadows sparingly on the center of the eyelids or inner corners. Ultra-glittery eyeshadows can scatter light unpredictably into the lens.
Eyeliner: Tightline the upper waterline with a waterproof black gel pencil to make the lash base look dense. Line the top lid with a dark brown or black liner, smudging the outer edge softly to avoid harsh hard lines.
False Lashes: False eyelashes are highly recommended for photo shoots. Opt for fluttery, tapered strip lashes or individual lash clusters (short to medium lengths) concentrated on the outer corners. Avoid dense, blunt-cut "heavy" lashes, as they block light from reaching your eyes, creating dark shadows over your iris in photos.
Lip Formulas That Last
Lipstick must withstand kissing poses, changing outfits, and sipping water.
- Prep: Exfoliate lips gently with a soft washcloth or lip scrub, followed by a light lip balm. Blot off any excess grease before applying color.
- Line: Outline and fully shade in the entire lip with a waterproof lip liner. This creates a pigmented color base that remains even if your lipstick wears down.
- Apply & Blot: Apply a satin or matte long-wear lipstick, blot with a tissue, dusting a tiny amount of translucent powder through the tissue, and reapply a second layer of lipstick to lock in pigment.
Professional Makeup Artist vs. DIY Application
Deciding whether to hire a professional makeup artist (MUA) or do your own makeup depends on your budget, confidence level, and timeframe.
| Hire a Professional Artist If: | Do Your Own Makeup (DIY) If: |
|---|---|
| Engagement package includes MUA | Highly skilled in application |
| Testing MUA for wedding day | Extremely sensitive/reactive |
| Uncomfortable doing full glam | Strict budget constraints |
| Destination shoot (traveling) | Casual/spontaneous style |
Benefits of Hiring a Professional
Hiring an experienced bridal or commercial MUA provides several key advantages:
- Technical Photography Expertise: Professional MUAs understand exact product interactions, lighting variations, and HD techniques, eliminating guessing games about flash-back or uneven wear.
- Wedding Trial Run: Many brides schedule their official wedding makeup trial on the same day as their engagement shoot. This offers a practical stress test to see how the look wears over 8+ hours and translates on camera before committing to it for the wedding day.
- Stress Reduction: On the day of the shoot, having an artist handle your hair and makeup allows you to relax and enter the shoot feeling pampered and focused.
Tips for Doing Your Own Makeup
If you choose to do your own makeup, follow these practical steps to guarantee high-performance results:
- Do a Camera Test Run: Apply your full makeup routine 3–4 days before the shoot. Step outside into natural sunlight and take test photos using a digital camera (or high-resolution phone camera with flash) to check for uneven blending, flashback, or lack of color depth.
- Invest in Quality Primers and Setting Sprays: Don't skimp on base-locking products. A professional film-forming setting spray (such as film-former-heavy fixing sprays) seals liquid and powder layers together, preventing oil breakdown and humidity transfer.
- Work in Good Lighting: Apply your makeup in front of a window with indirect natural daylight or under a neutral white LED ring light (approx. 5000K color temperature). Avoid yellow bathroom bulbs, which deceive you into over-applying bronzer or under-applying foundation.
Essential Day-of Touch-Up Kit
Even the best-applied makeup requires minor upkeep during a 1-to-2-hour photoshoot, especially if you are changing locations, walking in windy conditions, or taking romantic close-up photos.
Pack a small touch-up pouch for your partner or photographer to carry:
- Blotting Papers: Essential for removing shine from the forehead, nose, and chin without disturbing underlying foundation layers or building up cakey powder layers.
- Pressed Powder Compact: A finely milled pressed powder with a small puff for targeted shine control right before close-up shots.
- Your Chosen Lip Color & Liner: Reapply after drinking water or between wardrobe transitions.
- Clear Lash Glue & Tweezers: If wearing strip lashes, keep a brush-on lash adhesive handy in case an inner corner lifts due to wind or watering eyes.
- Q-tips and Concealer Touch-Up Pen: Quick clean-up tools for unexpected mascara smudges or wind-blown hair marks.
Frequently Asked Questions
Should my engagement photo makeup match my wedding day makeup?
No, it does not need to match. Engagement photos offer a great opportunity to experiment with a different vibe. While your wedding look might be classic, formal, or romantic, your engagement look can be more casual, bohemian, or modern to reflect your everyday personality and the specific location of your shoot.
Is airbrush foundation better than traditional foundation for photos?
Both can yield flawless results. Airbrush foundation offers lightweight, long-lasting coverage that excels in humid conditions and provides a smooth finish under HD camera lenses. However, traditional liquid foundations combined with high-grade primers allow MUAs greater control to spot-conceal, adjust coverage zones, and work with textured or dry skin types.
How far in advance should I get a facial or spray tan before the shoot?
Schedule any facials or deep-cleansing skin treatments 7 to 10 days before your shoot to allow any purging or redness to heal. If getting a spray tan, schedule it 2 days prior to the shoot. This allows the guide color to rinse off completely, ensuring an even tone that will not transfer onto light wardrobe fabrics.
Can I wear SPF in my makeup for an outdoor shoot?
Yes, but choose wisely. Chemical sunscreens (containing ingredients like avobenzone, octisalate, or homosalate) absorb into the skin seamlessly and do not cause camera flashback. Avoid physical blockages containing high percentages of non-nano titanium dioxide or zinc oxide if off-camera flash or direct flash equipment will be used.
Should I wear false eyelashes for engagement photos?
False eyelashes are highly recommended for portrait photography. Even natural-looking individual lash clusters enhance eye shape, frame the iris, and ensure your eyes pop in wide-angle shots. Opt for soft, tapered styles rather than heavy, dramatic strip lashes to prevent harsh shadowing over the eyes.
Next Steps for a Stress-Free Shoot Day
To ensure your engagement photo makeup turns out exactly as envisioned, take action ahead of time:
- Gather Reference Images: Save 3–4 photos of makeup looks that match your skin tone, eye shape, and hair color to share with your makeup artist or use as your DIY template.
- Coordinate Timelines: Schedule your makeup application to finish 45–60 minutes before your planned photoshoot start time. This buffer prevents rushing and allows time for travel and wardrobe changes.
- Hydrate Early: Drink plenty of water in the 48 hours leading up to your session. Plump, well-hydrated skin provides the absolute best canvas for long-lasting, camera-ready makeup.
EDITORIAL CATEGORY METADATA:
Image Gallery
Select an image to open it in a new tab.
Akira Tanaka
International Academic Trends Correspondent
