To set up a remote backup on a Mac, the most effective method is using a dedicated cloud backup service like Backblaze or IDrive, which automatically encrypts and uploads your data to off-site servers. Alternatively, advanced users can configure Time Machine to back up to a remote Network Attached Storage (NAS) device using a secure VPN or a mesh networking tool like Tailscale.
The safety of your digital life—from professional documents and financial records to years of family photographs—depends on the redundancy of your backup strategy. While local backups to external hard drives are excellent for quick recoveries, they remain vulnerable to the same physical threats as your Mac, such as fire, theft, or flood. Remote backup, often referred to as "off-site backup," ensures that a copy of your data exists in a geographically separate location. By 2026, the landscape of remote backups has shifted toward high-capacity cloud providers and private personal clouds, making it easier than ever to secure your data without manual intervention.
Understanding the 3-2-1 Backup Strategy
Before diving into the setup, it is essential to understand why remote backup is a non-negotiable component of data integrity. The industry-standard "3-2-1 rule" dictates that you should have three copies of your data, stored on two different types of media, with at least one copy kept off-site.
In a Mac environment, this typically looks like:
- The Original Data: Residing on your Mac's internal SSD.
- The Local Backup: A Time Machine backup on an external Thunderbolt or USB-C drive.
- The Remote Backup: Data stored in the cloud or on a server in a different building.
The remote component is your "last resort" insurance policy. If your home or office is compromised, the remote backup allows you to restore your entire digital existence to a new machine.
Prerequisites for Remote Backups
Setting up a remote backup requires more preparation than simply plugging in a drive. Because you are moving data over the internet, several technical factors must be addressed to ensure the process is successful and secure.
Internet Upload Speed
Most internet service providers (ISPs) offer high download speeds but significantly lower upload speeds. For example, a "Gigabit" connection might only offer 35 Mbps to 100 Mbps of upload bandwidth. If you have 1 TB of data to back up, a 35 Mbps upload speed will take several days of continuous transmitting to complete the initial "seed." Before starting, perform a speed test to manage your expectations regarding the initial backup duration.
Data Privacy and Encryption
When your data leaves your Mac and travels to a remote server, it is potentially vulnerable. You must ensure that the backup solution uses "Zero-Knowledge" encryption. This means the data is encrypted locally on your Mac using a password known only to you before it is uploaded. In 2026, standard AES-256 encryption is the benchmark. If a provider manages the keys for you, they (or a malicious actor who gains access to their systems) could theoretically view your files.
Storage Capacity and Pricing
Remote backup services generally fall into two pricing categories: unlimited storage for a single device or a fixed amount of storage for multiple devices. If you have a Mac with a large internal drive and several attached external drives, an "unlimited" plan is usually the most cost-effective.

Method 1: Using Dedicated Cloud Backup Services (Recommended)
Dedicated cloud backup services are the most popular choice for Mac users due to their "set it and forget it" nature. Unlike sync services (like Dropbox or Google Drive), these tools are designed to mirror your entire file system.
Setting Up Backblaze
Backblaze remains a top-tier choice in 2026 for its simplicity and deep integration with macOS.
- Create an Account and Download: Visit the Backblaze official site and download the macOS installer.
- Installation and Permissions: During installation, macOS will prompt you to grant Backblaze "Full Disk Access" in System Settings. This is required so the software can read your files to back them up.
- Initial Scan: Backblaze will scan your drives to calculate the total data size. By default, it backs up everything except system files and temporary caches.
- Configure a Private Encryption Key (PEK): Navigate to the Backblaze Settings > Settings > Security. Here, you can enter a private passphrase. Warning: If you lose this passphrase, Backblaze cannot reset it, and your remote backup will be unrecoverable.
- The Initial Upload: Leave your Mac powered on and prevent it from sleeping (System Settings > Displays > Advanced) until the initial backup is complete.
Setting Up IDrive
IDrive is a versatile alternative that allows you to back up multiple Macs, iPhones, and even local NAS drives to a single account.
- Install the IDrive Application: Download the client from the IDrive website.
- Select Folders: Unlike Backblaze, which backs up everything by default, IDrive allows for more granular control. You can select specific folders or the entire "Users" directory.
- Schedule the Backup: While continuous backup is available, you can also schedule IDrive to run during the night to avoid consuming bandwidth during work hours.
- Snapshot and Versioning: IDrive provides "Snapshots," allowing you to view your remote data as it existed on a specific date, which is vital for recovering from ransomware attacks.
Method 2: Remote Time Machine (Advanced)
If you prefer not to pay for a monthly subscription and have access to a secondary location (like a parent's house or a second office), you can set up your own remote Time Machine server.
Hardware Requirements
You will need a Network Attached Storage (NAS) device, such as a Synology or QNAP unit, located at the remote site. This NAS must support the SMB (Server Message Block) protocol, which is what Time Machine uses for network backups.
Establishing a Secure Connection
You should never expose a backup server directly to the internet. Instead, use a VPN or a mesh network. Tailscale is currently the most efficient way to do this.
- Install Tailscale: Install Tailscale on both your Mac and the remote NAS. This creates a secure "MagicDNS" address for your NAS that works anywhere in the world.
- Configure SMB on the NAS: Ensure that a "Time Machine" folder is created on the NAS with user permissions restricted to your account.
- Mount the Drive: On your Mac, open Finder and press
Cmd + K. Enter the Tailscale IP address of your NAS (e.g.,smb://100.x.y.z). - Select the Drive in Time Machine: Go to System Settings > General > Time Machine. Click the "+" button and select the mounted network drive.
This method provides the familiarity of the Time Machine interface with the security of remote storage, though it is limited by the upload speed of the remote location's internet connection.
Method 3: Arq Backup (The Professional Choice)
For users who want total control over where their data is stored, Arq Backup is a powerful software-only solution. It acts as the "engine" that sends your data to various "storage targets" like Amazon S3, Backblaze B2, or Wasabi.
- Install Arq: Download the software from Arq Backup.
- Add a Storage Location: You can choose a commercial cloud storage provider. This is often cheaper for users with massive amounts of data (e.g., 10TB+) who want to pay only for the storage they use.
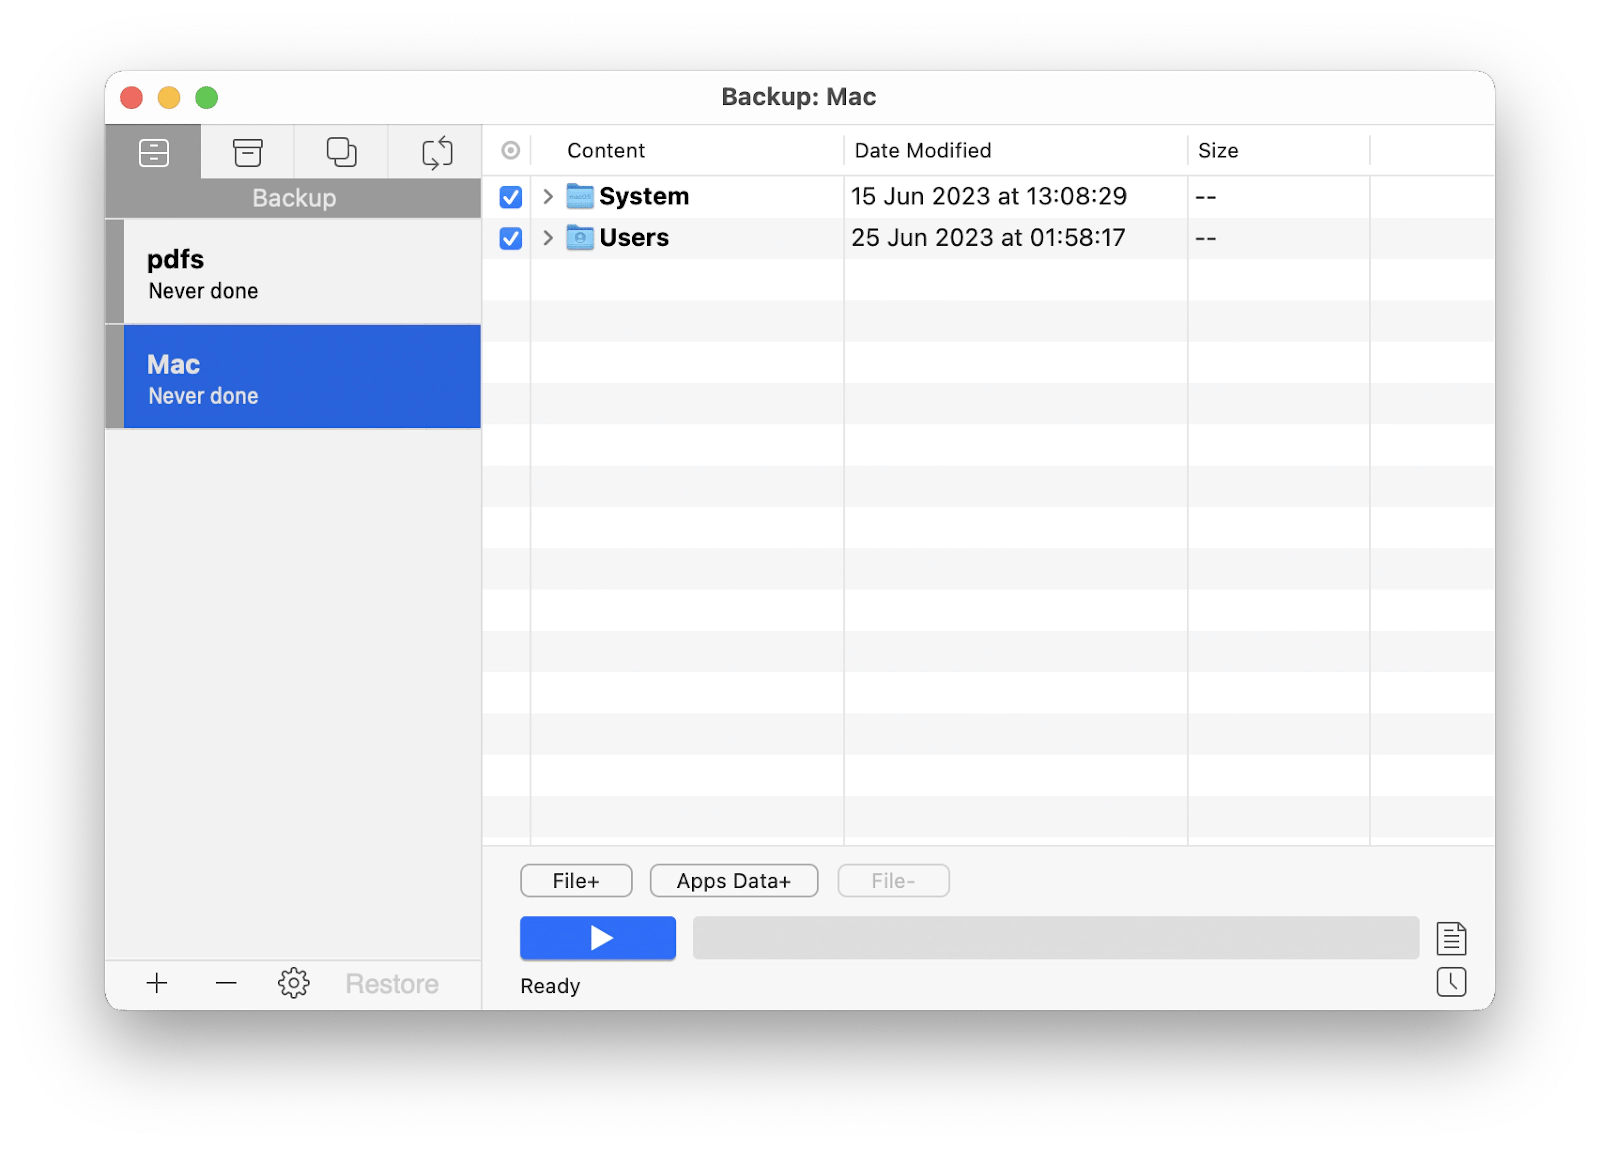
- Create a Backup Set: Define which folders on your Mac should be sent to the remote destination.
- Data Deduplication: Arq is particularly efficient because it uses "deduplication." If you have the same file in three different folders, Arq only uploads and stores it once, saving both time and remote storage costs.
Comparison of Remote Backup Methods (2026)
| Feature | Backblaze | IDrive | Remote Time Machine (NAS) | Arq + Cloud Storage |
|---|---|---|---|---|
| Ease of Use | Highest | High | Low (Requires Setup) | Moderate |
| Storage Limit | Unlimited (per Mac) | Fixed (e.g., 5TB, 10TB) | Limited by NAS Disks | Pay-per-GB |
| Zero-Knowledge | Optional (via PEK) | Yes | Yes (Local Control) | Yes |
| Cost (Estimated 2026) | ~$99/year per Mac | ~$80/year (multi-device) | Hardware Cost + $0 | Software Fee + Storage |
| Best For | Average Users | Families/Multi-Device | Privacy Enthusiasts | Professionals/Archivists |
Security Considerations for Remote Data
Regardless of the tool you choose, the transition from local to remote introduces specific risks. In 2026, the rise of sophisticated phishing and credential stuffing makes Two-Factor Authentication (2FA) mandatory for your backup account. If an attacker gains access to your backup provider account, they could delete your remote archives. Always enable 2FA using an authenticator app or a hardware security key like a YubiKey.
Furthermore, ensure your backup software is set to keep deleted files for at least 30 days. This protection is vital if you accidentally delete a file and don't realize it until weeks later; without a retention policy, the remote backup might "sync" the deletion, removing the file from the cloud as well.
Troubleshooting Common Issues
The "Initial Backup" is Stuck
This is rarely a software bug and usually a network issue. If the backup seems to stall, check if your Mac has entered sleep mode. macOS "Power Nap" features are supposed to allow backups during sleep, but they can be inconsistent with third-party software. Use the "Caffeine" or "Amphetamine" utility to keep your Mac awake during the first few days of the initial upload.
External Drives Not Backing Up
Many remote backup services exclude external USB drives by default to save bandwidth. You must manually go into the software settings and "Include" these volumes. Note that Time Machine-formatted drives cannot usually be backed up by other backup software due to permission restrictions; you should back up the source files, not the Time Machine sparse bundle itself.
Excessive Resource Usage
Remote backup clients index thousands of files, which can cause high CPU usage. If your Mac's fans are spinning loudly, look for a "Throttle" or "Performance" setting in the backup app. You can usually limit the number of threads or the percentage of CPU the app is allowed to use.
Recommended Next Action
For the majority of Mac users, the most reliable and cost-effective remote backup solution in 2026 is Backblaze. Its "unlimited" nature removes the stress of managing storage quotas, and its background operation ensures that your off-site copy is never more than a few minutes out of date.
To start, download a 15-day trial of your chosen service and perform a "test restore" of a single small folder. A backup is only as good as your ability to recover from it; verifying that you can successfully download and decrypt your data is the final, most crucial step in setting up a remote backup.
Frequently Asked Questions
Is iCloud Drive a "Remote Backup" for my Mac? No, iCloud Drive is primarily a synchronization service, not a true backup. While it stores your Desktop and Documents folders in the cloud, if you delete a file on your Mac, it is deleted from iCloud instantly. A true backup service maintains historical versions and protects against accidental deletions or file corruption over time.
How long does it take to restore from a remote backup? Restoring 1 TB of data over a standard home internet connection can take several days. However, many premium services like Backblaze offer a "Restore by Mail" service, where they ship you a physical hard drive containing your data via courier for a faster recovery.
Can I back up my Mac to a friend's Mac remotely? While older versions of macOS allowed "Back Up to Another Mac" over a network, this feature has been deprecated in favor of SMB shares. You can still achieve this by having your friend enable File Sharing (SMB) and connecting via a VPN like Tailscale, effectively treating their Mac like a remote NAS.
Do I still need a local Time Machine drive if I have a remote backup? Yes. Local backups are significantly faster for recovering individual files or restoring after a minor system error. A remote backup should be viewed as your secondary layer of protection, specifically for catastrophic events where your local hardware is no longer accessible.
Will remote backup slow down my internet? It can, especially during the initial upload. Most backup applications include a "bandwidth throttling" feature that allows you to limit the upload speed during work hours and allow full-speed uploads at night.
Image Gallery
Select an image to open it in a new tab.

Akira Tanaka
International Academic Trends Correspondent
