
Digitizing a legacy collection of 35mm slides requires a balance between image fidelity, processing speed, and budget. Choosing the right slide to digital image converter involves evaluating whether you need a dedicated hardware scanner for archival-quality results or a high-speed CMOS-based converter for rapid batch processing of family memories, ensuring your final files meet your preservation requirements.
Understanding the Two Primary Conversion Methods
When you compare slide to digital image converter technologies, you are primarily choosing between two distinct architectures: hardware-based flatbed or dedicated film scanners and CMOS-based digital image capture devices.
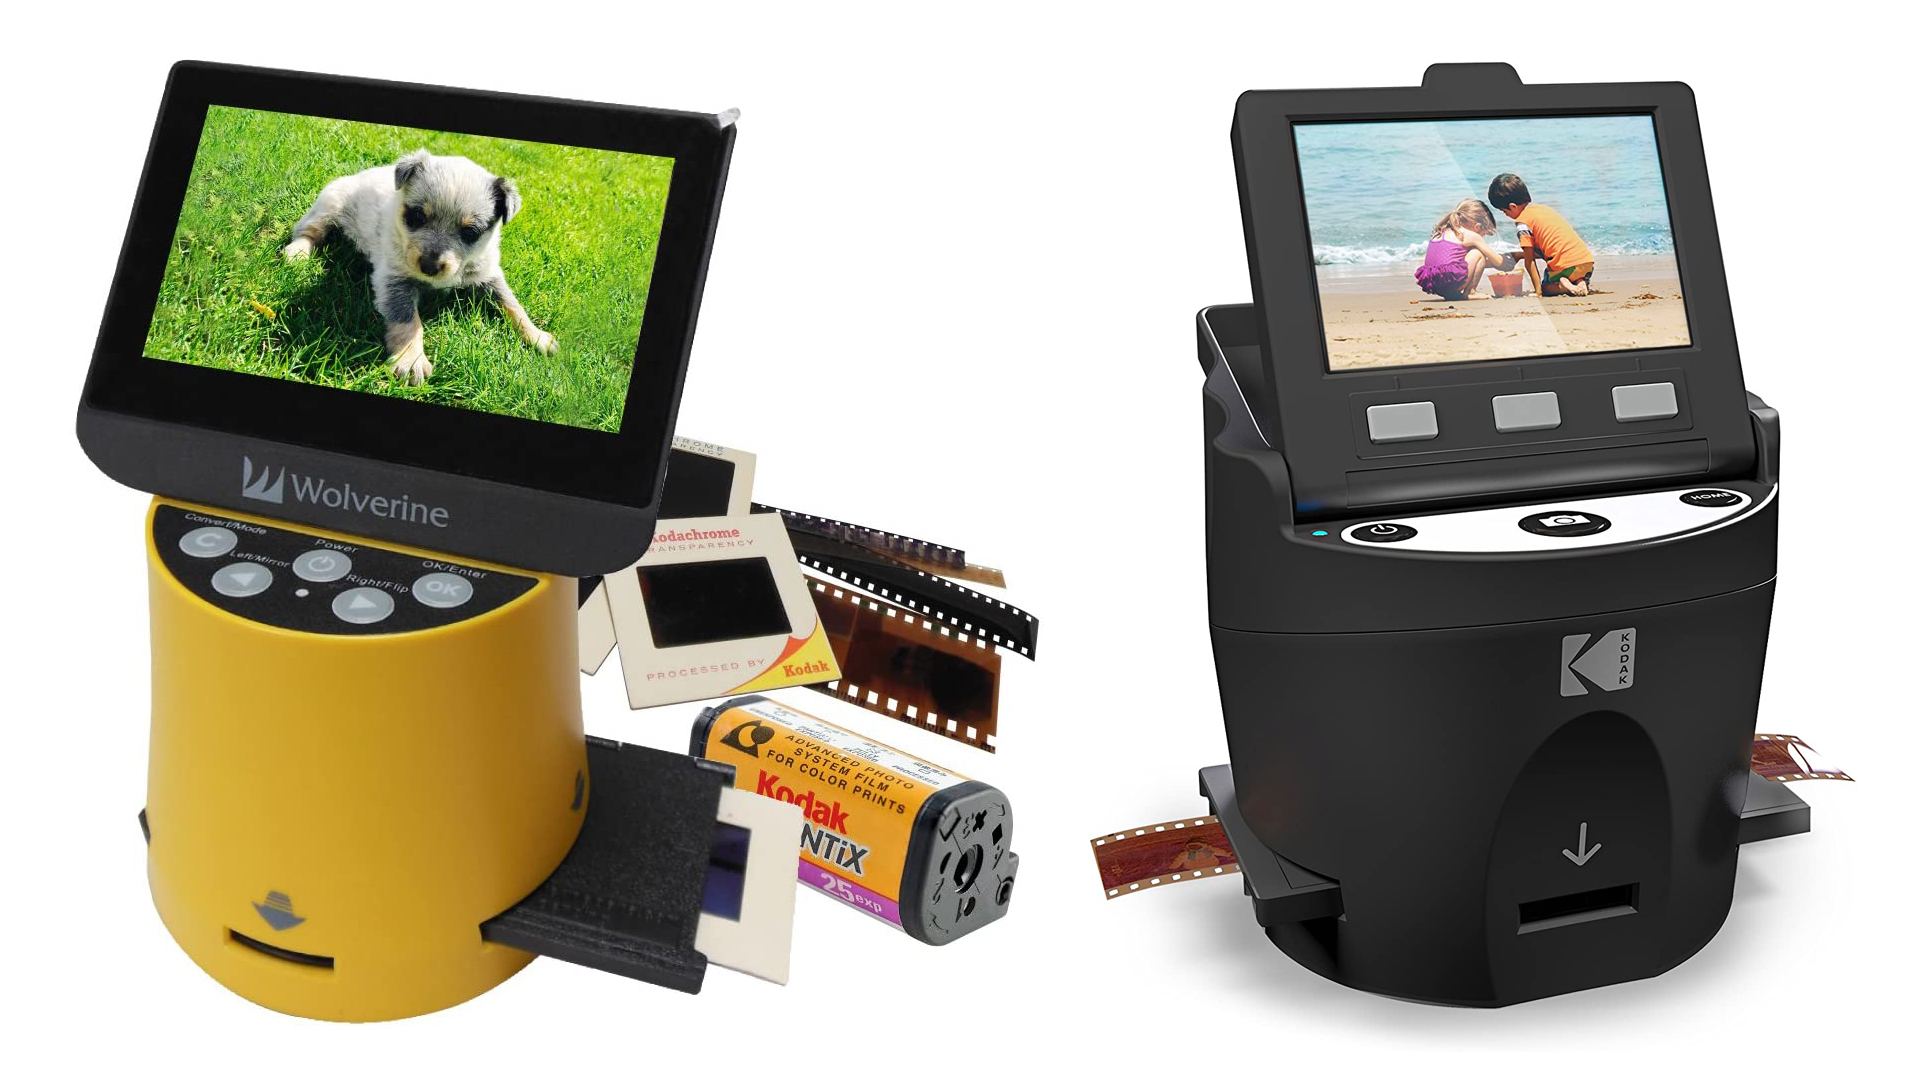
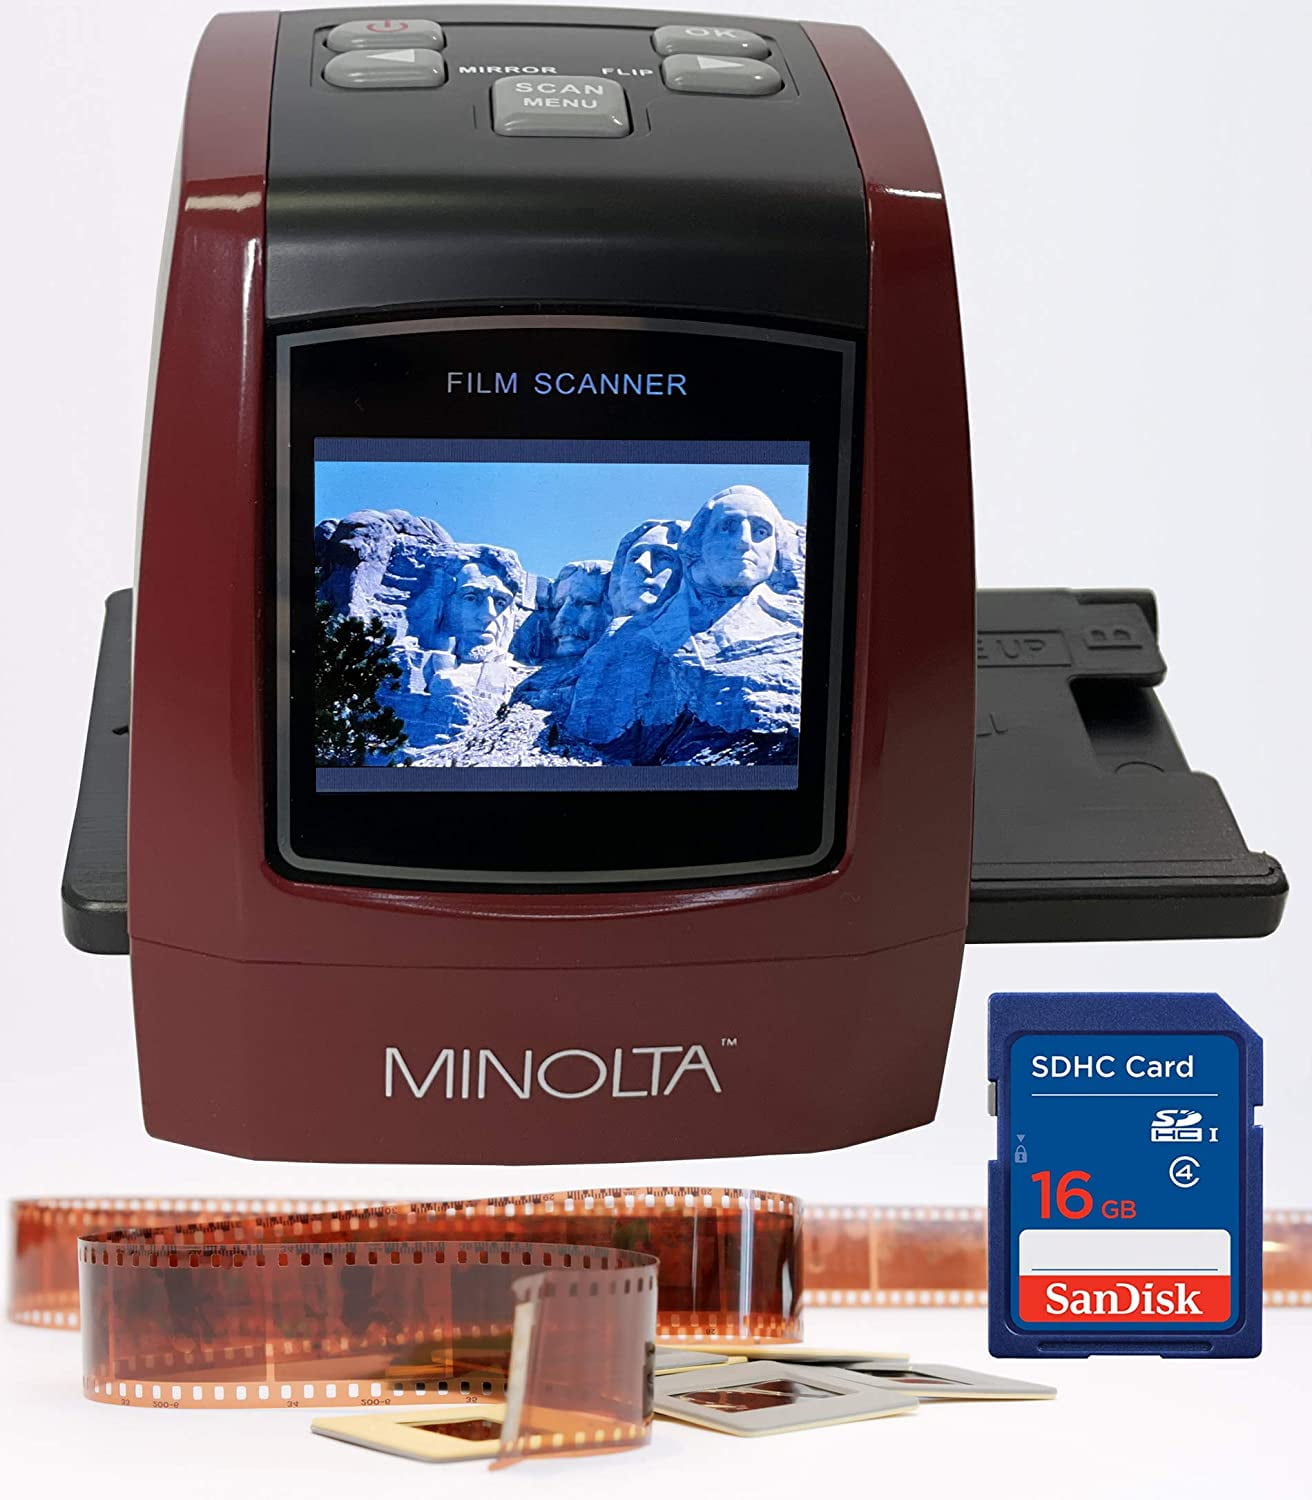
Hardware film scanners function by passing a light source through the slide and capturing the image using a CCD (Charge-Coupled Device) sensor. This process often involves multiple passes to capture the full dynamic range of the film emulsion. Conversely, slide-to-digital converters, often referred to as "slide copiers," function more like a digital camera. They utilize a CMOS sensor to take a single-frame photograph of the slide while it is backlit by an LED array. Understanding this distinction is essential because the two methods serve different purposes: one prioritizes scientific-grade detail, while the other prioritizes efficiency.
Evaluating Technical Specifications
The quality of your digitized images is governed by several technical benchmarks. When reviewing product specifications, pay close attention to these parameters.
Optical Resolution Resolution is frequently misunderstood. Manufacturers often list "interpolated resolution," which is a software-enhanced calculation that inflates the pixel count without adding actual detail. Always look for the native optical resolution. For 35mm slides, a minimum of 2400 DPI (dots per inch) is recommended for small prints, while 4000 DPI is the gold standard for preserving the grain structure of high-quality film stock.
Dynamic Range Dynamic range refers to the scanner’s ability to capture detail in the deepest shadows and the brightest highlights of an image. Film, particularly color negative film or dense Kodachrome slides, has a high dynamic range. If your converter has a low dynamic range, you will lose detail in the dark areas, resulting in "clipped" black patches.
Sensor Size and Color Depth A larger CMOS sensor in a slide-to-digital converter generally leads to better light gathering and less noise. Color depth, usually measured in bits (e.g., 24-bit or 48-bit), determines the number of color gradations the device can record. Higher bit depth allows for more nuanced post-processing without introducing banding or color artifacts.
Comparing Conversion Technologies
The following table outlines the trade-offs between dedicated film scanners and slide-to-digital converters to help you align equipment capabilities with your project goals.
| Feature | Dedicated Film Scanner | Slide-to-Digital Converter |
|---|---|---|
| Speed | Slow (Minutes per slide) | Fast (Seconds per slide) |
| Resolution | Very High (True Optical) | Moderate (Fixed Sensor) |
| Dynamic Range | Exceptional | Basic |
| Ease of Use | Complex (Requires Software) | Simple (Plug and Play) |
| Best For | Archival Preservation | High-Volume Family Collections |
| Pricing (2026) | High ($400 - $2,500+) | Low ($80 - $300) |
Prerequisites for a Successful Digitization Project
Before investing in equipment, you must prepare your physical media. Slides that have been stored for decades often accumulate dust, mold, or oily fingerprints.
- Cleaning: Use a compressed air blower to remove loose debris. For stubborn marks, use a photographic-grade lens cleaning fluid and a microfiber cloth. Never use household glass cleaners, as these can strip the emulsion from the film.
- Sorting and Organization: Digitizing is time-consuming. Group your slides by era or subject matter before you begin. This helps with the metadata tagging process once the files are on your computer.
- Environment: Work in a low-dust, climate-controlled environment to prevent further accumulation of particulates while the slides are out of their sleeves.
The Role of Post-Processing Software
Regardless of the hardware you select, raw scans often require digital enhancement. Even the most expensive scanner cannot perfectly replicate the original intent if the slide has faded due to age.
Most modern slide-to-digital converters output JPEG files. While convenient, JPEG is a "lossy" format, meaning it discards data to save space. If you are using a professional-grade film scanner, opt for TIFF (Tagged Image File Format) whenever possible. TIFF files retain all the original information, allowing you to adjust exposure, contrast, and white balance in photo editing software without degrading the image quality.
If you notice color casts—a common issue with old slides—use professional photo editing suites that offer curve-based color correction. This allows you to neutralize color shifts by adjusting the red, green, and blue channels independently.
Common Challenges and Troubleshooting
Even with the correct equipment, you will encounter operational hurdles. Here are the most common issues and how to address them in 2026.
Dust and Scratches Dust is the enemy of digitization. Some higher-end dedicated film scanners feature Infrared (IR) cleaning channels. This technology uses an infrared light to detect the physical location of dust and scratches on the slide, which software then automatically removes. Slide-to-digital converters generally lack this feature, making physical cleaning of the slides mandatory.
Color Fading (Magenta Shift) Many older color slides exhibit a "magenta shift" over time. This happens because the yellow and cyan dyes in the film layer break down faster than the magenta dye. You can rectify this during the editing phase by shifting your global color balance toward the green/yellow spectrum.
Focus Issues In budget-friendly converters, the focus is often fixed. If your image looks soft, ensure that the slide is perfectly seated in the tray. If the slide is warped, the center may be in focus while the edges are blurred. For critical archival projects, dedicated scanners with manual or highly accurate autofocus are essential to ensure the entire frame is sharp.
Selecting the Right Tool for Your Needs
To determine which path is right for you, define your objective. If your goal is to preserve a family heirloom collection that holds significant sentimental value, the time investment of a dedicated film scanner is worth the superior archival results. You are essentially creating a digital negative that will last for generations.
Conversely, if you possess a massive shoebox of unsorted slides and your primary goal is to share these images on social media or digital photo frames, a high-speed slide-to-digital converter is the superior practical choice. The loss of subtle detail is often imperceptible on screens, and the speed at which you can finish the project will prevent "burnout" before you reach the end of your collection.
Frequently Asked Questions
Does the conversion software matter more than the hardware? While software is essential for correction, the hardware remains the primary bottleneck. If the sensor captures a blurry or low-resolution image, software cannot "re-create" missing data. Prioritize hardware with high native optical resolution first, then use software to refine the output.
What is the lifespan of a digital image file compared to a slide? A digital image is only as permanent as your backup strategy. Unlike physical film, which can survive for decades in the right environment, digital files are susceptible to drive failure. Follow the "3-2-1" rule: keep three copies of your digital photos, on two different media types, with one copy stored off-site or in the cloud.
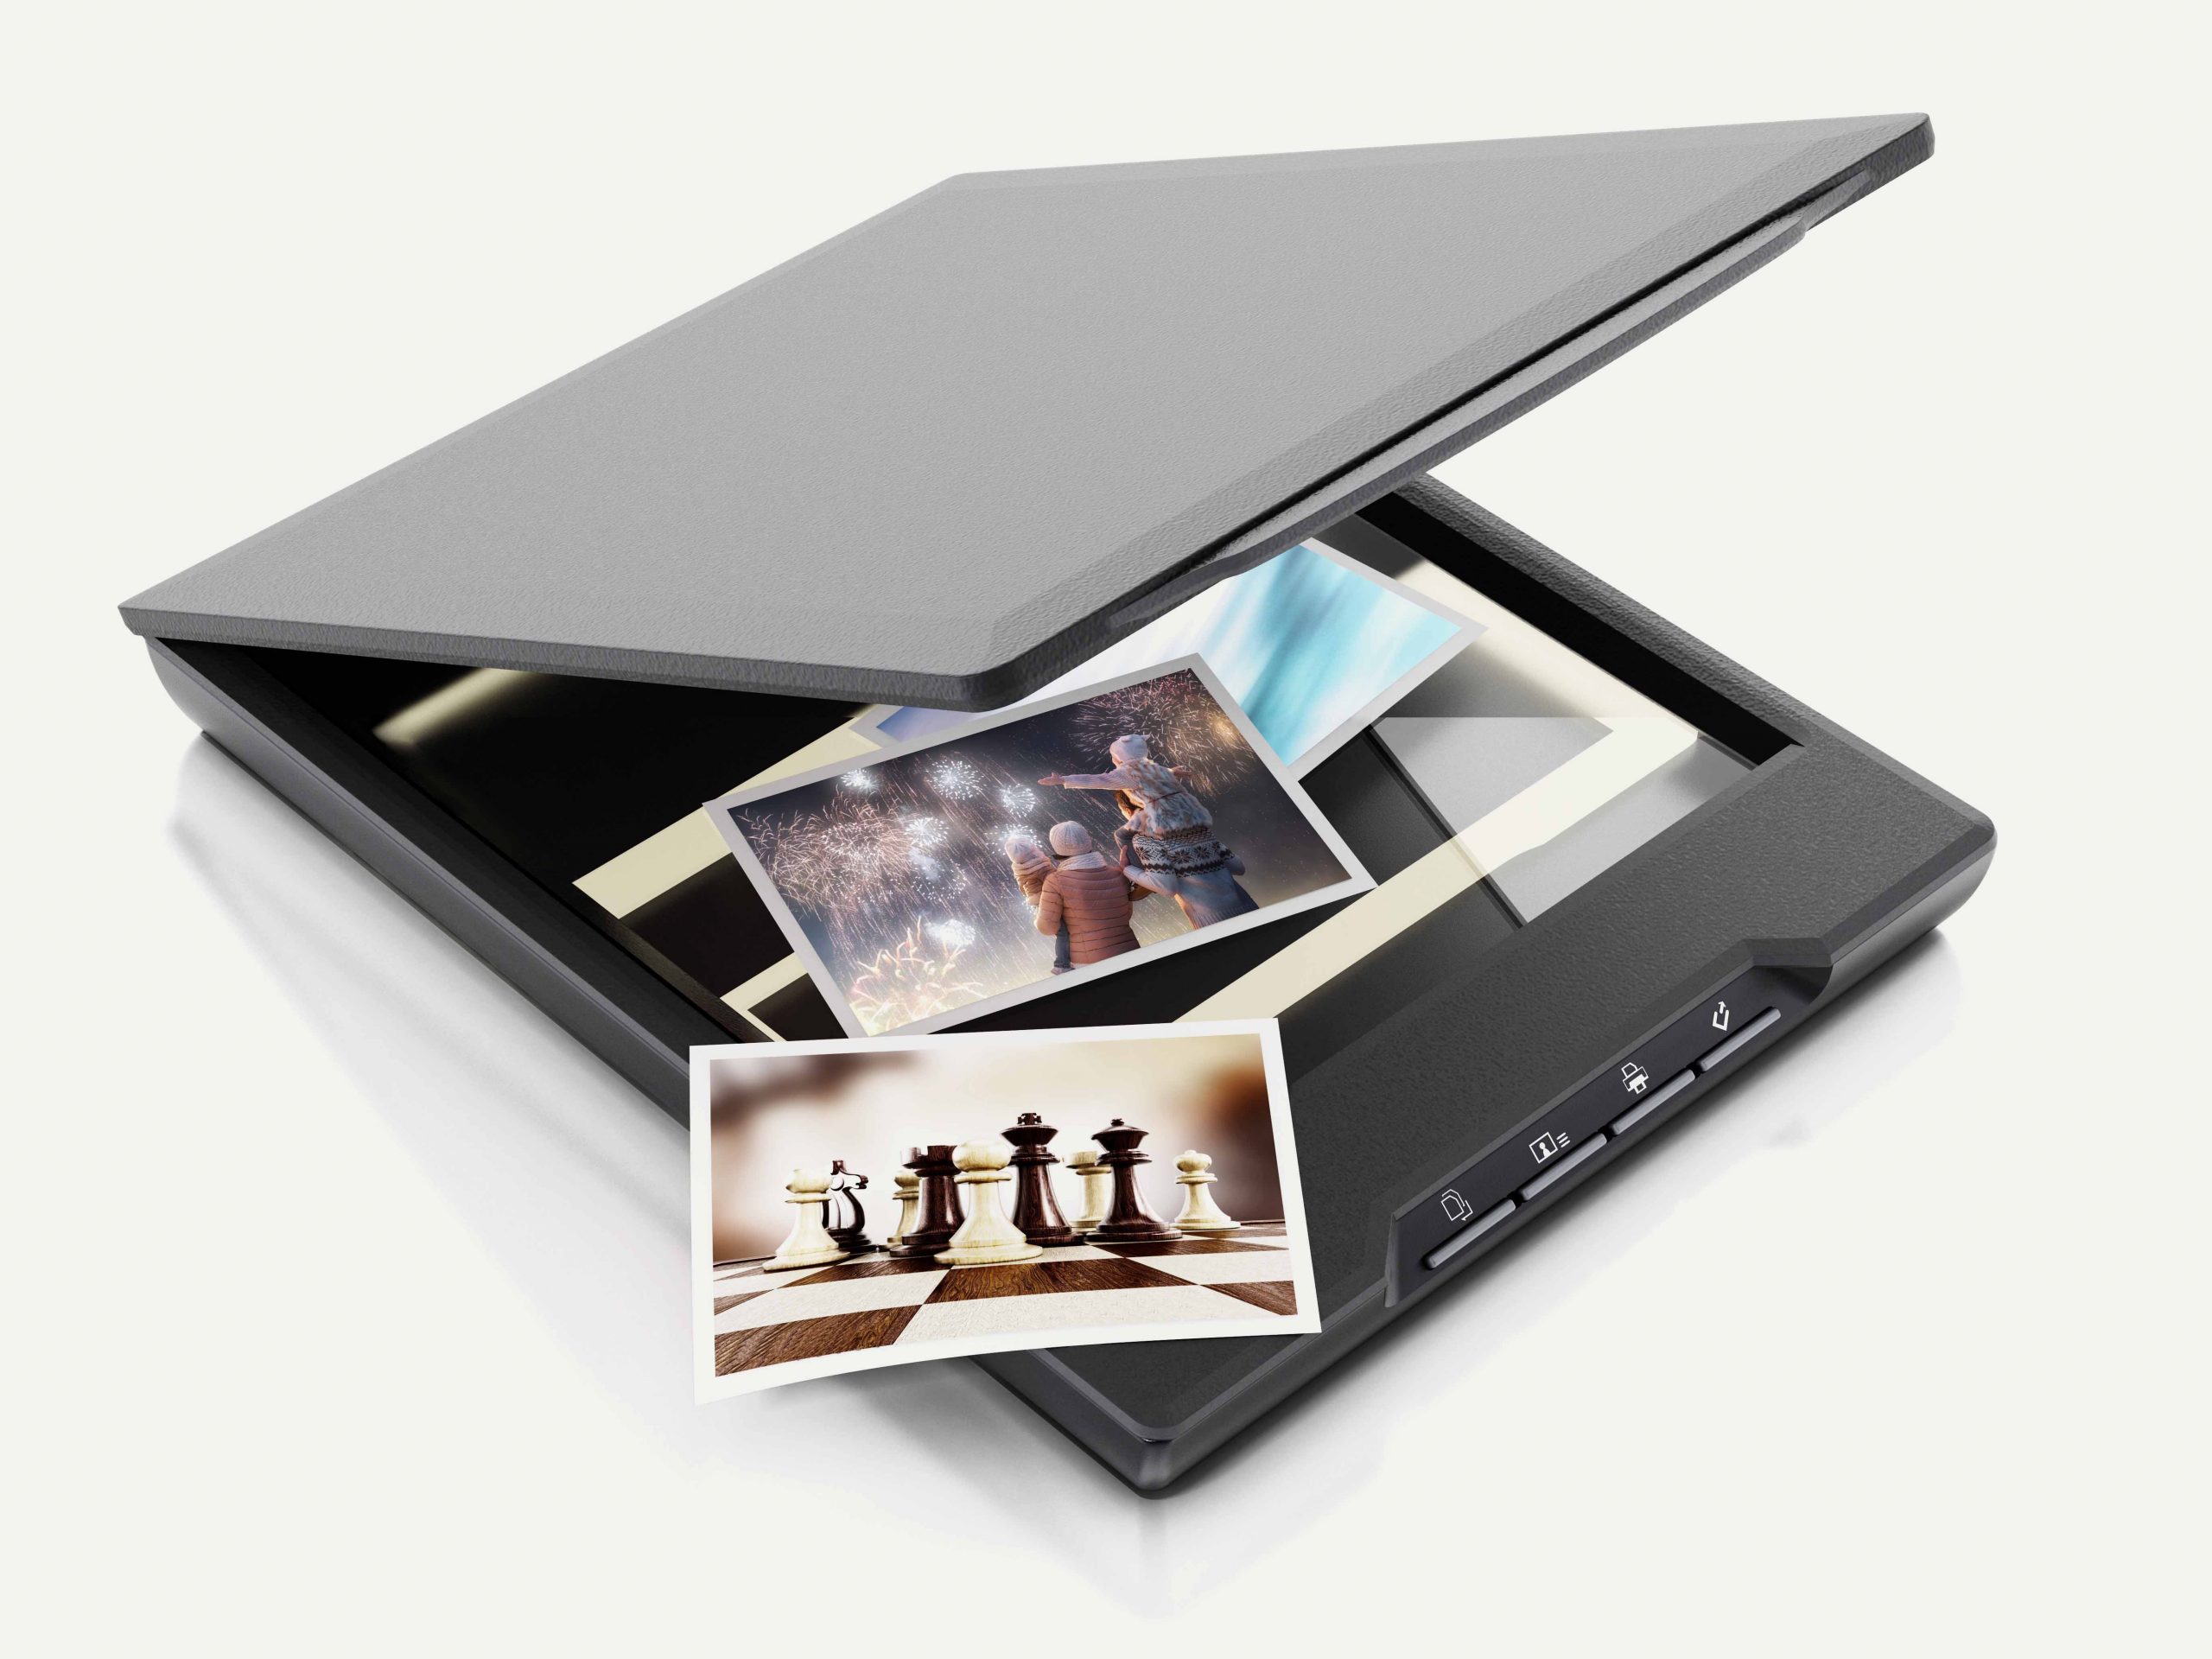
Can I use a flatbed document scanner for slides? Only if the flatbed scanner includes a "Transparency Unit" (a backlit lid). Standard document scanners reflect light off the surface of paper and cannot pass light through film. Without a transparency unit, a slide will simply appear as a dark, unidentifiable square.
Is 300 DPI enough for scanning slides? No. 300 DPI is a resolution for printing documents. For slides, which are physically small (approx. 1x1.5 inches), you need much higher DPI settings to achieve a useful print size. To get a high-quality 8x10-inch print from a slide, you need to scan at a minimum of 2400 DPI.
Should I use professional digitization services instead? If your collection consists of thousands of slides or includes fragile/damaged film, professional services are often more cost-effective. They possess industrial-grade equipment and specialized software that can handle rare formats or severely damaged film that consumer-grade converters cannot process.
Final Recommendation
For most users, start by assessing the size and condition of your collection. If you have fewer than 500 slides, renting or buying a high-quality, dedicated flatbed scanner with a transparency unit provides the best balance of quality and future utility. If you have thousands of slides to process, consider a high-speed slide converter for bulk work, but retain your best images for a second pass on a professional-grade device to ensure maximum detail retention for your most important memories. Always test your chosen workflow with a small batch of 10 slides before processing your entire archive, and remember to back up your final results to a cloud-based storage service immediately.
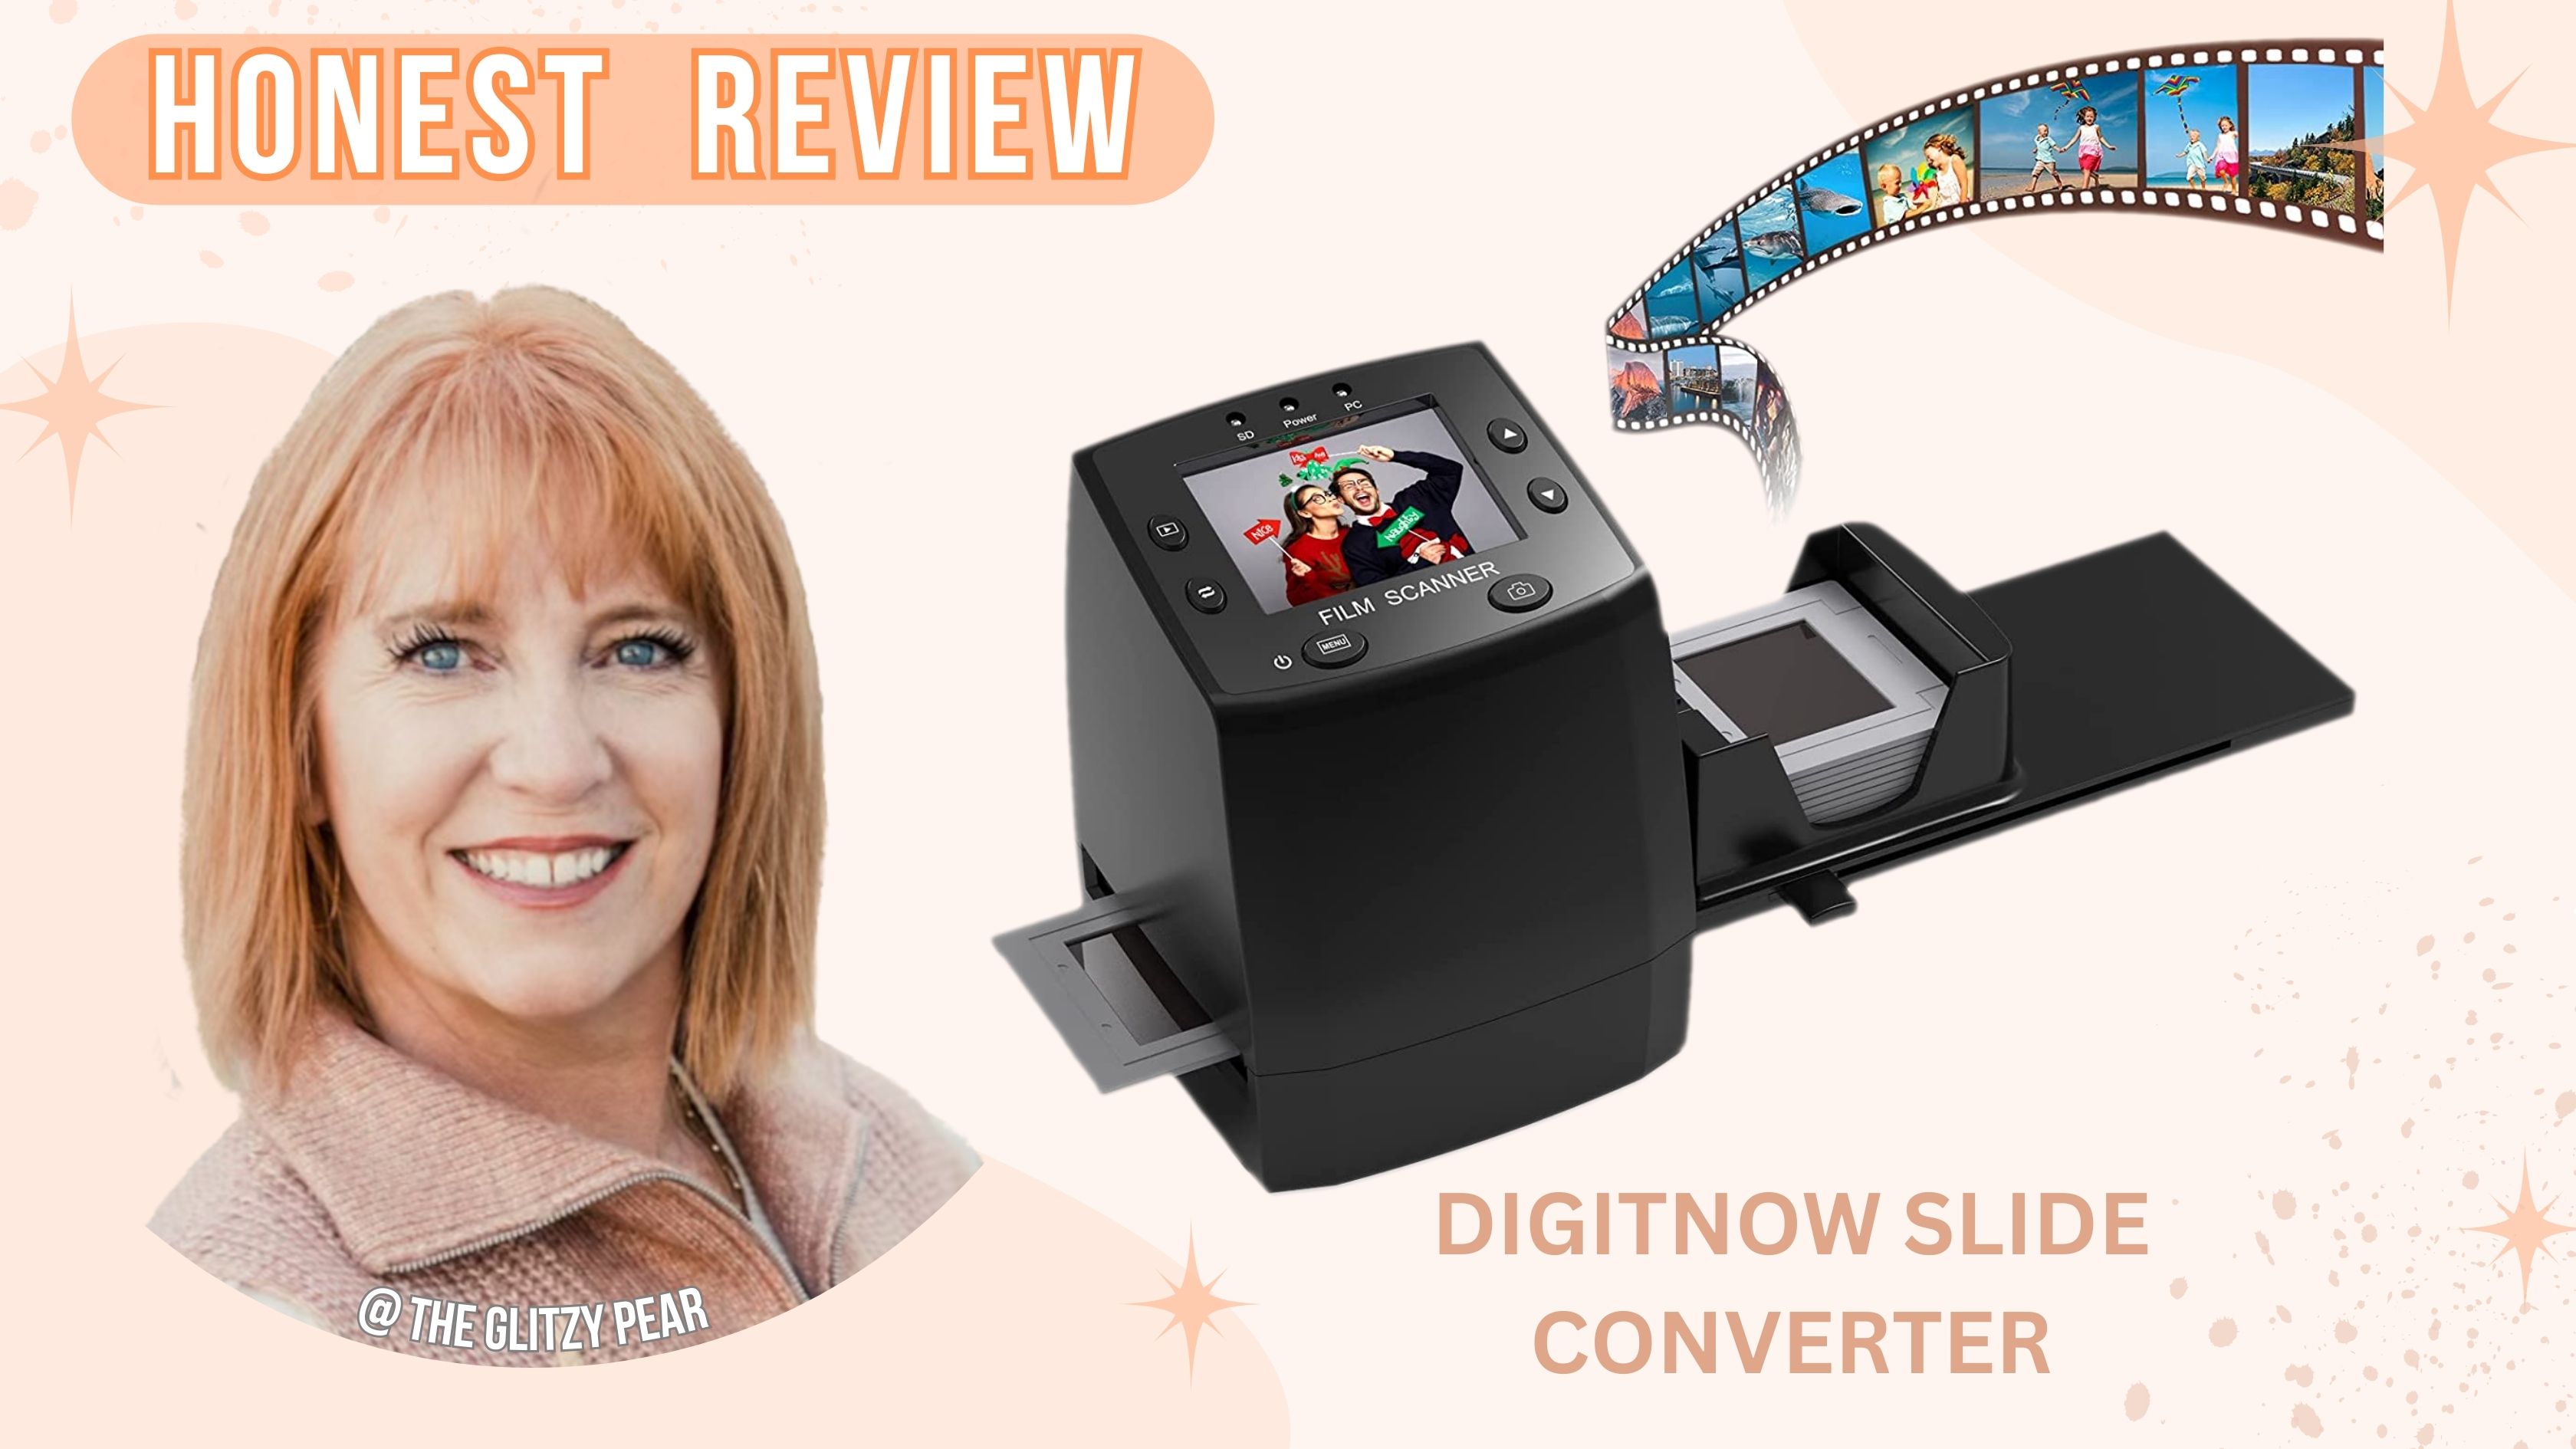
Image Gallery
Select an image to open it in a new tab.





Simon Caldwell
Enterprise Technology and Systems Editor
