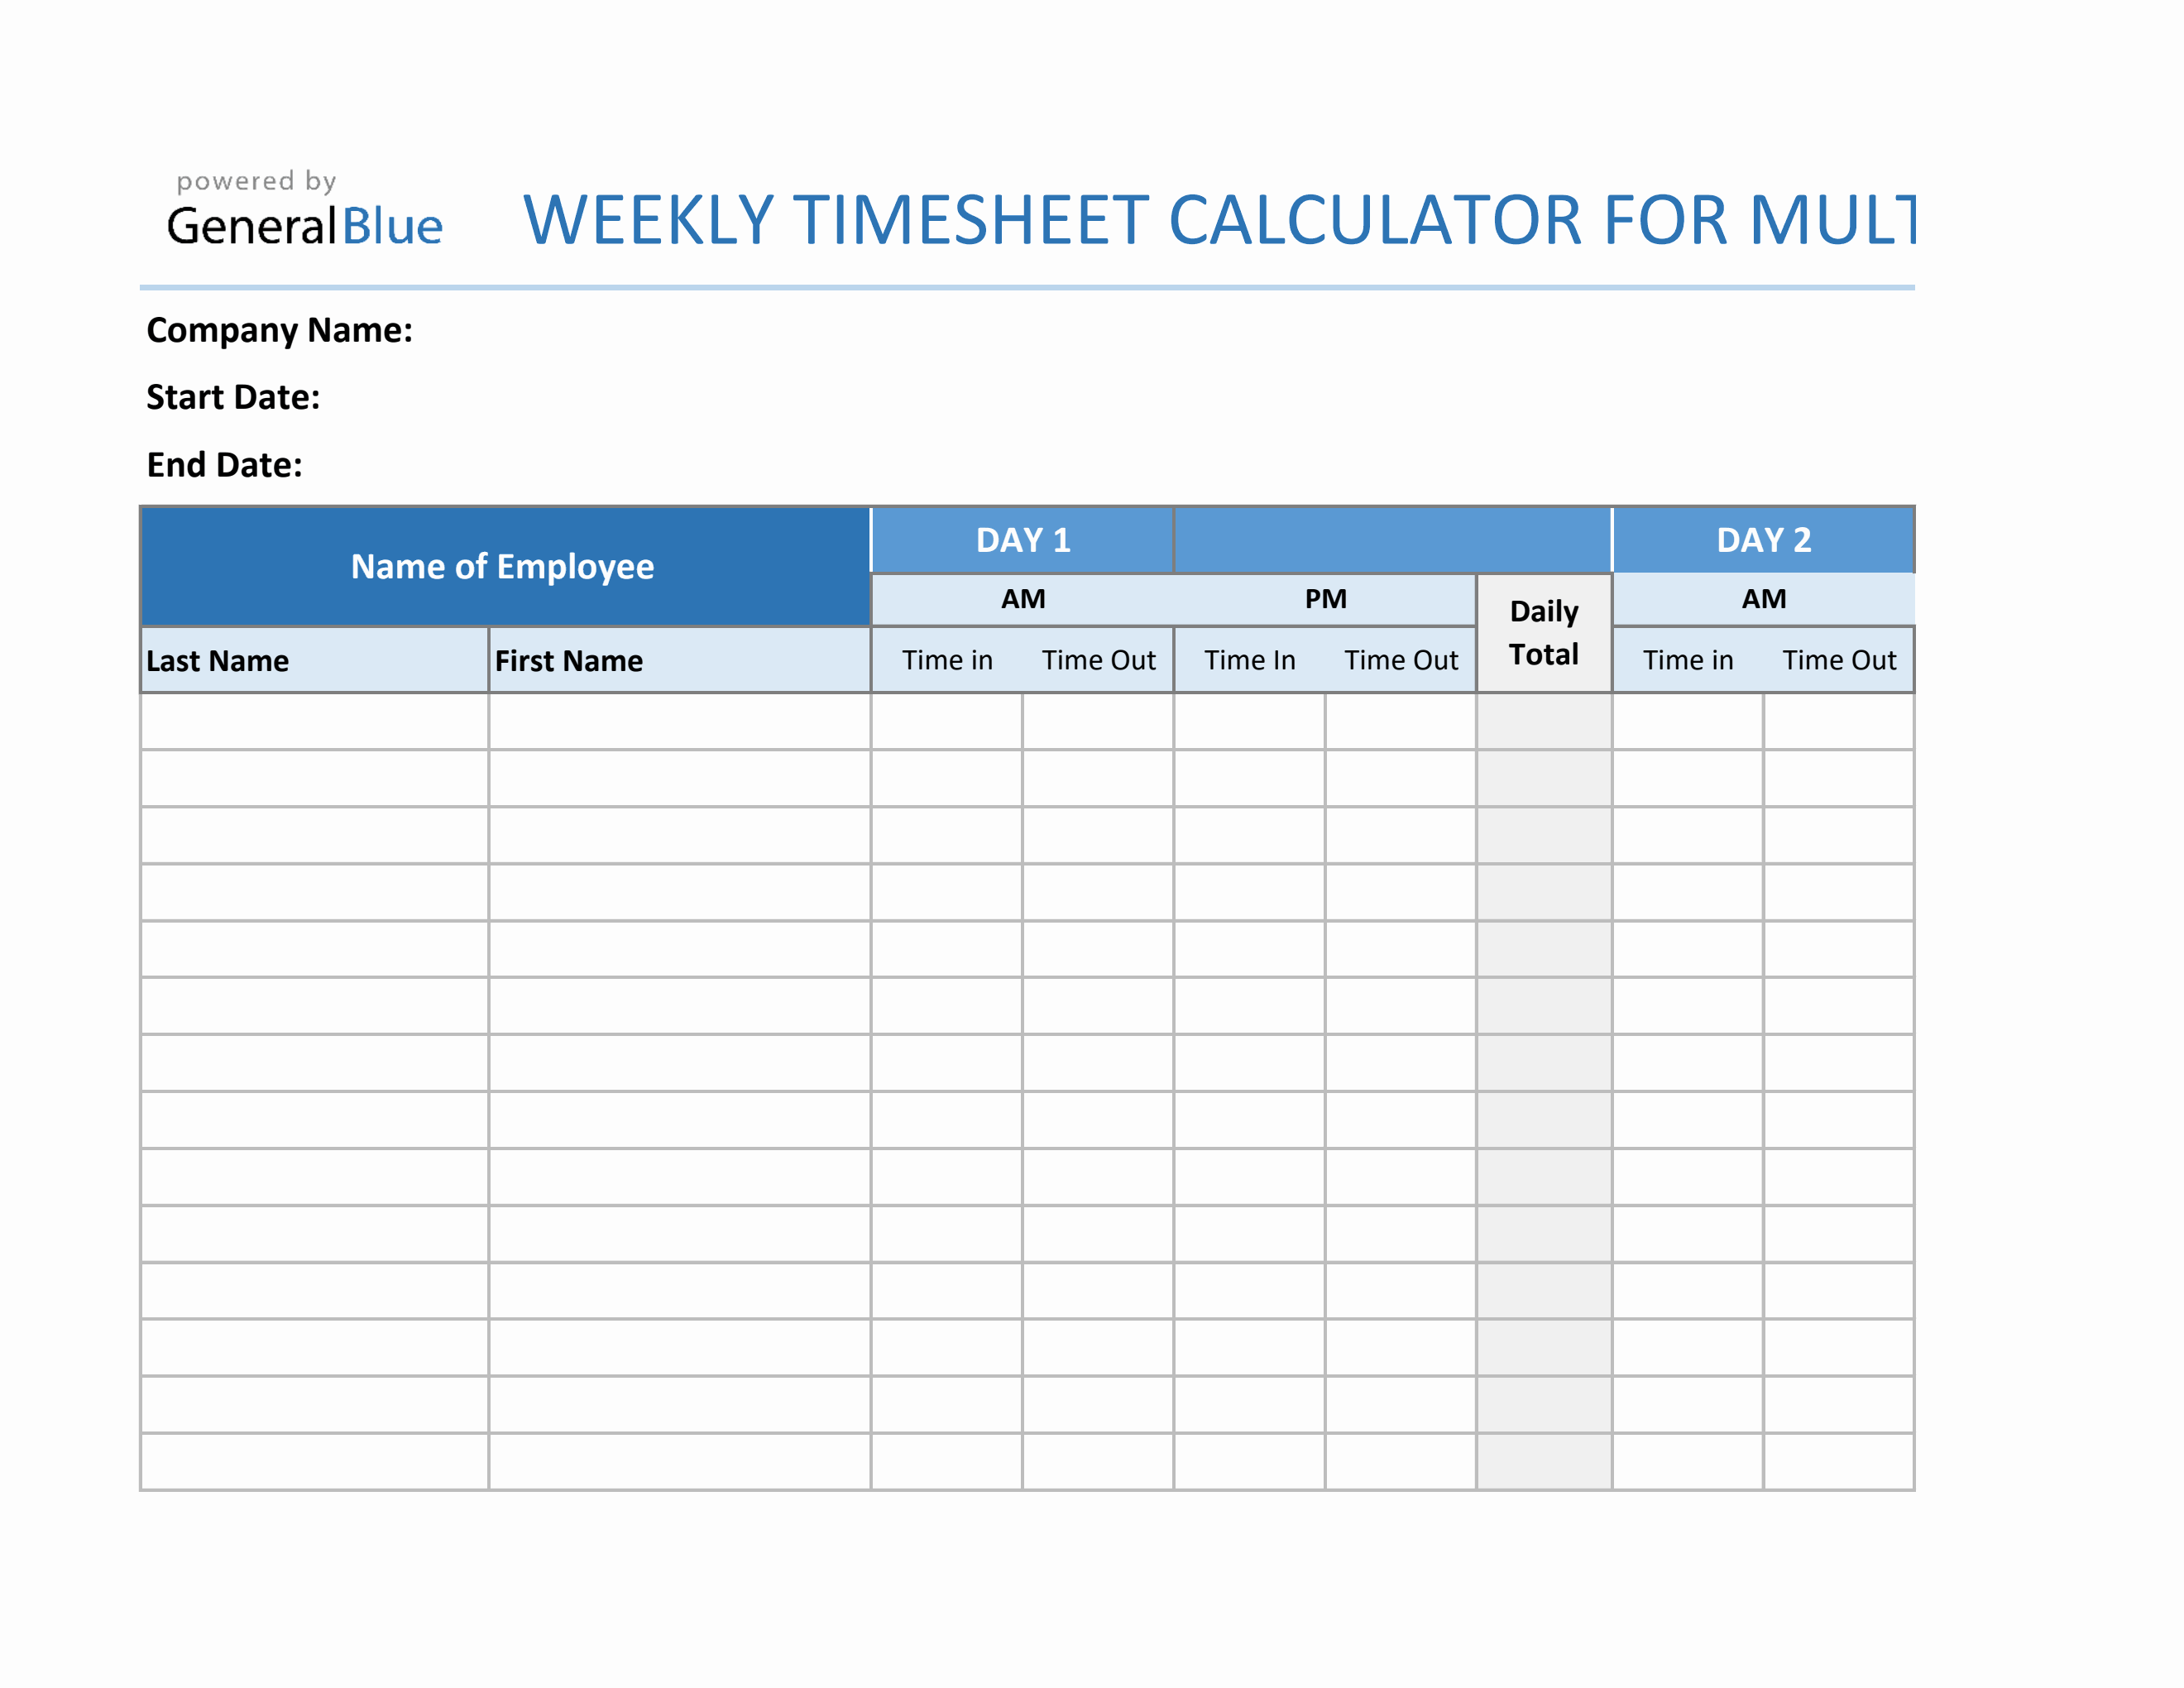
Using an Excel time calculator template involves downloading or creating a spreadsheet that utilizes specialized date and time formatting, formula-driven cells for start and end times, and automatic summation of duration values. By configuring cell properties to handle time-based arithmetic and applying conditional formatting, you can accurately track hours, project timelines, or payroll data without manual calculation errors.
Understanding the Basics of Time in Microsoft Excel
Before diving into a template, it is essential to understand how Microsoft Excel interprets time. In the spreadsheet environment, Excel treats time as a fraction of a 24-hour day. For example, 12:00 PM is stored internally as 0.5, because it represents half of a day. Understanding this underlying logic is the key to successfully using, customizing, and troubleshooting any time calculator template you choose to implement.
When you enter time into a cell—such as 8:30 AM—Excel automatically converts this into a numeric value that the software can calculate. If you ever see a strange decimal number instead of a time format, it means your cell formatting has reverted to "General" or "Number." To fix this, you must apply the appropriate "Time" format or a custom format code (like [h]:mm) to ensure your results display correctly, especially when working with durations that exceed 24 hours.
Prerequisites for Using a Time Calculator Template
To effectively utilize a time calculator template in 2026, you need a compatible version of Microsoft Excel—either the desktop application (Microsoft 365) or Excel for the Web. Ensure that you have basic permissions to open and edit files in your environment. If you are downloading a template from a third-party source, prioritize files from reputable productivity websites or the built-in Microsoft Template Gallery to avoid potential macro-based security risks.
Before opening your template, determine your core tracking requirement:
- Clock-in/Clock-out Tracking: Requires inputting specific timestamps to calculate daily shifts.
- Duration-based Tracking: Requires entering a set number of hours (e.g., 2 hours, 45 minutes) to sum up total project time.
- Project Milestone Tracking: Requires subtracting start dates from end dates to determine lead times.
Step-by-Step Implementation Guide
Follow these steps to integrate a time calculator template into your workflow effectively.
1. Selecting and Opening the Template
Open Microsoft Excel and click "File," then "New." In the search bar, type "Time Sheet" or "Time Calculator." Browse the available templates. Select one that matches your intent—for instance, a "Weekly Time Sheet" is ideal for payroll, while a "Project Task Schedule" is better for deadline management. Click "Create" to download the template locally.
2. Configuring Regional Settings
Time formats vary globally. Ensure your Excel regional settings (found under "File" > "Options" > "Language" or your system's Control Panel) match your intended display. If your template is set to a 24-hour clock (military time) but you prefer 12-hour format (AM/PM), you will need to adjust the cell formatting by pressing Ctrl + 1, navigating to the "Time" category, and selecting your preferred regional appearance.
3. Inputting Data
When entering times, always use the colon separator (e.g., 9:00 or 17:30). If you are tracking elapsed time that might exceed 24 hours (such as a multi-day project), ensure the cell format uses the custom code [h]:mm. The square brackets around the "h" command tell Excel not to reset the count to zero after reaching 24 hours.
4. Verifying Formulas
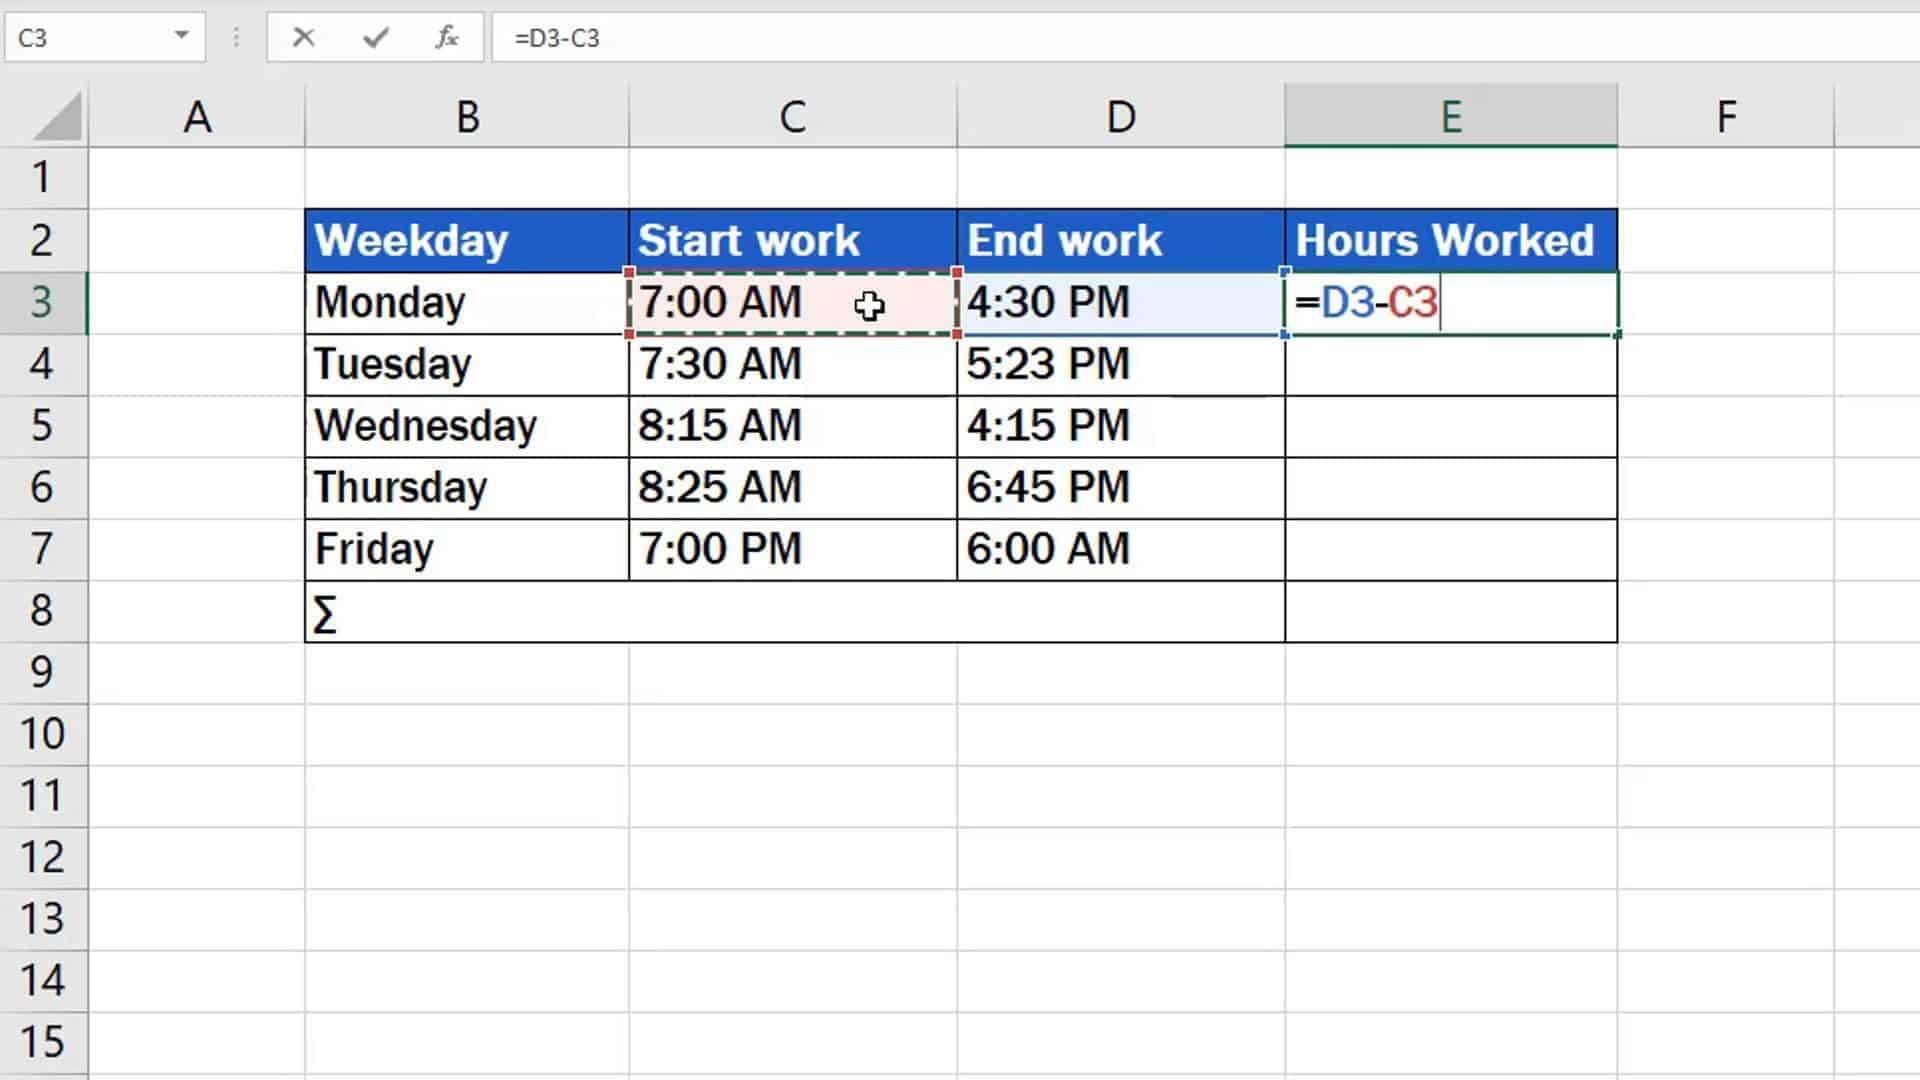
Most templates come with pre-built formulas. To verify, input two test values. For example, if Column A is "Start Time" and Column B is "End Time," the formula in Column C should be =B2-A2. If your work shifts span across midnight, a simple subtraction will result in a negative value. In such cases, use the formula =MOD(B2-A2, 1) to allow Excel to calculate the duration across the midnight threshold correctly.
Comparison of Time Calculation Approaches
| Approach | Best For | Complexity Level | Primary Limitation |
|---|---|---|---|
| Manual Template | Basic Payroll | Low | Susceptible to human entry error |
| Formula-driven Tracker | Project Timelines | Medium | Requires understanding of [h] formatting |
| Power Query/Pivot | Large Datasets | High | Steeper learning curve |
| Third-party Add-ins | Enterprise Integration | High | Cost and security vetting required |
Troubleshooting Common Issues
The "Hash" (#) Error: If your cell displays #######, the column is too narrow to show the calculated time. Simply widen the column by dragging the boundary between the column headers.
Incorrect Totals: If you calculate total hours and the result looks wrong (e.g., 2 hours instead of 26), it is because Excel is wrapping the time value around a 24-hour clock. Use the [h]:mm custom format to display the cumulative hours correctly.
Negative Time: If you see ###### even when the column is wide, you likely have a negative time result. Ensure your end time is later than your start time. If the shift spans midnight, use the MOD function mentioned earlier.
Best Practices for Data Integrity
To maintain accurate records, adopt these habits:
- Data Validation: Use the "Data Validation" feature in the "Data" tab to restrict user input. For example, set a rule that only allows times between 00:00 and 23:59. This prevents typos that could corrupt your totals.
- Locked Cells: If you are sharing the template with a team, lock the cells containing formulas. Go to the "Review" tab and select "Protect Sheet." This ensures that users can only input data without accidentally deleting or changing the underlying calculations.
- Regular Backups: While cloud-saved files in Microsoft 365 offer version history, keep an original "blank" copy of your template saved in a read-only state. This provides a clean starting point if the active spreadsheet becomes corrupted.
Addressing Recurring Questions
Can I track time across multiple days in Excel?
Yes, but you must use the [h]:mm format. Without the square brackets, Excel will simply show the remainder after dividing by 24 hours.
How do I calculate overtime using a template?
Most payroll-oriented templates include an "IF" function. You can create a column with the formula =IF(TotalHours>40, TotalHours-40, 0) to automatically isolate hours worked beyond a standard 40-hour threshold.
What is the best way to handle lunch breaks? Design your template with two distinct shifts (Shift 1 Start/End and Shift 2 Start/End). The total time should be the sum of both segments. Subtracting a fixed duration (like 0.5 for 30 minutes) is risky if a worker takes a longer or shorter break.
Does Excel track actual clock time or just time segments?
Excel tracks time as numeric values. While it does not "run" like a live clock, you can use the =NOW() function to display the current date and time, though this will update every time the spreadsheet calculates.
Is there a way to force 15-minute rounding?
Yes. You can use the MROUND function. For example, =MROUND(A1, "0:15") will round any time entry in cell A1 to the nearest 15-minute interval, which is highly useful for standardized billing or payroll reporting.
Final Recommendation
For most users, the most efficient path is to utilize a standard "Weekly Timesheet" template from the Microsoft 365 library and customize it with Data Validation for inputs and custom [h]:mm formatting for outputs. If you are tracking complex project hours, verify that your formula includes the MOD function to handle shifts spanning midnight. Always test your template with a small dataset before implementing it for critical financial or project-deadline reporting. By standardizing your input format and locking your calculation cells, you can ensure your time tracking remains consistent, accurate, and professional throughout your work cycle.
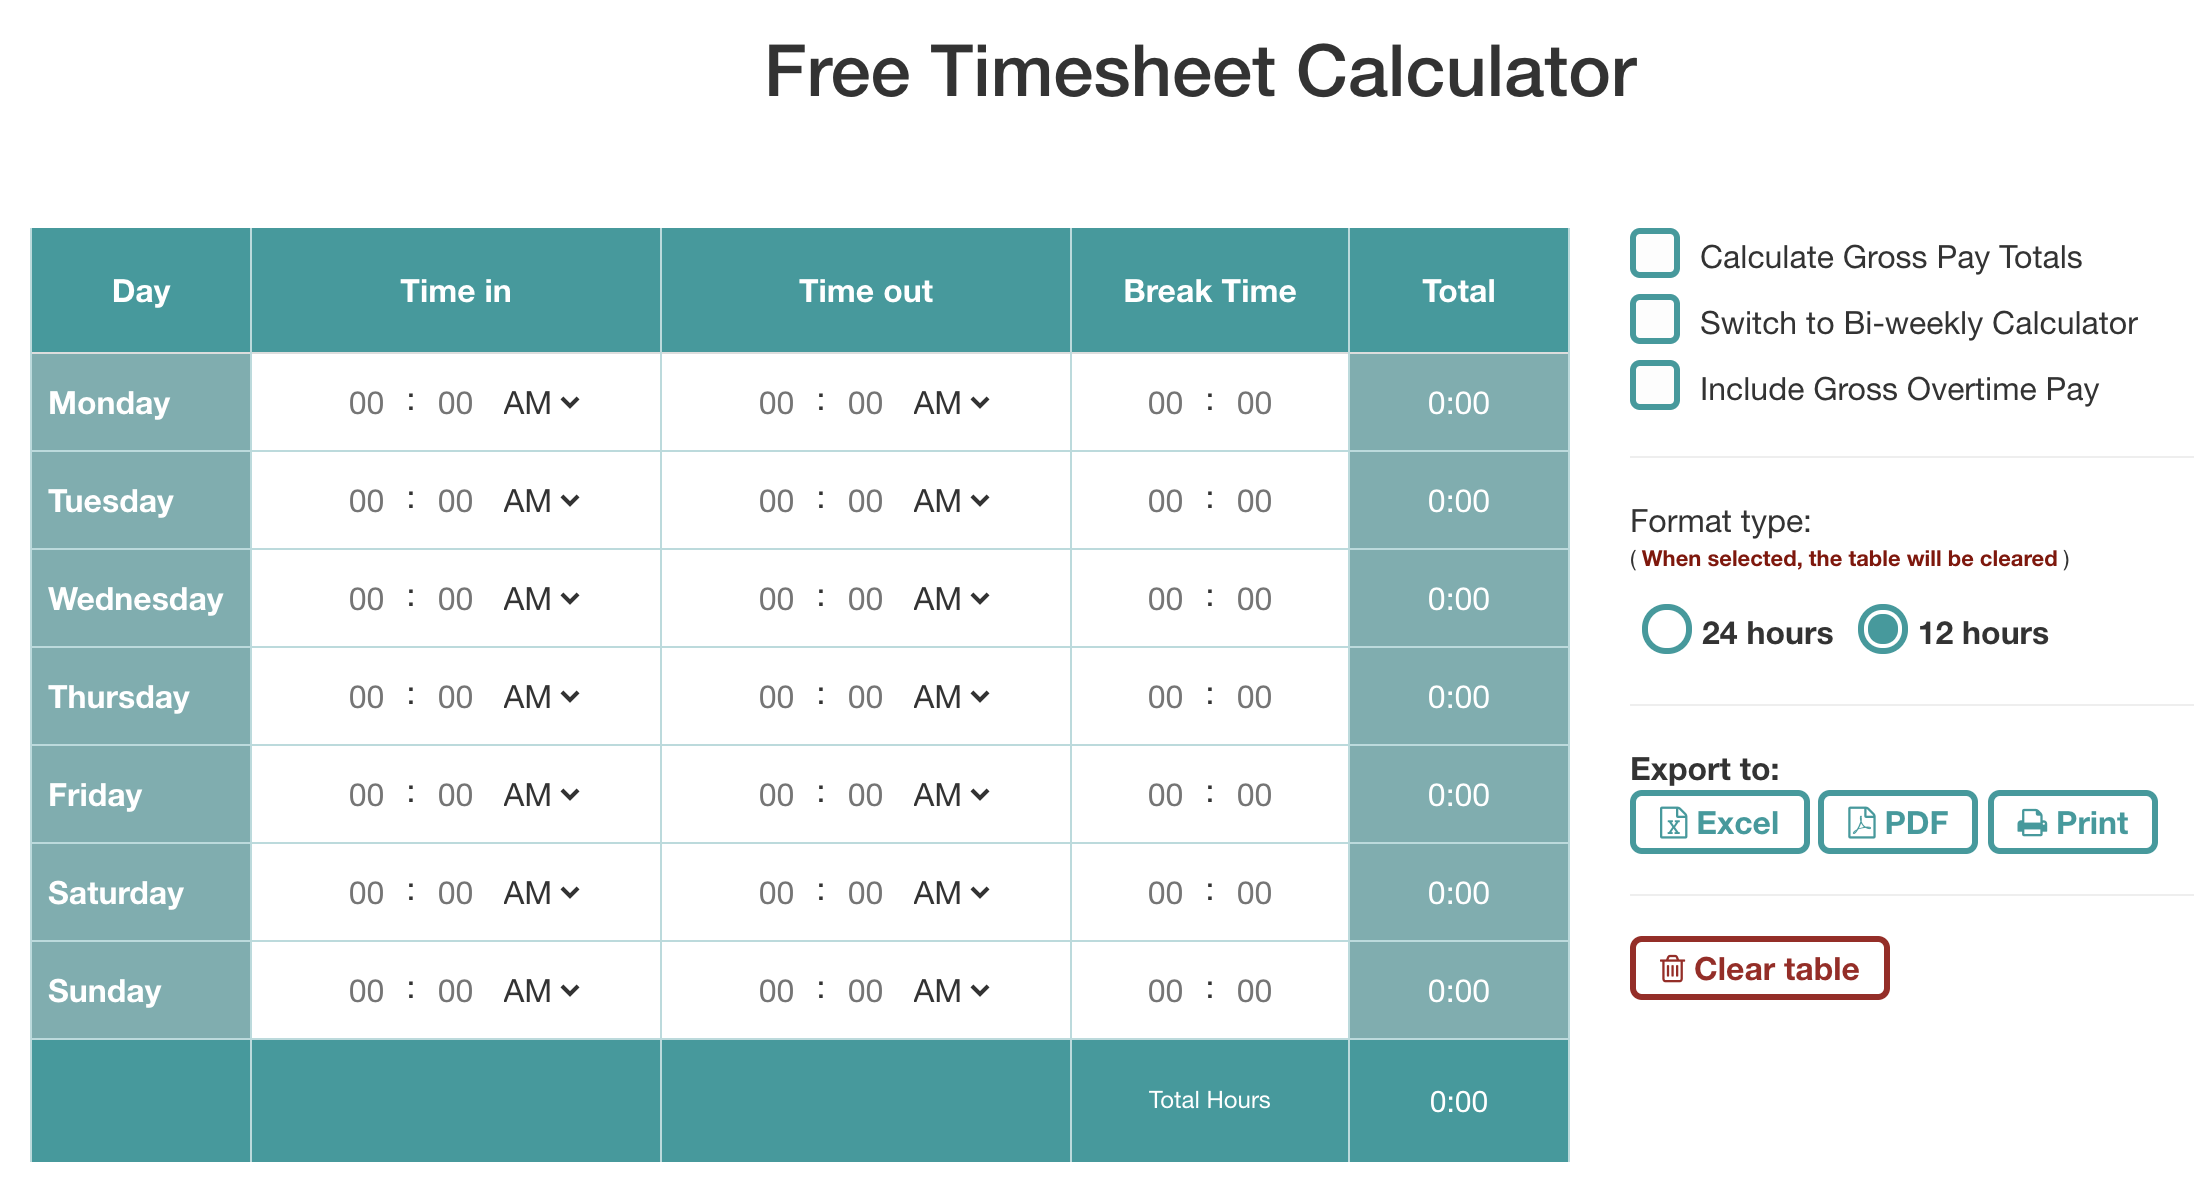
Image Gallery
Select an image to open it in a new tab.
Akira Tanaka
International Academic Trends Correspondent
