Mastering the Retraction Tower: A Comprehensive Guide to Eliminating 3D Print Stringing
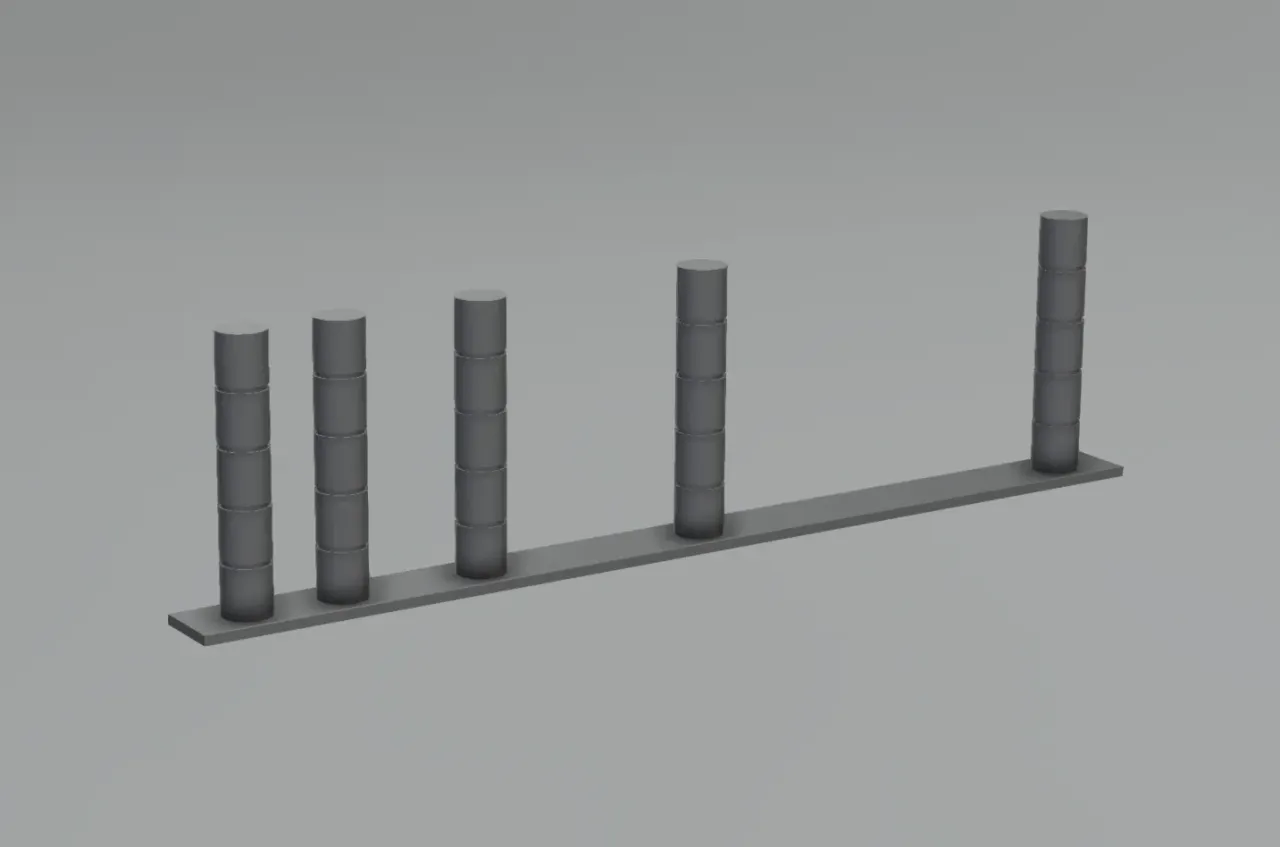
A retraction tower is a specialized calibration tool used in 3D printing to determine the optimal settings for pulling filament back into the nozzle during non-printing moves. By systematically varying distance or speed across vertical levels, it allows users to identify the exact parameters needed to eliminate unsightly stringing, oozing, and wisps.
The quest for a "perfect" print often ends abruptly when a user removes a finished part only to find it covered in "angel hair" or thick plastic branches. In the world of Fused Deposition Modeling (FDM), this phenomenon—known as stringing—is primarily a failure of retraction settings. While 3D printing technology in 2026 has advanced significantly with AI-driven slicers and high-speed motion systems, the retraction tower remains the gold standard for manual calibration. This guide provides an exhaustive look at how to utilize this tool to achieve professional-grade results.
The Mechanics of Retraction and Why Calibration Matters
To understand why a retraction tower is necessary, one must first understand the physics of the FDM print head. When a 3D printer moves the nozzle from one point to another without extruding plastic (a "travel move"), the molten filament inside the hotend remains under pressure. Without intervention, gravity and residual pressure cause this liquid plastic to ooze out of the nozzle tip, creating thin strands of "stringing" between the two points.
Retraction is the process where the extruder motor reverses its direction, pulling the filament slightly away from the nozzle. This action creates a slight vacuum or "negative pressure" that prevents the plastic from leaking during travel. However, retraction is a balancing act:
- Insufficient Retraction: The pressure is not adequately relieved, leading to oozing and stringing.
- Excessive Retraction: The filament is pulled too far back into the "cold zone" of the print head, which can lead to air gaps, under-extrusion upon restart, or a complete nozzle clog (heat creep).
A retraction tower solves this by forcing the printer to test multiple settings in a single print. Instead of guessing values and running dozens of individual tests, the tower provides a visual map of performance across a spectrum of variables.
Anatomy of a Retraction Tower
A typical retraction tower is a vertical structure consisting of two or more thin pillars separated by a gap. The design is intentional: the printer must jump between these pillars repeatedly. Because the gap is empty space, any failure in retraction settings will result in visible strings stretching between the pillars.
In a standard calibration workflow, the tower is divided into "blocks" or "zones." For every 5mm or 10mm of height, the slicer is instructed to change a specific retraction parameter. For example:
- Level 1 (Bottom): 1mm retraction distance.
- Level 2: 2mm retraction distance.
- Level 3: 3mm retraction distance.
- Level 4: 4mm retraction distance.
By the time the print finishes, the user can look at the tower and see exactly where the stringing stopped. If the strings disappear at Level 3 but the print starts showing blobs at Level 4, the user knows that 3mm is the "sweet spot" for that specific filament and hardware configuration.
Prerequisites for Accurate Tower Testing
Before launching a retraction tower print in 2026, several foundational factors must be addressed. Calibration is only effective if the variables are controlled.
1. Filament Dryness
Many users mistake wet filament for poor retraction. Materials like PETG, Nylon, and even some modern PLA blends are hygroscopic, meaning they absorb moisture from the air. When wet filament enters the hotend, the moisture turns to steam, creating internal pressure that forces plastic out regardless of retraction settings. Ensure your filament has been dried in a dedicated dehydrator before testing.
2. Temperature Calibration
Temperature and retraction are inextricably linked. Higher temperatures make the filament more fluid (lower viscosity), which increases the likelihood of oozing. Before running a retraction tower, you should have already completed a Temperature Tower to find the lowest functional temperature for your material that still offers good layer adhesion.
3. Extruder E-Step Calibration
If your extruder is pushing more filament than the slicer thinks it is (over-extrusion), retraction will never be fully effective because there is simply too much volume in the melt zone. Calibrate your E-steps (the steps per millimeter the motor takes) to ensure the physical movement matches the digital command.
How to Generate and Configure a Retraction Tower
There are three primary ways to generate a retraction tower: using built-in slicer plugins, utilizing online generator tools, or manually editing G-code.
Slicer Plugins (Cura and PrusaSlicer)
Modern slicers have simplified this process. In Ultimaker Cura, the "Parts for Calibration" plugin (available via the Marketplace) allows you to insert a retraction tower directly onto the build plate. Once placed, you must use the "Post-Processing" scripts (Extensions > Post Processing > Modify G-Code) to tell the printer to change settings at specific heights.
Online Generators
Tools like the Teaching Tech 3D Printer Calibration site or AutoTowers provide web-based interfaces. You input your starting retraction, the increment (e.g., 0.5mm), and your print temperature. The site then generates a downloadable G-code file ready to print. This is often the most reliable method because the logic is baked into the file, reducing the risk of slicer configuration errors.
Manual G-code Modification
For advanced users, manually inserting M207 commands (for firmware retraction) or searching for Z-height layer changes to insert new retraction values is possible. However, this is time-consuming and largely unnecessary given the automated tools available in 2026.
Interpreting the Results: Distance vs. Speed
When analyzing your retraction tower, you are looking for two primary variables: Retraction Distance and Retraction Speed.
Retraction Distance
This is the most critical setting. It determines how many millimeters of filament are pulled back.
- Direct Drive Extruders: Usually require very short distances, typically between 0.5mm and 2.0mm.
- Bowden Tube Extruders: Because the filament must travel through a long, flexible tube, there is more "slack" to take up. These usually require 3.0mm to 7.0mm.
Retraction Speed
This determines how fast the motor pulls the filament back.
- Slow Speeds (20-30 mm/s): May allow the filament to ooze before the retraction is complete.
- Fast Speeds (40-60 mm/s): Generally more effective but can cause the extruder gears to grind the filament or "chew" through it if the same section is retracted multiple times (common in complex prints).
| Extruder Type | Typical Distance Range | Typical Speed Range | Common Issues |
|---|---|---|---|
| Direct Drive | 0.5mm – 1.5mm | 25mm/s – 45mm/s | Clogging if distance > 2mm |
| Bowden Tube | 3.0mm – 6.0mm | 40mm/s – 60mm/s | Stringing due to tube "play" |
| All-Metal Hotend | 0.5mm – 4.0mm | 30mm/s – 50mm/s | Highly prone to heat creep jams |
| PTFE-Lined Hotend | 1.0mm – 7.0mm | 30mm/s – 50mm/s | More forgiving of long retractions |
Step-by-Step Calibration Workflow
- Select your Model: Choose a tower with two distinct pillars. A model with varying distances between the pillars can provide even better data.
- Set Constant Temperature: Use the optimized temperature found in your previous temp tower test.
- Configure the Distance Test: Set your tower to increase retraction distance every 5mm. Start at 0mm and go up to 6mm (for Bowden) or 2mm (for Direct Drive).
- Print and Observe: Watch the first few levels. If the stringing is heavy, don't stop the print; wait to see if it improves at higher levels.
- Identify the "Clear Zone": Find the lowest level where stringing is absent. If Level 4 (2.0mm) is clear, but Level 5 (2.5mm) is also clear, choose 2.0mm to minimize the risk of clogs.
- Run a Speed Test (Optional): Once you have the best distance, you can run a second tower where the distance stays constant (e.g., at 2.0mm) but the speed varies from 20mm/s to 60mm/s.
Advanced Considerations for Specific Materials
Not all filaments behave the same during retraction. A tower calibrated for PLA will almost certainly fail when using PETG or TPU.
PETG (Polyethylene Terephthalate Glycol)
PETG is notoriously "sticky." It tends to cling to the nozzle. When calibrating a tower for PETG, you may find that you need slightly faster retraction speeds and a slightly higher "Extra Restart Distance" (a setting that pushes a tiny bit more filament after a retraction to prime the nozzle).
TPU (Thermoplastic Polyurethane)
Flexible filaments like TPU are difficult to retract because they behave like a rubber band. In Bowden systems, retraction is often impossible or must be kept to a minimum (0.5mm). For TPU, a retraction tower often reveals that "less is more." Instead of high retraction, users often rely on "Combing" or "Wiping" settings to hide oozing within the print walls.
Silk PLA
Silk PLA contains elastomers that make it shiny but also more prone to oozing than standard PLA. You will often find the retraction distance needs to be 0.5mm to 1.0mm higher than your standard PLA settings.
Troubleshooting Common Tower Failures
Sometimes, even with a retraction tower, the results remain unsatisfactory. Here is how to diagnose persistent issues:
- Stringing on every level: This usually indicates your temperature is too high or your filament is damp. Lower the temperature by 5-10°C and try again.
- "Branching" or Heavy Blobs: This is different from fine stringing. It often means "Wipe" settings are disabled. Enabling "Wipe While Retracting" moves the nozzle into the print area while the retraction happens, cleaning the tip.
- Gaps in the Pillars: If the pillars on the tower look hollow or have missing sections, your retraction distance is too high. The printer is struggling to "re-prime" the nozzle after the retraction move, leading to under-extrusion.
- The "Hairy" Tower: If the tower has very fine, cobweb-like strings, this is often caused by a worn-out nozzle. As the nozzle aperture widens or becomes jagged over time, it loses the ability to "cut" the flow of plastic cleanly.
The Role of Hardware Upgrades in 2026
By 2026, many flagship printers have integrated features that reduce the reliance on manual retraction towers. Pressure Advance (Klipper) or Linear Advance (Marlin) are firmware features that predict the pressure build-up in the nozzle and adjust the motor speed accordingly. While these features significantly reduce stringing, they do not replace retraction entirely.
Furthermore, high-quality bi-metal heatbreaks and coated nozzles (such as DLC or Tungsten Carbide) have become standard. These components reduce the friction and stickiness of the filament, making retraction more efficient and allowing for shorter retraction distances, which in turn speeds up print times.
Frequently Asked Questions
What is the difference between retraction distance and retraction speed?
Retraction distance is the physical amount of filament (in millimeters) pulled back by the extruder. Retraction speed is the velocity (in mm/s) at which that pull occurs. Distance is generally the more impactful setting for stopping leaks, while speed helps prevent "blobbing" at the start and end of travel moves.
Can I use the same retraction settings for all PLA brands?
Usually, yes, but not always. Different brands use different additives and pigments. For example, a "Matte PLA" has a different viscosity than a "High-Speed PLA." It is best practice to run a quick, small retraction test when switching to a significantly different brand or sub-type of filament.
Why does my print have strings even though my retraction tower was perfect?
This often happens due to "Travel Speed." If your printer moves too slowly between points, the plastic has more time to gravity-ooze out of the nozzle. Ensure your travel speed is set high (e.g., 150mm/s to 250mm/s) to minimize the window of time for oozing to occur.
Does Z-Hop affect retraction tower results?
Yes. Z-Hop (lifting the nozzle slightly during travel) can actually increase stringing because the vertical movement creates a "drawing" effect, pulling a strand of plastic upward. If you are struggling with stringing on a retraction tower, try disabling Z-Hop first to see if that resolves the issue.
How often should I calibrate my retraction?
You should calibrate when you change your extruder setup (e.g., switching from Bowden to Direct Drive), when you change to a significantly different material (PLA to PETG), or if you notice stringing beginning to appear on prints that were previously clean.
Practical Recommendation
To achieve the best results, start by ensuring your filament is bone-dry and your temperature is dialed in using a temperature tower. Generate a retraction tower using an automated tool like the Cura "Parts for Calibration" plugin. Start with a distance test. Once you find the lowest distance that stops the stringing, save that value in your slicer profile. If you still see small blobs, run a second tower to fine-tune the retraction speed. By systematically isolating these variables, you move away from "trial and error" and toward a repeatable, scientific approach to 3D printing.
Image Gallery
Select an image to open it in a new tab.
Zara El-Hashem
Sociocultural Dynamics and Academics Writer
