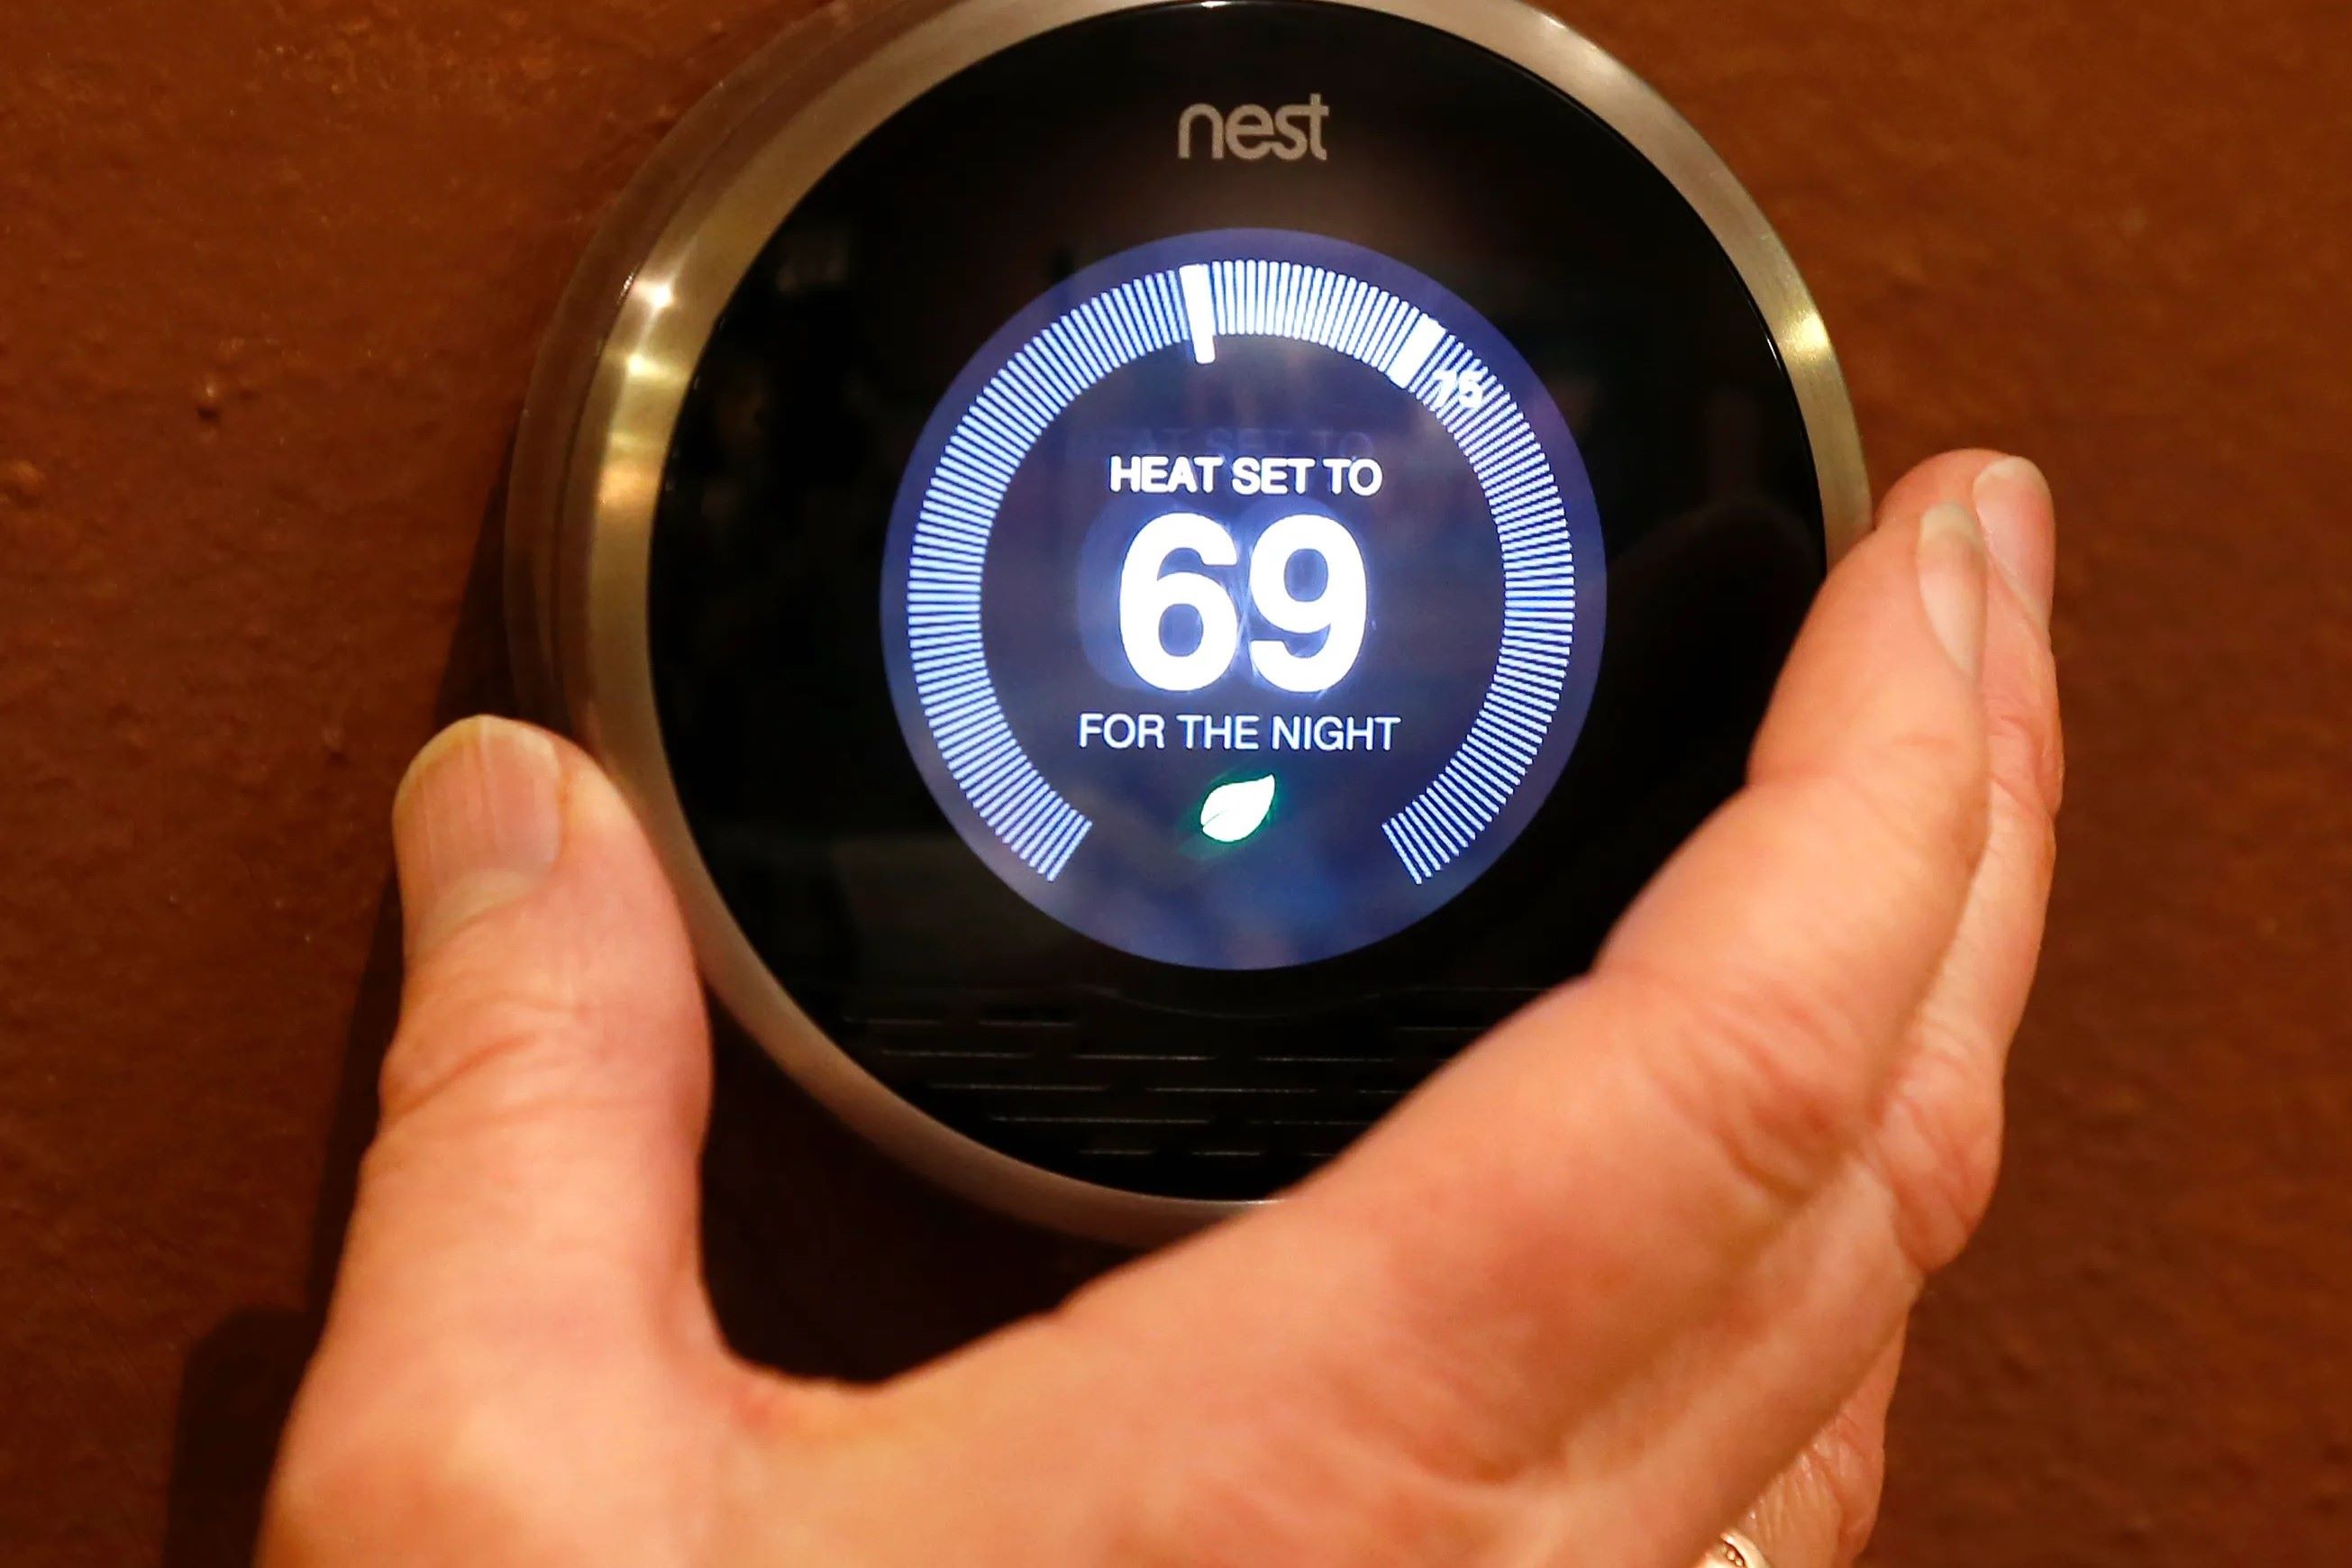
Setting up a Nest thermostat requires identifying your HVAC system’s wiring, ensuring compatibility with your current power configuration, and connecting the device to the Google Home app. By following the standardized sequence of checking system compatibility, installing the backplate and wiring, and finalizing digital configuration, you can successfully automate your home climate control.
Prerequisites and System Compatibility
Before physically removing your old thermostat, you must verify that your HVAC system is compatible with the Nest Learning Thermostat, the Nest Thermostat, or the Nest Thermostat E. Nest devices function by drawing power from your system’s wiring, often utilizing a "C-wire" (common wire) to maintain a steady charge.
Use the official Google Nest compatibility checker to input your wire configuration. If you do not see a C-wire, you may still be compatible, as some Nest models use "power stealing" to function, though this can occasionally lead to system cycling issues in older, low-voltage heating systems. If you have a high-voltage system (indicated by thick wires labeled 120V or 240V, often found in baseboard electric heat), you cannot use a standard Nest thermostat without a specialized transformer, as doing so poses a significant fire hazard and will damage the unit.
Gather the necessary tools before beginning the installation process:
- A Phillips-head screwdriver (usually #1).
- The labels provided in your Nest box (or small masking tape to mark wires).
- A smartphone or tablet with the Google Home app pre-installed.
- A sturdy step stool if your thermostat is mounted high on the wall.
Safety First: Powering Down
The most critical step in installing any HVAC control component is disconnecting the power. While low-voltage thermostat wires carry only 24 volts and are generally not lethal, they can easily cause a short circuit if two wires touch while the power is active. A shorted wire can blow a fuse on your HVAC control board, which is a common and avoidable repair frustration.
Locate your electrical breaker panel and identify the switch labeled "Furnace," "Air Handler," or "HVAC." Switch this to the "Off" position. To verify the system is dead, attempt to turn on your current thermostat; if the screen is blank and the HVAC system does not respond to a call for heat or cool, the power is successfully cut. If you live in an older home with a fuse box or an unlabeled panel, use a non-contact voltage tester to ensure the wires are not energized before proceeding.
Removing the Old Unit and Identifying Wires
Once the power is off, remove the cover of your existing thermostat. You will likely see a terminal block where various wires are connected. Take a clear, high-resolution photograph of these connections before touching any wires. This photo is your primary reference for the "Why" and "How" of your wiring configuration.
If you encounter wires that do not have standard labels—such as those found in custom-built homes or older vintage systems—use the labels provided in the Nest installation kit to mark each wire based on the terminal letter it was connected to (e.g., R, W, Y, G, C). Do not rely on wire color alone, as installers do not always follow universal color-coding standards. Once the wires are labeled, unscrew them from the terminals and gently tuck them into the wall. Use a piece of masking tape or a pencil to keep them from slipping back inside the wall cavity.
Mounting the Nest Baseplate
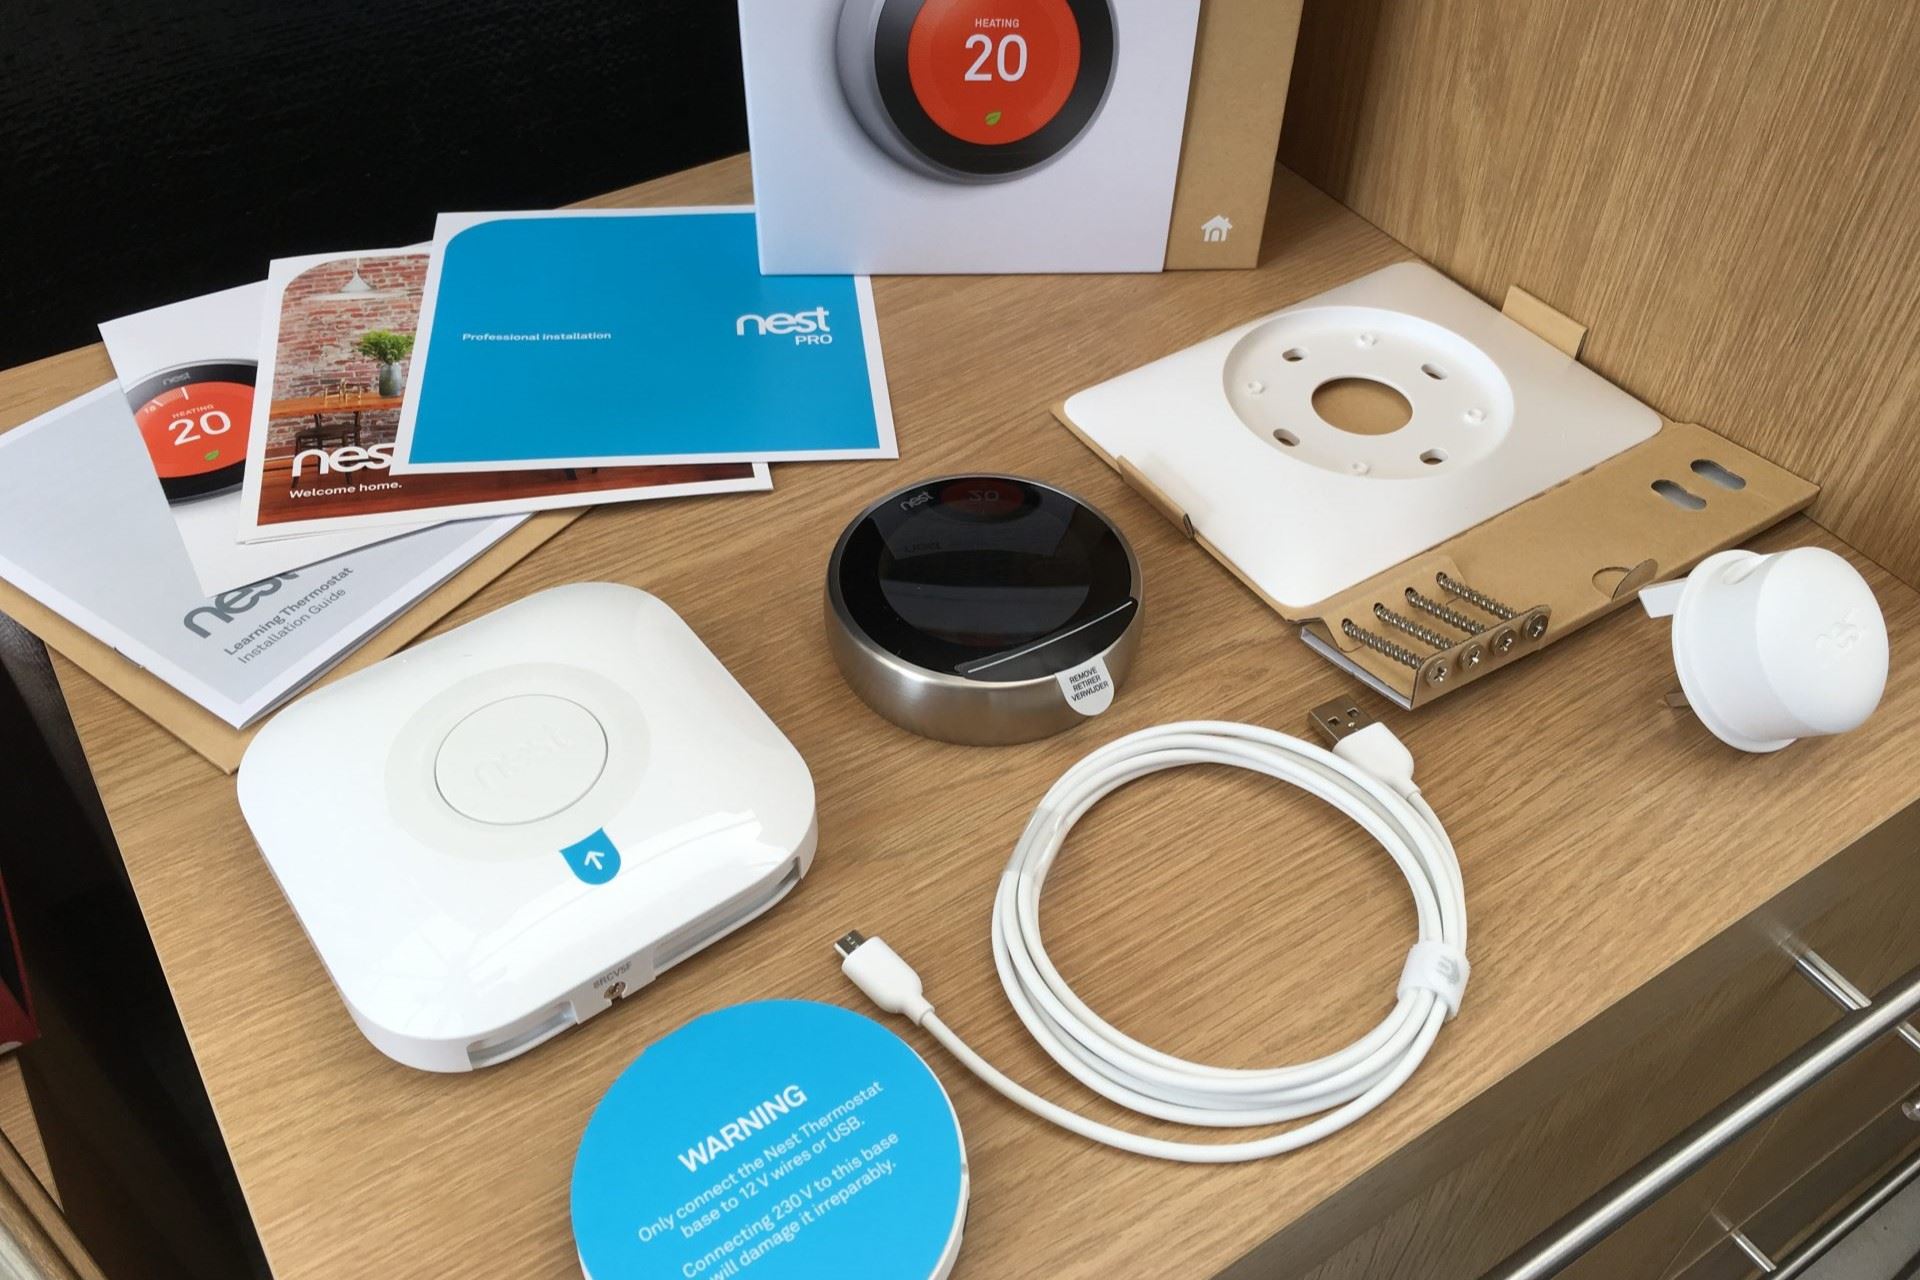
Remove your old thermostat mounting plate from the wall. You may find that the wall behind it is unfinished or contains a large hole. The Nest thermostat comes with an optional trim plate (or "escutcheon") designed to cover these gaps and provide a cleaner aesthetic.
Position the Nest baseplate against the wall. Most models feature an integrated bubble level, which simplifies the process of mounting the device perfectly straight. Using the provided screws, secure the base to the wall. Be careful not to overtighten the screws, as this can crack the plastic or cause the baseplate to warp, which may prevent the display unit from snapping into place correctly. Once secured, ensure the wires pass through the center opening of the baseplate.
Connecting the Wires
Nest thermostats use a push-button connector system. Take your labeled wires and insert them into the corresponding terminal on the Nest base. For example, the wire previously connected to the "W" terminal on your old unit should be inserted into the "W" terminal on the Nest.
Push the wire in until the button stays down; this indicates a secure connection. If you are inserting a wire and the button does not remain depressed, the wire may be too thick or the insulation may be preventing a proper connection. Ensure the wire is stripped to approximately 1/3-inch of bare copper. If you have a jumper wire (a short wire connecting two terminals on the old unit, such as Rh and Rc), the Nest unit usually handles this connection internally, so you can generally discard the jumper.
Configuring the Software
After snapping the thermostat display onto the base, return to your breaker panel and restore power to the HVAC system. The Nest unit will boot up and display a language selection screen. Follow the on-screen prompts to connect the device to your home Wi-Fi network.
You must have the Google Home app on your smartphone to complete the setup. The app will detect the Nest thermostat via Bluetooth, at which point you will be prompted to link it to your Google account. During the configuration, the software will ask you to verify the wiring detected by the base. If the app detects a configuration that does not match standard HVAC operation, it will alert you to potential wiring issues before activating the system.
Comparison of Nest Thermostat Models
When choosing or setting up your unit, it is helpful to understand the capabilities of the current lineup.
| Feature | Nest Learning Thermostat (4th Gen) | Nest Thermostat (2020) |
|---|---|---|
| Auto-Schedule | Yes (AI-based) | No (App-based) |
| Remote Sensor Support | Yes | No |
| Material | Metal / Glass | Plastic |
| Energy Reports | Yes | Yes |
Troubleshooting Common Issues
If your Nest displays an error code (such as E195, indicating no power to the Rc wire), check the following items:
- Loose Connections: Ensure the wires are fully inserted into the terminals. Even a loose wire can cause an intermittent connection.
- Tripped Float Switch: If you have an air conditioner, check the drain pan under your indoor unit. Many systems have a "float switch" that cuts power to the thermostat if the drain line is clogged and water is backing up.
- App Updates: If the thermostat is connected but not responding to remote commands, ensure your Google Home app is updated to the latest 2026 version.
Frequently Asked Questions
Does the Nest thermostat require a professional to install? No, most homeowners can install a Nest thermostat in under 45 minutes. However, if your home has a complex multi-stage heating system, a heat pump with auxiliary heat, or if you feel uncomfortable working with electrical wiring, a licensed HVAC technician is recommended to ensure your system’s longevity.
What happens if my Wi-Fi goes out? Your Nest thermostat will continue to function as a manual thermostat even if the network is down. You can still adjust the temperature using the dial on the unit, and it will follow any schedules it has previously learned or saved.
Can I move my Nest to a different house? Yes. To move your unit, factory reset the device through the "Settings" menu. This clears your personal data, energy history, and account links. You can then reinstall it in a new location by repeating the wiring and setup process from the beginning.
Does a Nest thermostat save money? The potential for energy savings depends on your usage habits and local utility rates. By using features like "Eco Temperatures" when you are away and refining your heating/cooling schedules, you can optimize system runtime, which often leads to lower monthly utility costs compared to a manual thermostat.
What is the 'C-wire' and why is it important? The C-wire, or Common wire, provides a continuous 24-volt power source to the thermostat. Older thermostats used batteries, but smart devices require more power for Wi-Fi and the display. If your home lacks a C-wire, you may need a power adapter or a specialized installation kit.
Final Recommendation
Once your thermostat is successfully installed and connected, take time to calibrate the "Learning" settings during the first two weeks of use. Manually adjust the temperature when you wake up, leave for work, or go to sleep. The Nest will observe these patterns and begin creating a schedule that matches your lifestyle. If you prefer manual control, you can disable the auto-learning feature within the app to ensure the thermostat only follows the specific temperatures you set. Periodically check your Google Home app for firmware updates, which are periodically released to improve performance and compatibility with evolving smart home protocols.
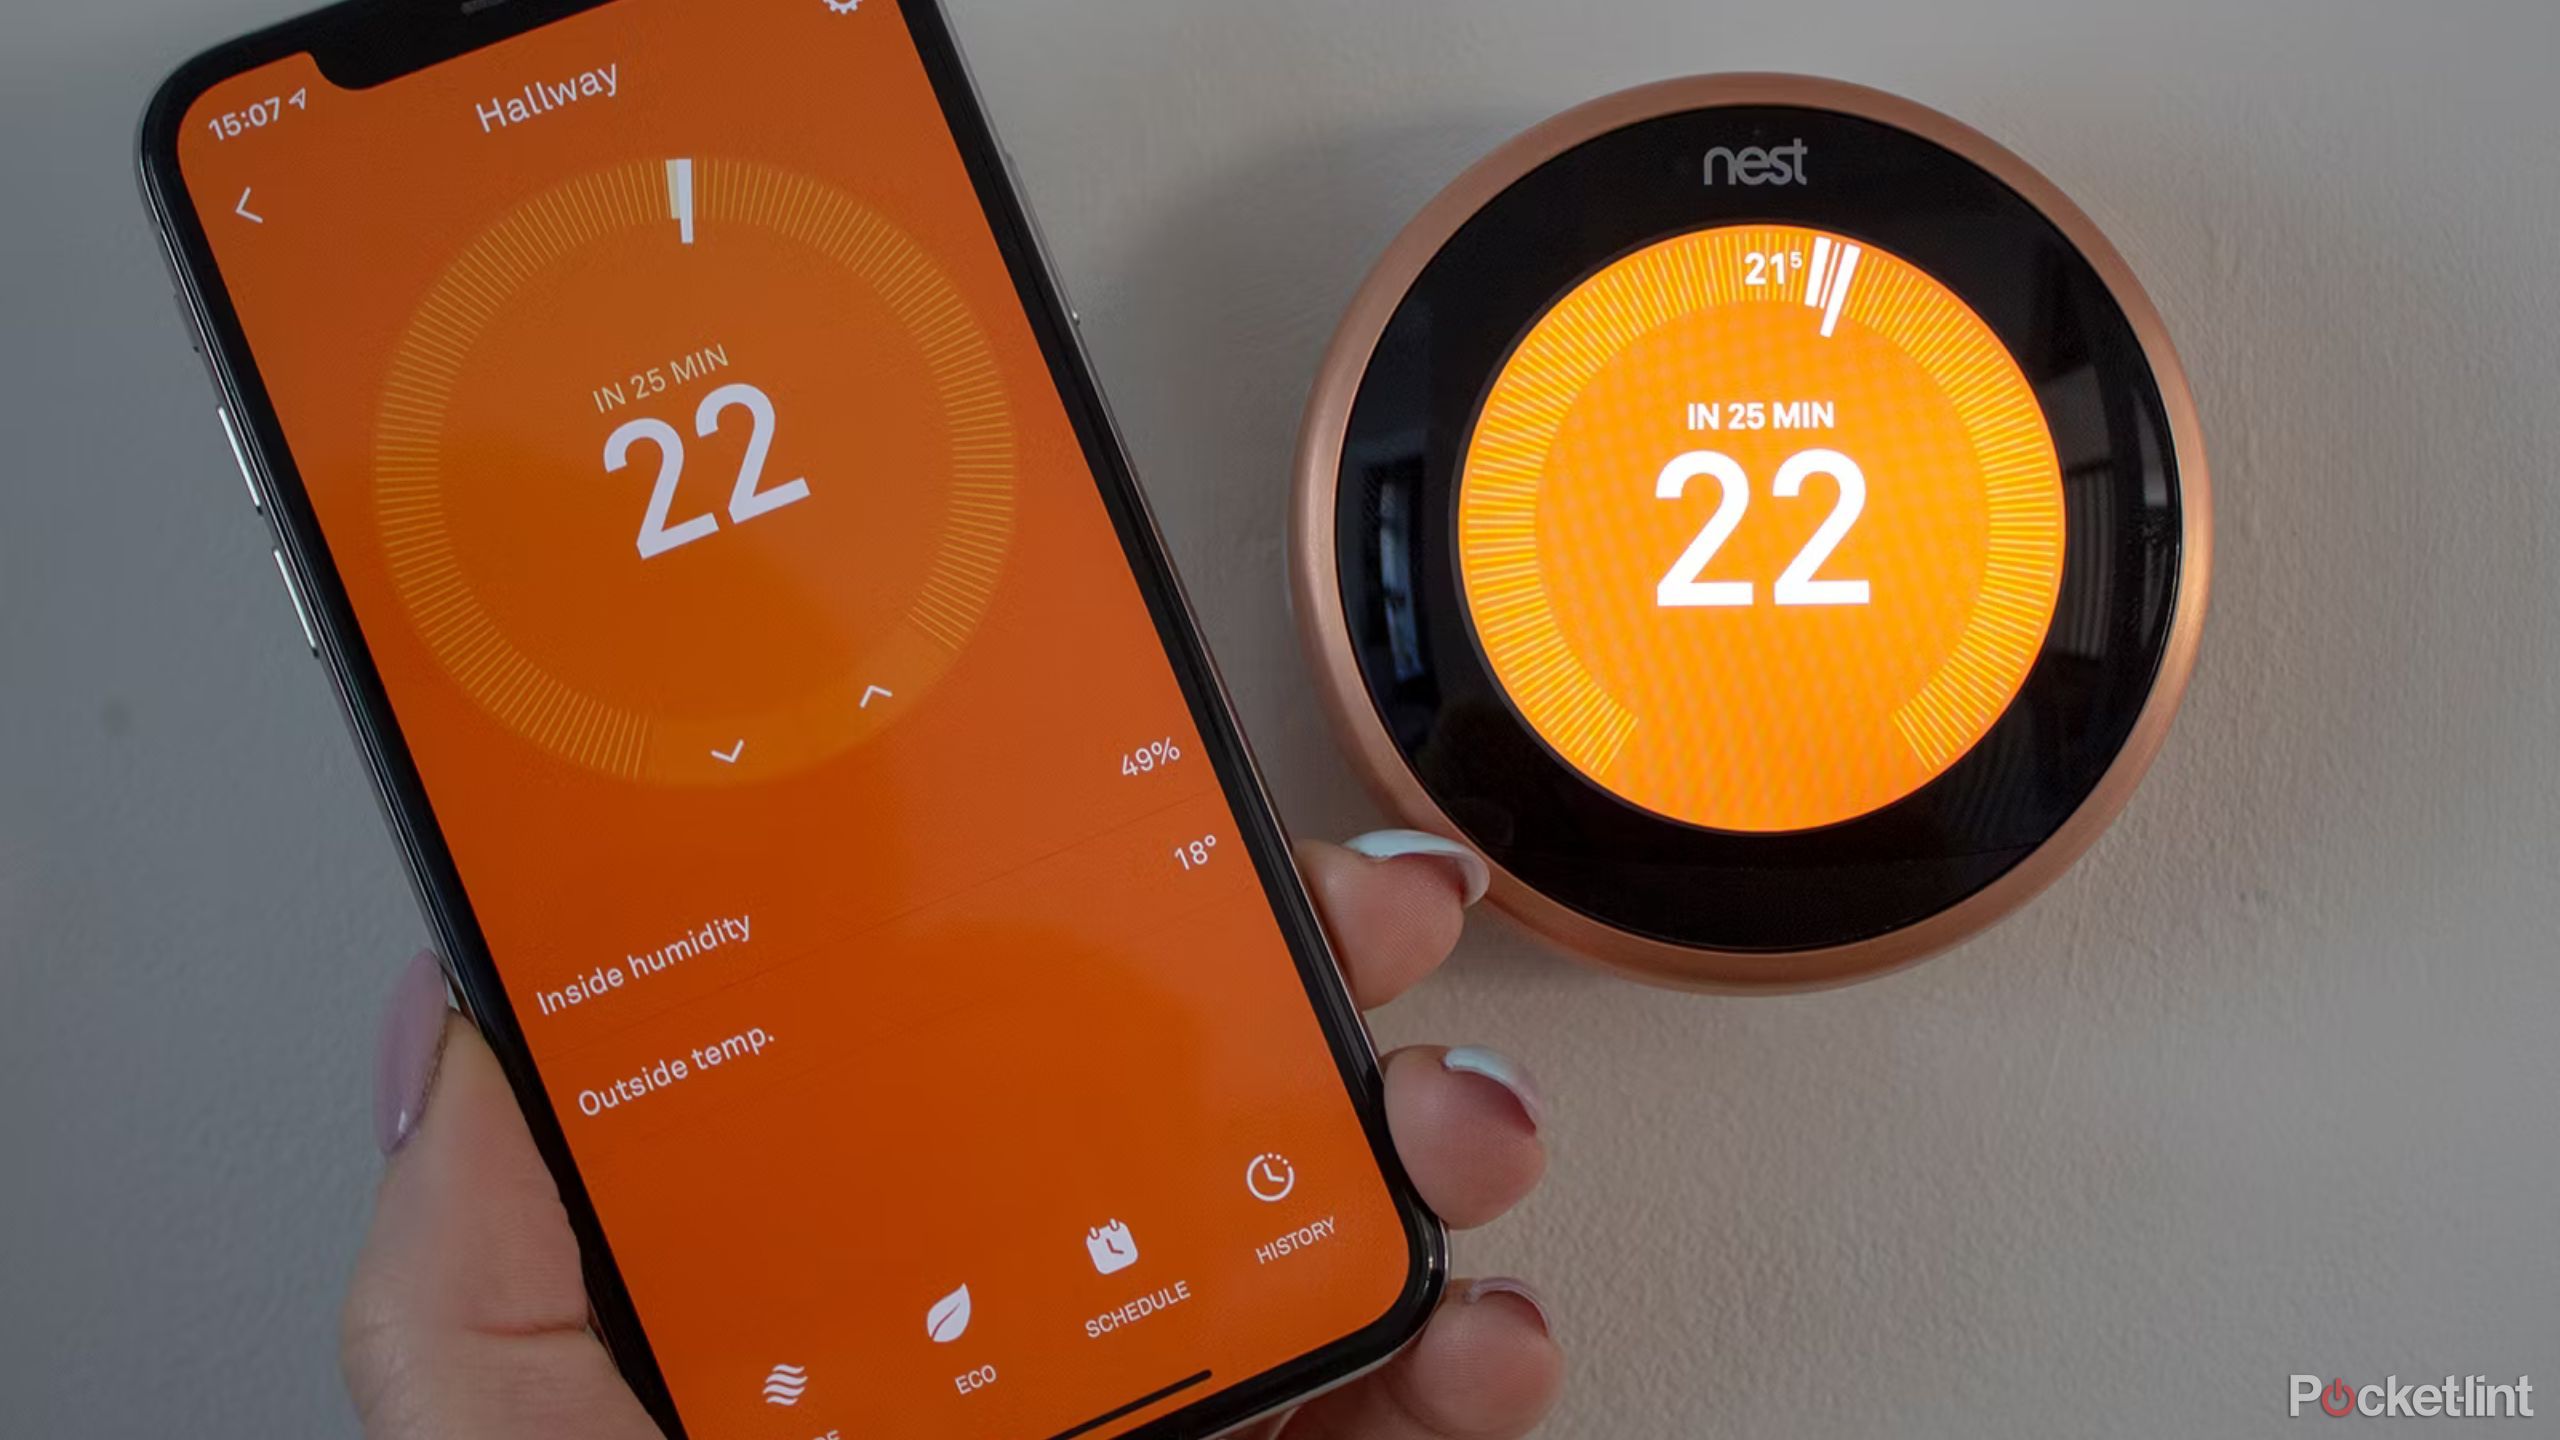
Image Gallery
Select an image to open it in a new tab.


Celine Dubois
Contemporary Living and Global Arts Columnist
