How to Make Rubber Band Bracelets Step by Step

Learning how to make rubber band bracelets step by step offers a creative, accessible, and engaging entry point into the world of DIY crafts. By mastering simple looping techniques using a loom, a mini hook tool, or even your fingers, you can transform colorful silicone bands into intricate, wearable accessories suitable for fashion, gifting, or skill-building.
Rubber band crafting—often associated with the global Rainbow Loom phenomenon that surged in popularity during the early 2010s—remains a staple hobby for children, teens, and crafting enthusiasts. The process requires very few raw materials, primarily consisting of latex-free elastic bands, a small plastic weaving hook, connector clips (usually C-clips or S-clips), and optionally a plastic loom board. Whether you want to weave a simple single-chain bracelet in a few minutes or tackle more advanced fishtail, starburst, and dragon scale patterns, understanding the foundational mechanics ensures clean, durable results without snapped bands or tangled rows.
Essential Materials and Tools Required
Before beginning your first rubber band bracelet, assembling the correct tools and verifying the quality of your supplies prevents frustration. While the market offers a wide variety of starter kits, knowing what each component does helps you select the right setup for your chosen pattern.
The Elastic Bands
Modern crafting bands are typically made from silicone or high-grade rubber. When purchasing bands, look for products labeled latex-free to prevent potential allergic reactions during handling or wear. Bands come in solid colors, neon shades, glow-in-the-dark variations, metallics, and tie-dye mixtures. The elasticity and thickness of the bands matter; cheaper, overly brittle bands snap easily under tension, ruining intricate multi-row weaves.
Weaving Devices
Depending on the complexity of the bracelet, you will use one of three main platforms:
- Fingers: Ideal for simple, single-chain bracelets when no tools are nearby.
- Mini Loom or Fork Setup: Two-pin devices or household forks that allow for tighter, more structured patterns like the fishtail.
- Plastic Loom Board: A modular or fixed plastic board featuring rows of vertical peg columns. This is required for advanced patterns, starbursts, and triple-single bracelets.
Finishing Tools
- Weaving Hook: A small plastic or metal tool with a hooked end used to grab, pull, and lift elastic bands over pegs or other bands.
- C-Clips and S-Clips: Small plastic fasteners shaped like the letters C or S. These secure the final loops of the bracelet together, completing the loop so it can be worn safely.
Core Techniques: Weaving Patterns Compared
Different patterns require distinct arrangements of bands and tools. The table below outlines the difficulty level, required tools, and estimated time for four popular rubber band bracelet styles.
| Pattern Name | Difficulty Level | Recommended Tools | Estimated Time | Key Structural Feature |
|---|---|---|---|---|
| Single Chain | Beginner | Fingers or Hook | 3–5 minutes | Linear, flat loop chain; foundational skill for all bracelets. |
| Fishtail | Easy | Mini Loom or 2 Pegs | 7–10 minutes | Thick, braided center ridge created by crossing outer loops. |
| Triple Single | Intermediate | Full Loom Board | 15–20 minutes | Three parallel rows connected by horizontal zigzag bands. |
| Starburst | Advanced | Full Loom Board | 25–30 minutes | Circular "bursts" of colored bands surrounded by a dark frame. |

Step-by-Step Guide: How to Make a Single Chain Bracelet
The single-chain bracelet is the absolute foundation of rubber band crafting. Once you understand how bands overlap and tension works, every other complex pattern becomes an extension of this basic loop.
Step 1: Position the First Band in an Figure-Eight
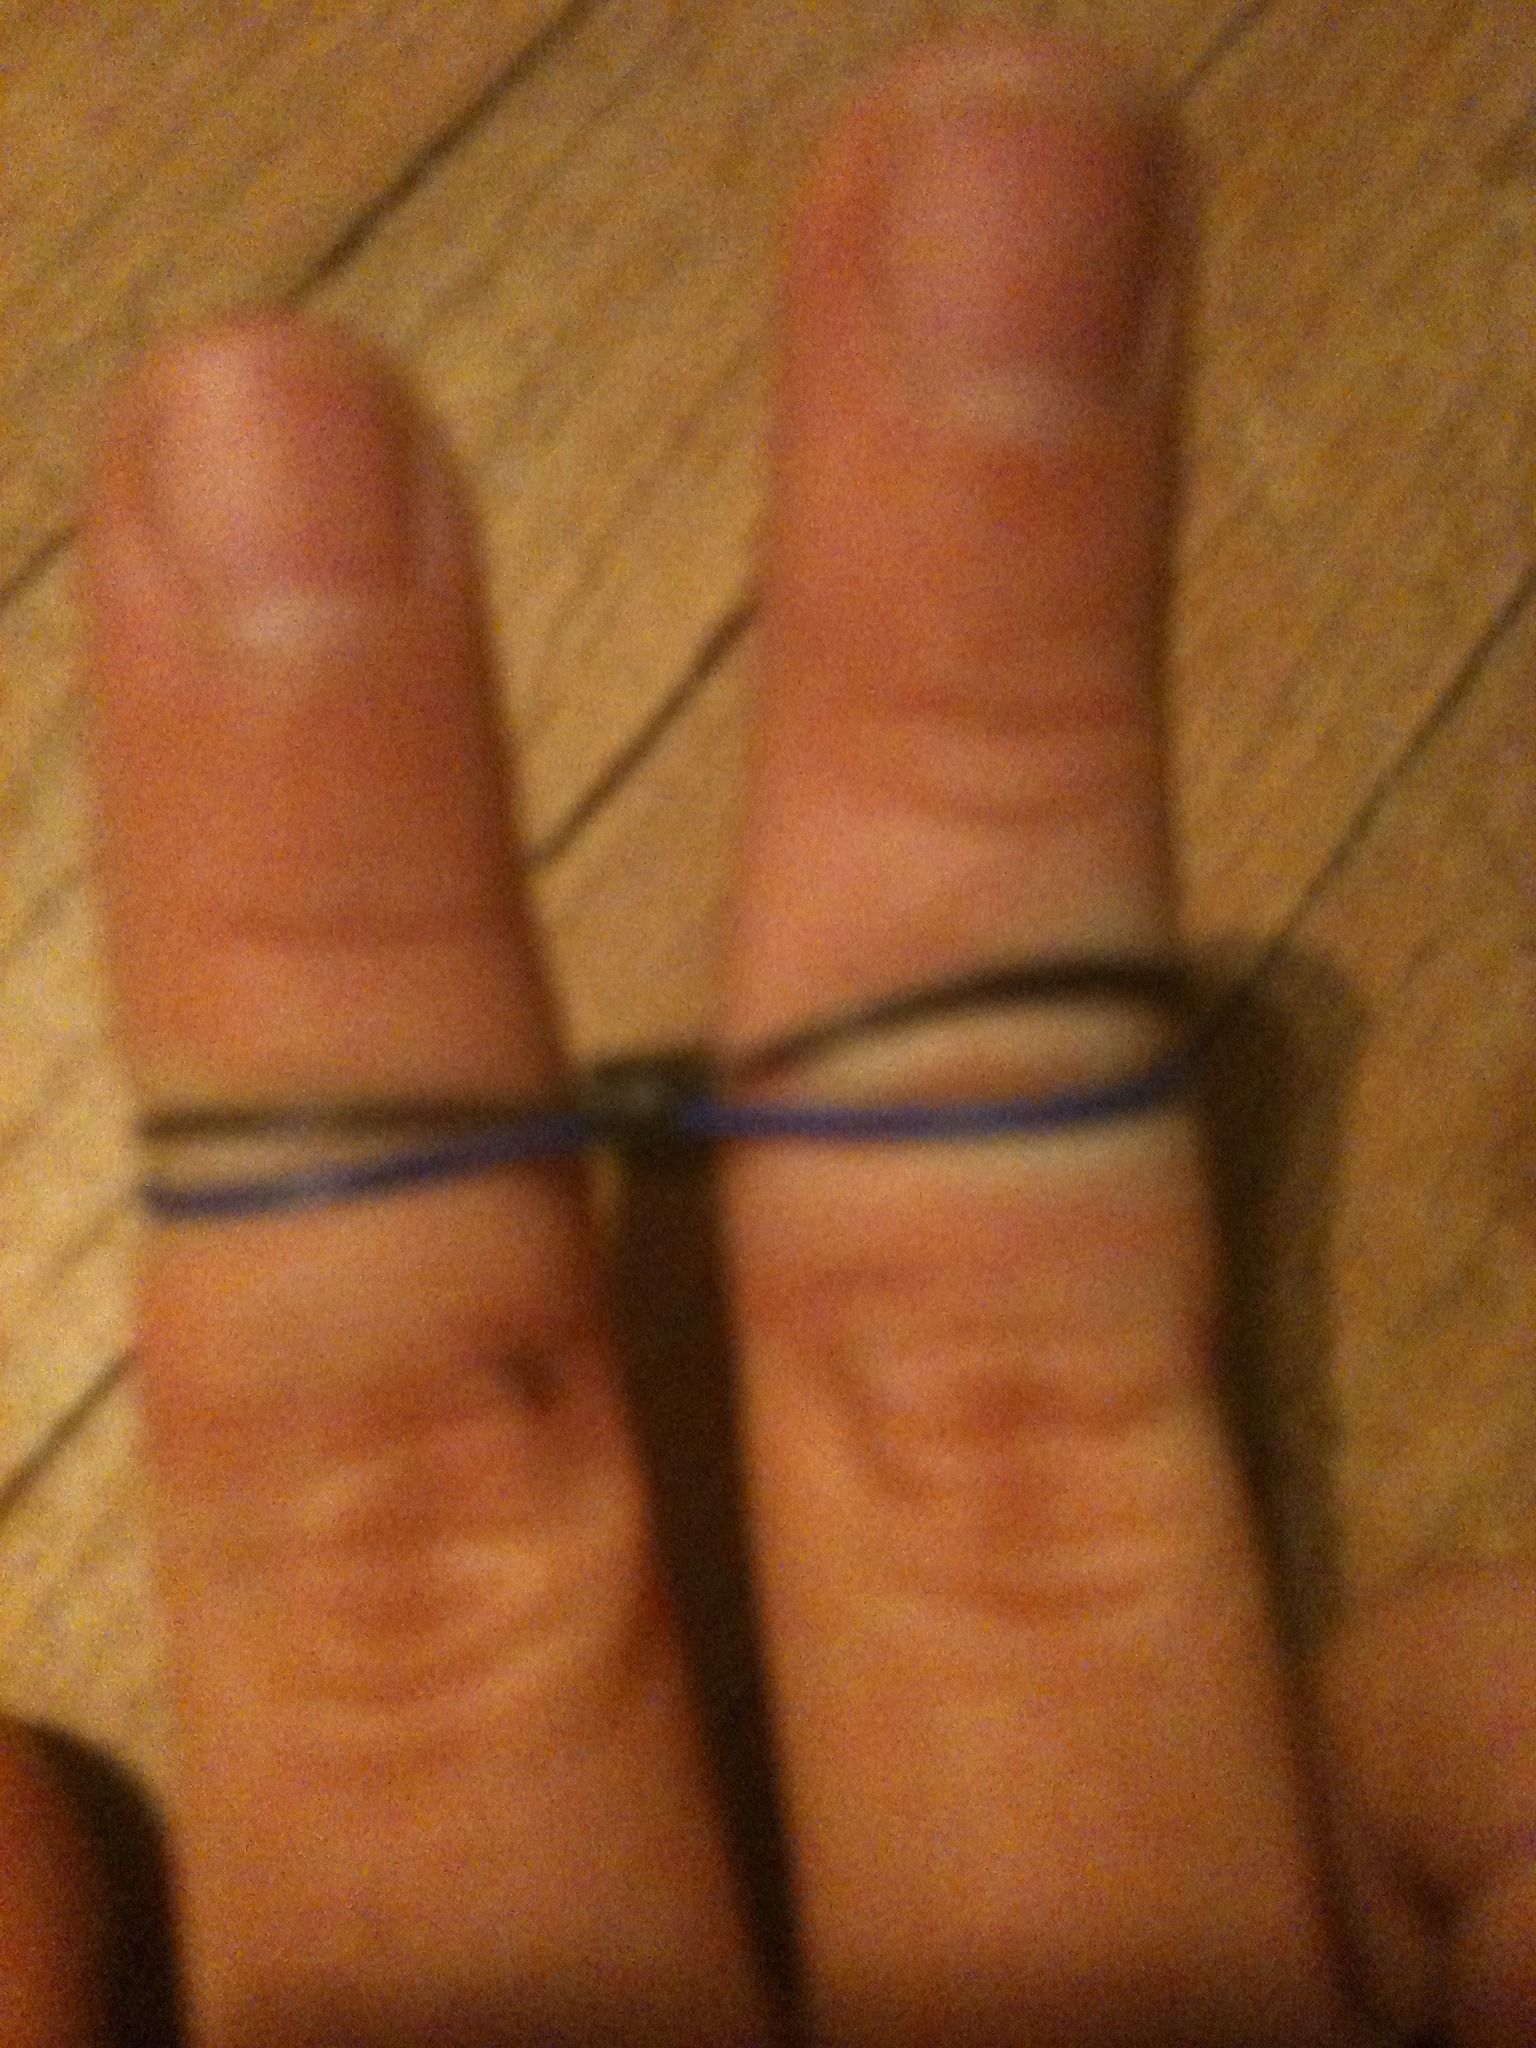
Take your first rubber band and place it over your index and middle fingers (or two pegs on a mini loom). Twist the band in the middle to form a figure-eight shape ($8$) as you place it across the two digits. This twist creates tension that keeps the subsequent bands from sliding off.
Step 2: Layer Two Straight Bands
Place a second rubber band directly across both fingers without twisting it. Place a third rubber band directly on top of the second band, also without a twist. You should now have three vertical layers of bands stacked on your fingers: the bottom twisted band, and two straight bands above it.
Step 3: Loop the Bottom Band Over
Using your fingers or a weaving hook, reach down to the bottom twisted band. Grab one side of it and pull it up and over your finger (or peg) so that it releases into the center space between your fingers. Repeat this action for the other side of the bottom band. The band will now wrap around the outside of the two middle bands, anchoring them together.
Step 4: Continue Adding and Looping
Place a new straight band across your fingers on top of the remaining bands. Once again, grab the bottom-most band from both sides, pull it up and over your fingers, and drop it into the center.
Repeat this sequence: add one straight band, pull the bottom band over, and drop. As you continue, a connected chain will begin to emerge downward through the bottom opening between your fingers. Pull gently on the growing chain periodically to straighten the links.
Step 5: Attach the C-Clip and Finish
Continue weaving until the chain reaches your desired wrist length. Stop adding new bands when two loops remain on your fingers.
- Carefully transfer both remaining loops onto a single finger to keep them secure.
- Slide the open prongs of a C-clip or S-clip through both loops.
- Remove your finger.
- Take the opposite end of the bracelet (where you started with the twisted figure-eight band) and hook the initial loops into the other side of the C-clip.
Your single-chain bracelet is now complete and ready to wear.
Step-by-Step Guide: How to Make a Fishtail Bracelet
The fishtail pattern creates a thicker, braided appearance that looks more complex than the single chain, yet it relies on a very simple three-band sequence.
Step 1: Set Up the Base
Place your first rubber band across two pegs or fingers in a figure-eight twist. Next, place a second band straight across without a twist. Finally, place a third band straight across on top. You must always maintain exactly three bands on your working pins before you begin looping.
Step 2: Lift the Bottom Band
Instead of using a hook to lift from the inside, use your fingers or a hook to grab the very bottom band (the one with the figure-eight twist) from the outside. Pull both the left and right sides of this bottom band up and over the top two bands, dropping them into the center between the two pegs.
Step 3: Maintain the Three-Band Rule
You now have two bands remaining on your pegs. Add a new straight band to the top so that you once again have a total of three bands stacked vertically.
Step 4: Repeat the Fishtail Weave
Identify the new bottom band (which was the middle band in the previous step). Grab its left and right edges from the outside, pull them up and over the top two bands, and drop them into the center.
Continue this rhythm: add one band to the top, pull the bottom band over the top and into the center, and repeat. As the braid forms, gently pull downward on the bottom of the growing fishtail to align the bands neatly.
Step 5: Secure with a Clip
When the fishtail reaches the correct length for your wrist, reduce the remaining bands on your pegs from three down to two by looping the bottom band away without adding a new one. Once only two loops remain, transfer them to a C-clip, secure the starting end of the bracelet to the opposite side of the clip, and trim or adjust any loose tails.
Troubleshooting Common Rubber Band Bracelet Issues
Even experienced crafters encounter snags, breaks, and structural errors during weaving. Addressing these issues early saves time and preserves your materials.
Snapped Bands During Weaving
If a band snaps while you are pulling it over a peg or finger, do not panic.
- If it is a single chain: Carefully pinch the two loops immediately adjacent to the broken band, slip a new band through both loops, and continue your weave.
- If it is a complex loom pattern: Use your hook to gently pull the broken band out of the assembly, insert a replacement band through the neighboring stable loops using a slipknot or hook, and anchor it before resuming.
Twisted or Messy Links
If your bracelet looks uneven or twisted, check your layering sequence. In patterns like the fishtail or advanced looms, failing to alternate bands correctly or skipping a peg rotation causes structural asymmetry. Unhook the most recent three or four loops, correct the band orientation, and re-loop carefully.
Sizing Inaccuracies
Standard children's wrist sizes typically require a chain length of approximately 5.5 to 6 inches (around 25 to 30 single-chain links, depending on band tension). Adult wrists generally require 6.5 to 7.5 inches. Always test the bracelet around your wrist before attaching the final C-clip.
Frequently Asked Questions
What safety precautions should I keep in mind when making rubber band bracelets?
Ensure that bands are kept away from very young children and household pets who might swallow them. If you or the recipient have latex sensitivities, verify that the packaging explicitly states the bands are 100% silicone or latex-free. Avoid over-stretching individual bands beyond their maximum elasticity to prevent sudden snapping and potential eye contact.
Can I make rubber band bracelets without any tools?
Yes. The single-chain pattern can be made entirely using your bare fingers. You can also use household items like two dining forks taped back-to-back as a makeshift mini loom for weaving fishtail or double-chain bracelets.
How do I store my rubber band collection so it doesn't tangle?
Store your bands in a compartmentalized plastic organizer box or tackle box. Separating bands by color prevents pigment transfer (where dark bands stain lighter neon bands over time) and keeps your workspace tidy for your next crafting session.
Why do my rubber bands break so easily?
Bands degrade when exposed to direct sunlight, high heat, or ozone over long periods. If you are using older bands that have sat in storage for years, the polymer may have dried out and lost its elasticity. Purchasing fresh, high-grade silicone refill packs resolves this issue.
Next Actions and Advanced Projects
Once you have mastered the single chain and the fishtail, expand your crafting repertoire by exploring modular loom boards. Transitioning to intermediate patterns like the Dragon Scale or advanced multi-row designs allows you to combine dozens of colors, incorporate beads into the weave, and create wide cuff-style bracelets. Keep your workspace organized, experiment with contrasting color palettes, and enjoy building your custom jewelry collection.
Image Gallery
Select an image to open it in a new tab.




Vivian Cho
Executive IT and Emerging Technologies Reporter
