
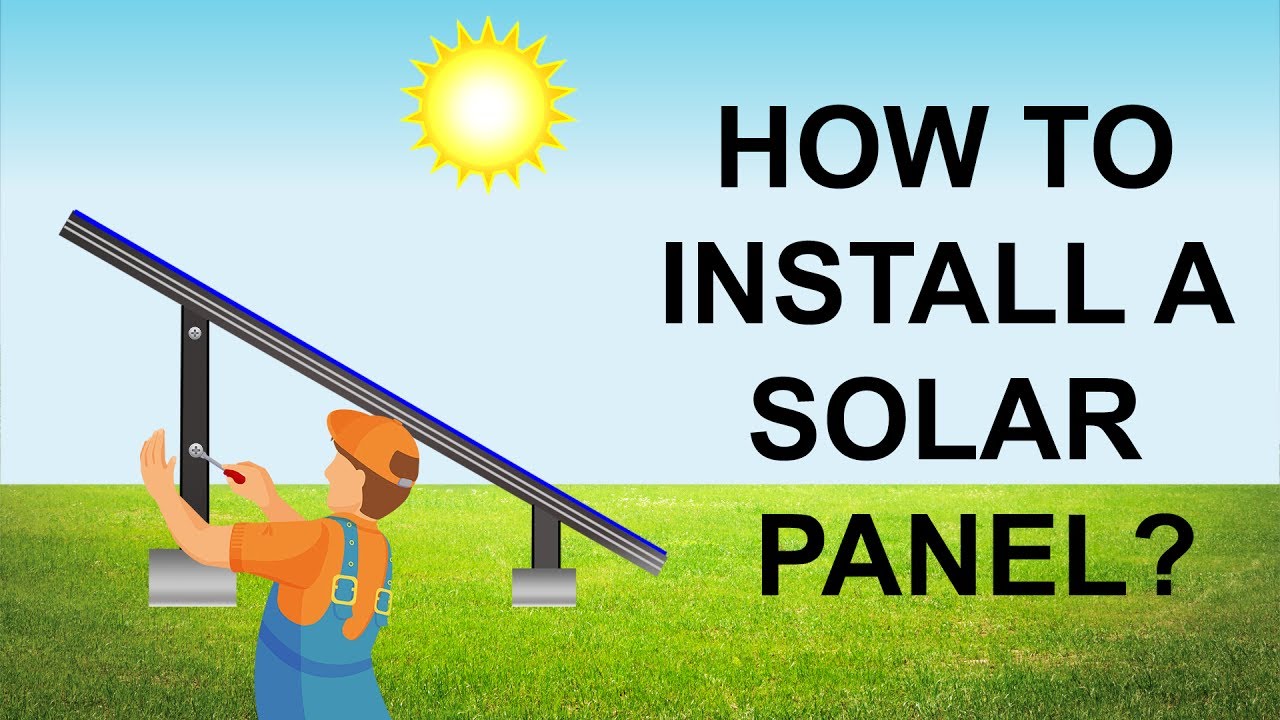
Installing solar panels at home involves assessing your energy needs, obtaining permits, mounting the racking system, wiring the inverter, and passing municipal inspections to interconnect with the electrical grid. While professional installation remains standard practice for grid-tied arrays due to structural, electrical, and warranty requirements, a complete understanding of the end-to-end process is essential for anyone evaluating residential solar energy.
Understanding the Residential Solar Landscape
Transitioning a home to solar power requires careful planning, adherence to safety codes, and an understanding of electrical engineering principles. Whether you hire a turnkey contractor or study the requirements for a self-managed installation, the project demands rigorous preparation. Residential solar systems generally fall into three categories: grid-tied systems, off-grid systems, and hybrid systems with battery storage.
Grid-tied systems remain the most popular choice for suburban and urban homes. These setups connect directly to your local utility company's electrical grid. When your panels produce excess electricity during peak daylight hours, the surplus feeds back into the grid, often earning you credits through net metering programs regulated by utility commissions or state energy offices. Off-grid systems, conversely, operate entirely independently and rely on large battery banks to store energy for nighttime use or cloudy days. Hybrid systems combine grid connectivity with battery backup, offering protection against power outages while retaining the financial benefits of net metering.
Before purchasing hardware, homeowners must analyze their current energy consumption patterns. Reviewing past utility bills reveals your average kilowatt-hour (kWh) usage across different seasons. This data dictates the physical size of the solar array, the wattage of the photovoltaic (PV) modules, and the capacity of the inverter required to convert direct current (DC) electricity into the alternating current (AC) used by household appliances.
Pre-Installation Planning, Siting, and Permitting
The success of a residential solar array depends heavily on site assessment and legal compliance. Ignoring local zoning laws or structural engineering limits can result in costly fines, failed inspections, or catastrophic roof damage.
Roof Assessment and Structural Integrity
Your roof must be structurally sound and capable of supporting the dead load of the solar panels and racking system, as well as live loads such as wind and snow. Most residential solar panels weigh approximately 40 pounds each and measure roughly 65 by 39 inches. Racking equipment adds additional weight.
- Age and Condition: If your asphalt shingle roof is more than 10 to 15 years old, consider replacing it before installing solar panels. Removing and reinstalling panels to fix a leaking roof later can cost thousands of dollars.
- Orientation and Tilt: In the Northern Hemisphere, panels facing true south receive the most direct sunlight throughout the day, though east- and west-facing orientations are also viable. The optimal tilt angle typically matches your local latitude to maximize annual energy harvest.
- Shading Analysis: Shade from neighboring trees, chimneys, or utility poles drastically reduces solar production. Even partial shading on a single panel can disproportionately drop the output of an entire string inverter system due to electrical bottlenecking.
Permitting and Interconnection Agreements
You cannot legally plug a home solar array into the electrical grid without authorization. The administrative phase requires submitting detailed engineering diagrams and structural load calculations to your local municipal building department.
- Building and Electrical Permits: Local authorities review your plans to ensure compliance with the National Electrical Code (NEC) or local equivalents. This step verifies that wire gauges, rapid shutdown switches, and disconnect mechanisms meet safety standards.
- Utility Interconnection Application: You must submit an interconnection application to your electric utility provider. The utility reviews the application to ensure your local transformer can handle potential back-fed power and to approve your net metering agreement.
- Homeowners Association (HOA) Review: If your property falls under an HOA, review their covenants, conditions, and restrictions (CC&Rs). Many jurisdictions have "solar access" laws that limit an HOA's ability to ban solar panels outright, but aesthetic guidelines may still apply.

Solar Panel System Components
A comprehensive solar installation involves several specialized hardware components designed to work in unison. Understanding each part ensures proper system matching and longevity.
| Component | Function | Key Considerations |
|---|---|---|
| Photovoltaic (PV) Panels | Convert sunlight into direct current (DC) electricity. | Monocrystalline panels offer higher efficiency; polycrystalline options are more affordable. |
| Inverter | Converts DC electricity into alternating current (AC) for home use. | String inverters are cost-effective; microinverters optimize each panel independently. |
| Racking and Mounting | Secures the panels to the roof or ground securely. | Must withstand local wind uplift ratings and prevent roof leaks using flashing. |
| Balance of System (BOS) | Includes wiring, conduit, combiner boxes, and safety disconnects. | Must use weather-rated, UV-resistant cables and exterior-grade conduits (NEC compliant). |
| Battery Storage (Optional) | Stores excess electricity for use during grid outages. | Lithium iron phosphate (LiFePO4) batteries are standard for residential safety and longevity. |
Step-by-Step Installation Process
Disclaimer: High-voltage DC electricity and complex roof work present severe physical hazards, including falls and electrocution. Many jurisdictions legally require a licensed electrician and certified contractor to perform grid-tied installations. The following steps outline the technical workflow for educational purposes.
Step 1: Layout and Roof Attachment
Once permits are secured and materials arrive, layout chalk lines on the roof to mark the exact position of the mounting feet.
- Locate the roof rafters or trusses using a stud finder or exploratory drilling.
- Secure the mounting feet directly into the structural wooden framing, never just into the plywood roof decking.
- Apply flashing and heavy-duty roofing sealant around every penetration point to prevent water leaks.
- Bolt the aluminum rails horizontally or vertically across the mounting feet, ensuring the entire framework is level and square.
Step 2: Installing Microinverters or Optimizers
If your system uses microinverters or DC optimizers, mount them directly to the aluminum racking rails underneath where each panel will rest. Connect the DC wires from the microinverter to the pigtails of the solar panel. This architecture ensures that if one panel is shaded or damaged, neighboring panels continue operating at full capacity. If utilizing a central string inverter, the panel DC wires are routed together into series circuits (strings) and run down to a central location.
Step 3: Mounting the Solar Panels
Lift each panel onto the roof carefully, avoiding dropping or walking on the glass surface. Place the panels onto the racking rails and secure them using mid-clamps and end-clamps designed specifically for your rail manufacturer. Torque all bolts to the manufacturer’s exact specifications using a calibrated torque wrench. Overtightening can crack the silicon wafer cells; undertightening can cause panels to lift during high winds.
Step 4: Running Electrical Conduit and Wiring
Route exterior-grade electrical conduit (typically EMT or rigid PVC) from the roof down to the electrical service panel or inverter location.
- Run copper wiring sized according to the system's amperage output through the conduit.
- Install DC disconnect switches near the array and an AC rapid shutdown switch near the main electrical panel to comply with modern fire safety codes (such as NEC 2020/2023 standards).
- Ground all metal components, including rails, frames, and inverters, to the home’s grounding electrode system to protect against lightning and power surges.
Step 5: Connecting the Inverter and Main Service Panel
Inside or outside the home, mount the inverter in a well-ventilated, shaded area away from direct moisture. Connect the DC home runs from the solar array to the inverter's DC inputs. Next, connect the AC output of the inverter to a dedicated circuit breaker within your main electrical panel or a line-side tap executed by a professional utility lineman or certified electrician.
Inspection, Commissioning, and Ongoing Maintenance
After physical installation, the system cannot be turned on permanently until final verification takes place.
The Inspection Phase
Contact your local municipal building department and your utility provider to schedule final inspections. An electrical inspector will verify that all wiring, conduit strapping, grounding, rapid shutdown procedures, and placard labeling comply with local building codes. Once the municipal inspector signs off, the utility company will inspect the meter interface, install a bi-directional net meter if necessary, and grant Permission to Operate (PTO). Do not energize the system and export power to the grid prior to receiving official PTO.
Maintenance and Monitoring
Residential solar panels feature few moving parts and require minimal maintenance, but proactive upkeep maximizes efficiency:
- Cleaning: Dust, pollen, bird droppings, and leaves can accumulate on the glass surface. In arid climates or areas with low rainfall, rinsing panels with a soft brush and deionized water once or twice a year prevents efficiency losses.
- Monitoring Software: Most modern inverters connect to Wi-Fi, allowing you to track real-time energy production via a smartphone app. Sudden drops in daily output alert you to potential inverter faults, shading issues, or hardware failures.
Frequently Asked Questions
Can I install solar panels on my home myself to save money?
While DIY solar kits are available for purchase, installing a grid-tied system yourself is heavily restricted or prohibited in many jurisdictions. Homeowners can sometimes complete off-grid cabin installations, but grid-tied setups legally require certified electrical work, structural engineering sign-offs, and utility interconnection approval to ensure grid safety.
How long does a home solar panel installation take?
The physical installation of residential solar panels typically takes between one to three days, depending on system size and roof complexity. However, the entire timeline—from initial design and permit approval to utility interconnection and final inspection—frequently spans six to twelve weeks.
What happens to my solar panels during a grid blackout?
Standard grid-tied solar systems automatically shut down during a power blackout for safety reasons. This "anti-islanding" protection prevents your panels from feeding electricity back into the grid, which could otherwise injure utility workers repairing downed power lines. To maintain power during an outage, you must install a hybrid inverter paired with a home battery backup system.
Do solar panels damage roof shingles?
When installed correctly by professionals using proper flashing and waterproofing techniques, solar panels do not damage roofs. In fact, panels shade the underlying roof membrane from harsh ultraviolet (UV) radiation, which can extend the lifespan of the shingles directly beneath them.
How much maintenance do solar panels require?
Solar panels require very little maintenance. Because they lack moving parts, natural rainfall usually washes away light dust and debris. Periodic visual inspections via your inverter’s monitoring app and an occasional rinse during dry summer months are generally sufficient.
Conclusion and Next Actions
Installing solar panels at home is a substantial infrastructure project that requires balancing structural engineering, electrical safety, local building codes, and utility regulations. Begin your journey by reviewing past electricity bills, assessing your roof's orientation and structural health, and consulting with licensed local solar contractors to secure accurate quotes and structural assessments before purchasing any hardware.
Image Gallery
Select an image to open it in a new tab.

Akira Tanaka
International Academic Trends Correspondent
