
To achieve the ideal texture, ribs should be cooked to an internal temperature between 195°F and 205°F (91°C–96°C). While the USDA considers pork safe to eat at 145°F, ribs contain high amounts of connective tissue that only break down into tender gelatin at these significantly higher temperatures.
The Critical Distinction Between Safety and Palatability
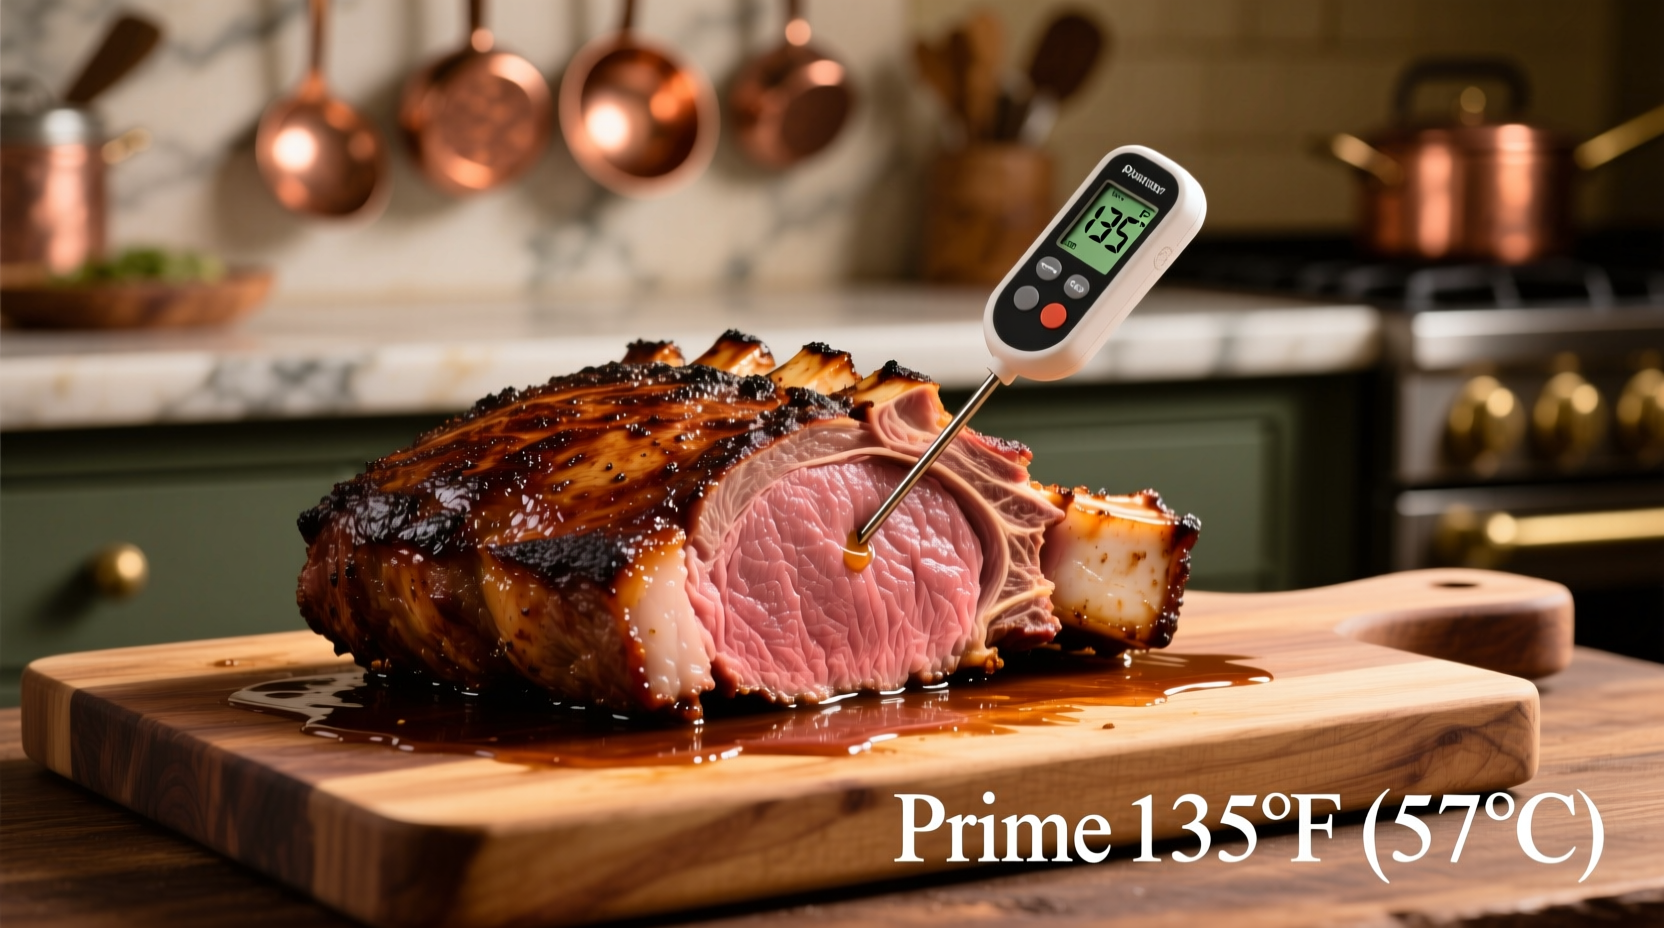
When discussing the "right" temperature for cooking ribs, we must distinguish between biological safety and culinary excellence. According to the USDA Food Safety and Inspection Service, the minimum safe internal temperature for pork is 145°F (63°C), followed by a three-minute rest. At this temperature, the meat is safe to consume, but for a cut like ribs, it will be incredibly tough, chewy, and unpleasant.
Ribs are skeletal muscles that do a significant amount of work, meaning they are rich in collagen and connective tissues. Unlike a lean pork chop or a tenderloin, which becomes dry and rubbery if overcooked, ribs require a "low and slow" approach to reach a much higher internal temperature. This heat is necessary to trigger the chemical transformation of tough collagen into succulent gelatin. As of 2026, the consensus among pitmasters and culinary scientists remains that the "sweet spot" for pulling ribs off the heat is right around 203°F (95°C), though the specific range of 195°F to 205°F allows for variations in personal preference and meat thickness.
The Science of Collagen Breakdown
To understand why 200°F is the target, one must understand the physics of the meat itself. Collagen is a structural protein that holds muscle fibers together. It is incredibly strong and resistant to heat at lower levels. When you cook ribs, several stages occur:
- Protein Denaturation (100°F–140°F): Muscle fibers begin to tighten and release moisture.
- The Safety Zone (145°F): The meat is technically "done" by safety standards, but the collagen is still fully intact.
- The Stall (150°F–170°F): This is a frustrating period where the internal temperature stops rising as moisture evaporates from the surface of the meat, cooling it down. This is the stage where many beginners make the mistake of increasing the heat, which can lead to charred, dry ribs.
- Gelatinization (170°F–205°F): This is the magic window. The heat finally begins to melt the collagen. The meat transforms from a tough, rubbery texture to one that is tender and "melt-in-your-mouth."
If you stop at 180°F, the ribs will still be "tight" and difficult to pull away from the bone. If you push past 210°F, the meat may become overly mushy and lose its structural integrity entirely, often referred to as "pot roast on a bone."

Targeted Temperatures for Different Types of Ribs
Not all ribs are created equal. The specific cut dictates how you should monitor the temperature and what your final target should be.
Pork Baby Back Ribs
Baby backs are leaner and smaller than spare ribs. They come from the top of the rib cage near the backbone. Because they have less fat and connective tissue, they can sometimes be pulled slightly earlier, around 195°F to 198°F, if you prefer a "competition-style" bite where the meat comes off the bone cleanly but still has some resistance.
Pork Spare Ribs and St. Louis Style
Spare ribs are larger, fattier, and contain more connective tissue than baby backs. They are cut from the belly area. Due to the higher fat content, they are more forgiving and usually benefit from being pushed to the 201°F–205°F range. This ensures that the larger amounts of fat have rendered completely, lubricating the meat.
Beef Back Ribs and Short Ribs
Beef ribs are a different beast entirely. Beef back ribs (the ribs left over after removing a prime rib roast) have very little meat on top of the bone but a lot of fat between them. Beef short ribs, however, are extremely meaty and dense. These often require a target temperature on the higher end, sometimes reaching 205°F to 210°F, to ensure the heavy fat caps and thick connective tissues have fully liquefied.
How to Accurately Measure Rib Temperature
Measuring the internal temperature of ribs is notoriously difficult because they are thin and full of bones. Bone conducts heat differently than meat, which can lead to false readings.
Tool Selection
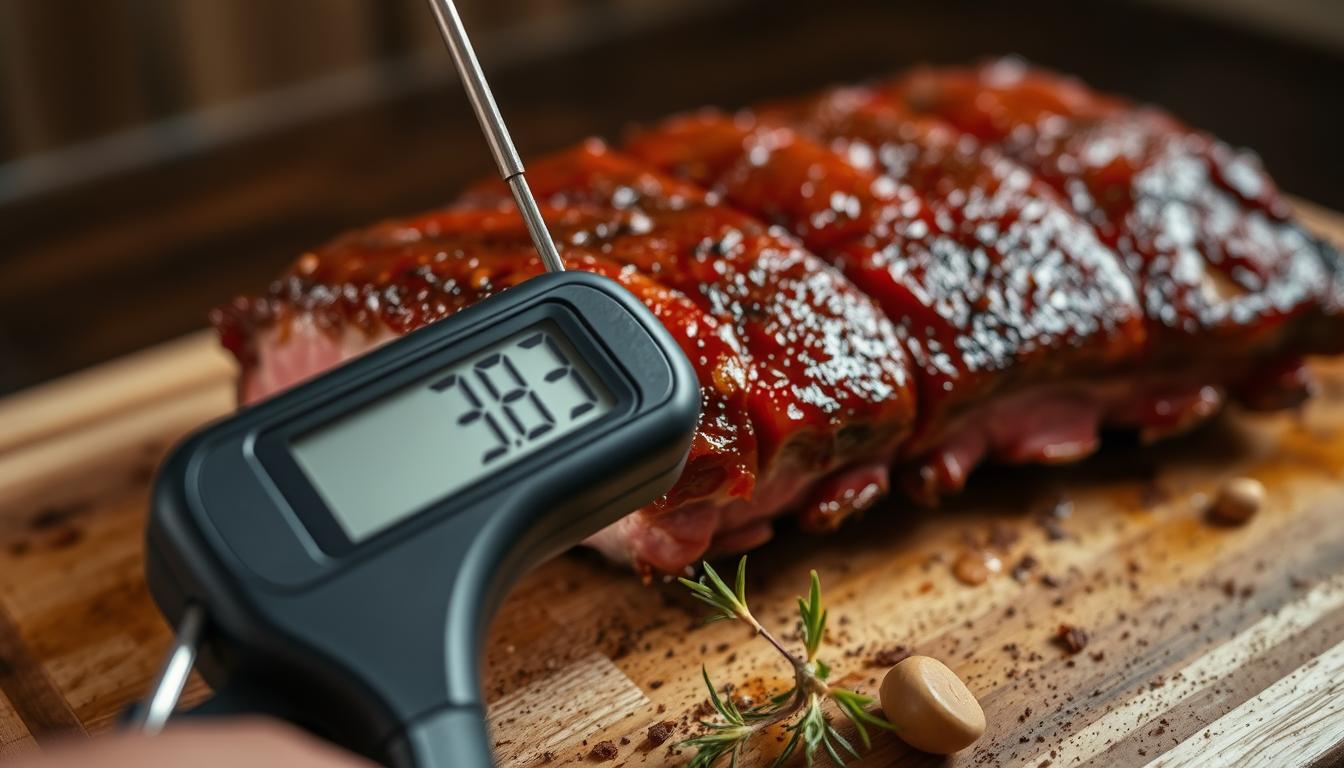
As of 2026, the gold standard for temperature measurement is a high-quality, instant-read digital thermometer. Brands like ThermoWorks have refined "thermocouple" technology that provides readings in less than a second. While leave-in probes are useful for larger cuts like brisket or pork butt, they are often impractical for ribs because the probe is likely to shift and touch a bone during the long cook.
Probe Placement
To get an accurate reading, you must insert the probe into the thickest part of the meat between two bones.
- Avoid the Bone: If the tip of your thermometer touches the bone, the reading will be higher than the actual temperature of the meat because bone heats up faster than muscle.
- Check Multiple Spots: Ribs do not cook evenly. The ends of the rack usually cook faster than the center. Check at least three different spots across the rack to ensure the entire piece has reached the target range.
- Depth Matters: Ensure the sensor (usually the last half-inch of the probe) is centered in the meat, not poking out the bottom or resting too close to the surface.
Physical Tests for Doneness: Supplementing the Thermometer
Because thermometers can be finicky with thin cuts of meat, experienced cooks often use physical "feel" tests alongside temperature readings to confirm doneness.
The Bend Test
Pick up the rack of ribs with a pair of tongs, grabbing them about one-third of the way down the rack. Lift them up and let the other end hang. If the ribs are done, the meat will begin to crack on the surface as the rack bends into a "U" shape. If it doesn't crack, the collagen hasn't broken down enough; if it breaks in half, they are likely overcooked.
The Toothpick Test
Insert a wooden toothpick into the meat between the bones. If it slides in and out with "butter-like" resistance (no friction or grabbing), the ribs are finished. This is often more reliable than a thermometer because it measures the actual physical breakdown of the fibers.
Bone Pull-back
Look at the ends of the bones. As the meat cooks and the proteins contract, the meat will "shrink" away from the bone tips. Usually, a quarter to a half-inch of exposed bone indicates that the ribs are nearing the 195°F–205°F range.
Critical Temperature Ranges and Their Results
The following table outlines what you can expect at different internal temperature milestones.
| Temperature Range | Texture Description | Recommended Use |
|---|---|---|
| 145°F - 160°F | Very tough, rubbery, difficult to chew. | Food safety minimum only; not recommended for eating. |
| 165°F - 185°F | Slicable but "tight." Meat clings to the bone. | Sliced pork applications, not traditional BBQ ribs. |
| 190°F - 198°F | Competition-style. Clean bite, firm but tender. | Preferred for BBQ competitions and those who like "bite." |
| 199°F - 205°F | Classic BBQ. Very tender, bones pull out easily. | Standard backyard BBQ preference for most families. |
| 206°F - 215°F | Overcooked/Mushy. Falling apart too easily. | Better for pulled pork sandwiches or rib tacos. |
The Impact of Cooking Method on Temperature Timing
While the internal target remains the same, the method you use (smoker, oven, or grill) changes how quickly you arrive at that temperature and how much "carryover" cooking you should expect.
Smoking (Low and Slow)
Cooking at 225°F to 250°F is the traditional method. This slow rise in temperature allows the collagen the maximum amount of time to melt. Because the ambient heat is low, there is very little carryover cooking. You can pull the ribs at 203°F and expect them to stay right there.
Oven Roasting
Oven roasting is similar to smoking but lacks the airflow of a smoker. Often, people use the "3-2-1 method" (3 hours unwrapped, 2 hours wrapped in foil, 1 hour glazed). When ribs are wrapped in foil, they "braise," which accelerates the temperature rise significantly. It is vital to check the temperature the moment they come out of the foil, as they can quickly jump from 180°F to 210°F in a short window.
High-Heat Grilling
If you are cooking ribs at 300°F or higher, you must pull them before they reach your target. High-heat cooking creates a "temperature gradient" where the outside of the meat is much hotter than the center. Once removed from the grill, that residual heat will continue to move toward the center, a process called carryover cooking. For high-heat ribs, pull them at 190°F and let them rest; they will likely hit 200°F on the counter.
The Importance of the Rest Period
One of the most common mistakes is cutting into ribs the moment they come off the heat. When ribs reach 200°F, the juices are highly mobile and the gelatin is in a semi-liquid state. If you cut them immediately, those juices will run out onto the cutting board, leaving the meat dry.
Allowing the ribs to rest for 15 to 30 minutes is essential. During this time:
- The internal temperature stabilizes.
- The muscle fibers relax and reabsorb some of the moisture.
- The rendered gelatin thickens slightly, giving the meat that characteristic "sticky" and succulent mouthfeel.
To rest them properly, tent them loosely with foil. Do not wrap them tightly, or the residual heat will continue to cook them, potentially overshooting your 205°F limit and making them mushy.
Troubleshooting Common Temperature Issues
The Ribs are "Stuck" at 165°F
This is the "stall" mentioned earlier. It is a result of evaporative cooling. Do not panic and do not turn up the heat to 400°F. You can either wait it out (which preserves the crust, or "bark") or use the "Texas Crutch"—wrapping the ribs in foil or peach butcher paper with a splash of liquid. Wrapping traps the steam, kills the evaporation, and pushes the internal temperature through the stall much faster.
The Meat is Dry Despite Reaching 203°F
If your ribs are dry, it usually isn't because you hit the right temperature; it's because you got there too fast or the meat lacked enough intramuscular fat (marbling). If you cook ribs at 350°F until they hit 203°F, the muscle fibers will contract so violently that they squeeze out all the moisture before the collagen has a chance to melt. Always aim for a steady, lower cooking temperature.
The Bones are Sliding Out Before 195°F
This usually happens when ribs are over-braised in foil with too much liquid (like apple juice or vinegar). The steam effectively boils the meat. While the internal temperature might technically be lower, the moisture has structurally compromised the meat. In this case, the thermometer is less important than the physical state of the meat; pull them immediately to prevent them from turning into mush.
Summary of Best Practices for 2026
Achieving the perfect rib temperature is a blend of science and intuition. Use a high-quality instant-read thermometer to aim for a target of 203°F, but always verify the results with the bend test. Remember that pork is safe at 145°F, but it isn't "good" until it nears 200°F. By respecting the process of collagen breakdown and allowing for a proper rest period, you ensure a professional-quality result regardless of whether you are using a high-tech pellet smoker or a traditional charcoal grill.
Frequently Asked Questions
Can I cook ribs to 145°F and safely eat them?
Yes, 145°F is the USDA's minimum safe temperature for pork. However, at this temperature, the ribs will be extremely tough and chewy because the connective tissues have not yet broken down. For palatable BBQ ribs, you must continue cooking until the internal temperature reaches approximately 195°F to 205°F.
Is it possible to overcook ribs?
Absolutely. Once ribs pass the 210°F mark, the meat begins to lose all structural integrity. Instead of being tender, it becomes "mushy" and takes on a texture similar to pot roast. While some people enjoy "fall-off-the-bone" ribs, culinary enthusiasts generally look for a texture that has a slight "tug" but still leaves a clean bone.
Why does the temperature stop rising at 160°F?
This is known as "the stall." It occurs when the rate of evaporation from the meat's surface equals the rate of heat being applied to the meat. The evaporation cools the meat, much like sweat cools a human. You can overcome this by wrapping the ribs in foil to trap moisture and stop the evaporative cooling process.
Does the bone affect the thermometer reading?
Yes. Bones are denser than meat and conduct heat more efficiently. If your thermometer probe touches a bone, it will likely give you a reading that is significantly higher than the actual temperature of the surrounding meat. Always aim for the center of the thickest meat section, equidistant from any bones.
Do I need to account for carryover cooking?
If you are cooking at a low temperature (225°F), carryover cooking is minimal, usually only 2-3 degrees. However, if you are grilling at 300°F or higher, the internal temperature can rise by as much as 10 degrees after you remove the meat from the heat. In high-heat scenarios, pull the ribs at 190°F-195°F.
Practical Recommendation
For the most consistent results, set your smoker or oven to 250°F. Begin checking the internal temperature of your ribs once they have been cooking for approximately three to four hours. Use an instant-read digital thermometer to look for a reading of 203°F in the thickest part of the rack. Once that temperature is reached, perform the "bend test" with tongs. If the meat cracks slightly, remove the ribs, tent them loosely with foil, and let them rest for 20 minutes before slicing. This combination of thermal precision and physical verification ensures perfect ribs every time.
Image Gallery
Select an image to open it in a new tab.




Ingrid Bjornson
Global Cyber Policy and Regulation Analyst
