Mastering the solar panel installation process requires a meticulous understanding of structural engineering, electrical wiring standards, safety protocols, and regulatory compliance. Whether you are an industry professional seeking to refine operational workflows or a property owner managing a complex alternative energy project, executing a flawless setup demands careful adherence to phase-by-phase guidelines. From initial site evaluation and permitting to structural mounting, electrical integration, and final grid interconnection, every single step dictates the long-term safety, efficiency, and financial return of the photovoltaic system.
1. Initial Assessment and Site Evaluation
Before a single bracket is bolted to a roof or ground mount, a comprehensive site assessment must occur. This foundational step determines the technical feasibility and economic viability of the solar installation.
Structural Integrity and Load Calculations
A residential or commercial roof must be capable of supporting the dead load of the solar panels, racking hardware, and wiring, along with the live load of environmental factors such as wind and snow. Installers must inspect the framing materials, rafter spacing, and overall roof age. If a roof has less than ten to fifteen years of remaining life, completing a full roof replacement prior to solar installation is standard best practice to prevent costly de-installation and re-installation later.
Solar Resource and Shading Analysis
Maximizing photovoltaic (PV) generation requires quantifying the amount of direct sunlight striking the target surface throughout the year. Technicians use specialized tools like a Solar Pathfinder or digital sun-path modeling software to analyze horizon obstructions, trees, and neighboring structures. Even partial shading on a single module can disproportionately reduce the output of an entire string configuration unless microinverters or power optimizers are implemented.
Electrical Service Panel Review
The existing electrical infrastructure must be evaluated to ensure it can safely handle backfed power from the solar array. Inspectors examine the main service panel (MSP) amperage rating, busbar capacity, and main breaker size. Under standard electrical codes, the total of the main breaker and the solar backfeed breaker often cannot exceed 120% of the panel's busbar rating without derating the main breaker or upgrading the panel entirely.
2. Permitting, Engineering, and Regulatory Compliance
Skipping or rushing the administrative phase introduces severe project delays, financial penalties, and potential red tags from municipal building inspectors.
Structural and Electrical Plan Sets
Detailed engineering blueprints must be drafted to secure building permits. These documents typically include:
- Site plans showing property boundaries and array placement.
- Structural engineering calculations demonstrating wind and snow load compliance.
- Single-line electrical diagrams illustrating module layouts, inverter specifications, wire gauges, and rapid shutdown compliance.
- Interconnection applications submitted directly to the local electric utility.
Code Compliance and Safety Standards
Installations must comply with the National Electrical Code (NEC) in the United States, alongside relevant international and local building codes. Particular attention must be paid to rapid shutdown requirements (such as NEC 690.12), which allow emergency responders to de-energize module-level conductors on the roof, mitigating electrocution risks during a fire.
3. Structural Racking and Mounting Installation
The mechanical attachment of the hardware forms the physical backbone of the solar array. Precision in this phase ensures leak-free roof penetrations and aerodynamic stability.
Locating Rafters and Securing Attachments
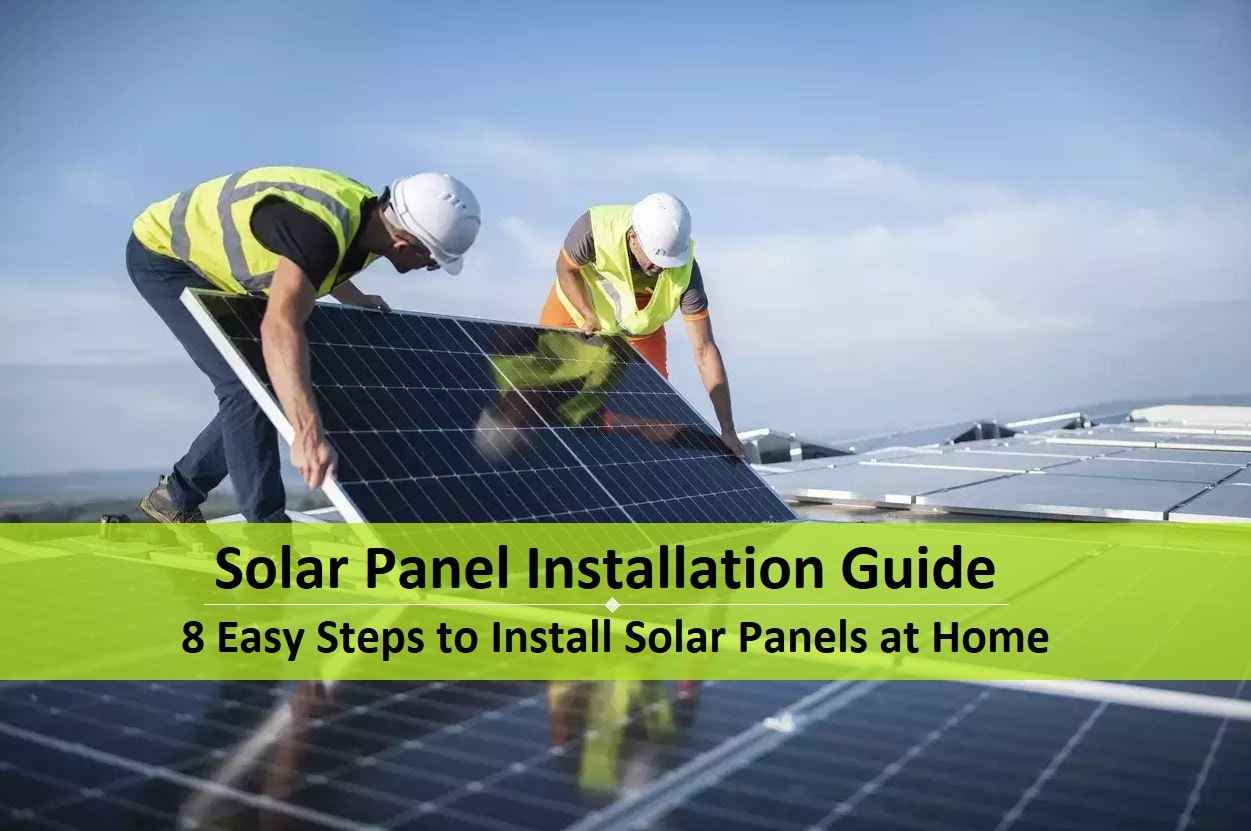
Installers locate roof rafters or trusses precisely, drilling pilot holes and installing appropriate mounting feet, flashings, and lag screws. Flashings must be integrated seamlessly beneath the existing shingles or tiles to divert water away from the fastener penetrations. Waterproof sealants are applied under flashing plates as an added line of defense against moisture intrusion.
Rail Alignment and Torque Specifications
Once the mounting feet are anchored, aluminum rails are attached and leveled across the roof plane. Proper alignment ensures that modules sit flush and secure without mechanical stress warping the glass or frames. Every bolt must be tightened to the manufacturer's precise torque specifications using a calibrated torque wrench to prevent loosening from thermal expansion and contraction over time.
4. Electrical Wiring and Component Integration
With the physical structure secure, technicians transition to the DC (Direct Current) and AC (Alternating Current) electrical work.
| Component | Function | Key Installation Consideration |
|---|---|---|
| Photovoltaic Modules | Convert sunlight into DC electricity. | Handle with care to prevent micro-cracks in silicon wafers. |
| Inverters / Optimizers | Convert DC to AC; optimize string output. | Ensure adequate ventilation and proper grounding. |
| Rapid Shutdown Devices | Comply with safety codes for emergency responders. | Locate at module level for rapid code compliance. |
| Balance of System (BOS) | Conduits, wiring, breakers, and disconnects. | Use UV-rated conduit and outdoor-rated weatherproof fittings. |
DC String Wiring and Conduit Routing
Modules are interconnected using weather-resistant, locking DC connectors (such as MC4 types) in series or parallel strings depending on inverter input parameters. All exposed wiring must be secured in UV-resistant rigid or flexible metallic conduits. Wires should never rest directly on a roof surface, as standing water and abrasive granules can degrade insulation over time.
Inverter Configuration and Grounding
Whether deploying a central string inverter, microinverters, or string inverters with power optimizers, correct mounting and grounding are paramount. Inverters must be installed in accessible, well-ventilated locations protected from direct, extreme afternoon heat where possible. Equipment grounding conductors (EGC) must bond every rail, frame, and metallic enclosure back to the main electrical service to protect against fault currents.
5. Inspection, Commissioning, and Grid Interconnection
The final phase transforms the physical installation into an active, generating power plant synchronized with the utility grid.
Municipal and Utility Inspections
Before the system can be turned on for daily use, a local building inspector and a utility representative must review the installation. The building inspector verifies structural integrity, roof clearances, and fire code adherence. The utility inspector checks the AC disconnect switch, rapid shutdown functionality, and anti-islanding protection—a crucial safety mechanism that ensures the solar system shuts down during a grid power outage to prevent energizing lines where lineworkers might be repairing damage.
System Commissioning and Monitoring Setup
Once final sign-off is granted, the utility meter is often replaced with a bidirectional net meter that tracks both energy consumed from the grid and excess energy exported back to it. Technicians perform insulation resistance tests, verify open-circuit voltages, power up the inverter, and connect the monitoring gateway to the property's internet network. This allows system owners and installers to track real-time energy production and identify maintenance issues instantly.
Frequently Asked Questions
How long does the entire solar panel installation process take?
While the physical rooftop and electrical work typically takes between one to three days, the entire process from initial consultation to final utility interconnection generally spans four to twelve weeks. This timeline is primarily driven by engineering design, municipal permit reviews, and utility interconnection approvals.
Can I install solar panels on my roof myself?
While DIY solar kits exist, self-installation is heavily restricted or prohibited in many jurisdictions due to complex electrical codes, structural load requirements, and high-voltage DC safety hazards. Furthermore, unpermitted DIY installations often forfeit manufacturer warranties, fail utility interconnection standards, and jeopardize home insurance coverage.
What is the difference between string inverters and microinverters?
String inverters connect multiple panels together in a series circuit, meaning the output of the entire string is limited by the lowest-performing panel (such as one shaded module). Microinverters are installed beneath each individual panel, converting DC to AC at the module level, which optimizes total energy harvest and provides panel-level monitoring.
How do solar systems handle severe weather like high winds and heavy snow?
Professional mounting systems are engineered to withstand site-specific wind load ratings (often up to 85 to 120 mph) and snow load thresholds. Racking hardware is securely anchored directly into structural wood framing or concrete foundations, ensuring the array remains stable during extreme meteorological events.
Do solar panels require ongoing maintenance after installation?
Solar panels have no moving parts and require minimal maintenance. However, in dusty environments or regions with prolonged dry spells, periodic washing with water can prevent dirt accumulation from reducing energy output. Annual visual inspections of wiring, conduit fittings, and inverter error logs are recommended to ensure long-term reliability.
Next Steps and Action Plan
To successfully execute or oversee a solar panel installation, begin by requesting a comprehensive site feasibility and structural assessment from a licensed contractor or structural engineer. Verify local municipal permitting requirements and utility interconnection queues before purchasing hardware. By prioritizing engineering precision, rigorous safety compliance, and proper component matching, you will ensure a high-performing photovoltaic system designed for decades of reliable clean energy production.
Image Gallery
Select an image to open it in a new tab.
Declan O'Connor
Higher Education and Campus Culture Reporter
