
To master the Alton Brine Turkey method, you must submerge a standard (not pre-salted) turkey in a chilled solution of kosher salt, brown sugar, vegetable stock, and aromatics for 8 to 16 hours. Follow this with a high-heat sear at 500°F before finishing at 350°F to ensure juicy meat and crisp skin.
For over two decades, the turkey preparation method popularized by Alton Brown on his program Good Eats has remained the gold standard for home cooks. As of 2026, even with the rise of dry-brining and spatchcocking, the "Good Eats" wet brine remains the most reliable way to guarantee a centerpiece that is both structurally beautiful and scientifically succulent. Mastering this method requires more than just following a recipe; it requires an understanding of the thermal dynamics and chemical processes that occur when salt, sugar, and heat meet poultry.
The Science of the Wet Brine
Before gathering your ingredients, it is essential to understand why this specific method works. At its core, brining is an application of osmosis and diffusion. When a turkey is submerged in a brine, the salt concentration in the liquid is higher than the salt concentration in the cells of the meat. Over time, the salt moves into the meat to create an equilibrium.
However, the magic happens within the protein structures. Salt causes the tightly wound protein filaments (myosin) to unwind or denature. As these proteins relax, they create a matrix that can trap and hold onto water. When the turkey hits the oven, these proteins contract. In an un-brined bird, this contraction squeezes out moisture, leading to dry meat. In an Alton-style brined bird, the salt-altered proteins hold onto that extra moisture, resulting in a finished product that is significantly juicier.
Furthermore, the inclusion of sugar in the brine does not necessarily make the turkey "sweet." Instead, the sugar facilitates the Maillard reaction on the skin, providing a deep, mahogany color and a complex flavor profile that salt alone cannot achieve.
Selecting Your Bird and Equipment
The first mistake many novices make is selecting the wrong type of turkey. To master this method, you must start with a "natural" bird.
The Turkey Specifications
In 2026, many supermarket turkeys are "enhanced" or "pre-basted." This means they have already been injected with a solution of salt, water, and flavorings—essentially a factory brine. If you place an enhanced turkey into Alton Brown’s brine, the result will be an inedibly salty bird with a spongy, ham-like texture.
- Weight: Ideally 14 to 16 pounds. Larger birds are harder to cook evenly and difficult to fit into a standard brining container.
- Type: Look for "Natural," "Heritage," or "Organic" labels. Check the fine print for phrases like "contains up to 8% solution." You want 0% to 3% at most.
- Fresh vs. Frozen: Both work, but a frozen bird must be completely thawed before it enters the brine. Brining a partially frozen turkey results in uneven salt distribution.
Essential Equipment
You cannot improvise the vessel. You need a 6-gallon food-grade bucket or a very large stockpot. Do not use a standard trash bag, as the plastics are not rated for food contact and can leach chemicals into the acidic brine.
- Probe Thermometer: A digital thermometer with a wired probe is mandatory. You cannot master this method by "guessing" or using a pop-up timer.
- Heavy-Duty Roasting Pan: Avoid flimsy aluminum disposables; they do not distribute heat well and can buckle under the weight of the bird.
- Cooling Space: You must have enough refrigerator space to hold the bucket for 16 hours. If the temperature of the brine rises above 40°F (4.4°C), you risk bacterial growth.

The Brine Composition: Ingredients and Ratios
The Alton Brown method is celebrated for its specific aromatic blend. While you can tweak the spices, the salt-to-liquid ratio is a hard rule.
| Ingredient | Quantity | Purpose |
|---|---|---|
| Kosher Salt | 1 Cup | Denatures proteins and retains moisture. |
| Light Brown Sugar | 1/2 Cup | Aids in browning and balances salt. |
| Vegetable Stock | 1 Gallon | Provides the flavor base (canned or homemade). |
| Black Peppercorns | 1 Tablespoon | Provides a foundational spice note. |
| Allspice Berries | 1 1/2 Teaspoons | Adds a classic "autumnal" aromatic profile. |
| Candied Ginger | 1 1/2 Teaspoons | Offers a subtle heat and citrus-like brightness. |
| Ice Water | 1 Gallon | Dilutes the concentrate and chills the brine instantly. |
Why Vegetable Stock?
Alton Brown famously specifies vegetable stock over chicken stock. Vegetable stock provides a clean, aromatic background without adding heavy animal fats that can become rancid or "funky" during the long soaking period. It also ensures the turkey tastes like turkey, not like a concentrated chicken bouillon cube.
Step-by-Step Brine Preparation
Mastering the brine involves a "concentrate" method. You do not boil the entire two gallons of liquid; rather, you create a potent flavor base and then shock it cold.
- The Boil: In a large pot, combine the vegetable stock, kosher salt, brown sugar, peppercorns, allspice berries, and candied ginger. Bring this to a boil over high heat, stirring frequently to ensure the salt and sugar are fully dissolved.
- The Steep: Once boiling, remove the pot from the heat. Cover it and let the aromatics steep for at least 10 minutes. This allows the essential oils in the peppercorns and allspice to infuse into the liquid.
- The Chill: This is the most critical step for food safety. Pour the hot concentrate into your brining bucket. Add one gallon of heavily iced water. Stir until the mixture is cold to the touch (below 40°F). Never put a turkey into a warm brine; you will essentially begin "cooking" the exterior while providing a breeding ground for salmonella.
Executing the Soak
Prepare the turkey by removing the giblets and the neck. Reserve these for gravy, but do not include them in the brine. Rinse the bird inside and out to remove any excess blood or packaging debris.
- Submerging: Place the turkey into the bucket, breast-side down. The breast meat is the leanest and most prone to drying, so it needs the most direct contact with the brine.
- Weighting: If the turkey floats, weigh it down with a heavy plate or a gallon-sized bag filled with brine liquid. The bird must be completely submerged.
- Timing: The "sweet spot" is 12 to 14 hours.
- Under 8 hours: The salt won't have time to penetrate the deep tissues of the breast.
- Over 16 hours: The meat can become overly salty and the texture may turn "mushy" as the proteins break down too much.
- The Flip: Halfway through the process, it is beneficial to flip the bird to ensure even distribution, though this is not strictly necessary if the bird is fully submerged.
Post-Brine Preparation: The Drying Phase
A common mistake is moving the turkey directly from the bucket to the oven. If the skin is wet, the oven's energy will be spent evaporating that surface moisture rather than crisping the skin. This leads to "rubbery" skin.
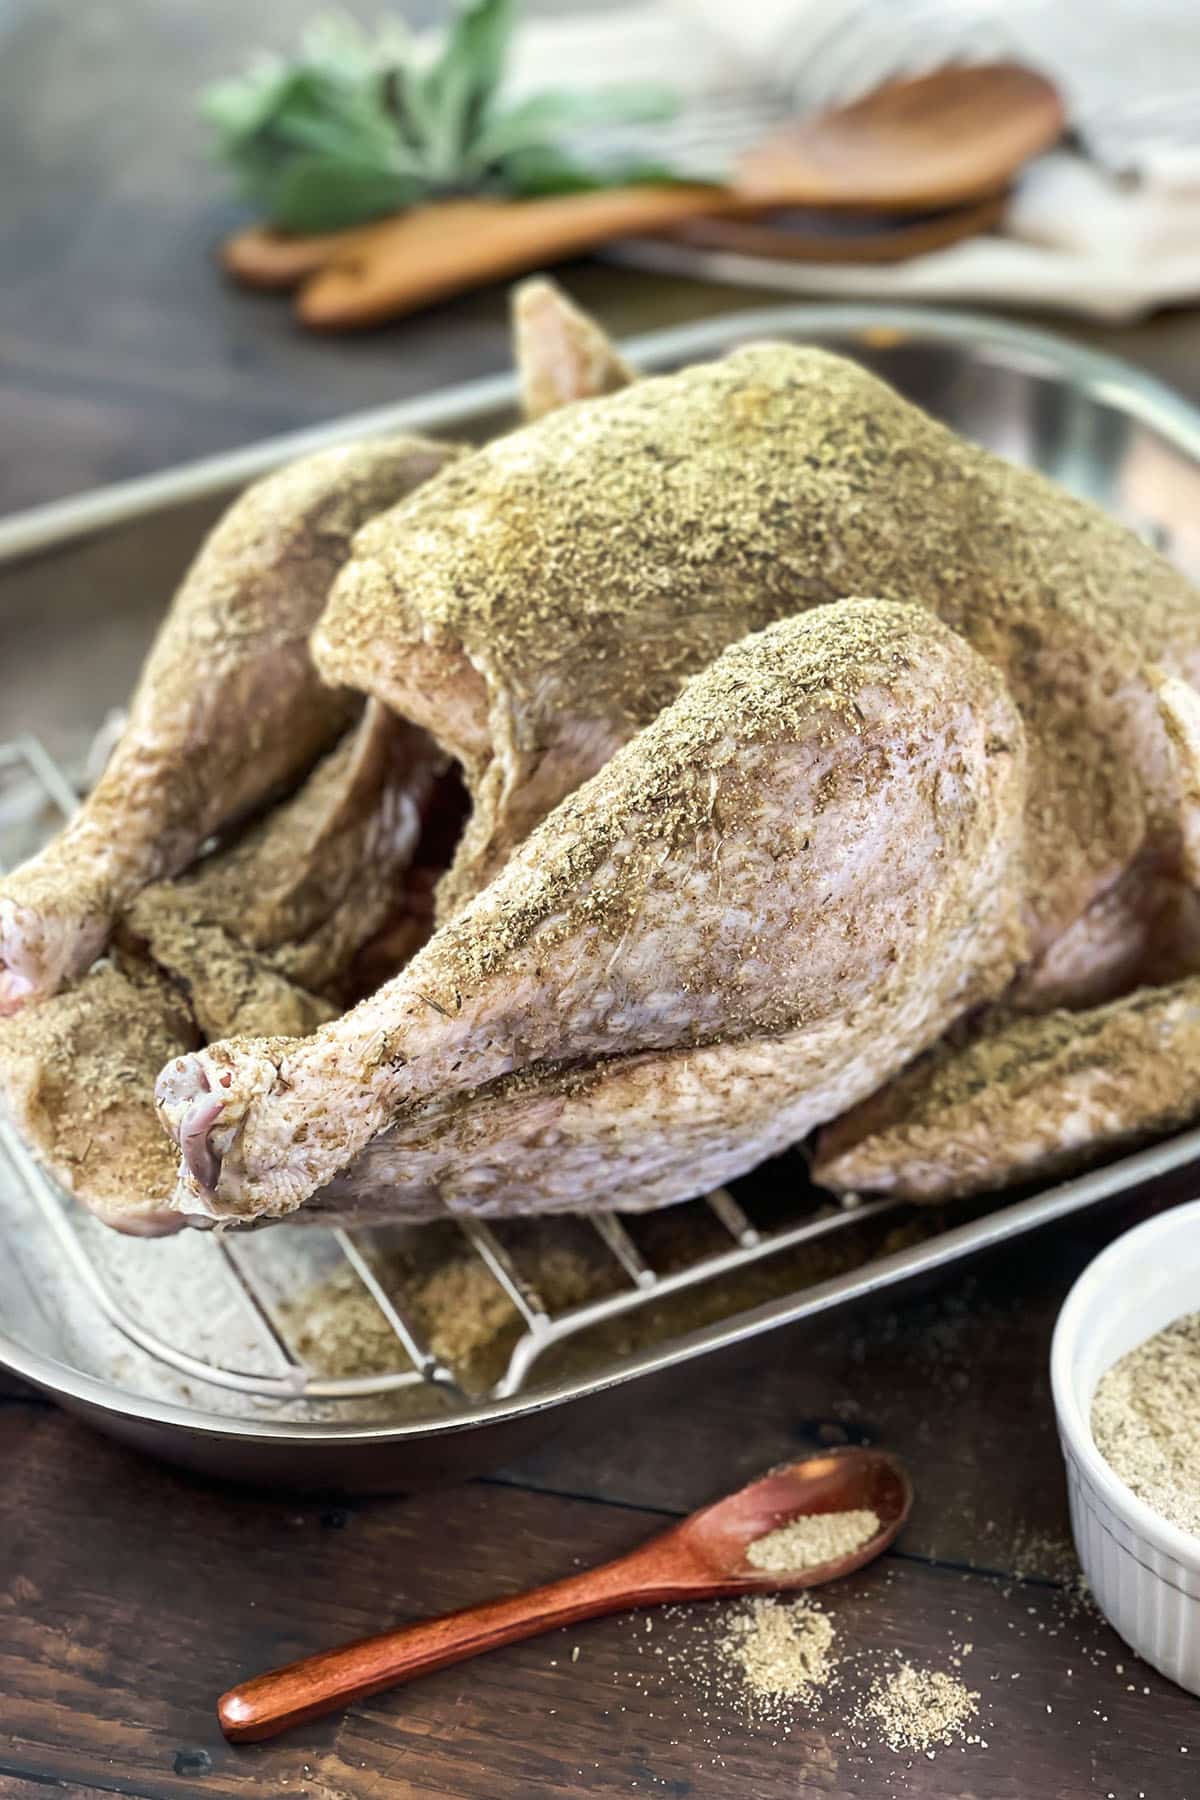
After removing the turkey from the brine, rinse it thoroughly under cold water. This removes excess surface salt that could burn. Pat the turkey extremely dry with paper towels. For the absolute best results, place the turkey on a rack in the refrigerator, uncovered, for 2 to 4 hours before roasting. This "air-drying" phase tightens the skin and ensures a glass-like crispness once cooked.
The Roasting Technique: High Heat and Heat Shields
Alton Brown’s roasting method is as unconventional as his brine. It utilizes a two-stage temperature approach.
The Initial Sear
Preheat your oven to 500°F (260°C). This is significantly higher than the traditional 325°F. Before the bird goes in, tuck the wings under the body and coat the skin lightly with a neutral oil (like canola or grapeseed). Do not use butter yet, as the milk solids will burn at 500°F.
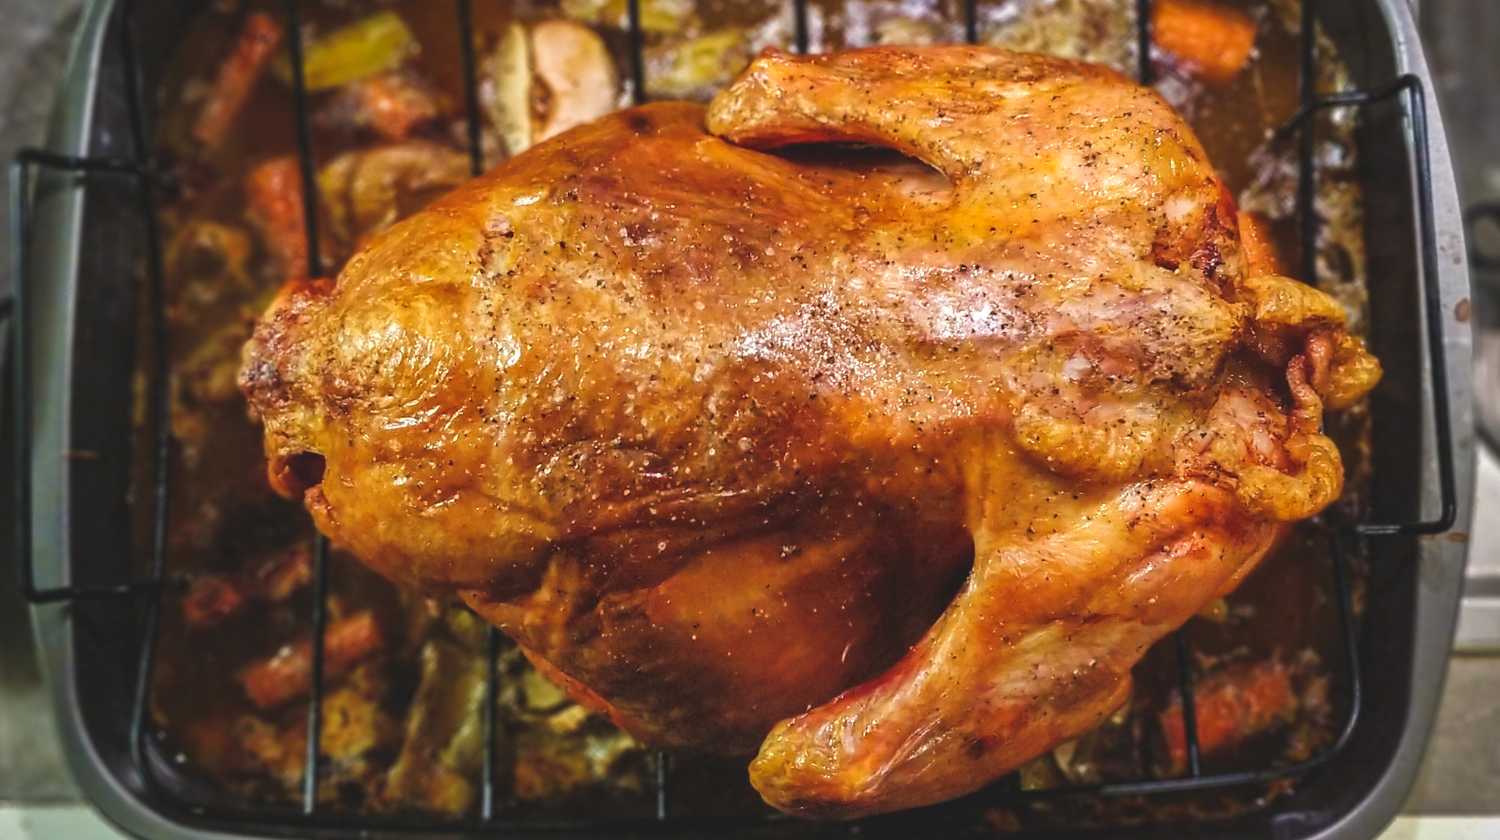
Place the turkey in the oven on the lowest rack. Roast at 500°F for exactly 30 minutes. This "heat shock" browns the skin rapidly and jump-starts the rendering of the subcutaneous fat.
The Heat Shield and Finishing
After 30 minutes, remove the turkey from the oven. Do not turn the oven off, but reduce the temperature to 350°F (175°C).
Before putting the bird back in, create a "breast shield." Take a large piece of heavy-duty aluminum foil and fold it into a triangle. Mold it over the turkey breast to protect it from the direct heat of the upper oven elements. This allows the darker leg and thigh meat (which needs to reach 175°F to be tender) to continue cooking while preventing the lean breast meat from overshooting 161°F.
Insert your probe thermometer into the thickest part of the breast, being careful not to hit the bone. Return the bird to the oven.
Determining Doneness
In 2026, food safety standards remain clear: poultry is safe at 165°F. However, mastering the method means understanding carryover cooking.
Remove the turkey from the oven when the internal breast temperature hits 161°F (71.6°C). Immediately transfer the bird to a carving board or warm platter and tent it loosely with foil. During the 20 to 30 minutes the bird rests, the internal temperature will climb the remaining 4 degrees to reach the 165°F target.
Resting is non-negotiable. If you carve the turkey immediately, the pressure from the contracted proteins will force all the juice out onto the cutting board, undoing all the work of the brine. Resting allows the juices to redistribute and be reabsorbed by the muscle fibers.
Troubleshooting Common Issues
- The Skin is Too Dark: If the skin is browning too quickly during the 350°F phase, your oven might have hot spots. Ensure the foil shield is secure. You can also lower the oven to 325°F, though this will extend the cooking time.
- The Meat is Salty: This usually happens if you used table salt instead of kosher salt. Table salt is much denser; one cup of table salt contains nearly twice as much sodium as one cup of Diamond Crystal kosher salt. Always use the salt type specified.
- The Brine Didn't Fit in the Fridge: If you must use a cooler, you must monitor the temperature with a probe. Use sealed bags of ice to keep the brine cold without diluting it. If the temperature stays above 40°F for more than two hours, the turkey is no longer safe to eat.
Frequently Asked Questions
Can I use a frozen turkey directly in the brine?
No. While the brine is liquid, it is not an effective thawing medium for a rock-solid turkey. Thawing a turkey in the brine leads to a "temperature danger zone" scenario where the outside of the turkey stays at a safe temperature but the inside remains frozen, resulting in uneven cooking. Always thaw the bird in the refrigerator for 3 to 4 days prior to brining.
Do I need to rinse the turkey after brining?
Yes. Rinsing is essential to remove the concentrated salt solution from the surface of the skin. If you skip this step, the drippings in the bottom of the pan will be too salty to use for gravy, and the skin may have a harsh, chemical-salt flavor.
What if I don't have allspice berries?
While allspice is a signature component of the Alton Brown method, you can substitute it with a mixture of ground cloves, cinnamon, and nutmeg (about 1/4 teaspoon each). However, whole berries are preferred as they provide a cleaner infusion without clouding the brine or leaving gritty residue on the skin.
Can I use this method for a turkey breast instead of a whole bird?
Yes, but you must adjust the timing. A single turkey breast only needs 4 to 6 hours in the brine. Because it lacks the thermal mass of a whole bird, it will also cook much faster. Skip the 500°F sear and roast at a steady 350°F until it reaches an internal temperature of 160°F.
Is the vegetable stock mandatory?
It is highly recommended for the specific flavor profile Alton Brown intended. If you are in a pinch, you can substitute with water infused with extra aromatics (onions, carrots, celery, and parsley), but the resulting flavor will be less "robust." Avoid using only water and salt, as the sugar and aromatics are what elevate this from a simple saline soak to a "master" method.
Final Recommendation for Success
To truly master this method, perform a "dry run" of your equipment. Ensure your bucket fits in your refrigerator and your roasting pan fits in your oven before the holiday rush. On the day of roasting, prioritize the resting period as much as the cooking time. A well-brined Alton Brown turkey is a feat of culinary engineering, and when executed with patience and precision, it yields a result that no modern shortcut can truly replicate.
Image Gallery
Select an image to open it in a new tab.




Omar Farooq
EdTech Innovation and Virtual Pedagogy Journalist
