
To lower the spare tire on a Ford F-150, locate the jack kit under or behind the rear seats, assemble the extension rods, and unlock the bumper access hole using your ignition key (if equipped). Insert the square end of the extension rod through the bumper hole into the hoist drive tube, attach the lug wrench, and turn counterclockwise until the tire rests on the ground.
Understanding the Ford F-150 Spare Tire Hoist System
The Ford F-150 utilizes an under-bed spare tire carrier system designed to stow a full-size spare tire out of sight and preserve cargo bed capacity. The core of this system is a mechanical cable hoist (winch) mounted directly to the truck frame chassis crossmember, positioned between the rear axle and the tailgate.
The assembly consists of four primary components:
- The Hoist Mechanism: A gear-driven winch containing a high-strength woven steel cable wrapped around an internal spool.
- The Guide Tube: A metal tube funneling from a small port in the rear bumper (adjacent to the license plate) straight to the drive shaft of the under-body winch.
- The Retainer Plate (Butterfly Flange): A steel spring-loaded T-bar or circular plate attached to the end of the hoist cable that anchors the wheel by its center hub bore.
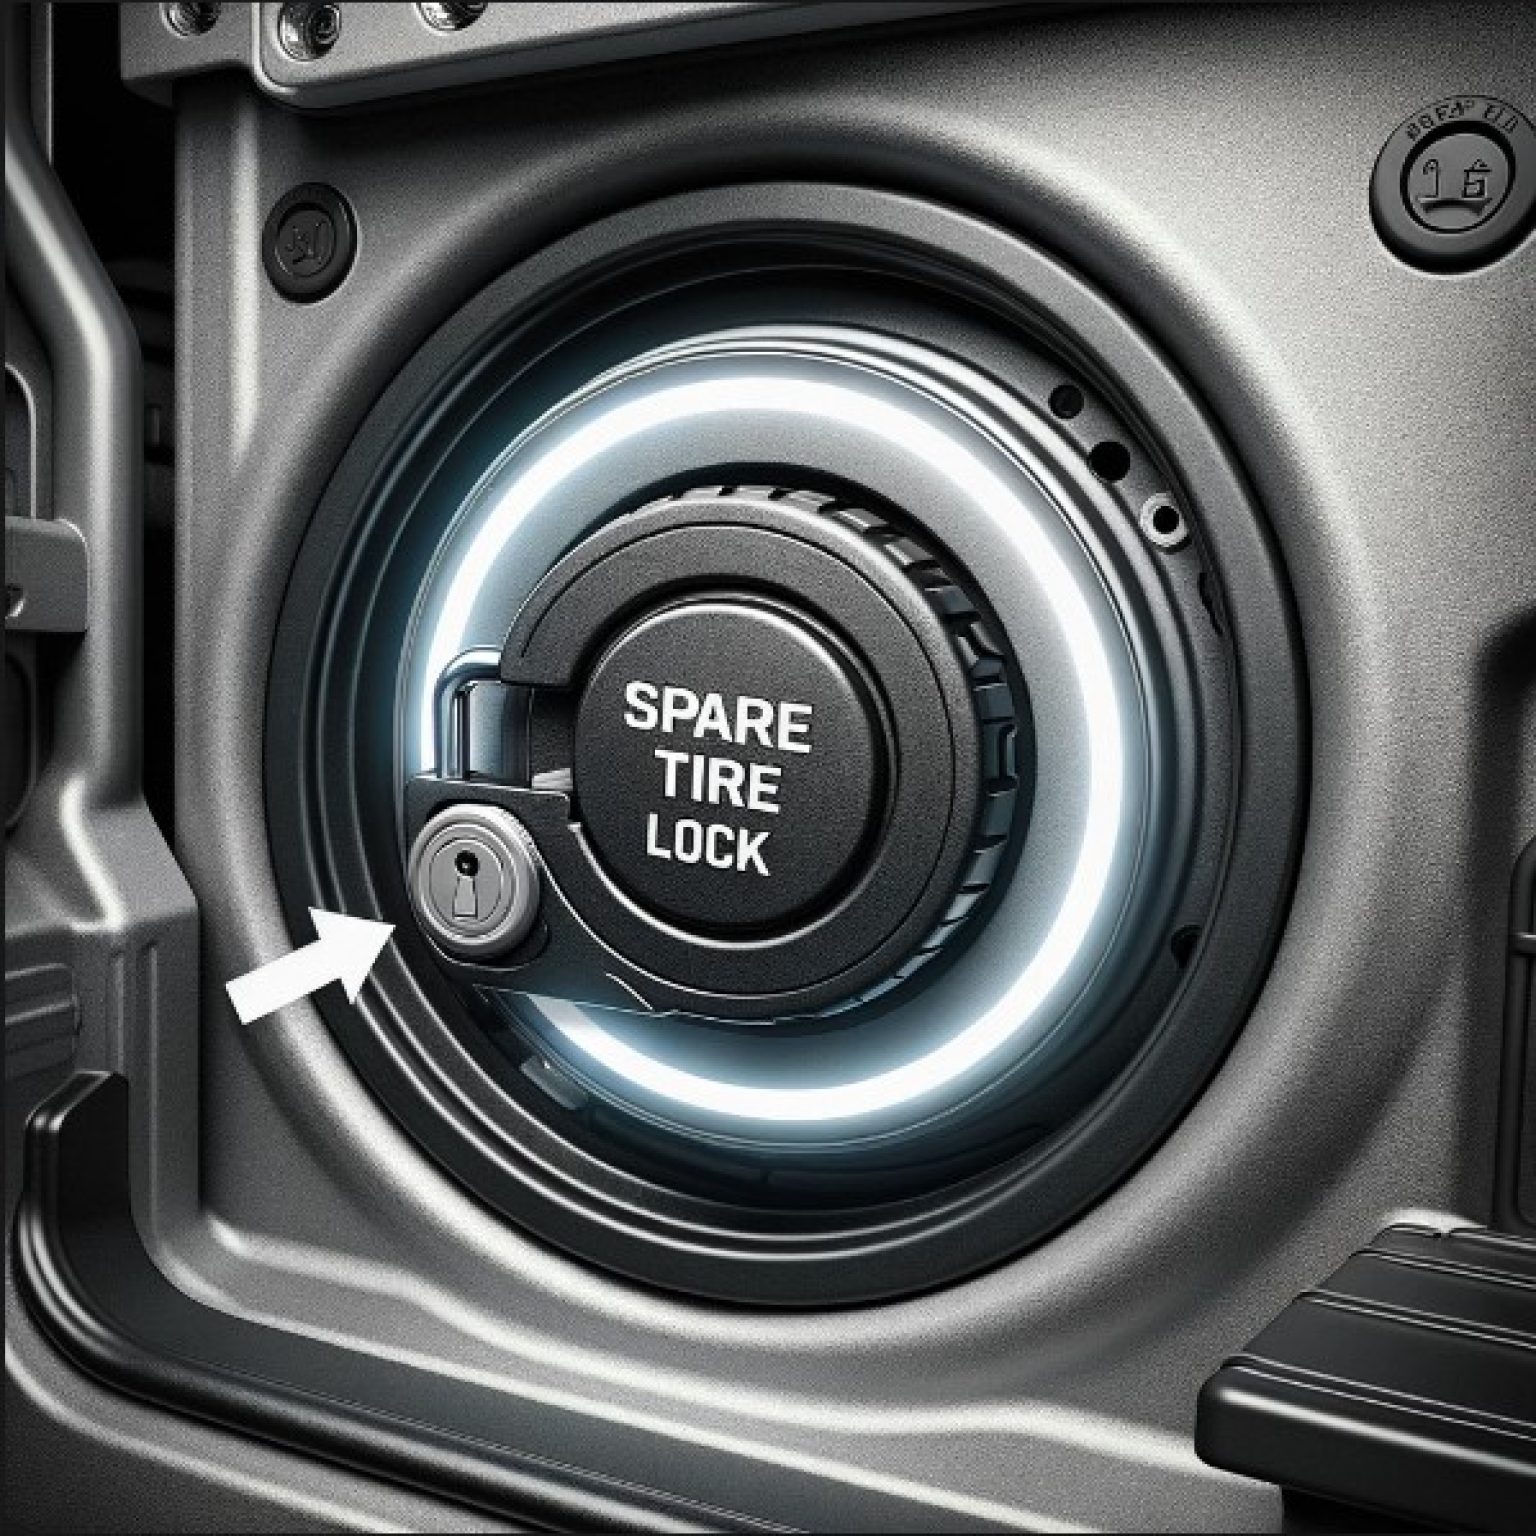
- The Security Lock Insert (2004–Present): A removable lock cylinder inside the bumper access tube that prevents unauthorized access to the hoist drive shaft.
When you rotate the hoist drive shaft using the factory extension tools, the internal worm gear rotates the spool, feeding out slack in the steel cable and lowering the tire vertically to the road surface. Understanding this mechanical linkage makes it easier to diagnose sticking cables, secondary security catches, or misaligned extensions during an emergency tire change.
Locating Factory Tools and Lock Keys Across F-150 Generations
Before you can lower the spare tire, you must retrieve the vehicle's factory tool kit. Ford has altered the storage location of the lug wrench, extension rods, and hydraulic or mechanical bottle jack across various cab styles and model generations.
| Cab Configuration | Primary Location |
|---|---|
| SuperCrew (4-Door) | Under right rear passenger seat (2004–2026) |
| SuperCab (Extended Cab) | Under right rear seat or behind rear seatback |
| Regular Cab (Standard 2-Door) | Behind front passenger seat access cover |
Locating the Equipment Kit
- SuperCrew (4-Door Models): Lift the rear passenger-side (60/40 split) seat bottom cushion. You will find a plastic compartment tray or wing-bolt bracket securing the jack kit and tool bag to the floor pan.
- SuperCab (Extended Cab Models): Look beneath the right-side rear bench seat. On some older generations (such as 2004–2008), the kit may be mounted behind the fold-down seatback, requiring you to pull a fabric release latch located near the shoulder restraint.
- Regular Cab (Standard 2-Door Models): The tool pouch and jack assembly are clamped directly to the floor pan behind the passenger seat, accessible by sliding the seat forward and tilting the backrest.
Identifying the Spare Tire Lock Key
Starting with the 11th-generation F-150 (2004 model year), Ford added a bumper lock to protect the spare tire from theft. The lock plug is situated inside the access hole located between the rear license plate and the step bumper pad.
On 2004 through 2020+ models, the lock uses the main ignition key (or integrated key fob blade). On specific trim levels or retrofitted dealer packages, a separate small round or flat key may be stored inside the glovebox or center console.
Tools Required for Spare Tire Removal
Lowering the spare tire on an F-150 can be accomplished using factory equipment or standard garage tools if the original components are missing.
| Component | Description / Dimension |
|---|---|
| OEM Lug Wrench / Crank Handle | Serves as the primary turning handle |
| Extension Rods (3 to 4 pieces) | Square-drive interconnecting steel shafts |
| Bumper Key / Ignition Key | Unlocks protective bumper tube cylinder |
| Aftermarket Alternative (Option) | 3/8-inch or 1/2-inch socket extension (approx. 30–36 inches total length) with 9/16" 12-pt socket |
| Protective Gloves & Work Light | Essential safety gear |
Factory Tool Kit Assembly
The factory kit contains three to four extension segments made of square-channel steel tubing. One end features a male square drive with a spring push-button; the opposite end has a matching female square receiver. Connect the segments end-to-end until you have created a solid rod approximately 30 to 36 inches in length. Attach the hooked or slotted lug wrench handle to the end opposite the square drive to create a T-handle crank.
Emergency Aftermarket Alternatives
If your OEM tool kit is missing, you can create an effective substitute using standard mechanics' tools. You will need:
- A 1/2-inch drive socket wrench.
- Two or three 10-inch or 12-inch drive extensions (totaling at least 30 inches).
- A 14mm or 9/16-inch 12-point socket (or a dedicated 1/2-inch square drive bit) to grip the square drive stub at the hoist winch head if the guide funnel is removed.
Step-by-Step: How to Lower an F-150 Spare Tire
Follow these step-by-step instructions to safely lower and remove the spare tire from your Ford F-150.
Step 1: Secure the Vehicle and Work Area
- Park the truck on a hard, level surface (concrete or asphalt) away from traffic.
- Engage the Parking Brake completely to prevent vehicle roll.
- Put the automatic transmission into Park (P) (or 1st Gear / Reverse for manual transmissions).
- Turn off the ignition and switch on your hazard warning flashlights.
- Place wheel chocks in front of and behind the front wheels if working on a grade or changing a rear tire.
Step 2: Access and Unlock the Bumper Port
- Walk to the rear bumper of your truck. Locate the small circular hole sitting to the right or left of the rear license plate.
- Inspect the hole. If it is open, proceed to Step 3. If a lock cylinder is present, insert your ignition key into the keyway.
- Turn the key clockwise (or roughly a quarter-turn), then pull the entire lock cylinder housing straight out of the bumper hole. Place the cylinder in a safe spot so it does not get lost.
- Lock Port (next to License Plate): Insert ignition key, turn, and pull cylinder out.
Step 3: Assemble and Insert the Tool Extension
- Assemble your OEM extension rods by pressing the spring-loaded pins and pushing the square ends together until they click into position.
- Insert the single male square end of the assembled rod straight into the bumper access hole.
- Push the rod through the internal funnel guide tube until you feel it stop against the winch drive mechanism under the bed.
- Rotate the rod slightly by hand until the square drive seats firmly into the female recess of the hoist mechanism. You will feel the rod drop into place without slipping.
Step 4: Rotate Counterclockwise to Lower the Tire
- Attach the lug wrench handle (or hook end) to the outer end of the extension rod assembly to act as your crank arm.
- Turn the assembly counterclockwise (left-to-right rotation).
- Continue cranking. As the winch unspools, you will feel smooth mechanical resistance, and the tire will gradually lower toward the pavement.
- Keep cranking counterclockwise until the tire rests completely flat on the ground and sufficient cable slack is exposed (at least 1 to 2 feet of slack cable above the tire).
Caution: Do not force the crank past the point where the tire hits the ground. Excessively unspooling a slack cable can cause the cable to wrap backward on the internal drum, binding the mechanism.
Step 5: Detach the Retainer Plate from the Wheel
- Reach under the tire and pull the cable slack through the wheel's center hub opening.
- Tilt the steel retaining plate (the metal crossbar/butterfly flange attached to the end of the cable) vertically so it aligns parallel with the center bore of the wheel.
- Push the angled plate through the center opening of the wheel rim.
- Pull the cable clear of the tire and slide the spare tire out from beneath the rear of the truck.
Troubleshooting Common F-150 Spare Tire Hoist Problems
Over time, road salt, mud, water, and road debris collect around the underbody winch, causing corrosion and mechanical failures. Below are solutions to common spare tire hoist problems.
| Problem Observed | Root Cause & Recommended Action |
|---|---|
| Key spins freely without releasing | Frozen lock tumblers; spray penetrating fluid |
| Key lost / Lock missing | Remove outer guide tube or drill lock barrel |
| Winch turns but tire stays up | Sticking secondary safety catch; jack tire up |
| Extension slips inside hoist tube | Stripped square drive or misaligned guide tube |
| Cable jammed / will not crank down | Corroded spool; apply down-force while turning |
Issue 1: Missing Bumper Lock Key or Stuck Lock Cylinder
If your ignition key does not turn the bumper lock cylinder due to dirt buildup or corrosion:
- Spray a generous amount of penetrant spray (such as WD-40 or PB Blaster) directly into the keyway and around the circumference of the lock plug.
- Let it soak for 5 to 10 minutes. Tap the lock face lightly with a screwdriver handle to loosen seized tumblers, then reinsert the key and turn gently back and forth.
- If the lock is missing its key or permanently seized, crawl under the rear bumper. Unclip or unbolt the plastic guide tube running from the bumper to the hoist frame using a socket set. Once the tube is removed, you can bypass the lock and slide your socket extensions directly onto the winch drive shaft.
Issue 2: Secondary Safety Catch Sticking (2004–2008 & Select Later Models)
11th-generation F-150 models feature a secondary safety latch mechanism designed to catch the tire if the main cable snaps. If you crank counterclockwise, the cable slackens, but the tire hangs suspended an inch or two below the frame, the secondary latch has engaged.
To disengage the safety catch:
- Crank the winch clockwise slightly to take up a small amount of cable tension.
- Place your bottle jack directly beneath the center of the hanging spare tire. Raise the jack until it lifts the weight of the spare tire completely off the winch cable and frame bracket.
- Crawl under the vehicle (with safety stands in place) and reach above the tire hub. Locate the spring-loaded release lever on the latch mechanism above the center plate. Push or pull the release lever while pulling down on the tire.
- Alternatively, use your lug wrench to push up on the latch pin while a helper slowly lowers the bottle jack. Once cleared, the tire will lower to the ground on the main cable.
Issue 3: Cable Freewheeling or Spinning Without Lowering
If the extension rod turns without resistance and the tire does not move, the drive teeth on the internal worm gear may be stripped, or the end of your extension tool is not properly seated into the drive socket.
- Verify that your extension rod is pushed all the way through the guide tube. Use a flashlight to shine light down the bumper tube and confirm alignment.
- If the tool is fully seated but spins loosely, the inner female square socket on the winch shaft may be rusted away or rounded off.
- Remove the guide tube from under the bed. Slide a 1/2-inch drive 14mm 12-point socket or a specialized damaged-nut extractor directly onto the exposed stub shaft of the winch mechanism and turn counterclockwise with a ratchet.
Issue 4: Corroded Winch Gear or Bound Steel Cable
If the hoist is seized due to rust:
- Spray penetrating oil thoroughly onto the winch body, cable drum, and drive gear above the spare tire using an extended nozzle.
- Have a assistant pull downward firmly on the spare tire (or place a pry bar between the tire and frame for leverage) while you attempt to turn the crank rod counterclockwise. The extra downward force assists the cable in unspooling past corroded sections of the drum drum.
Re-Stowing and Securing the Spare Tire Properly
Once your flat tire is repaired or replaced, you must hoist the spare or damaged wheel back under the truck correctly to prevent it from coming loose while driving.
- Frame Crossmember
- Winch Cable
- Steel Retainer Plate (Horizontal alignment)
- Wheel (Outer Valve Stem Facing Downward)
1. Position the Wheel Correctly
Lay the wheel flat on the ground behind the bumper, with the outer decorative side (valve stem side) facing DOWN toward the pavement. Stowing the wheel face-down protects the valve stem from damage against the underbody frame and ensures that the central recess properly accepts the hoist retainer plate.
2. Insert the Retainer Plate
Pass the steel retaining plate vertically up through the center hole of the wheel. Turn the plate horizontally so that it bridges the hub opening on the inside barrel of the wheel rim. Ensure the cable rests cleanly in the center slot of the retaining plate.
3. Crank Clockwise to Raise
- Insert your assembled tool rod into the bumper guide tube until it engages the winch shaft.
- Turn the crank handle clockwise to reel in the cable.
- Guide the tire manually as it lifts to keep it centered directly under the hoist mechanism and clear of the exhaust pipe, rear axle housing, and brake lines.
4. Torque and Tension Check
Continue cranking clockwise until you feel strong resistance. On modern F-150 hoists, the mechanism features an internal ratcheting clutch that will make an audible click or slip when the correct tension is reached.
Once tightened, grab the tire with both hands and attempt to shake it. The tire should be firmly seated against the frame rails with zero movement or rattle. If the tire shifts, apply an additional quarter-to-half turn on the crank tool.
F-150 Spare Tire Hoist Quick-Reference Guide by Generation
| Model Years | Generation | Lock Cylinder Mechanism | OEM Tool Storage | Hoist Drive Style |
|---|---|---|---|---|
| 1997–2003 | 10th Gen (PN-96/F) | None (Open bumper port) | Behind rear seat / Under passenger seat | 1/2" Square Socket |
| 2004–2008 | 11th Gen | Bumper plug with key barrel (Ignition key operated) | Under rear seat / Behind backrest | 1/2" Square Socket (With Sec. Latch) |
| 2009–2014 | 12th Gen | Bumper key lock cylinder | Under rear passenger seat compartment | 3/8" Female Square |
| 2015–2020 | 13th Gen (Aluminum) | Ignition key bumper lock | Under right rear seat plastic tray | 3/8" Female Square |
| 2021–2026 | 14th Gen | Ignition key / Integrated fob blade bumper lock | Under right rear seat lockable storage box | 3/8" Female Square |
Essential Safety Precautions and Roadside Tips
Working underneath a vehicle on the side of a road carries inherent risks. Observe these practical safety precautions:
- Never Crawl Under a Jacked Vehicle: Always lower the spare tire to the ground before placing your hydraulic bottle jack or scissor jack under the truck's axle or frame rail to lift the vehicle.
- Tire Pressure Maintenance: Under-bed spare tires lose pressure over time due to temperature fluctuations. Check your spare tire's inflation pressure at every oil change interval. A standard full-size F-150 spare tire typically requires between 35 PSI and 40 PSI (consult your driver-side door jamb placard for exact specifications).
- Rust Prevention: Every 12 months, lower the spare tire completely, clean away road grit, and apply a high-quality marine-grade grease or dry silicone lubricant to the winch cable and pivot joints. Avoid spraying oil directly onto rubber tire treads.
- Tire Size Compatibility: If you have installed aftermarket oversized wheels or lift kits (e.g., 35-inch off-road tires), verify that your modified tire size physically fits between the rear differential housing, frame rails, and trailer hitch receiver. Most stock F-150 spare tire cavities accommodate up to a 33-inch outer diameter tire comfortably.
Frequently Asked Questions
What size socket fits the F-150 spare tire hoist if I don't have the OEM key or tools?
If you remove the bumper guide tube from beneath the truck, a 14mm 12-point socket, 9/16-inch 12-point socket, or a standard 3/8-inch / 1/2-inch square drive extension can fit directly onto the exposed hoist mechanism shaft, depending on the truck's model year.
Why won't my F-150 spare tire drop even after turning the winch rod counterclockwise?
This issue is most frequently caused by a sticking secondary safety catch (common on 2004–2008 models) or a seized winch drum where the cable has bound up. To fix this, jack up the spare tire slightly with a bottle jack to relieve tension on the secondary hook, pull down on the safety release, and lower the jack while turning the crank counterclockwise.
Which direction do I turn the handle to lower the spare tire on an F-150?
You must turn the crank handle counterclockwise to lower the tire to the ground. Turning the handle clockwise reels the steel cable back in and raises the tire up toward the truck frame.
Can I stow a damaged full-size rim and flat tire in the under-bed spare tire cavity?
Yes, Ford F-150 under-bed tire carriers are engineered to hold full-size factory wheels and tires. When stowing a damaged wheel, ensure you place the wheel with the outer face turned down toward the pavement so the retaining plate clamps flat against the center hub bore.
How do I open the F-150 spare tire lock if my key blade is integrated into a smart key fob?
If your F-150 uses a smart keyless entry fob, slide the mechanical emergency key blade release switch on the side or back of the fob casing. Pull out the metal key blade and insert it directly into the bumper lock cylinder to unlock and remove the plug.
Final Recommendation
Lowering the spare tire on your Ford F-150 is a straightforward task when utilizing the proper technique and OEM tool assembly. To prevent roadside delays, periodically inspect your tool pouch under the rear seat, verify that your ignition key operates the bumper lock cylinder, and lube the underbody winch cable once a year. If you frequently drive in snowy or muddy conditions, consider removing and greasing the hoist mechanism to ensure smooth operation when an emergency flat tire occurs.
Image Gallery
Select an image to open it in a new tab.

Ingrid Bjornson
Global Cyber Policy and Regulation Analyst
