Mastering Motion: A Comprehensive PowerPoint Animation Tutorial

Mastering PowerPoint animation requires understanding the core mechanics of entrance, emphasis, exit, and motion paths, utilizing the Animation Pane for precise timing, and applying the Morph transition for seamless, object-driven continuity across slides. By coordinating these tools with professional design principles, presenters can guide audience focus, clarify complex concepts, and elevate static slide decks into dynamic visual narratives.
Introduction to Presentation Motion Design
Animations in Microsoft PowerPoint often suffer from a poor reputation due to overuse, erratic timing, and distracting, dated effects like bouncing letters or spinning text. However, when applied with intentionality and restraint, motion acts as a powerful cognitive tool. Motion design in presentations is not about decoration; it is about guiding the viewer's eye, chunking complex information into digestible steps, and revealing data progressively to maintain engagement.
To master motion, creators must move beyond default settings and understand the underlying mechanics of PowerPoint’s animation engine. This tutorial explores the architecture of professional presentation animation, examining foundational categories, advanced sequencing via the Animation Pane, the transformative power of the Morph transition, and common pitfalls to avoid. Whether you are building technical data visualizations, corporate pitches, or educational seminars, mastering these techniques will transform how your audience interacts with your content.
Core Animation Categories Explained
PowerPoint divides its animation toolset into four distinct categories. Each serves a specific functional purpose in a presentation workflow. Recognizing when and how to deploy each category prevents visual clutter and ensures smooth narrative progression.
- POWERPOINT ANIMATION ENGINE
- Entrance Effects (Green) - Object appears on slide
- Emphasis Effects (Yellow) - Object draws attention
- Exit Effects (Red) - Object leaves slide
- Motion Paths (Blue) - Object moves across slide
Entrance Effects
Entrance effects govern how an element first appears on the screen. By default, items sit statically on a slide, often overwhelming the viewer with too much data at once. Entrances allow you to introduce components sequentially.
- Subtle Options: Fade and Appear are the most reliable choices for professional settings. They introduce elements cleanly without stealing focus from the speaker.
- Moderate/Exciting Options: Fly In, Float In, and Zoom can work well if aligned with the direction of reading or logical hierarchy, though they should be used sparingly.
Emphasis Effects
Emphasis effects are applied to objects already visible on the slide to highlight changes, direct attention to a specific metric, or signal a transition in the narrative.
- Common choices include Pulse, Grow/Shrink, and Color Pulse.
- For example, if a dashboard slide features four key performance indicators and the narrative shifts to focus exclusively on revenue growth, applying a subtle Pulse to the revenue card instantly recalibrates audience attention.
Exit Effects
Exit effects remove items from the visual field, freeing up spatial real estate and preventing cognitive overload. Instead of cluttering a slide with subsequent layers of information, exit an item before introducing the next concept.
- Fade and Float Down provide smooth visual departures.
- Exits are especially critical in step-by-step technical workflows where previous steps must recede to emphasize the current operational phase.
Motion Paths
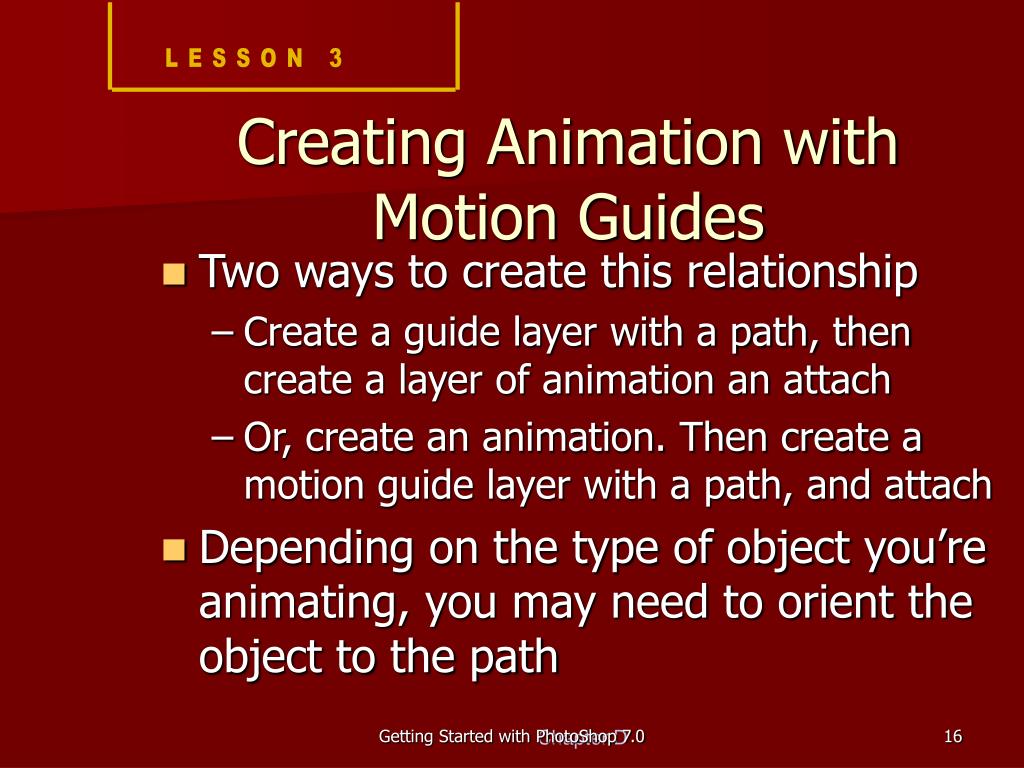
Motion paths dictate how an object travels across a slide from a starting coordinate to a destination point. Unlike standard entrance or exit trajectories, motion paths can be customized into straight lines, arcs, turns, or completely freeform shapes. They are invaluable for mapping workflows, tracking geographical data points, or demonstrating physical processes.
The Animation Pane: Timing, Sequencing, and Trigger Control
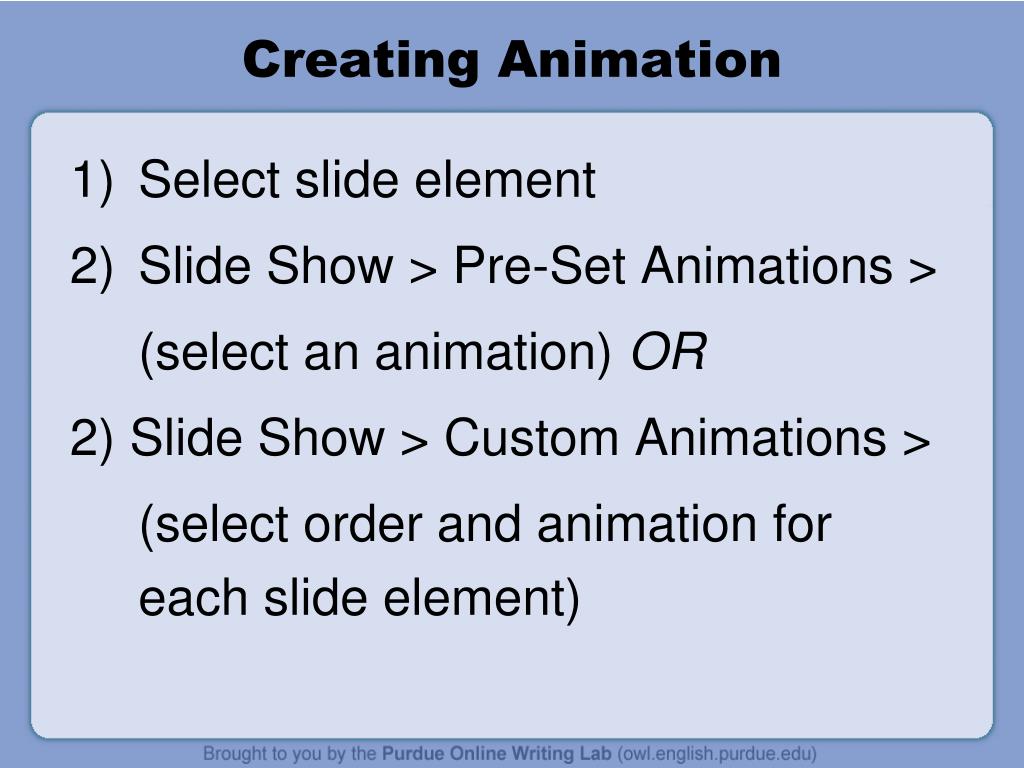
The secret to professional-grade motion lies entirely within the Animation Pane. Without this panel, managing multiple animated objects becomes chaotic. The Animation Pane gives you total control over the stacking order, start triggers, duration, and delay of every single effect on your slide.
Start Triggers: On Click, With Previous, After Previous
Every animation must be assigned a trigger condition that dictates when it executes:
- On Click: The animation waits for a manual mouse click or remote advance. This is useful for standard slide pacing where the speaker controls the flow.
- With Previous: The animation triggers simultaneously alongside the preceding effect. This allows you to bundle actions—such as fading in a text box while simultaneously moving a shape along a motion path.
- After Previous: The animation executes automatically the moment the preceding effect finishes. This is the cornerstone of automated sequencing, eliminating the need for constant manual clicking during complex data reveals.
Duration and Delay Fine-Tuning
Timing defines the psychological impact of motion.
- Duration controls how long the animation takes to complete. For smooth UI transitions or subtle fades, durations between 0.5 and 0.7 seconds feel natural. Anything longer than 1.0 second begins to drag, causing audience friction and breaking the presentation's momentum.
- Delay introduces a pause before an animation starts. When staggering a list of five bullet points using After Previous, assigning a short 0.1-second or 0.2-second delay between items creates a cascading ripple effect that is much easier for the human eye to track than instant sequential snapping.
Leveraging the Morph Transition for Seamless Continuity
Introduced as a revolutionary tool for modern presentations, the Morph transition is technically a slide transition, but it functions fundamentally as an advanced animation engine. Morph automatically tracks similarities between consecutive slides and smoothly animates the position, size, rotation, and color of objects from Slide A to Slide B.
How Morph Works
To use Morph effectively:
- Create a base slide containing specific objects (e.g., shapes, text boxes, or images).
- Duplicate the slide (Press
Ctrl + Shift + Dor right-click and select Duplicate Slide). - On the duplicated slide, move, resize, rotate, or alter the color of those exact objects.
- Apply the Morph transition to the second slide (found under the Transitions tab).
PowerPoint calculates the mathematical delta between the two states and generates a fluid, interpolated animation without requiring manual motion paths or keyframes.
Practical Applications for Morph
- Zooming into Data: Place a high-level map on Slide 1, duplicate it to Slide 2, and scale up a specific region while adjusting the crop. Morph seamlessly pans and zooms into the target area.
- Card Flips and Grid Reorganization: Rearrange a grid of four content cards into a horizontal process flow across slides. Morph animates each card gliding into its new structural home.
- Object Transformation: Change a small square icon into an expanded content container simply by resizing and repositioning the vector shape across duplicate slides.
Technical Comparison of Animation vs. Transition Methods
Choosing between standard animations, motion paths, and Morph transitions depends on the structural goals of your slide layout.
| Feature / Method | Standard Entrance/Exit | Motion Paths | Morph Transition |
|---|---|---|---|
| Primary Use Case | Revealing or hiding static content elements. | Moving objects across custom spatial coordinates. | Transforming layout, size, and position between slides. |
| Control Panel | Animation Pane | Animation Pane | Transitions Tab |
| Setup Complexity | Low (Single-click application) | Moderate (Coordinate and path adjustment) | Low to Moderate (Duplicate and rearrange) |
| Performance Risk | Minimal overhead | Low, unless paths are overly complex | Low, provided vector complexity is managed |
| Best For | Bullet points, image reveals, charts | Diagrams, workflow arrows, map markers | UI mockups, agenda overviews, zooming effects |
Advanced Motion Paths: Precision and Customization
Standard linear motion paths are often too rigid for creative presentations. PowerPoint allows you to edit and customize motion paths to fit organic curves and precise architectural layouts.
Editing Points on a Motion Path
Once you apply a motion path (e.g., Lines or Arcs):
- Select the animated object and click on the red endpoint or the green start point of the path.
- Right-click the path line and select Edit Points.
- Drag the anchor points and bezier handles to curve, bend, or redirect the trajectory of the moving element.
This capability is essential when routing a technical graphic or workflow icon around structural obstacles on your slide canvas rather than cutting straight through text boxes or graphical containers.
Locking Start and End Positions
A common frustration with motion paths is misjudging where the object lands. To fix this:
- PowerPoint displays a ghosted outline of the object at the final destination point while editing.
- To ensure pixel-perfect alignment, duplicate your target landing object, place it at the exact destination coordinate, format the motion path so the endpoint snaps to that duplicate, and then delete the placeholder object.
Common Animation Mistakes and Troubleshooting
Even experienced designers occasionally fall into traps that undermine presentation clarity. Recognizing these pitfalls ensures your motion design remains polished and professional.
Over-Animation and Visual Fatigue
The most prevalent mistake is animating every single element on a slide. If every icon bounces, text box spins, and background shape slides across the screen, the presentation becomes exhausting to watch.
- Rule of Thumb: Limit animations to functional necessities. If an object does not need to enter, exit, or move to tell the story, leave it static.
Timing Discrepancies and Drag
Slow animations destroy presentation pacing. When a speaker is forced to pause mid-sentence waiting for a slow three-second wipe effect to complete, audience engagement drops.
- Troubleshooting: Keep entrance and emphasis durations tight (0.3 to 0.6 seconds). Reserve longer durations (1.0 second or more) exclusively for large-scale layout shifts executed via Morph.
Z-Order Conflicts in Morph and Motion Paths
When objects pass over one another during a motion path or Morph transition, visual glitches can occur if the stacking order (Z-order) is incorrect.
- Troubleshooting: Use the Selection Pane (found under Home > Select > Selection Pane) to manage layer hierarchies. Objects higher in the Selection Pane list sit visually on top of objects below them. Ensure moving elements are correctly layered so they do not abruptly slide underneath unexpected background layers mid-motion.
Frequently Asked Questions
How do I make multiple animations happen at the exact same time?
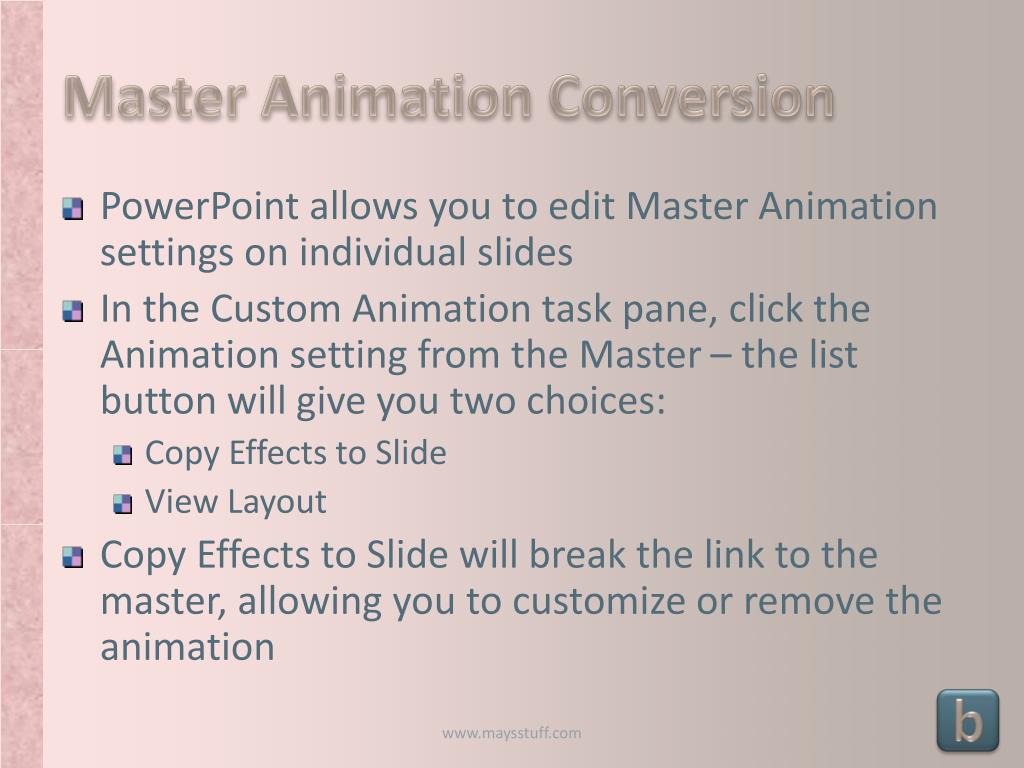
To run multiple animations simultaneously, select the target objects, apply your chosen effects, and then open the Animation Pane. Select the second, third, and subsequent animations in the list, right-click, and choose Start With Previous. This groups them into a single parallel execution thread managed by a single trigger.
Can I copy animations from one object to another?
Yes. PowerPoint features an Animation Painter tool located on the Animations tab. Click the object that already has the desired animation sequence, click the Animation Painter icon (which functions similarly to the standard Format Painter), and then click the target object. This instantly duplicates all animation properties, timings, and triggers.
Why is my Morph transition not working correctly between two slides?
Morph relies on object name matching to interpolate motion. If you completely delete an object on Slide 1 and draw a brand-new object on Slide 2, Morph treats them as unrelated entities and will simply fade them out and in. To fix this, duplicate the original slide so the objects retain their internal IDs, or use the Selection Pane to assign matching naming tags (e.g., !!Rectangle1) to both elements.
What is the maximum number of animation effects allowed per slide?
PowerPoint does not enforce a hard technical limit on the number of animations per slide. However, performance degradation, rendering stutter, and severe audience cognitive overload typically manifest long before technical limits are reached. Best practices recommend keeping active effects per slide under five to maintain clarity and smoothness.
Conclusion and Next Actions
Mastering PowerPoint animation transforms your presentations from static slide decks into dynamic visual stories. By replacing distracting gimmicks with purposeful entrance effects, structured Animation Pane sequencing, and fluid Morph transitions, you retain complete control over audience attention.
To put these techniques into practice:
- Open an existing presentation that feels cluttered or static.
- Identify three slides where information overload occurs and apply purposeful entrance or exit fades.
- Test a simple slide duplication and apply the Morph transition to observe how layout continuity improves narrative flow.
Image Gallery
Select an image to open it in a new tab.




Celine Dubois
Contemporary Living and Global Arts Columnist
