Comprehensive Guide to Furnace Sensor Cleaning: Maintaining Your Heating System's Flame Sensor

A furnace flame sensor is a vital safety and operational component that detects whether a burner has successfully ignited, preventing unburnt gas from flooding the home. Over time, carbon soot, oxidation, and airborne debris coat this metal rod, causing the furnace to short-cycle, blow cold air, or shut down entirely. Cleaning the sensor restores electrical continuity and returns the heating system to reliable operation.
Understanding the Furnace Flame Sensor
Modern forced-air furnaces rely on a series of sophisticated electronic controls to ensure safe operation. At the heart of this safety matrix is the flame sensor, a simple yet critical device responsible for verifying that gas is actually burning when the gas valve opens.
When the thermostat calls for heat, the control board initiates an ignition sequence. It opens the gas valve and fires the igniter. As the gas ignites, the flame sensor is engulfed by the fire. A flame sensor operates on the principle of flame rectification, converting an alternating current (AC) flame signal into a direct current (DC) microcurrent. Because a burning flame contains free ions, it acts as a conductor. When the flame touches the sensor rod, a tiny electrical current (usually between 1 and 5 microamps) flows from the sensor, through the flame, to the burner assembly, and back to the control board.
If the control board detects this microcurrent, it keeps the gas valve open, allowing the furnace to run through its heating cycle. If the sensor is coated in insulating debris, it cannot transmit this electrical signal. Lacking proof of ignition, the safety protocol commands the control board to immediately shut off the gas valve to prevent hazardous gas accumulation. This failure sequence typically results in short-cycling, where the furnace ignites for a few seconds, shuts down, tries to relight a few times, and finally locks out, blowing unheated air or stopping completely.
Identifying Symptoms of a Dirty Flame Sensor
Recognizing the early warning signs of a failing or dirty flame sensor can save homeowners from expensive emergency HVAC service calls during peak winter weather. While a malfunctioning thermostat, a clogged air filter, or a faulty draft inducer motor can also cause heating failures, specific behavioral patterns point directly to the flame sensor.
The most common symptom is short-cycling with multiple ignition retries. Homeowners often hear the furnace click, hum as the inducer motor runs, see the igniter glow, and feel warm air for three to five seconds. Suddenly, the burner clicks off, the fan continues to run or shuts down, and the entire cycle repeats two or three times before the furnace stops blowing air entirely.
Another indicator is a persistent lockout mode accompanied by a flashing error code on the furnace control board. Most modern furnaces feature an LED diagnostic light visible through a view window on the lower access panel. A specific flash pattern—such as three flashes repeating—frequently indicates an "ignition lockout" or "flame sense failure" in the manufacturer's diagnostic manual.
It is worth noting that a dirty flame sensor differs from a bad igniter. If the hot surface igniter does not glow at all, the issue lies in the igniter or the power supply. If the igniter glows brightly, the gas lights, and the flame immediately extinguishes, the flame sensor is almost certainly the culprit.
Tools and Safety Prerequisites Before You Begin
Before attempting to clean or service any part of a gas furnace, safety must remain the absolute priority. Furnaces combine electricity, moving mechanical parts, and combustible gas, requiring careful adherence to safety protocols.
Homeowners should gather the necessary tools and supplies before opening the furnace cabinet. Having everything on hand minimizes the time the unit remains open and reduces the risk of misplacing small hardware components.
Required Tools and Materials
- 1/4-inch nut driver or quarter-inch socket wrench (or a Phillips screwdriver, depending on the screw securing the sensor).
- Fine-grit abrasive material: A piece of fine emery cloth, very fine sandpaper (600-grit or higher), or a clean, dry Scotch-Brite pad. Never use coarse sandpaper, steel wool (which can leave magnetic metallic shards behind), or greasy tools.
- Clean, lint-free microfiber cloth or paper towels.
- Rubbing alcohol (isopropyl alcohol, 90% or higher) for removing oily residues.
- Flashlight or work light for inspecting the burner compartment.
- Digital multimeter capable of measuring microamps ($\mu A$) (optional, for advanced diagnostic verification).
Essential Safety Steps
- Shut off electrical power: Locate the dedicated power switch mounted on the side of the furnace or turn off the corresponding breaker in the main electrical panel. Verify that the blower and inducer motor do not run.
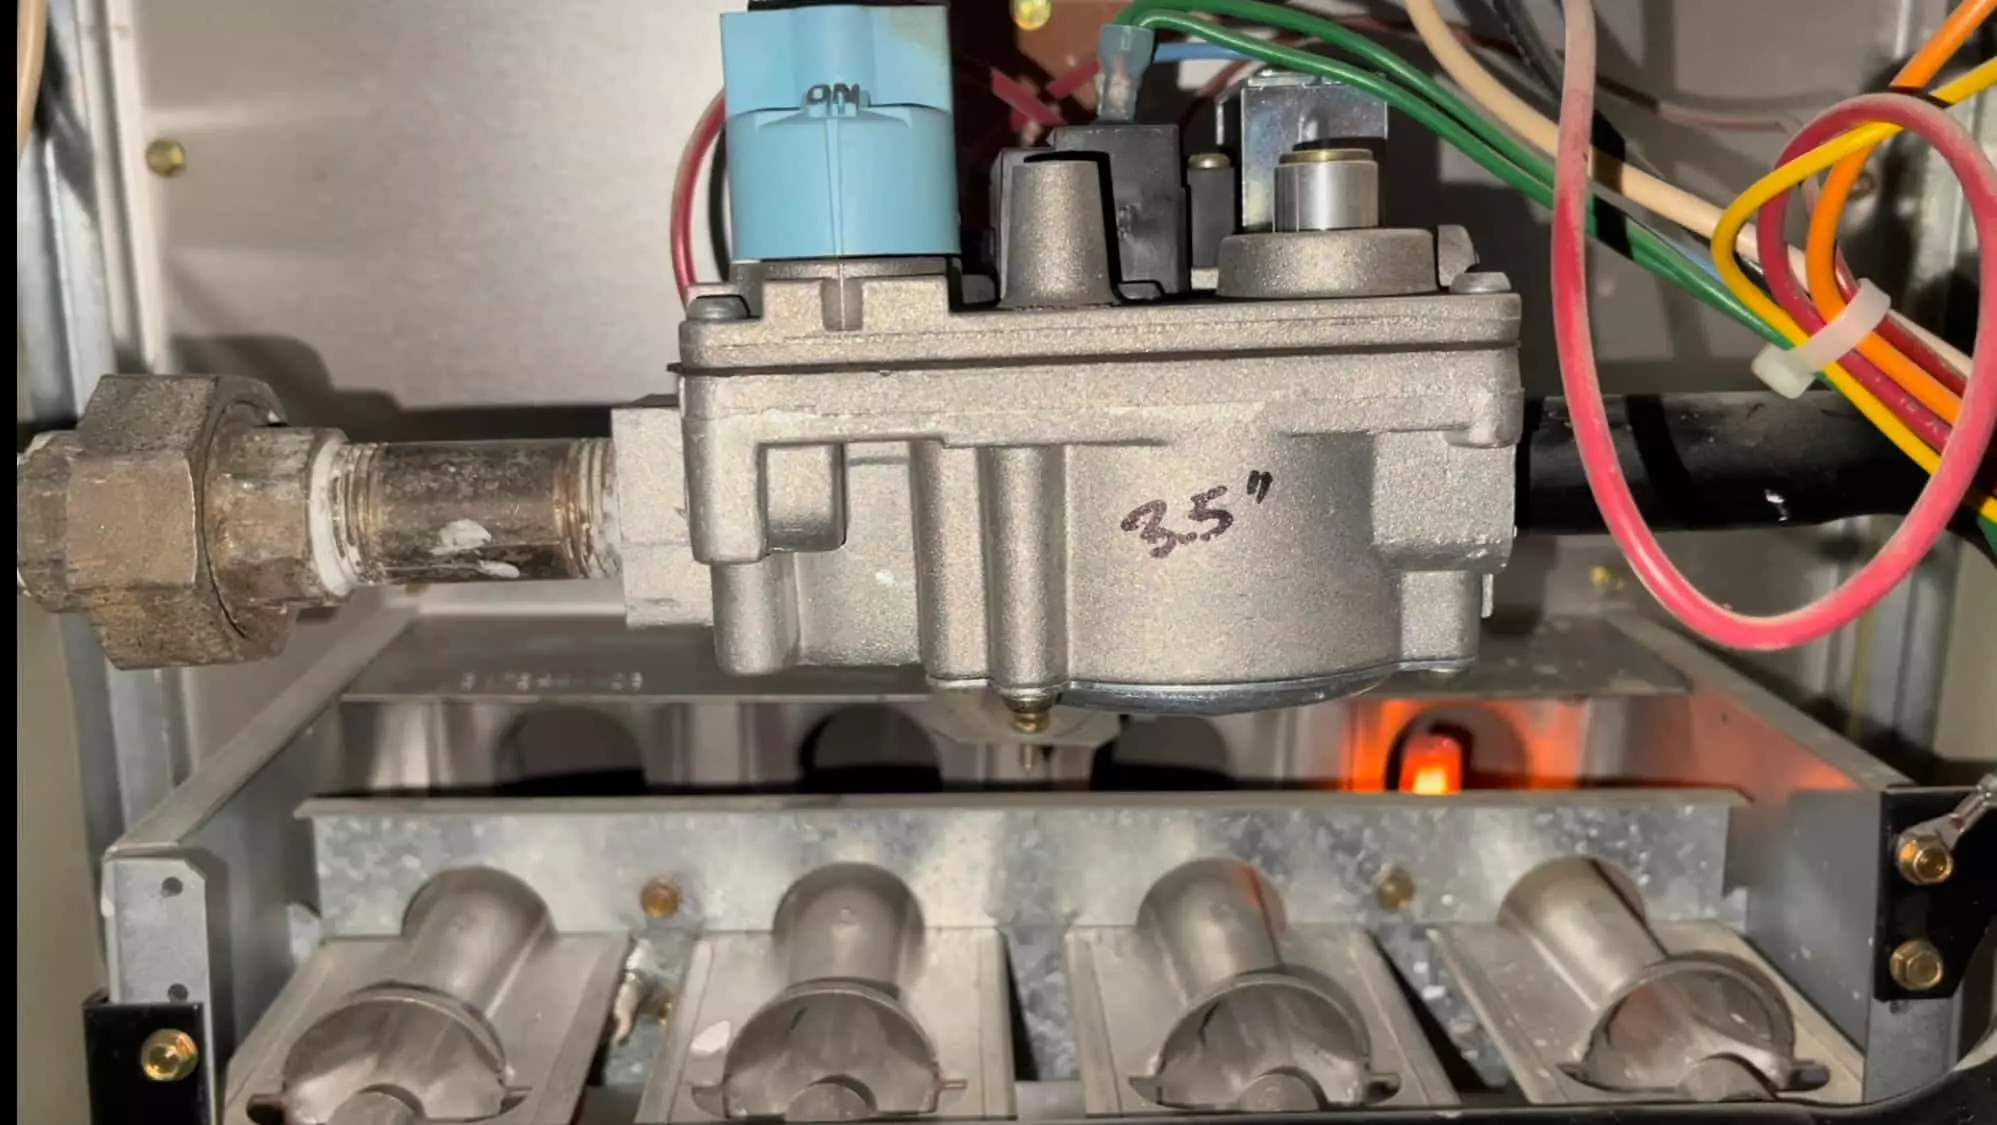
- Turn off the gas supply: Locate the manual gas shutoff valve on the black iron pipe leading to the gas control valve. Turn the handle 90 degrees so it sits perpendicular to the pipe, cutting off the gas flow.
- Allow the components to cool: If the furnace was recently running, the burner assembly, heat exchanger, and flame sensor will be extremely hot. Wait at least 15 to 20 minutes before touching any internal parts to prevent severe burns.
- Practice proper handling: Handle the flame sensor with care. The ceramic insulator portion is brittle and can crack easily if dropped or tightened too aggressively.
| Tool / Material | Purpose | Avoid / Cautions |
|---|---|---|
| Fine Sandpaper / Emery Cloth | Gently abrades carbon and oxidation off the metal rod. | Avoid coarse grit (under 400-grit) which deep-scratches the metal. |
| Isopropyl Alcohol (90%+) | Removes residual oils, skin grease, and soot films. | Do not use water-based cleaners or heavy industrial solvents. |
| Nut Driver (1/4-inch) | Removes the mounting screw securing the sensor to the burner bracket. | Do not strip the screw head by using an incorrect bit size. |
| Multimeter | Measures flame rectification microamps for diagnostic checks. | Ensure meter leads are plugged into the microamp ($\mu A$) jacks, not standard voltage jacks. |
Step-by-Step Procedure for Cleaning a Furnace Flame Sensor
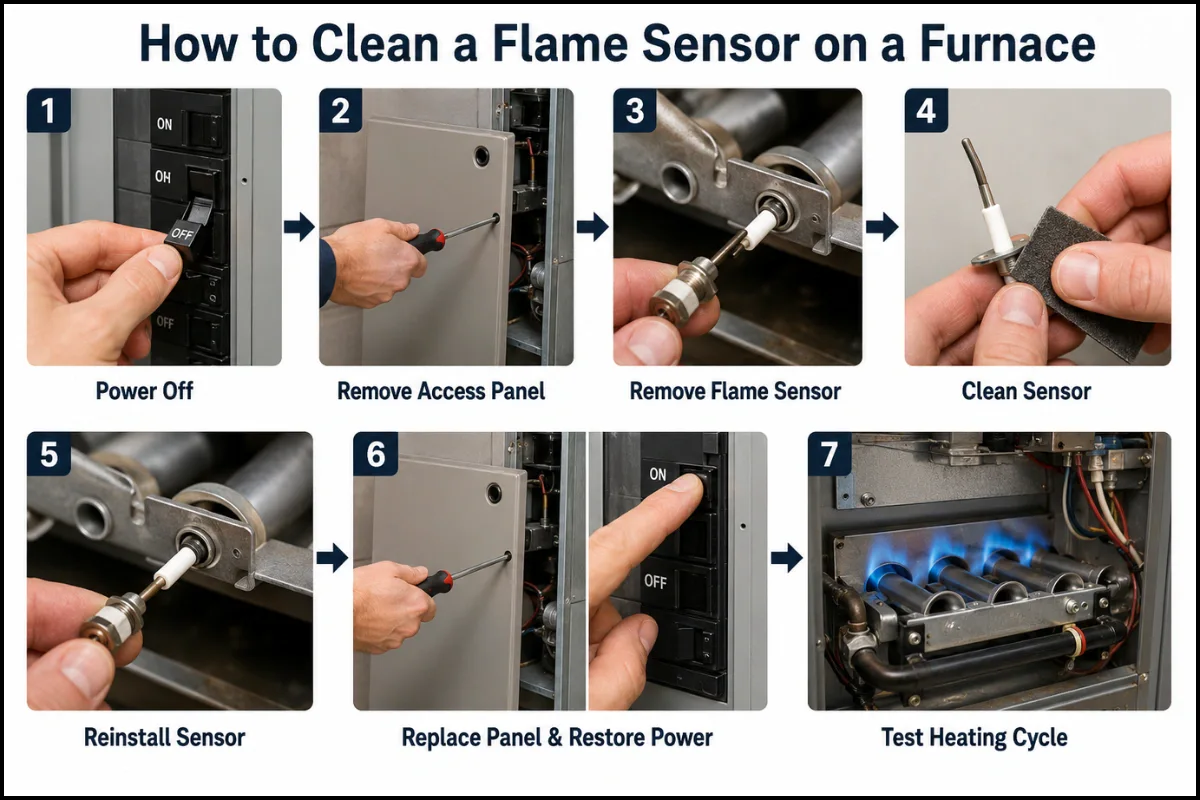
Cleaning a flame sensor is a straightforward maintenance procedure that takes roughly 20 to 30 minutes. Following a systematic sequence ensures that no damage occurs to the surrounding wiring, ceramic insulators, or burner assemblies.
Step 1: Remove the Furnace Access Panels
Remove the upper and lower service doors of the furnace. Most modern residential units use thumbscrews, standard sheet metal screws, or simple lift-off latches. Set the panels aside in a safe location.
Step 2: Locate the Flame Sensor
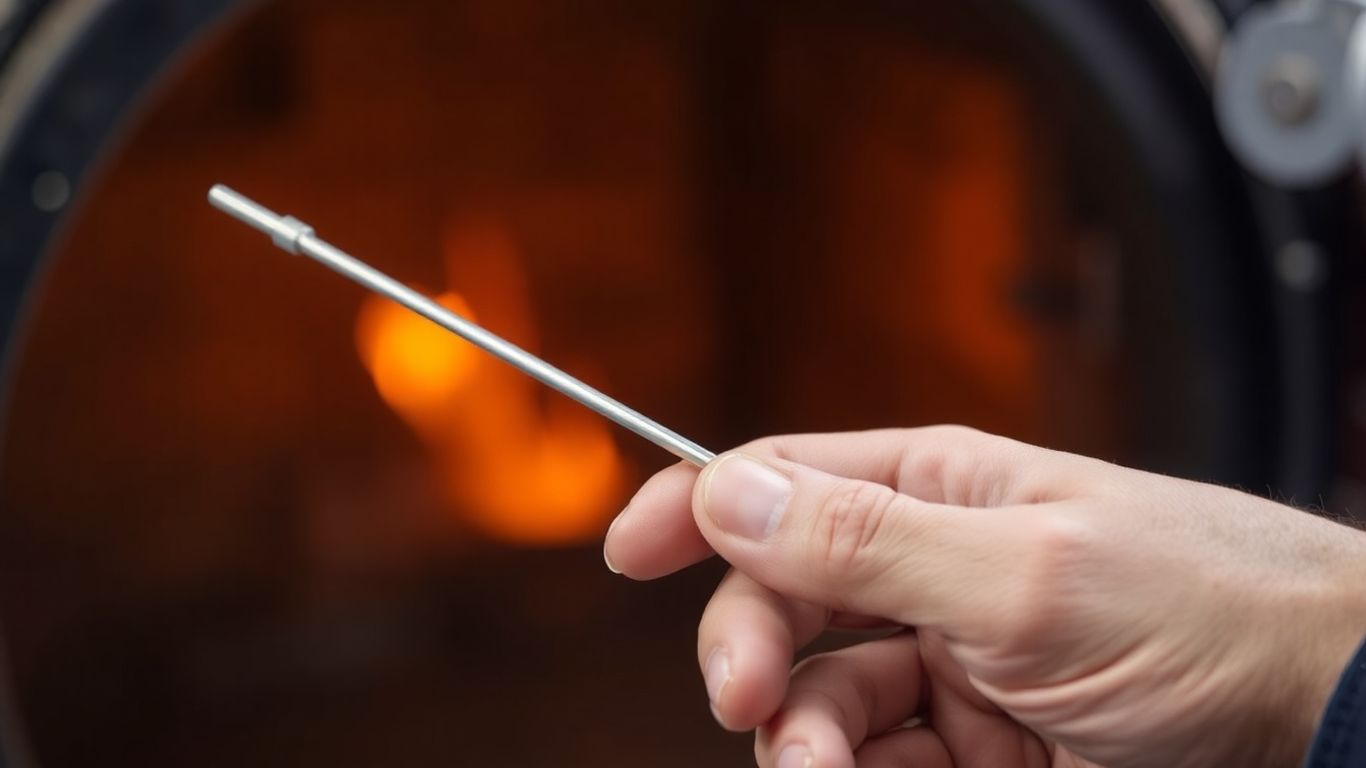
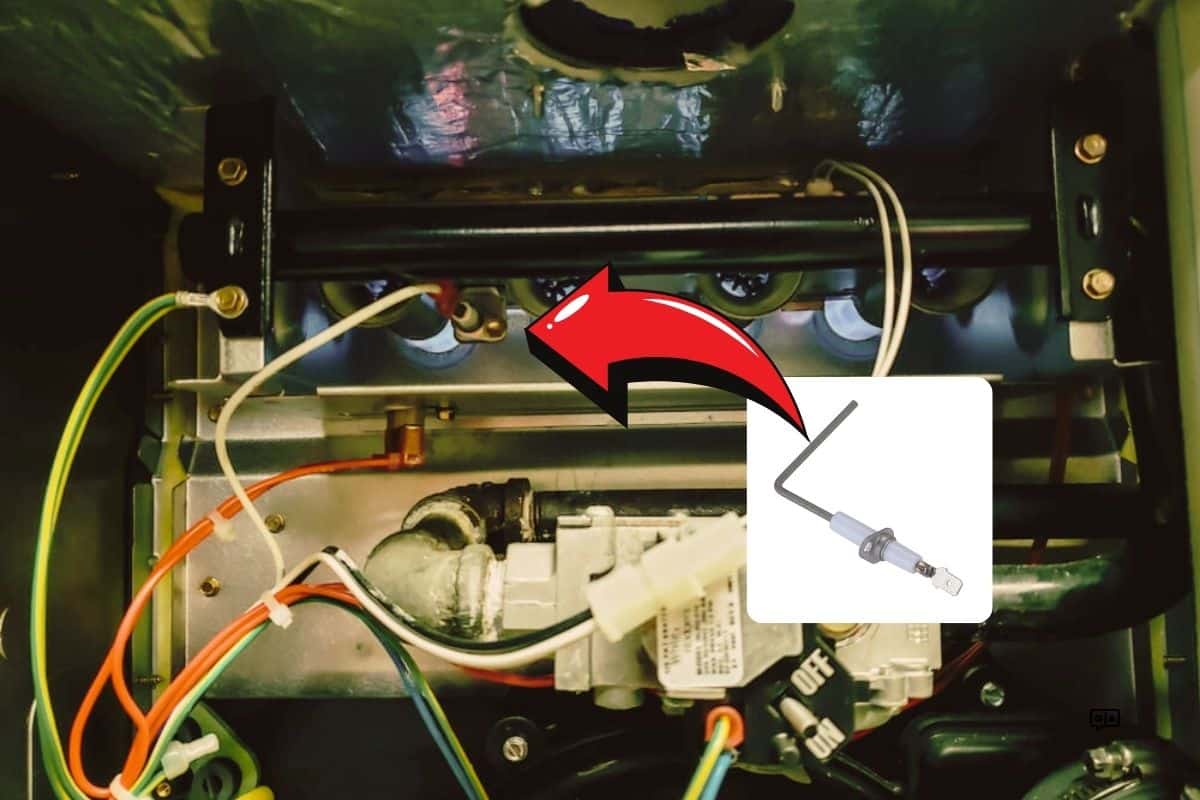
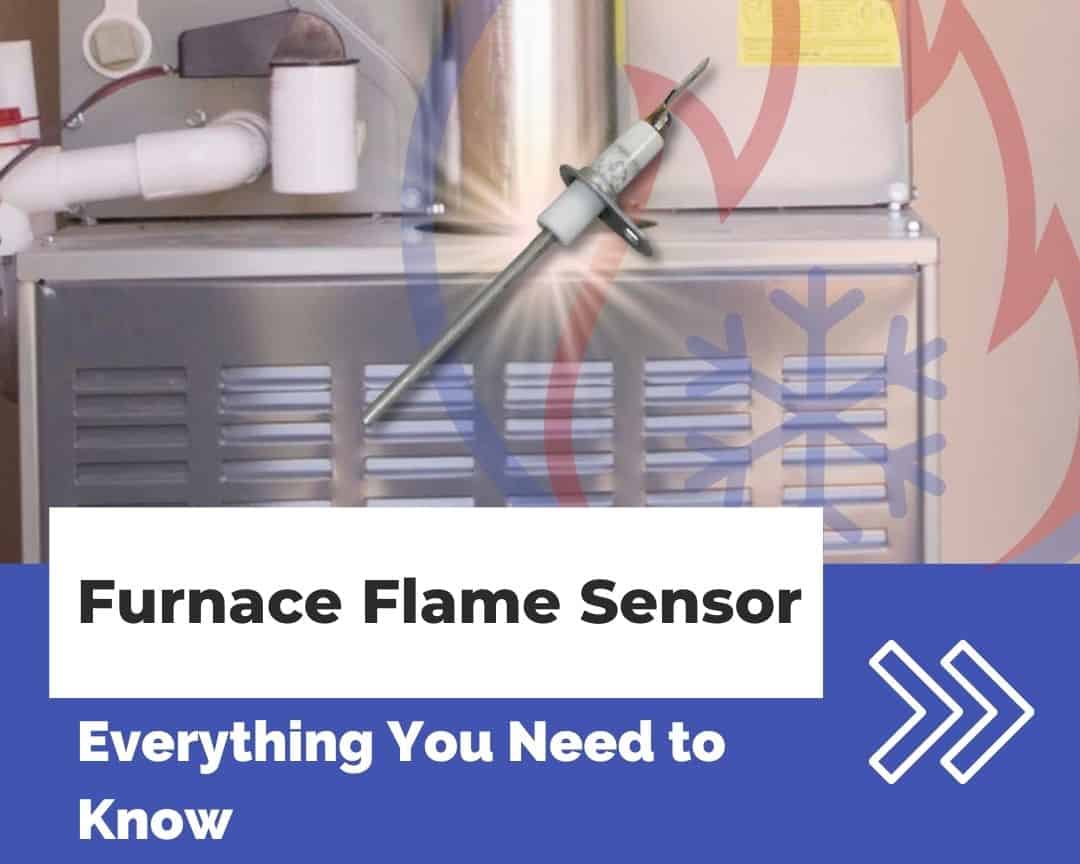
Look inside the burner compartment toward the burner assembly. The flame sensor is typically positioned on the opposite end of the burner array from the igniter. It consists of a single ceramic white or red insulator base, a single slide-on wire terminal, and a thin, bent metal rod that protrudes directly into the path of the burner flames. Do not confuse it with the hot surface igniter, which is more fragile, glows bright orange during startup, and usually has two wires attached to it.
Step 3: Disconnect the Wiring and Remove the Sensor
Gently pull the electrical wire connector straight off the spade terminal of the flame sensor. Avoid pulling on the wire itself; grasp the insulated plastic connector to prevent damaging internal wire strands.
Using a 1/4-inch nut driver or screwdriver, carefully remove the single sheet metal screw securing the sensor bracket to the burner assembly. Support the sensor with your other hand so it does not drop into the lower cabinet or hit the internal sheet metal. Gently pull the sensor straight out of its mounting port.
Step 4: Clean the Metal Rod
Examine the metal rod. A dirty sensor will feature a dull white, gray, or dark black coating. Take your fine emery cloth, fine sandpaper, or Scotch-Brite pad and gently rub the length of the metal rod.
Rotate the rod as you clean to ensure all sides are thoroughly polished. Continue abrading until the underlying metallic sheen is visible and smooth. Do not apply excessive force, as bending or snapping the metal rod will require a complete replacement part.
Step 5: Clean and Inspect the Ceramic Insulator
Wipe the newly polished metal rod and the ceramic insulator with a lint-free cloth dampened with isopropyl alcohol. This step removes microscopic skin oils left behind from fingers, which attract carbon soot much faster during subsequent furnace cycles. Inspect the ceramic insulator for hairline cracks; if the ceramic is cracked, the sensor must be replaced immediately, as current will leak to the metal chassis.
Step 6: Reinstall the Sensor
Carefully insert the clean flame sensor back into its mounting hole on the burner bracket. Secure it with the mounting screw, taking care not to overtighten and crack the ceramic base. Push the wire connector firmly back onto the spade terminal, ensuring a tight mechanical and electrical connection.
Step 7: Restore Power and Test Operation
Reinstall the furnace access panels, ensuring any safety door interlock switches are fully depressed. Turn the gas supply valve back on, then restore electrical power via the service switch or breaker. Adjust the thermostat to a temperature higher than the current room temperature to initiate a call for heat. Observe the furnace through a complete ignition, heating, and shutdown cycle to confirm reliable operation.
Verifying Sensor Performance Using a Multimeter
For technicians and technically inclined homeowners, verifying the health of a cleaned flame sensor using a digital multimeter provides definitive proof of repair. A visual inspection confirms cleanliness, but a microamp test measures operational efficiency.
To perform a flame current test, set your digital multimeter to measure DC microamps ($\mu A$). Disconnect the flame sensor wire, connect the positive meter lead to the wire coming from the control board, and connect the negative meter lead to the spade terminal on the flame sensor. This places the multimeter in series with the flame circuit.
Initiate a call for heat and observe the multimeter reading once the burners ignite:
- 0.0 to 0.5 $\mu A$: Flame signal is too weak; the control board will likely lock out within seconds.
- 1.0 to 1.5 $\mu A$: Minimum acceptable threshold for most standard residential furnace control boards.
- 2.0 to 6.0 $\mu A$: Healthy, optimal operational range ensuring reliable ignition across varying gas pressures and drafts.
If the microamp reading remains below 1.0 $\mu A$ after thorough cleaning and verifying that the burner ground is secure, the flame sensor is likely failing internally and requires replacement.
Common Mistakes to Avoid During Maintenance
While cleaning a flame sensor is a routine DIY task, several common missteps can lead to component damage, safety hazards, or continued system malfunctions.
- Touching the metal rod with bare fingers: Natural oils from human skin deposit organic compounds onto the sensor surface. When exposed to combustion heat, these oils quickly carbonize, causing the sensor to foul again within weeks. Always handle the cleaned rod with a clean cloth or wear clean gloves.
- Using abrasive sandpaper or steel wool: Using coarse grit sandpaper (such as 80-grit or 120-grit) creates deep micro-grooves in the metal rod. These grooves accelerate future soot accumulation. Similarly, steel wool can shed tiny iron particles that cause electrical interference or short circuits.
- Forgetting to turn off the power: Working inside an open furnace cabinet while the 120V electrical supply is active presents severe electrocution and short-circuit risks that can destroy expensive control boards.
- Overtightening mounting screws: The ceramic insulator base is structurally fragile. Applying excessive torque with a power driver will shatter the ceramic, rendering the sensor useless.
Preventative Maintenance and Routine Upkeep
Flame sensors naturally accumulate deposits due to normal combustion processes and airborne dust drawn through the return air ducts. However, certain environmental factors accelerate this fouling process.
Homeowners can minimize frequent maintenance requirements by maintaining clean air filters. A high-efficiency pleated air filter prevents household dust, pet dander, and airborne particles from circulating through the return duct and burning near the heat exchanger. Filters should be inspected monthly and replaced every 60 to 90 days depending on household usage.
Additionally, ensuring adequate combustion air ventilation around the furnace prevents incomplete combustion, which produces excessive soot. Homeowners should schedule professional HVAC tune-ups annually. During a preventative maintenance visit, a certified technician will inspect the heat exchanger for cracks, test carbon monoxide levels, clean the flame sensor, and calibrate gas pressures to ensure optimal efficiency and safety.
Frequently Asked Questions
How often should a furnace flame sensor be cleaned?
A furnace flame sensor should typically be inspected and cleaned once a year as part of routine annual HVAC maintenance, ideally right before the heating season begins. If your furnace is located in a dusty environment, runs continuously in a large home, or uses a lower-grade air filter, you may need to clean it semiannually if short-cycling issues recur.
Can I use steel wool to clean my furnace flame sensor?
No, using steel wool is strongly discouraged. Steel wool can leave behind microscopic metal shavings and iron particles on the sensor rod or the burner assembly. These residual metal fragments can cause electrical grounding issues, spark interference, or rapid re-oxidation, ultimately shortening the lifespan of the component. Always use fine emery cloth, a fine Scotch-Brite pad, or high-grit sandpaper (600-grit or higher).
What causes a flame sensor to get dirty so quickly?
Rapid soot accumulation is usually caused by dirty air filters, improper gas-to-air combustion mixtures, poor ventilation in the mechanical room, or airborne contaminants such as aerosol sprays, silicone products, and household cleaning chemicals pulled into the furnace's return air supply. Correcting the underlying combustion or air filtration issue stops the sensor from fouling prematurely.
Can a bad flame sensor cause a carbon monoxide leak?
No, a faulty flame sensor does not directly cause carbon monoxide leaks. The flame sensor is strictly an electronic safety switch that shuts off the gas valve if it fails to detect a flame. However, if a furnace experiences repeated ignition lockouts because of a dirty sensor, it fails to heat the home safely, requiring manual resets that can mask other underlying mechanical problems within the burner or heat exchanger.
What should I do if cleaning the flame sensor does not fix the furnace?
If cleaning the sensor and verifying the wiring fails to resolve the short-cycling issue, the problem likely lies elsewhere in the system. Common alternative causes include a faulty hot surface igniter, a weak gas valve, a blocked flue pipe, a tripped pressure switch, a cracked heat exchanger, or a failing electronic control board. At this stage, contact a licensed HVAC professional to perform comprehensive diagnostic testing using specialized meters and manometers.
Next Actions and Professional Guidance
If your furnace exhibits short-cycling or ignition lockouts, follow the structured safety procedures outlined above to locate, clean, and reinstall your flame sensor. Should the heating failure persist after proper cleaning and verification, or if you notice visible cracks in the ceramic insulator or burner housing, immediately schedule service with a qualified, licensed heating and cooling technician to ensure safe operation of your heating system.
Image Gallery
Select an image to open it in a new tab.


Akira Tanaka
International Academic Trends Correspondent
