
To release and renew the IP address on your Mac, navigate to System Settings, select Network, and click on your active connection (Wi-Fi or Ethernet). Click Details, go to the TCP/IP tab, and select Renew DHCP Lease. This process forces your Mac to request a fresh configuration from your router, resolving most connectivity conflicts.
As we navigate the technological landscape of 2026, macOS continues to refine its networking stack. However, even with the most advanced versions of macOS Sequoia and its successors, network hiccups remain a common occurrence. Whether you are dealing with a "Self-Assigned IP" error, a conflict with another device on your local network, or a stale connection after waking your MacBook from sleep, knowing how to manually trigger a DHCP (Dynamic Host Configuration Protocol) renewal is a fundamental troubleshooting skill for any Apple user.
Understanding the Mechanics of IP Assignment
Before performing the steps to release and renew an IP address, it is helpful to understand what is happening behind the scenes. Most home and office networks use DHCP to assign IP addresses automatically.
When your Mac connects to a network, it engages in a four-step communication process with the router known as the DORA sequence:
- Discovery: The Mac sends a broadcast looking for a DHCP server.
- Offer: The router offers an available IP address.
- Request: The Mac asks to use that specific address.
- Acknowledgment: The router confirms the assignment and provides additional data like the Subnet Mask, Router (Gateway) address, and DNS settings.
When you "Renew the DHCP Lease," you are essentially telling your Mac to skip the Discovery phase and ask the router to confirm or update its current assignment. This resets the "lease timer" and forces the Mac to re-sync its network configuration with the router's current state.
Internal vs. External IP Addresses
A common point of confusion is the difference between your Local (Private) IP and your Public IP.
- Local IP: This is the address your router assigns to your Mac (e.g., 192.168.1.15). This is what you are "renewing."
- Public IP: This is the address assigned to your modem by your Internet Service Provider (ISP).
Renewing your DHCP lease on your Mac will not change your Public IP address. To change a Public IP, you typically need to restart your modem or contact your ISP. The steps below focus exclusively on the local connection between your Mac and your router.
Method 1: Using macOS System Settings (The GUI Approach)
In 2026, the macOS interface remains focused on accessibility and simplicity. The System Settings app is the primary hub for managing these configurations. This method is recommended for the majority of users as it requires no technical command-line knowledge.
Step-by-Step Instructions
- Open System Settings: Click the Apple Menu () in the top-left corner of your screen and select System Settings.
- Navigate to Network: In the sidebar, click on Network. This window displays all available network interfaces, such as Wi-Fi, Ethernet, and Thunderbolt Bridges.
- Select Your Active Interface: Identify the network you are currently using. It should have a green dot and say "Connected." Click on it (e.g., click on Wi-Fi).
- Access Details: Once inside the specific network settings, click the Details... button located next to the network name or at the bottom of the pane.
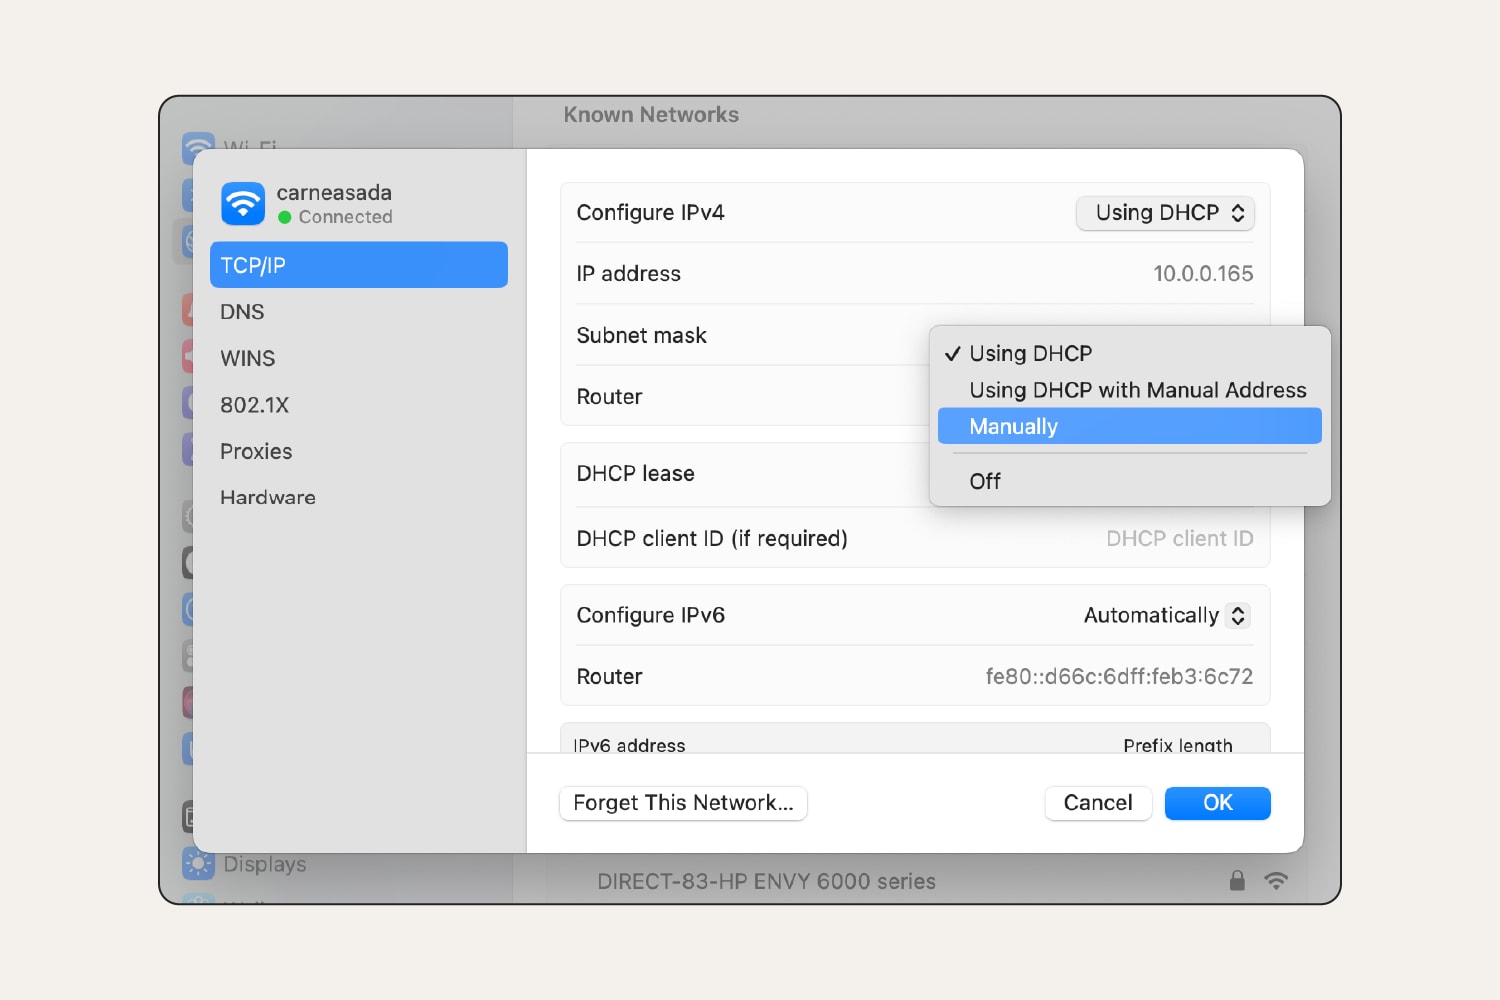
- Select TCP/IP: In the sidebar of the pop-up window, click the TCP/IP tab. This section displays your current IPv4 address, Subnet Mask, and Router address.
- Renew DHCP Lease: Look for the button labeled Renew DHCP Lease. Click it. A confirmation dialog may appear; click Apply or OK to finalize the action.
What to Expect
After clicking the button, you may notice the IP address field momentarily clear or "flicker." Within a few seconds, the fields should repopulate with either the same IP address (if the router decides to keep you on the same lease) or a new one. Your internet connection will likely drop for 1–3 seconds during this transition.
Method 2: Using the Terminal (The Advanced Approach)
For power users, system administrators, or those looking to automate network fixes via scripts, the Terminal provides a faster way to refresh network settings without digging through menus.
Identifying Your Interface
Before running commands, you must know the identifier for your network interface. Usually, Wi-Fi is en0 and Ethernet is en1, but this can vary depending on your specific Mac model (especially Mac Studio or Mac Pro models with multiple ports).
To find your interface, type the following command in Terminal:
networksetup -listallhardwareports
Look for "Wi-Fi" or "Ethernet" and find the "Device" associated with it (e.g., en0).
The Renewal Command
Once you have the interface name, use the following sequence to force a renewal. Note that macOS does not have a single "release" command equivalent to Windows' ipconfig /release; instead, we set the interface to "none" and then back to "DHCP."
- Open Terminal: Use Command + Space to open Spotlight, type "Terminal," and hit Enter.
- Release the IP: Run the following command (replace
en0with your interface if different):sudo ipconfig set en0 NONE(You will be prompted for your Mac's administrator password.) - Renew the IP: Immediately run:
sudo ipconfig set en0 DHCP
Running these two commands effectively severs the current DHCP handshake and initiates a brand-new "DORA" sequence. This is often more effective than the GUI method for clearing persistent "Self-Assigned IP" errors.
Technical Comparison: GUI vs. Terminal
| Feature | System Settings (GUI) | Terminal (CLI) |
|---|---|---|
| Ease of Use | High (Point-and-click) | Moderate (Requires syntax knowledge) |
| Speed | Slower (Navigating menus) | Fast (Single command) |
| Granularity | Limited to standard renewal | Can specify interface and automation |
| Feedback | Visual confirmation in fields | Requires manual verification (ifconfig) |
| Best For | Casual troubleshooting | Scripting, remote management, stuck UIs |
Common Scenarios for IP Renewal
Why would a user need to do this in 2026? Despite advancements in Wi-Fi 7 and automated network healing, several scenarios still necessitate a manual refresh.
1. The "Self-Assigned IP" Bug
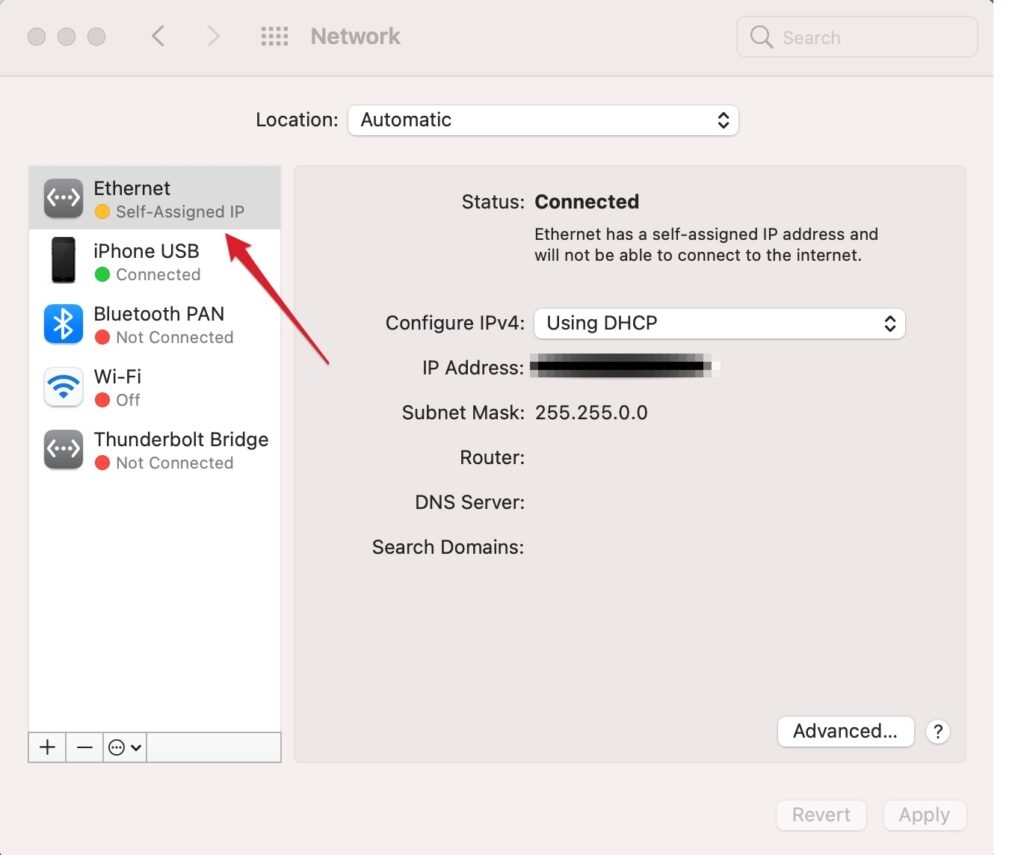
This is the most common reason for renewal. It occurs when your Mac requests an IP but the router fails to respond in time. To maintain some level of local connectivity, the Mac assigns itself an IP starting with 169.254.x.x. This address will not allow you to access the internet. Renewing the lease forces the Mac to try reaching the router again.
2. IP Address Conflicts
If two devices on the same network end up with the same IP address, both will experience intermittent connectivity or a total loss of internet. This often happens in environments with many "smart home" IoT devices that may have static IPs or "sticky" leases. Renewing the lease allows the router to resolve the conflict by giving your Mac a vacant slot.
3. Moving Between Subnets
If you move your MacBook from one office floor to another, or from a home office to a corporate environment, the Mac might sometimes hold onto the gateway information from the previous network. If the "wake from sleep" handshake fails, a manual renewal clears the old routing table entries.
4. DNS Changes
While DNS settings are technically separate from the IP address, they are often delivered via the DHCP packet. If you have recently changed the DNS settings on your router (for example, switching to Cloudflare or Google DNS), renewing the DHCP lease on your Mac is the fastest way to propagate those changes to your local machine.
Advanced Troubleshooting: When Renewal Fails
If you click "Renew DHCP Lease" and the IP address remains 169.254.x.x or simply doesn't change, the issue likely resides deeper in the system or the hardware.
Flush the DNS Cache
Sometimes the IP is fine, but the system's "map" of the internet is corrupted. After renewing your IP, it is often a good idea to flush the DNS cache. In Terminal, use:
sudo dscacheutil -flushcache; sudo killall -HUP mDNSResponder
Delete Network Configuration Files
If the network stack is completely unresponsive, you may need to reset the system's network "memory." This involves deleting specific .plist files.
- Turn off Wi-Fi.
- In Finder, use Go > Go to Folder and enter:
/Library/Preferences/SystemConfiguration/ - Locate and move the following files to the Trash (keep them there, don't delete yet):
com.apple.airport.preferences.plistcom.apple.network.identification.plistNetworkInterfaces.plistpreferences.plist
- Restart your Mac and turn Wi-Fi back on. macOS will recreate these files with default, clean settings.
Check for MAC Address Filtering
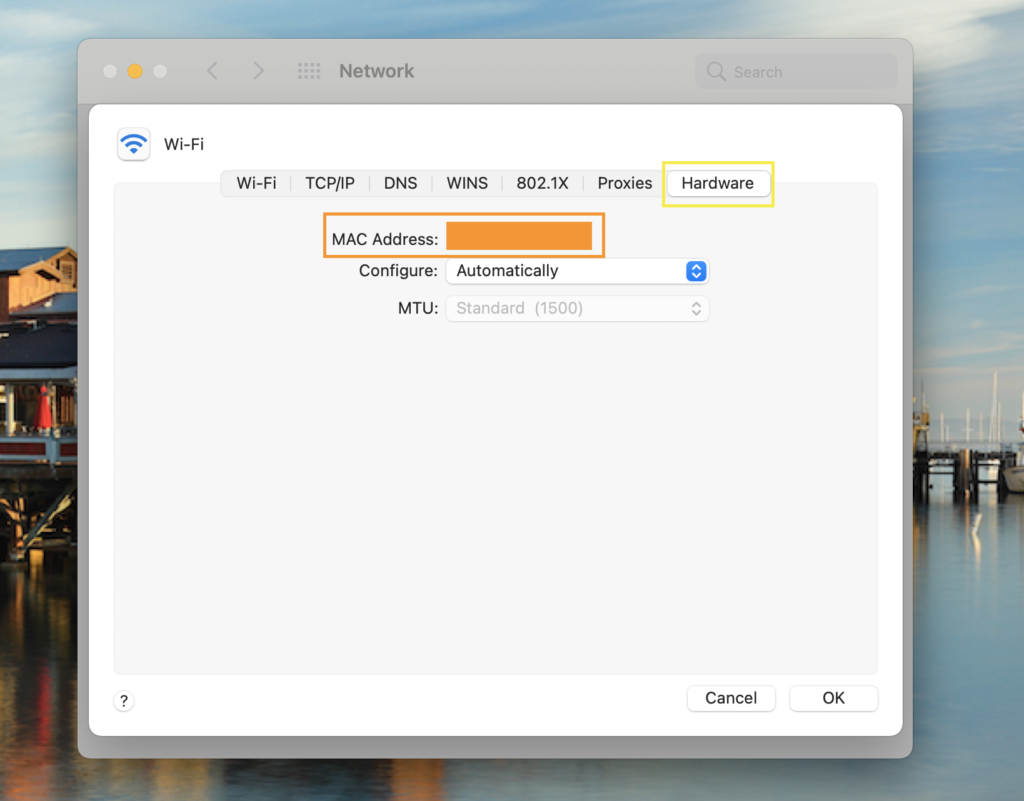
If your Mac can't get an IP no matter what you do, check if the router has MAC Address Filtering enabled. In 2026, many security-conscious networks require new devices to be "whitelisted" before the DHCP server is allowed to offer an IP address.
Frequently Asked Questions
Will renewing my DHCP lease delete my saved Wi-Fi passwords?
No. Renewing the DHCP lease only affects the temporary assignment of your IP address for the current session. It does not alter your saved network profiles, security certificates, or Wi-Fi passwords stored in your Keychain.
How often should I renew my IP address?
Under normal circumstances, you should never have to do this manually. macOS and your router manage leases automatically. You should only perform a renewal when you are experiencing specific connectivity issues, such as being connected to Wi-Fi but having no internet access.
Does renewing the IP make my internet faster?
Generally, no. IP renewal is a connectivity fix, not a performance booster. However, if your slow speeds were caused by IP conflicts or poor routing table entries, you might see an incidental improvement in stability and perceived speed.
Can I renew my IP address on a VPN?
When you are on a VPN, you actually have two IP addresses: your local network IP and the virtual IP assigned by the VPN server. Clicking "Renew DHCP Lease" will refresh your local IP. To refresh your VPN IP, you usually need to disconnect and reconnect the VPN session within your VPN app.
What is a "Lease Time" and can I change it?
The lease time is a setting on your router, not your Mac. It determines how long a device can keep an IP address before it must ask for a renewal. In busy public environments (like a coffee shop), lease times are short (e.g., 1 hour). In home environments, they are often long (e.g., 24 hours or "forever").
Practical Recommendation
If you frequently encounter network issues that require an IP renewal, the problem is likely an aging router or a firmware mismatch. Ensure your router's firmware is updated to the latest 2026 standards. For users who prefer a permanent solution to IP conflicts, consider assigning a Manual (Static) IP in the same TCP/IP settings menu. By selecting "Using DHCP with manual address," you can choose a specific IP (like 192.168.1.50) that your router will always reserve for your Mac, bypassing the need for frequent renewals.
Image Gallery
Select an image to open it in a new tab.


Lars Thomsen
Global Labor Markets and Economic Strategy Editor
