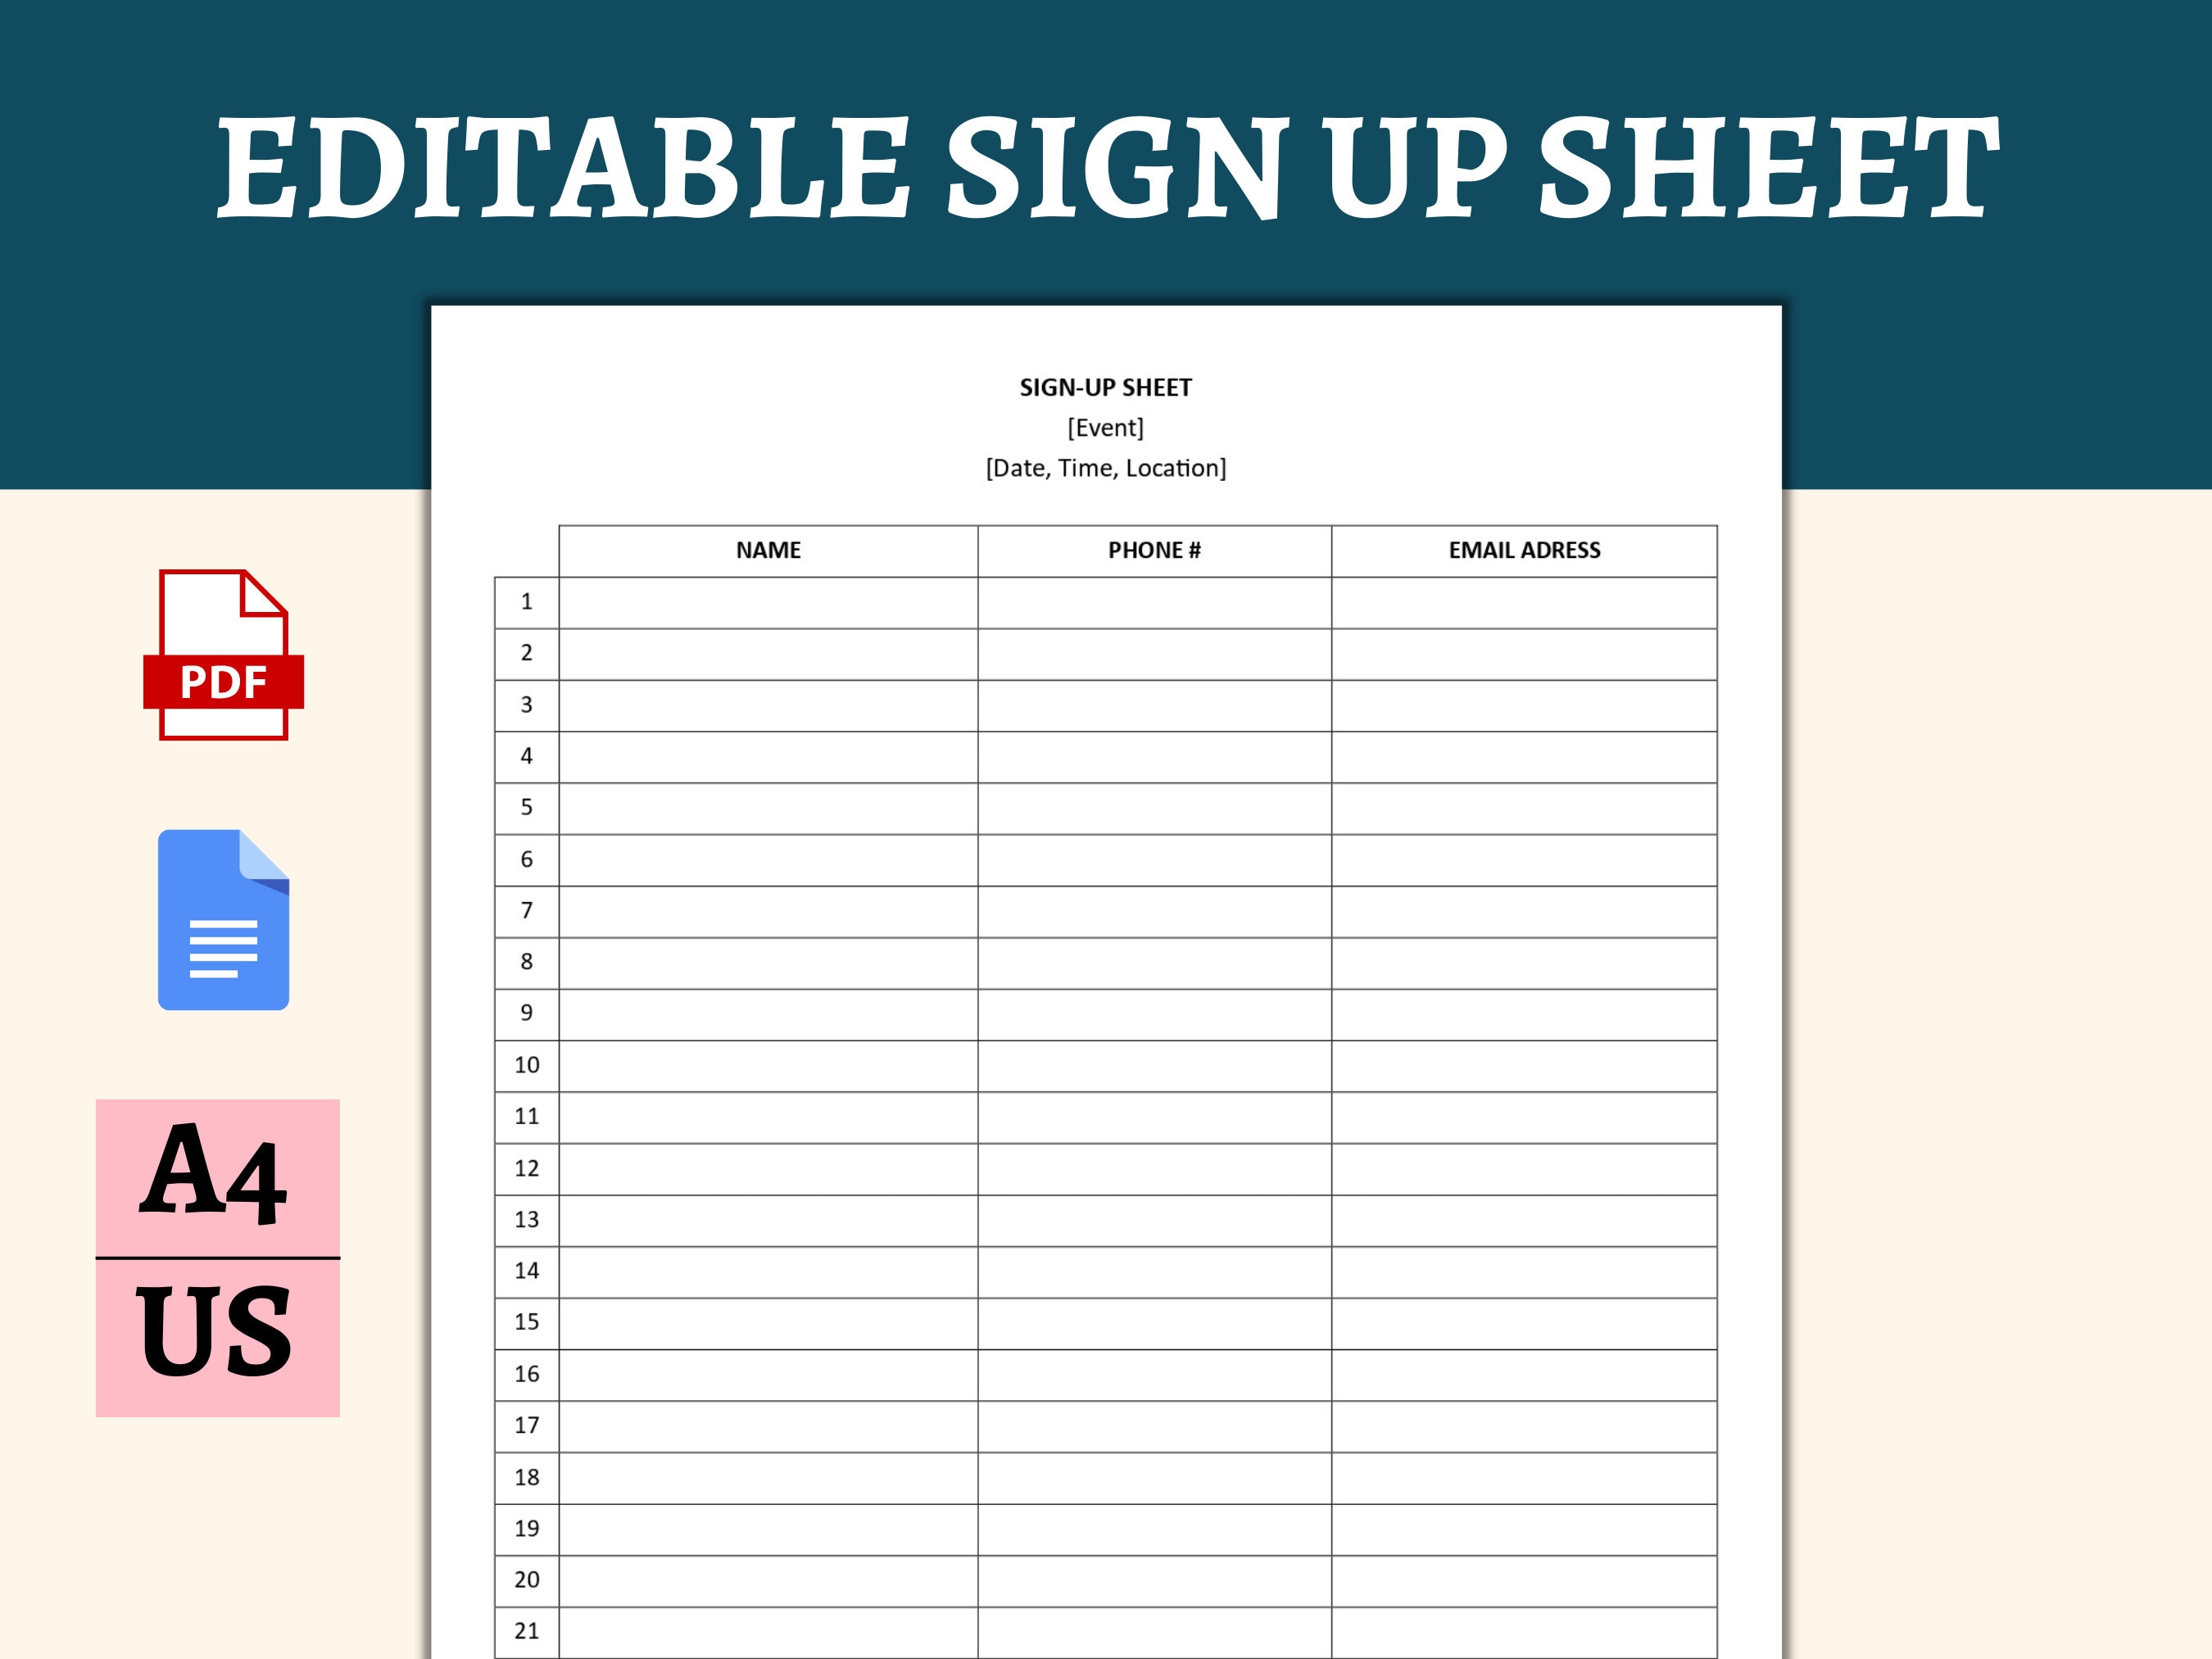
To create a Google sign-up sheet, you can use either Google Sheets for a collaborative, transparent list or Google Forms for a private, structured data collection process. For Google Sheets, create a new spreadsheet, label your columns, and set the sharing permissions to "Editor." For Google Forms, design a questionnaire and link the responses to a spreadsheet.
Whether you are organizing a volunteer event, scheduling parent-teacher conferences, or managing a potluck, Google Workspace offers versatile tools to handle registrations. In 2026, these tools remain the industry standard for cloud-based collaboration due to their accessibility and real-time syncing capabilities. This guide explores the two primary methods—Google Sheets and Google Forms—while also touching upon the specialized Appointment Schedules feature in Google Calendar.
Choosing the Right Tool for Your Sign-Up Sheet
Before you begin building, you must determine which tool best suits your specific needs. The choice typically depends on how much information you want your participants to see and how you want to manage the data.
Google Sheets: The Collaborative Approach
Google Sheets is ideal when you want transparency. In this format, all participants can see who else has signed up and which slots are still available. It functions like a digital version of a paper sign-up sheet pinned to a bulletin board.
- Best for: Potlucks, simple volunteer shifts, and internal team tasks.
- Pros: Real-time visibility, easy for users to change their own entries, and no need for a separate "result" file.
- Cons: Users can accidentally (or intentionally) overwrite someone else's data, and it offers less privacy.
Google Forms: The Private Approach
Google Forms is a structured way to collect information without allowing participants to see each other's responses. It acts as a gateway where users submit their details, which are then compiled into a private database for the organizer.
- Best for: Event registrations involving sensitive info (like phone numbers), surveys, and large-scale sign-ups.
- Pros: High data integrity, professional appearance, and better privacy for participants.
- Cons: Participants cannot see what slots are taken unless you use third-party add-ons or advanced settings.
Method 1: Creating a Sign-Up Sheet in Google Sheets
Creating a sign-up sheet in Google Sheets is the fastest method. It allows for a high degree of customization in terms of layout and design.
Step 1: Set Up the Framework
Navigate to Google Sheets and start a new blank spreadsheet. Give your file a clear, descriptive title, such as "Volunteer Sign-Up - Community Garden 2026."
In the first row (the header row), type the categories of information you need. Common headers include:
- Name
- Email Address
- Phone Number
- Preferred Time Slot
- Task/Role
- Notes/Comments
Step 2: Formatting for Usability
To ensure your sign-up sheet looks professional and remains functional as it fills up, apply the following formatting:
- Freeze the Header Row: Go to View > Freeze > 1 row. This ensures that the column labels stay at the top of the screen even as users scroll down.
- Adjust Column Widths: Double-click the line between column letters (A, B, C) to auto-fit the width to your text, or drag them manually to create enough space for names and emails.
- Add Alternating Colors: Highlight your data range, go to Format > Alternating colors, and select a style. This makes the sheet significantly easier to read on mobile devices.
Step 3: Using Data Validation for Controlled Inputs
One of the biggest risks with a shared Google Sheet is "messy" data. For example, one person might write "Morning," while another writes "9:00 AM." You can prevent this by using dropdown menus.
- Highlight the column where you want users to select a time or role.
- Go to Insert > Dropdown.
- In the "Data validation rules" panel on the right, list your options (e.g., Shift A, Shift B, Shift C).
- Click Done. Now, users must select from your predefined list, keeping your data clean.
Step 4: Protecting Critical Areas
To prevent users from accidentally deleting your instructions or headers, you can protect specific ranges:
- Select the header row or any instruction cells.
- Right-click and select View more cell actions > Protect range.
- Set permissions so that only you (the owner) can edit those specific cells.
Step 5: Sharing the Sheet
Click the Share button in the top right corner. By default, files are "Restricted." To allow people to sign up, you must change this:
- Under "General access," change "Restricted" to "Anyone with the link."
- Change the role from "Viewer" to "Editor."
- Copy the link and distribute it via email or social media.

Method 2: Creating a Sign-Up Sheet with Google Forms
If you prefer a clean interface where users only see the questions they need to answer, Google Forms is the superior choice.
Step 1: Build the Form
Go to Google Forms and select a blank form. Title the form and add a brief description explaining the purpose of the sign-up.
Step 2: Add Your Questions
Click the + icon to add various question types:
- Short Answer: Use this for Name and Phone Number.
- Email: Enable "Limit to 1 response" in settings and collect email addresses automatically to ensure accountability.
- Multiple Choice or Checkboxes: Use these for selecting shifts or tasks.
- Drop-down: Useful if you have a long list of options (like 20 different time slots).
Step 3: Managing Slot Limits (The "Choice Eliminator" Workaround)
Standard Google Forms do not automatically "remove" an option once it has been selected a certain number of times. As of 2026, if you are managing a sign-up with limited capacity (e.g., only 5 people can sign up for the 10:00 AM slot), you have two options:
- Manual Monitoring: Check the responses frequently and manually remove options from the form as they fill up.
- Add-ons: Use a Google Workspace Marketplace add-on like "Choice Eliminator" or "Form Ranger." These tools can automatically hide a choice once it has reached a specific threshold of submissions.
Step 4: Connecting Responses to Google Sheets
The power of Google Forms lies in its ability to export data.
- Click the Responses tab at the top of the form editor.
- Click Link to Sheets.
- Select "Create a new spreadsheet." Google will now generate a spreadsheet that automatically updates every time someone submits the form. This allows you to sort, filter, and print your sign-up list without manual data entry.
Step 5: Finalizing Settings
Before sending the link, go to the Settings tab:
- Responses: Decide if you want to allow users to edit their response after submitting (highly recommended for sign-ups).
- Presentation: Customize the confirmation message to include details about the next steps (e.g., "Thanks for signing up! We will see you at 9:00 AM on Saturday.").
Method 3: Using Google Calendar Appointment Schedules
For 1-on-1 meetings or specific time-blocked appointments (like office hours or photography sessions), the Appointment Schedules feature in Google Calendar is the most professional solution. This replaced the older "Appointment Slots" feature and offers a much smoother user interface.
- Open Google Calendar.
- Click the + Create button and select Appointment schedule.
- Set the duration of each slot (e.g., 30 minutes) and your general availability.
- Configure "Booking requirements" (such as how far in advance someone can book).
- Share the booking page link.
When someone selects a slot, it is automatically added to both your calendars, and that specific time becomes unavailable to others.
Comparison Table: Sheets vs. Forms vs. Calendar
| Feature | Google Sheets | Google Forms | Google Calendar |
|---|---|---|---|
| Primary Use | Transparent, open lists | Structured data collection | Time-slot bookings |
| User Privacy | Low (All can see all) | High (Private entries) | High (Private entries) |
| Ease of Setup | High (Instant) | Medium (Needs design) | Medium (Schedule-based) |
| Data Integrity | Vulnerable to edits | High (Standardized) | High (Automated) |
| Visual Capacity | Spreadsheet grid | Question/Answer list | Calendar view |
| Best For | Potlucks, Group Tasks | Large Events, Surveys | Interviews, Office Hours |
Essential Tips for Managing Your Sign-Up Sheet
1. Verification and Security
When using Google Sheets, you can see the Version History (File > Version history > See version history) to identify who made specific changes. This is vital if data is accidentally deleted. In 2026, Google has improved the granularity of these logs, making it easier to pinpoint specific cell edits.
2. Communication with Participants
Always include a contact person in the description of your sheet or form. If a participant needs to cancel at the last minute and the sheet is locked, they need a clear path to reach the organizer.
3. Mobile Optimization
Keep your column count low in Google Sheets if you expect people to sign up using their phones. A sheet with 15 columns is nearly impossible to navigate on a small screen. Stick to 4 or 5 essential columns.
4. Closing the Sign-Up
Once your event is full or the deadline has passed, remember to close the sign-up:
- In Sheets: Change sharing permissions back to "Viewer."
- In Forms: Toggle the "Accepting responses" switch to the OFF position.
Frequently Asked Questions
How do I limit the number of sign-ups on a Google Sheet?
Google Sheets does not have a native "auto-lock" feature for when a specific number of rows are filled. To limit sign-ups, you must either monitor the sheet manually and change the sharing permissions to "Viewer" once the limit is reached, or use a Google Apps Script to programmatically disable editing after a certain row index is populated.
Can I see who edited my Google sign-up sheet?
Yes, if the users are signed into a Google account, their names will appear in the Version History. If you shared the link with "Anyone with the link" and they are not signed in, they will appear as "Anonymous Animals" (e.g., Anonymous Cheetah). For better tracking, it is recommended to require users to sign in or use a Google Form which captures their email address.
Is there a template for a Google sign-up sheet?
Yes, Google Sheets offers a "Template Gallery" accessible from the main Sheets home screen. Look for the "Project Management" or "Office" categories. While there isn't always a specific "Sign-Up Sheet" template, the "Attendance" or "Schedule" templates can be easily adapted by changing the column headers.
How do I prevent people from deleting other people's names in Sheets?
The most effective way is to use Google Forms instead, as users cannot see or edit other submissions. If you must use Sheets, you can use the "Protected Sheets and Ranges" feature, but this is difficult to manage if you want everyone to be able to edit their own line but not others. For high-stakes sign-ups, Google Forms is always the safer choice.
Does a Google sign-up sheet work for people without a Google account?
If you set the sharing permissions to "Anyone with the link can edit" (for Sheets) or "Anyone can respond" (for Forms), users do not need a Google account to participate. However, you will not be able to track their identity automatically through Google's system; you must rely on the information they type into the fields.
Final Recommendations
To ensure your sign-up process is successful, always test your sheet or form before sending it out to a large group. Open the link in an "Incognito" or "Private" browser window to see exactly what your participants will see. This helps you catch permission errors or formatting issues before they cause confusion.
For most casual events, a formatted Google Sheet with dropdown menus is the most efficient choice. For professional events where data privacy is a priority, choose Google Forms. If you are managing a complex schedule of individual appointments, Google Calendar Appointment Schedules will save you the most time by automating the booking process and preventing double-bookings.
Image Gallery
Select an image to open it in a new tab.



Zara El-Hashem
Sociocultural Dynamics and Academics Writer
