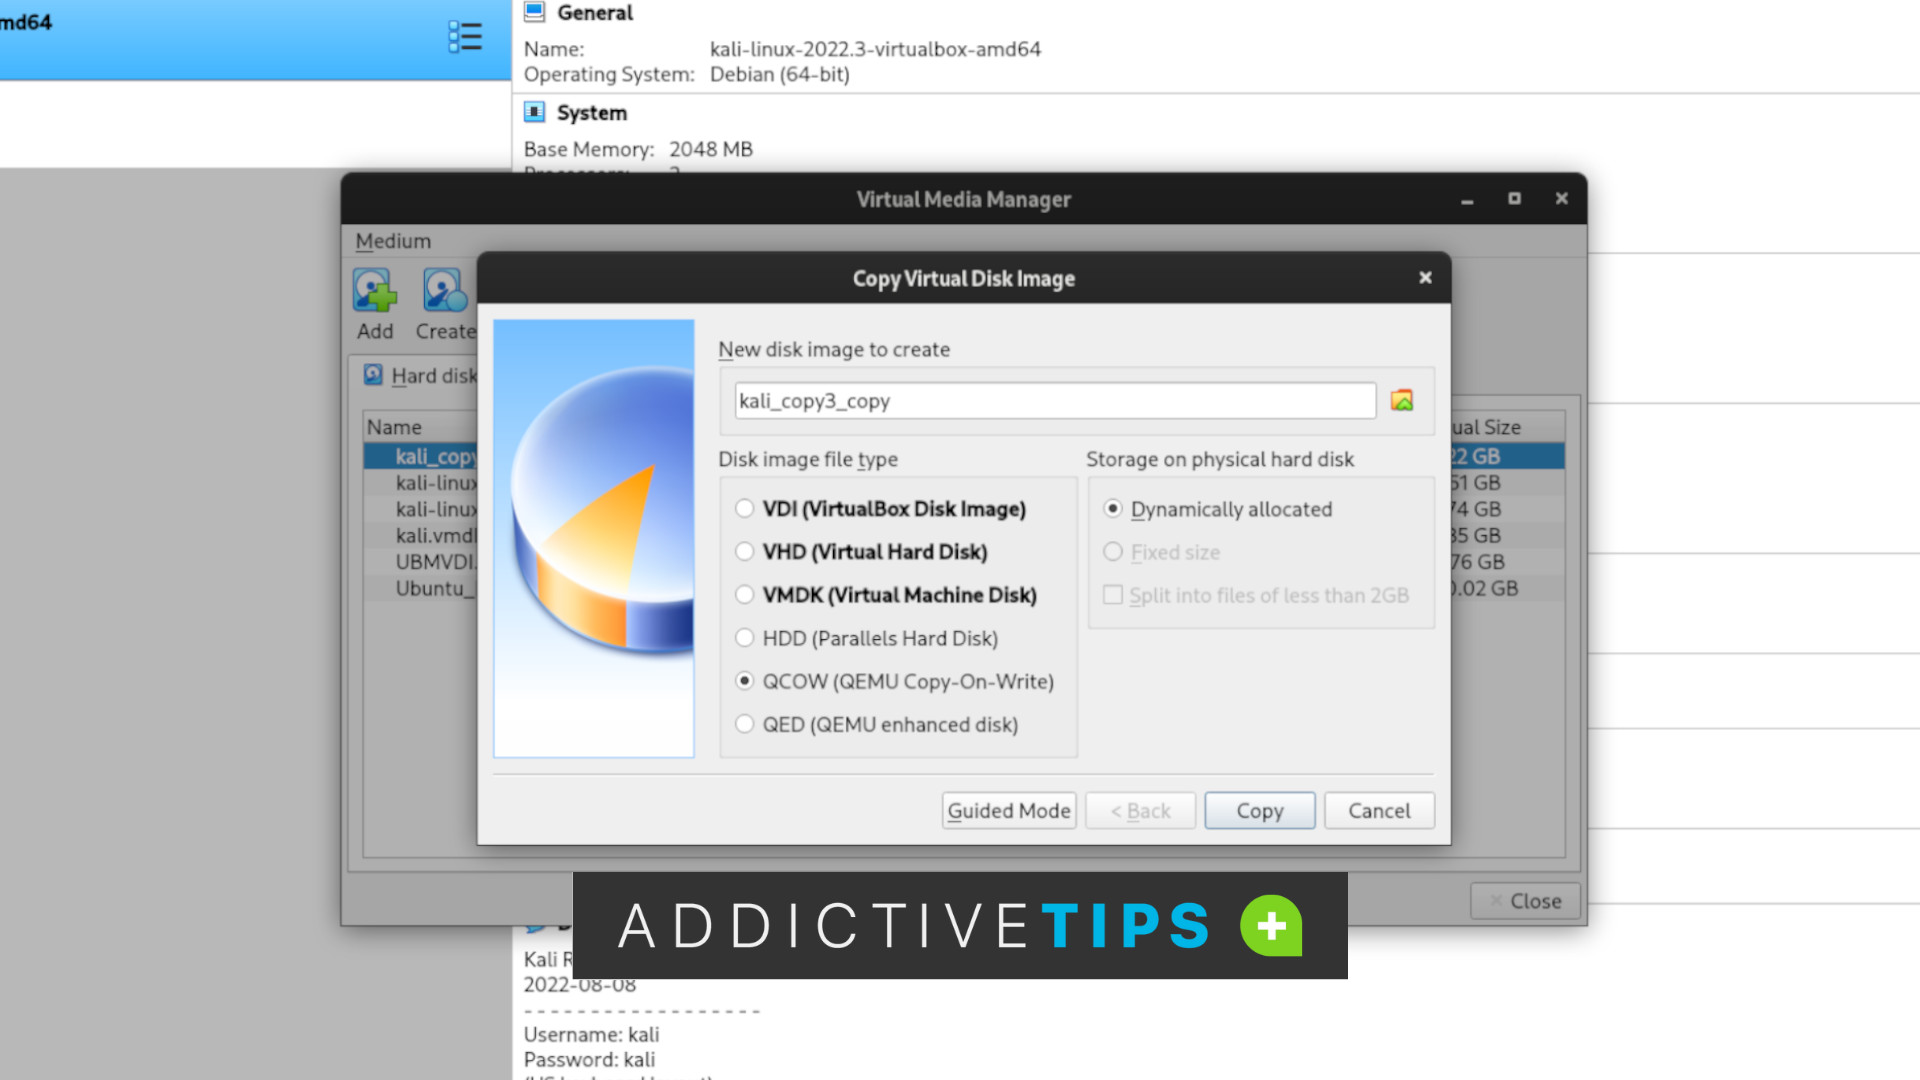
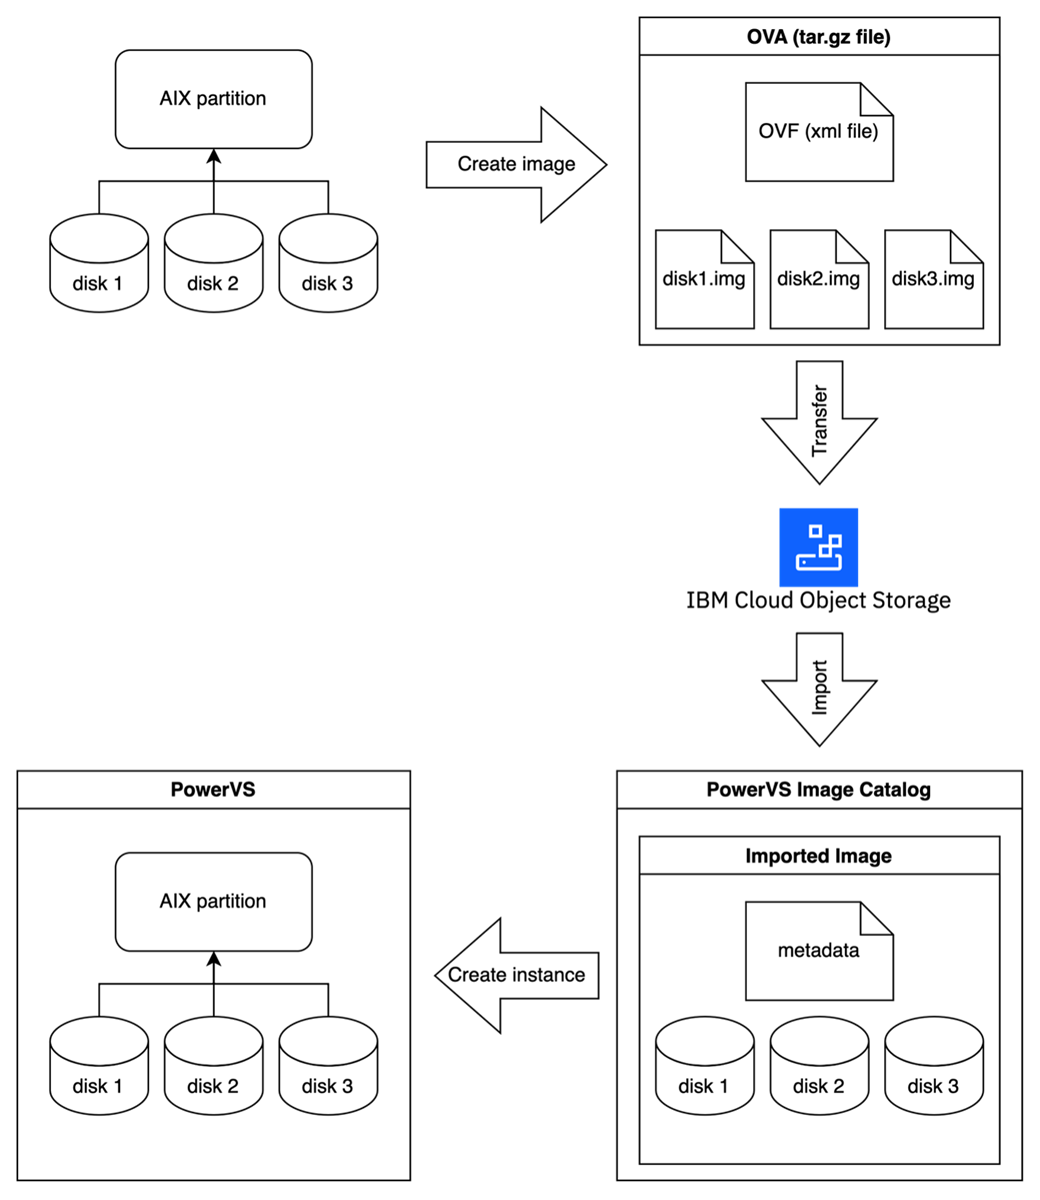
Converting an Open Virtual Appliance (OVA) file to a Virtual Hard Disk (VHD) format is a critical task for administrators and DevOps engineers transitioning workloads from hypervisors like VMware ESXi or Oracle VirtualBox to environments that natively utilize Microsoft-based virtualization formats, such as Hyper-V or Azure. An OVA file is essentially a compressed archive (a tarball) that encapsulates the OVF (Open Virtualization Format) descriptor, disk images (usually in VMDK format), and manifest files. To make these workloads functional in a VHD-based environment, you must extract the virtual disk and transform its underlying binary structure.
Understanding the Architectural Shift
The transition from an OVA-packaged virtual machine (VM) to a VHD-based VM involves more than a simple file rename; it requires a structural reconfiguration of the virtual disk. VMware-based environments primarily use the Virtual Machine Disk (VMDK) format, which handles disk geometry, snapshot metadata, and data blocks differently than the VHD or VHDX formats required by Microsoft Hyper-V.
When you migrate a VM, the conversion process performs two main tasks:
- Extraction: It unwraps the OVA archive to retrieve the raw data stored within the VMDK files.
- Transcoding: It translates the disk blocks from the source format to the target VHD format, ensuring the partition tables and boot records remain compatible with the destination hypervisor.
Failure to properly account for these differences—such as neglecting to remove guest additions from the original hypervisor or failing to adjust the controller type—often results in "boot device not found" errors or kernel panics during the first boot in the target environment.
Prerequisites for Successful Conversion
Before initiating the conversion, ensure you have the necessary environment setup to perform the disk transformation safely.
1. Preparation of the Guest Operating System
Before exporting the OVA from the source hypervisor, take the following steps:
- Uninstall Guest Tools: Remove VMware Tools or VirtualBox Guest Additions. These drivers are specific to the source hardware and can cause system instability or performance issues if left in the guest OS after migration.
- Disk Consolidation: If the source VM has active snapshots, ensure they are merged or deleted. A VM with fragmented snapshot files will often fail to export correctly as a single OVA or will cause the conversion tool to hang.
- Network Configuration: Reset the network configuration to DHCP. Static IP addresses tied to the original hypervisor’s virtual network interface cards (vNICs) will likely fail to connect in the new virtual network.
2. Selection of Conversion Tools
The industry standard for this conversion is qemu-img, a robust utility included in the QEMU suite, or specialized conversion tools like the Microsoft Virtual Machine Converter (MVMC), though the latter has been officially deprecated. For most enterprise use cases in 2026, qemu-img remains the most reliable cross-platform method for performing the disk-level conversion.

Step-by-Step Conversion Workflow
Step 1: Extracting the OVA Archive
Since an OVA file is a TAR archive, you can extract it using common utilities. On Linux or Windows (using WSL or 7-Zip), run the extraction command:
tar -xvf your_virtual_machine.ova
This will yield an OVF file, a manifest (.mf) file, and one or more VMDK files. The VMDK file is the target for the conversion.
Step 2: Converting VMDK to VHD
Once you have the VMDK file, open your terminal or command prompt in the directory containing the file. Execute the conversion using the following command structure:
qemu-img convert -f vmdk -O vpc your_source_disk.vmdk your_destination_disk.vhd
- -f vmdk: Specifies the source format.
- -O vpc: Specifies the output format for a VHD (VPC stands for Virtual PC, which is the historical basis for the VHD format).
- -o subformat=fixed: Optional. If you are migrating to a server environment that requires high performance or fixed-size disks, append this flag to prevent the VHD from being dynamically expanding.
Step 3: Verifying the Disk Integrity
After the conversion, it is prudent to check the output file. You can inspect the metadata of the newly created VHD file using:
qemu-img info your_destination_disk.vhd
This command confirms the virtual size, format, and physical size, ensuring the conversion process completed without truncation.
Comparison of Virtual Disk Formats
Choosing the right target format depends on your intended infrastructure. Hyper-V supports both VHD and VHDX, but legacy systems may require specific formats.
| Format | Compatibility | Max Size | Use Case |
|---|---|---|---|
| VHD | Legacy Hyper-V, Azure | 2 TB | Older servers, migration to older hosts |
| VHDX | Modern Hyper-V (Windows Server 2012+) | 64 TB | Current production environments |
| VMDK | VMware, VirtualBox | Varies | Source material (non-target) |
Note that while VHD is compatible with Azure, modern Azure virtual machine images are frequently transitioned to VHDX to take advantage of improved corruption resistance and performance features.
Addressing Common Migration Challenges
Driver Incompatibilities
The most common point of failure when migrating an OVA to VHD is the lack of proper storage drivers in the guest OS. When you boot the VM in Hyper-V, it attempts to load drivers for the virtual IDE or SCSI controller. If the guest OS does not have the "Hyper-V Integration Services" installed or enabled in the registry, the VM will boot into a blue screen or a loop. Before conversion, ensure that the guest OS has the necessary mass storage drivers (typically storvsc for Hyper-V) enabled.
EFI vs. BIOS Booting
Legacy VMs often use BIOS (Master Boot Record) for booting, while modern virtual appliances are increasingly packaged with EFI (Extensible Firmware Interface). When creating your new virtual machine container in Hyper-V, you must match the firmware type. If you import a disk that was originally partitioned for BIOS into a Generation 2 (EFI) Hyper-V VM, the system will not recognize the bootable partition.
Disk Alignment Issues
During the conversion, if the sector alignment of the VMDK does not align with the VHD standard, you may encounter significant performance degradation. This is particularly relevant when converting older virtual machines where disk sectors were aligned on 63-sector boundaries. While modern versions of qemu-img handle this transition gracefully, monitoring the disk I/O latency after the first successful boot is a best practice.
Troubleshooting FAQ
Why does my converted VHD fail to boot in Hyper-V? The most frequent cause is a boot partition mismatch. If the original OVA used BIOS/MBR, ensure the target Hyper-V VM is configured as a "Generation 1" machine. If it uses UEFI/GPT, it must be a "Generation 2" machine. Additionally, verify that the SCSI controller is configured correctly.
Can I convert an OVA directly to a VHDX file?
Yes. You can modify the qemu-img command to output VHDX by using the -O vhdx flag. This is recommended for all modern Windows Server 2016 and newer deployments due to its support for larger disk sizes and better resiliency against power failures.
Do I need to resize the disk after conversion?
Often, the conversion process preserves the exact byte-for-byte size of the original VMDK. If your new environment requires more space, you can expand the VHD file using the Resize-VHD PowerShell cmdlet after the conversion is complete, then expand the volume within the guest OS partition manager.
Are there automated tools for this migration?
While manual conversion via qemu-img offers the most control, for large-scale migrations, consider using the Azure Migrate appliance if your target destination is the cloud. If you are migrating to on-premises Hyper-V, System Center Virtual Machine Manager (SCVMM) contains native conversion tools that automate the OVF extraction and disk transformation.
Does this process preserve my VM’s data? Yes. The conversion tool treats the disk as a block device. As long as the file system is consistent at the time of the OVA export, the data will remain intact. However, always ensure you have a separate backup of the original OVA file before modifying it.
Conclusion and Recommended Actions
Migrating a VM from an OVA-based environment to a VHD-based environment is a repeatable, straightforward technical task when the underlying architecture is understood. By preparing the guest operating system before export and using reliable tools like qemu-img to handle the block-level transcoding, you can ensure a successful transition.
If you are performing this for a production environment, start by identifying the firmware requirements (BIOS vs. UEFI) of the source OVA. Create a sandbox environment in your Hyper-V host and conduct a "dry run" conversion of a non-critical VM to verify that your drivers and network configurations are compatible. Once the procedure is validated against your specific guest OS version, you can move forward with high-value production workloads with confidence.
Image Gallery
Select an image to open it in a new tab.
Mateo Castillo
Decentralized Finance and E-Payments Strategist
