Comprehensive Guide to Installing and Optimizing Solar Panels for Arlo Pro Cameras

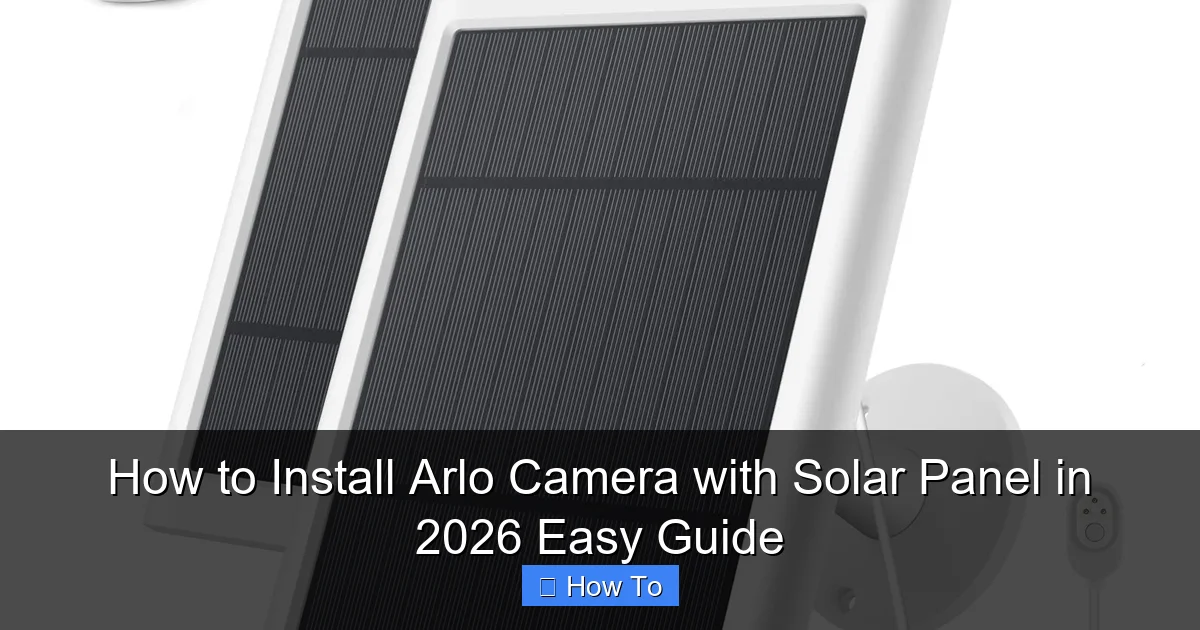
Installing a solar panel with an Arlo Pro camera involves mounting the solar unit in a high-sunlight location, connecting the specialized weatherproof cable to the camera’s charging port, and ensuring the internal battery is inserted. This setup provides a continuous "trickle charge," effectively eliminating the need to manually remove and recharge batteries.
For years, the Arlo Pro series has remained a benchmark for DIY wireless security. However, the convenience of a wire-free system often comes with the chore of battery maintenance. By 2026, solar integration has become the standard for most outdoor security setups, allowing homeowners to achieve true "set and forget" functionality. Whether you are using the classic Arlo Pro, the Pro 2, or the more advanced Pro 3, Pro 4, and Pro 5S models, understanding the nuances of solar installation is critical for maintaining consistent uptime and protecting your property.
Understanding Compatibility Across the Arlo Pro Lineup
Before purchasing or installing a solar panel, it is essential to distinguish between the various generations of Arlo Pro cameras. Arlo has updated its charging port designs significantly over the years, and using an incompatible solar panel can lead to poor weather sealing or a complete failure to charge.
The Micro-USB Era: Arlo Pro and Pro 2
The original Arlo Pro and Arlo Pro 2 cameras utilize a standard micro-USB port located behind a rubber flap on the back of the device. For these models, you require the VMA4600 Solar Panel. This panel features a micro-USB connector with a specialized rectangular housing designed to create a water-tight seal when plugged into the camera. Using a generic micro-USB cable without this housing exposes the camera to moisture, which can lead to short circuits and permanent hardware damage.
The Magnetic Charging Era: Arlo Pro 3, Pro 4, and Pro 5S
Starting with the Arlo Pro 3, the company transitioned to a proprietary magnetic charging system. These cameras do not have a port hidden behind a flap; instead, the charger snaps onto the bottom of the camera housing. For these models, including the Pro 4 and the latest Pro 5S, the VMA5600 Solar Panel is the required official accessory. This panel provides a higher wattage output to support the increased power demands of 2K video resolution and integrated spotlights.
Third-Party vs. OEM Panels
By 2026, many third-party manufacturers offer solar panels for the Arlo Pro series. While often more affordable, these panels must be vetted carefully. Ensure any third-party panel explicitly supports the voltage requirements of your specific Arlo model (typically 5V to 6V DC) and features the correct weather-resistant connector. Cheap alternatives often lack the necessary wattage to keep up with high-traffic areas, resulting in a battery that drains faster than it charges.
Pre-Installation Requirements and Site Selection
The success of your solar-powered security system depends almost entirely on the placement of the solar panel. A panel installed in a shaded area is little more than an expensive wall decoration.
The "Solar Noon" Rule
To maximize energy harvest, your solar panel should receive at least 3 to 4 hours of direct sunlight per day. In the Northern Hemisphere, solar panels should ideally face true South. In the Southern Hemisphere, they should face true North. Use a compass or a smartphone app to determine the orientation of your mounting surface.
Consider the "Solar Noon" effect—the point when the sun is highest in the sky. If your panel is shaded by roof eaves, chimneys, or trees during this peak period, its efficiency will drop by more than 70%. Even partial shading on a single corner of a solar cell can significantly bottleneck the power output of the entire panel.
Calculating the Tilt Angle
The angle of the panel is just as important as the direction. As a general rule, the tilt should match your latitude. For example, if you live in a mid-latitude region (around 35–45 degrees), your panel should be tilted at roughly that same angle from the horizon. This ensures the sun's rays hit the panel as perpendicularly as possible. In 2026, most Arlo-compatible mounts include a 360-degree swivel and 90-degree tilt mechanism to facilitate this precise adjustment.

Step-by-Step Installation Guide
Once you have selected the optimal location and verified your hardware compatibility, follow these steps to install the solar panel with your Arlo Pro camera.
Step 1: Mount the Solar Bracket
Position the mounting bracket against the wall or roof eave. Mark the screw holes with a pencil. If you are mounting on brick or stone, you will need a masonry drill bit and the provided wall anchors. Secure the bracket firmly; solar panels have a "sail effect" and can be caught by high winds if not properly anchored.
Step 2: Attach the Panel
Screw the solar panel onto the threaded post of the mounting bracket. Do not tighten it completely yet, as you will need to make final adjustments to the angle once the system is live.
Step 3: Route and Connect the Cable
Run the cable from the solar panel to your Arlo Pro camera. Use cable clips (often included) to secure the wire against the wall. This prevents the cable from flapping in the wind, which can wear down the connector or pull the camera out of alignment.
- For Pro/Pro 2: Carefully insert the micro-USB connector into the back of the camera. Ensure the rubber gasket is seated firmly to prevent water ingress.
- For Pro 3/4/5S: Snap the magnetic connector onto the bottom of the camera. You should feel a firm click.
Step 4: Verification via the Arlo App
Open the Arlo Secure app on your mobile device. Navigate to the settings for the specific camera. Look for a lightning bolt icon inside the battery meter. This indicates that the camera recognizes the solar panel and is receiving a charge. If you see a "Solar charging" status message, the connection is successful.
Step 5: Final Calibration
Once the app confirms a connection, return to the solar panel and perform a final tilt adjustment. Check the app's battery percentage over the next few hours of daylight to ensure the charge is increasing or at least remaining stable during active use.
Comparative Specifications: Solar Panel Options
| Feature | Arlo VMA4600 (Legacy) | Arlo VMA5600 (Standard) | Arlo XL Solar Panel | Typical Third-Party |
|---|---|---|---|---|
| Compatibility | Pro, Pro 2, Go | Pro 3, 4, 5S, Ultra | Pro 3/4/5S XL Models | Varies by Model |
| Connector | Micro-USB | Magnetic | Magnetic | Micro-USB or Magnetic |
| Cable Length | 6 Feet | 8 Feet | 13 Feet | 10–15 Feet |
| Weather Rating | IP65 | IP65 | IP65 | Varies (often IP64) |
| Output Wattage | ~2W | ~3.5W | ~4.5W | 2W – 5W |
Optimizing Solar Efficiency in Different Climates
Climate plays a massive role in how well your solar panel maintains your Arlo Pro camera. Cold weather, in particular, presents unique challenges for lithium-ion batteries.
Temperature Limitations
Most Arlo cameras are designed to stop charging if the internal battery temperature drops below 32°F (0°C). This is a safety feature intended to prevent "lithium plating," which can permanently destroy the battery. In very cold climates, your solar panel may be in full sun, but the app will show "not charging" because the battery is too cold. In these instances, the solar panel will simply wait until the temperature rises before resuming the charge.
Seasonal Adjustments
The sun’s path across the sky changes between summer and winter. In the winter, the sun stays lower on the horizon. To maintain peak efficiency, you may need to increase the tilt of your solar panel during the winter months (tilting it further "up" towards the horizon) and flatten it during the summer.
Keeping it Clean
Dust, pollen, bird droppings, and snow can drastically reduce the amount of light reaching the photovoltaic cells. Periodically wipe the surface of the panel with a damp, soft cloth. Avoid using harsh chemicals or abrasive scrubbers, as scratches on the surface can scatter sunlight and reduce output.
Troubleshooting Common Solar Charging Issues
Even with a perfect installation, you may encounter issues where the camera fails to charge.
"Compatible Charger Required" Error
This is a common error when using third-party cables or panels. Arlo cameras perform a "handshake" with the charging source to verify it meets safety standards. If the voltage is unstable or the cable resistance is too high, the camera will reject the charge. To fix this, ensure you are using the original cable provided with the solar panel and that all connections are free of debris.
Battery Draining Faster Than Charging
A solar panel provides a trickle charge, not a high-speed fast charge. If your camera is in a high-traffic area (e.g., a busy sidewalk) and triggers dozens of recordings a day, it may consume more power than the panel can provide. To resolve this:
- Adjust Sensitivity: Lower the motion detection sensitivity in the app.
- Activity Zones: Define specific areas for the camera to monitor, ignoring background traffic.
- Optimize Power Settings: Set the camera to "Optimized" or "Best Battery Life" mode.
The Camera Shows "Charging" but the Percentage Drops
This occurs when the solar panel is providing some power, but not enough to offset the current usage. This is often seen in overcast weather or when the panel is partially obstructed. Verify that there has been no new growth in nearby foliage that might be casting a shadow.
Safety and Privacy Considerations
When installing your camera and solar panel, it is important to adhere to local regulations and safety best practices.
- Electrical Safety: While the voltage from a small solar panel is not dangerous to humans, avoid installing during thunderstorms or near high-voltage power lines.
- Privacy Laws: Ensure that as you adjust your camera to accommodate the solar panel's location, you are not inadvertently filming neighbors' private spaces (such as windows or backyards). In many jurisdictions, security cameras must be directed only at your own property or public thoroughfares.
- Mounting Security: Ensure the solar panel cable is not easily accessible to intruders. An intruder could potentially unplug the solar panel, hoping to eventually drain the camera's battery. Use cable conduits or tuck the wire behind siding where possible.
Frequently Asked Questions
Does the Arlo Pro solar panel work in the shade?
No, solar panels require direct sunlight to generate sufficient voltage to charge the Arlo Pro batteries. While they may generate a negligible amount of power in ambient light or heavy shade, it will not be enough to increase the battery percentage or maintain a charge during active camera use.
Can I use one solar panel for two Arlo Pro cameras?
Generally, no. Official Arlo solar panels are designed for a 1:1 ratio. Each panel comes with a single fixed cable. While there are third-party splitters and high-wattage panels available, they often fail to provide the consistent voltage required by Arlo's proprietary charging firmware, which can lead to "charging paused" errors.
Should I remove the battery when using a solar panel?
No, the battery must remain inside the Arlo Pro camera. The solar panel is not a direct power supply; it is a charger for the battery. The camera draws peak power from the battery during recording and transmission, while the solar panel replenishes that battery during daylight hours.
How long does the Arlo solar panel last?
Most high-quality photovoltaic panels, including Arlo's OEM models, are rated for a lifespan of 10 to 15 years. However, the cables and connectors may wear out sooner due to UV exposure and weather. Regular inspection of the cable jacket for cracks or brittleness is recommended.
Will the solar panel charge the camera on a cloudy day?
A solar panel can still produce some electricity on a cloudy day, but the output is significantly reduced—often to 10% or 25% of its full-sun capacity. If you have several consecutive days of heavy cloud cover, your battery level may drop, but it should recover once the sun returns.
Final Recommendation for 2026
For the best experience with an Arlo Pro system, we recommend using the official Arlo Solar Panel (VMA5600 for Pro 3/4/5S). While the initial investment is higher than generic alternatives, the integrated weather sealing and guaranteed firmware compatibility prevent long-term maintenance headaches. To ensure maximum uptime, prioritize a South-facing mounting location with zero obstructions between 10:00 AM and 2:00 PM. If your camera is located in an exceptionally high-traffic area, consider the Arlo XL battery housing in conjunction with the solar panel to provide a larger energy reservoir for periods of low sunlight.
Image Gallery
Select an image to open it in a new tab.


Vivian Cho
Executive IT and Emerging Technologies Reporter
