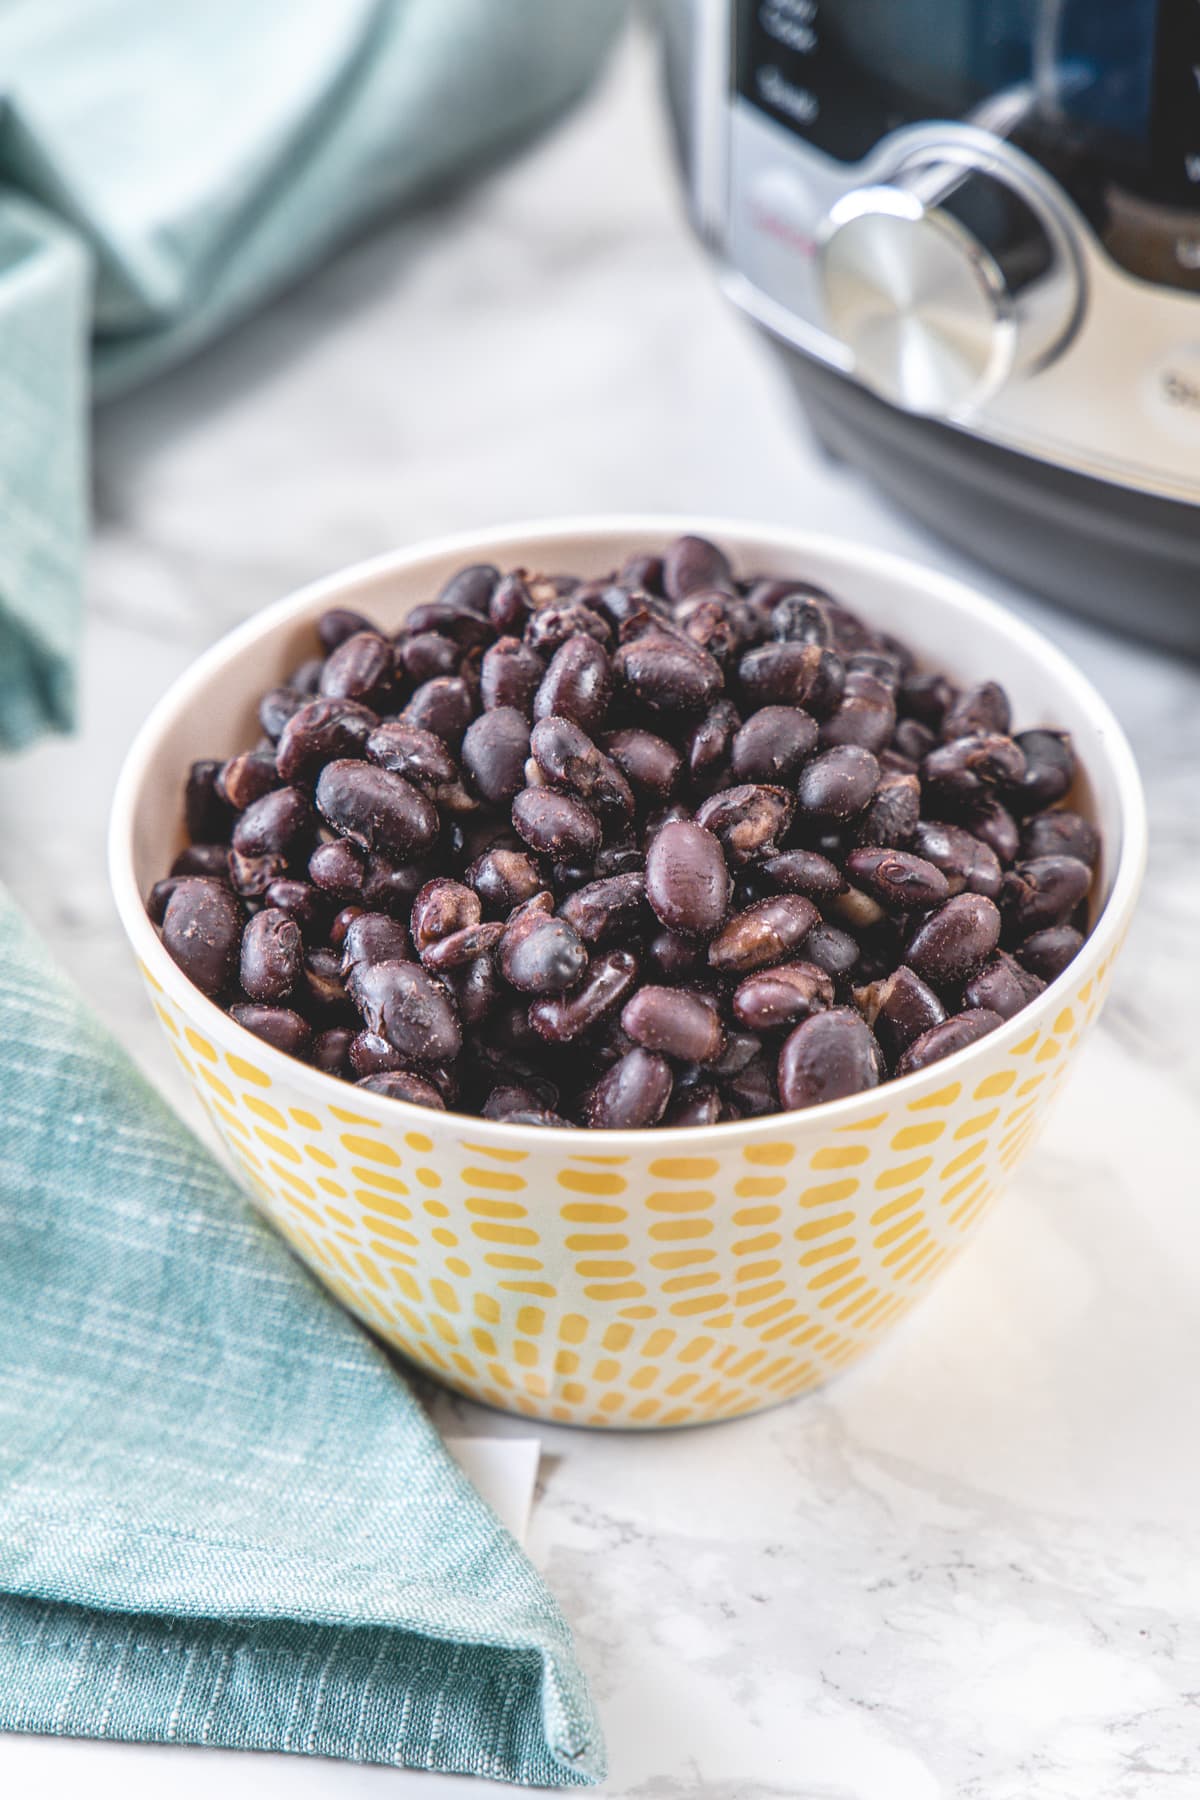
Mastering how to cook black beans in the kitchen transforms a humble pantry staple into a deeply flavorful, versatile foundation for countless meals. Whether starting with dried beans or maximizing canned varieties, achieving the ideal tender texture and savory profile requires understanding hydration, heat management, and seasoning science.
To cook dry black beans effectively in your kitchen, rinse and sort the beans, optionally soak them to reduce cooking time, and simmer them in water or broth with aromatics like garlic and onions for 60 to 90 minutes until tender. Canned black beans require only a thorough rinse and 5 to 10 minutes of gentle stovetop warming with your choice of spices.
Understanding Black Beans: Varieties, Quality, and Selection
Black beans (Phaseolus vulgaris), often called turtle beans due to their hard, shiny, dark shell, are a cornerstone of Latin American, Caribbean, and Cajun cuisines. Before any cooking begins, evaluating the quality of your ingredients dictates the final outcome. Selecting dry beans versus canned beans changes your preparation timeline, flavor control, and economic value.
When purchasing dry black beans, inspect the bin or package for uniformity in size and color. Avoid beans that appear shriveled, cracked, or excessively dusty, as these indicate age and improper storage. Older dry beans lose their internal moisture, requiring significantly longer cooking times and often resulting in unevenly cooked batches where some beans remain hard while others burst.
Dry Beans vs. Canned Beans
| Feature | Dry Black Beans | Canned Black Beans |
|---|---|---|
| Preparation Time | 4–12 hours soaking + 60–90 minutes cooking | 5–10 minutes rinsing and warming |
| Sodium Control | Completely customizable (zero sodium added) | High unless explicitly labeled "low sodium" or "no salt added" |
| Cost | Highly economical, shelf-stable for years | Moderately priced, highly convenient |
| Flavor Profile | Deeply absorbs cooking liquid and aromatics | Pre-seasoned with salt and sometimes firming agents |
Essential Kitchen Equipment and Preparation Prerequisite
Preparing black beans successfully does not require specialized commercial appliances, but having the right standard kitchen tools ensures safety, efficiency, and superior culinary results.
Required Tools
- Colander or Fine-Mesh Strainer: Essential for rinsing and draining beans.
- Heavy-Bottomed Pot or Dutch Oven: Distributes heat evenly, preventing scorching at the bottom of the pot during long simmers. A 4-to-6-quart pot is ideal for one pound of dry beans.
- Measuring Cups and Spoons: For accurate scaling of water, salt, and spices.
- Wooden Spoon or Silicone Spatula: For gentle stirring that minimizes broken bean skins.
The Sorting and Cleaning Ritual
Regardless of whether you purchase organic bulk dry beans or pre-packaged varieties, physical debris frequently makes its way into the harvest. Spread your dry beans across a light-colored baking sheet or large plate. Carefully comb through them with your fingers to remove:
- Small stones or pebbles that could damage teeth or cookware.
- Dirt clumps or agricultural debris.
- Shriveled, broken, or insect-damaged beans that will not cook at the same rate as healthy specimens.
Once sorted, transfer the beans to your colander and rinse them thoroughly under cold running water to eliminate surface dust and residual field matter.
Soaking Strategies: To Soak or Not to Soak?
The debate over whether to soak dry beans before cooking is a central topic in home economics and culinary science. Soaking is not strictly mandatory, but it alters both cooking dynamics and digestive comfort.
The Traditional Long Soak
Cover the sorted and rinsed beans with cold water, ensuring the liquid sits at least two inches above the beans. Allow them to sit at room temperature for 8 to 12 hours, or overnight.
- Advantages: Shortens active stovetop cooking time by roughly 30 to 50 percent, promotes even internal hydration, and helps break down complex oligosaccharides—sugars responsible for gastrointestinal gas.
- Disadvantages: Requires advance planning and discards some water-soluble nutrients if the soaking water is thrown away.
The Hot-Soak Method (Quick Soak)
For those who forgot to soak beans overnight, the hot-soak method provides a reliable alternative. Place sorted beans in your cooking pot, cover with water by two inches, bring the pot to a rapid boil for two minutes, then remove it from the heat. Cover tightly and let the pot stand undisturbed for 1 hour. Drain and rinse the beans before proceeding with fresh cooking liquid.
Unsoaked Cooking
You can cook dry black beans directly without any prior soaking.
- Advantages: Maximum convenience and richer flavor retention, as the beans absorb all initial cooking liquids and starches.
- Disadvantages: Cooking time increases significantly (often taking 90 to 120 minutes), and temperature fluctuations can cause bean skins to split prematurely.
Step-by-Step Stovetop Cooking Instructions
Cooking black beans from scratch on the stovetop allows you to build layers of flavor that canned alternatives cannot match. Follow this methodical workflow for optimal tenderness and rich broth consistency.
[Sort & Rinse] ➔ [Soak (Optional)] ➔ [Simmer with Aromatics] ➔ [Season with Salt] ➔ [Test for Doneness]
Step 1: Combine and Cover
Place 1 pound (approximately 2 cups) of sorted, rinsed, and drained dry black beans into your heavy-bottomed pot. Add 6 to 8 cups of fresh water or low-sodium chicken/vegetable broth. The liquid should rise roughly 2 to 3 inches above the top of the beans.
Step 2: Add Initial Aromatics
While the beans can be cooked in plain water, infusing the cooking liquid creates superior flavor. Add:
- 1 medium yellow onion, peeled and cut in half.
- 3 to 4 smashed cloves of garlic.
- 1 bay leaf.
- 1 tablespoon of neutral cooking oil or olive oil (helps reduce foaming).
Note: Do not add acidic ingredients like tomatoes, citrus juice, or vinegar at this stage. Acid hardens pectin in the bean cell walls, making it nearly impossible for the beans to soften properly.
Step 3: Simmer to Tender Perfection
Place the pot over medium-high heat until the liquid reaches a rolling boil. Reduce the heat immediately to low, partially cover the pot with a lid to allow steam to escape, and let the mixture maintain a gentle simmer. Check the pot periodically every 20 minutes, adding a splash of warm water if the liquid level drops below the top of the beans.
Step 4: Timing and Salt Integration
Simmer the beans for 60 to 90 minutes (if soaked) or 90 to 120 minutes (if unsoaked).
A common culinary myth suggests that adding salt early toughens beans. Modern culinary tests demonstrate that adding salt during the cooking process actually seasons the interior of the bean more effectively and strengthens their structural integrity so they do not burst open. Once the beans are halfway tender (roughly 45 minutes into simmering), stir in 1 to 1.5 teaspoons of fine sea salt.
Step 5: Verification and Resting
Test doneness by pressing a bean against the side of the pot with a fork or tasting one. A properly cooked black bean should yield instantly with a creamy, uniform texture throughout, offering no chalky or crunchy resistance in the center. Once done, remove from heat, discard the onion halves and bay leaf, and let the beans rest in their pot liquor for 15 minutes to plump up.
Working with Canned Black Beans
When time is constrained, canned black beans offer a reliable, rapid solution. However, opening a can and dumping the contents directly into a dish often yields a metallic aftertaste and excess sodium overload.
The Rinsing Protocol
Pour canned beans into a fine-mesh colander and rinse them thoroughly under cold running water until the foaming, starchy canning liquid disappears entirely. This removes excess sodium and any canning preservatives.
Enhancing Flavor Quickly
Because canned beans are already fully cooked, they only require gentle heating. To elevate canned black beans:
- Sauté finely diced onions, bell peppers, and minced garlic in olive oil over medium heat for 4 minutes.
- Add the rinsed canned beans, along with 1/4 cup of water, vegetable broth, or salsa.
- Stir in ground cumin, dried oregano, black pepper, and a pinch of smoked paprika.
- Simmer uncovered for 5 to 7 minutes until the liquid reduces into a thick, glossy sauce.
Seasoning Profiles and Flavor Variations
Black beans possess an earthy, neutral canvas that readily absorbs spices and aromatics. Tailoring the seasoning profile allows you to align your beans with specific culinary traditions.
Traditional Cuban-Style (Frijoles Negros)
- Aromatics: Sofrito base of green bell pepper, onion, and garlic sautéed in olive oil or lard.
- Spices: Ground cumin, dried oregano, and a pinch of cayenne pepper.
- Finishing Touch: A splash of red wine vinegar or lime juice stirred in right before serving to brighten the earthy flavors.
Mexican-Style Refried or Whole Beans
- Aromatics: White onion, fresh jalapeño or serrano pepper left whole, and epazote (a traditional herb used to aid bean digestion).
- Spices: Mexican oregano and ground cumin.
- Finishing Touch: Fresh cilantro leaves stirred in off the heat.
Common Cooking Mistakes and Troubleshooting
Even experienced home cooks occasionally encounter challenges when preparing black beans. Recognizing these pitfalls prevents culinary frustration.
1. Beans Remain Hard After Two Hours
- Cause: Old dry beans that have lost all internal moisture, or cooking them in hard water containing high concentrations of calcium and magnesium.
- Solution: If the beans refuse to soften after extended cooking, stir in a tiny pinch (1/4 teaspoon) of baking soda. Baking soda raises the alkalinity of the water, breaking down pectin rapidly. Caution: Use sparingly, as excessive baking soda imparts a soapy taste.
2. The Skins Separate and Slough Off
- Cause: Cooking the beans at a violent, rolling boil instead of a gentle simmer, or stirring too aggressively with metal utensils.
- Solution: Maintain a bare simmer where only occasional bubbles break the surface, and use a wooden spoon or silicone spatula.
3. Bland, Watery Flavor
- Cause: Insufficient salt or failing to cook the beans with aromatics.
- Solution: Always salt the cooking water once the beans reach the halfway point of tenderness. Simmering the finished beans uncovered for 10 extra minutes allows excess liquid to evaporate and concentrates the starches.
Frequently Asked Questions
Can I cook dry black beans in a pressure cooker or Instant Pot?
Yes, pressure cooking is the fastest method for cooking dry black beans. Combine 1 pound of sorted and rinsed unsoaked beans with 6 cups of water, 1 tablespoon of oil, salt, and aromatics in the cooker. Cook on high pressure for 25 to 30 minutes, followed by a 15-minute natural pressure release. No prior soaking is required for pressure cooking.
Why do my black beans cause digestive discomfort?
Beans contain complex sugars called alpha-galactosaccharides that human digestive enzymes cannot break down in the upper GI tract. Fermentation by bacteria in the lower gut produces gas. Long soaking, discarding the soak water, cooking beans thoroughly, and adding carminative herbs like epazote, cumin, or fennel seeds help mitigate this effect.
Should I discard the soaking water?
Yes, it is best practice to discard the water used for soaking dry beans. The soaking water absorbs water-soluble gas-producing compounds and bitter surface starches released by the seed coats during hydration. Always use fresh water for the actual cooking process.
How long do cooked black beans last in the refrigerator?
Properly stored cooked black beans last for 4 to 5 days in an airtight container in the refrigerator. Ensure they have cooled completely to room temperature before sealing. You can also freeze cooked black beans in their cooking liquid for up to 6 months in freezer-safe containers or bags.
Can I freeze cooked black beans?
Freezing black beans is an excellent meal-prep strategy. Let the cooked beans cool completely in their pot liquor. Transfer them to freezer bags or rigid containers, leaving an inch of headspace for liquid expansion during freezing. Thaw overnight in the refrigerator before reheating on the stovetop.
Conclusion and Next Actions
Mastering how to cook black beans in the kitchen provides a reliable, cost-effective culinary foundation that elevates everyday cooking. By starting with quality dry beans, employing proper sorting and soaking techniques, and seasoning thoughtfully throughout the simmering process, you achieve restaurant-quality results at home. Begin your next batch by sorting a single pound of dry beans, setting up a gentle stovetop simmer, and experimenting with garlic, onions, and cumin to discover your preferred flavor profile.
Image Gallery
Select an image to open it in a new tab.
Akira Tanaka
International Academic Trends Correspondent
