
Installing a ductless mini-split is relatively easy because it eliminates the need for complex, invasive ductwork and high-level refrigerant handling. Many modern systems, specifically DIY-certified models, feature pre-charged line sets and quick-connect fittings, allowing homeowners to complete the physical and mechanical setup in a single afternoon using standard household tools.
Ductless mini-split systems have revolutionized residential climate control by bridging the gap between inefficient window units and prohibitively expensive central air conditioning. As of 2026, the market for DIY-friendly HVAC has matured significantly, with manufacturers refining the "easy-install" process to ensure both safety and operational efficiency. The perceived "ease" of installation is not merely marketing jargon; it is rooted in the fundamental engineering of how these systems transfer heat and how they are packaged for the end consumer.
The Absence of Ductwork: Removing the Primary Barrier
The most significant factor making a mini-split "easy" to install is the total absence of ductwork. In a traditional central air system, the installation of ducts is often the most labor-intensive and expensive part of the process. Installing ducts requires tearing into walls, navigating floor joists, and ensuring that every joint is sealed to prevent significant energy loss.
A mini-split bypasses this entire infrastructure. Instead of moving conditioned air through bulky 10-inch to 14-inch ducts, it moves heat via small-diameter copper refrigerant lines. These lines, along with the electrical communication wire and a condensate drain hose, are bundled together into what is known as a line set. Because this bundle is typically only about three inches in diameter, it only requires a single hole through the exterior wall. This structural simplicity means that a mini-split can be added to nearly any room—garages, home offices, or older historic homes—without any major renovation work.
The Innovation of Pre-Charged Line Sets
Historically, the "hard" part of HVAC installation involved the refrigerant. Professional technicians must use vacuum pumps to evacuate air and moisture from the lines before releasing the refrigerant. In 2026, the DIY mini-split segment, led by brands like MrCool and Pioneer, utilizes pre-charged line sets.
These line sets come from the factory already containing the exact amount of refrigerant needed. They are equipped with specialized "quick-connect" valves that create a hermetic seal upon connection. When the user screws the line set into the indoor and outdoor units, the valves pierce a seal, allowing the refrigerant to flow without introducing contaminants. This innovation removes the need for:
- Vacuum Pumps: Which are expensive and require technical knowledge to operate.
- Manifold Gauges: Used to monitor pressure levels.
- EPA 608 Certification: While professional handling of bulk refrigerant still requires certification under EPA Section 608, the use of factory-sealed, pre-charged components has made the process accessible to the average homeowner.

Simplified Electrical and Communication Wiring
Another reason mini-splits are considered easy to install is their streamlined electrical requirements. A standard mini-split consists of an outdoor condenser and an indoor air handler. In most modern configurations, power is supplied only to the outdoor unit.
The indoor unit receives its power and instructions through a multi-conductor communication wire (often a 14/4 or 16/4 shielded cable) that runs alongside the refrigerant lines. This means the installer does not need to run a high-voltage circuit to the interior of the home. As long as there is a dedicated 110V or 220V circuit (depending on the BTU rating) available at the outdoor mounting location, the interior portion of the installation is essentially "plug and play."
Minimal Specialized Tool Requirements
For a professional HVAC install, a technician might carry thousands of dollars in specialized equipment. For a DIY-friendly mini-split, the tool list is surprisingly modest. Most homeowners already own the majority of what is required:
- Hole Saw: A 3.5-inch bit to create the passage through the wall.
- Level: To ensure the indoor mounting bracket and outdoor pad are perfectly straight (essential for proper drainage).
- Drill and Driver: For securing the mounting plate to wall studs.
- Wrenches: Specifically adjustable wrenches or torque wrenches for tightening the line set connections.
- Soapy Water: A simple solution used to spray on connections to check for bubbles, which would indicate a gas leak.
The lack of specialized tools like flaring tools or nitrogen tanks significantly lowers the barrier to entry for the average DIYer.
Installation Process Breakdown
To understand why this project is manageable, it helps to look at the typical sequence of events. A standard installation is generally broken down into four distinct phases.
Phase 1: Mounting the Indoor Air Handler
The indoor unit comes with a metal mounting plate. The installer finds a wall stud, levels the plate, and screws it into place. The most "nerve-wracking" part for most is drilling the 3.5-inch hole at a slight downward angle to the outside. Once the hole is drilled, the indoor unit’s wires and pipes are fed through, and the unit simply "clicks" onto the bracket.
Phase 2: Placing the Outdoor Condenser
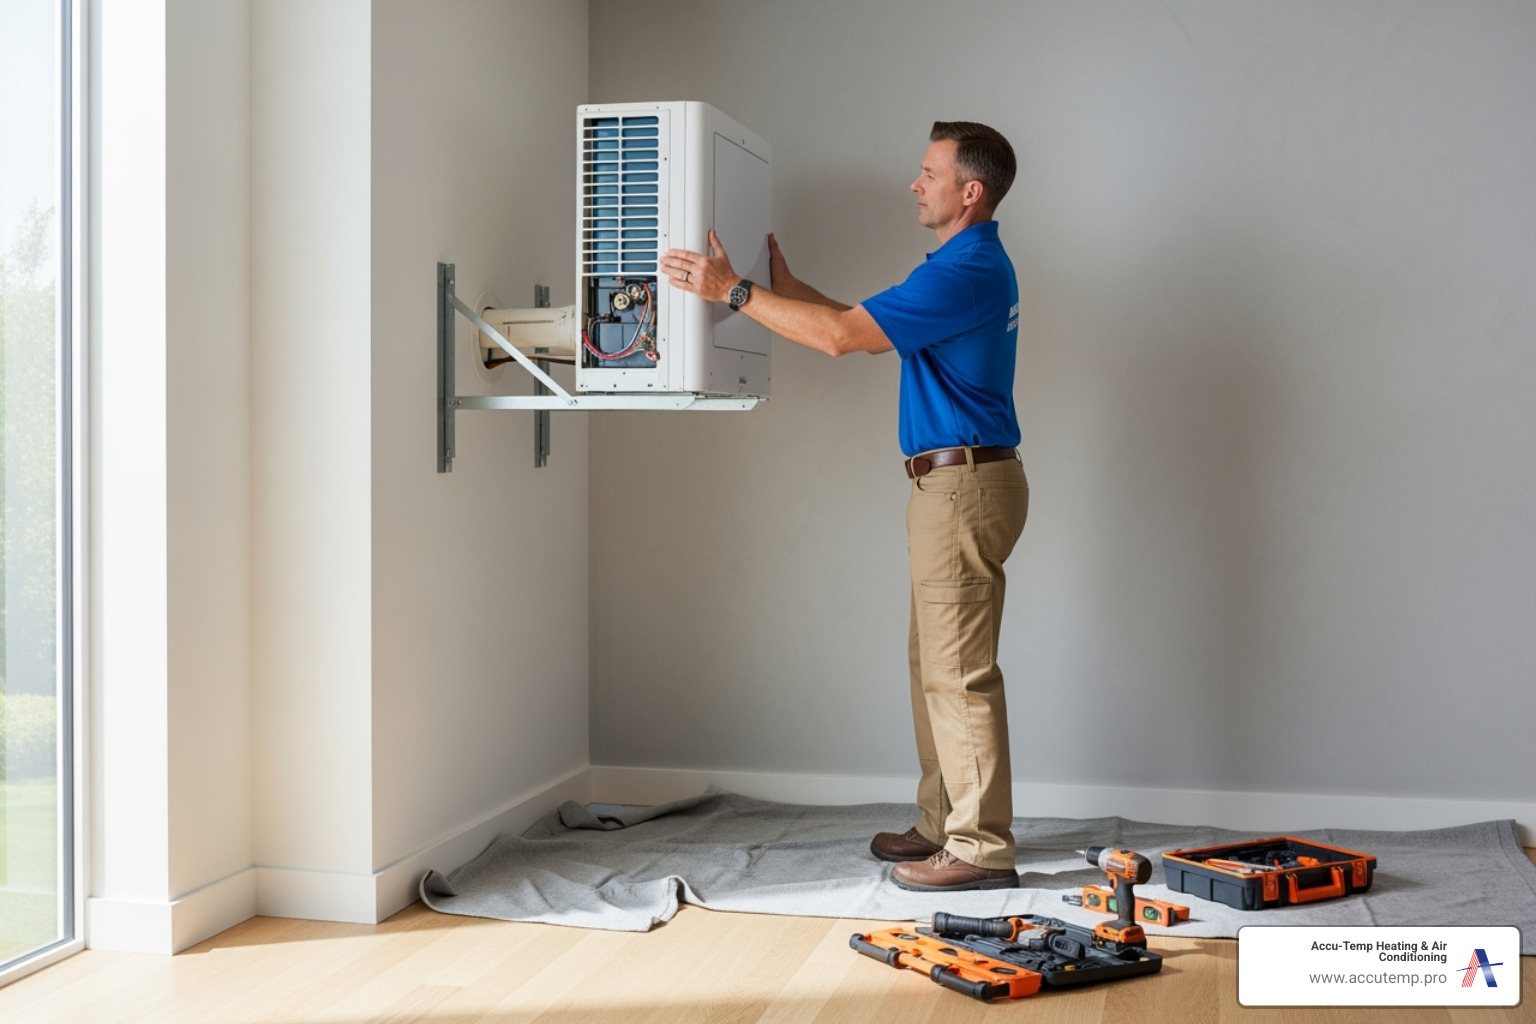
The outdoor unit needs a stable base. This can be a pre-fabricated plastic pad on leveled ground, a concrete slab, or a wall-mounted steel bracket. Because the outdoor unit is the heaviest component, placing it is often a two-person job, but it requires no mechanical assembly.
Phase 3: Connecting the Line Set
The line set is unrolled and connected to both units. With quick-connect systems, this involves hand-tightening the nuts and then giving them a final turn with a wrench. The communication wire is then connected to color-coded terminals on both ends.
Phase 4: Final Inspection and Start-up
After checking the connections for leaks using soapy water, the installer opens the service valves on the outdoor unit (if not using quick-connects) or simply powers the system on. In 2026, many units also feature auto-dry and self-diagnostic modes that run during the first 15 minutes to verify that the sensors and fan speeds are operating within factory parameters.
Comparing Installation Requirements: Traditional vs. Mini-Split
| Feature | Traditional Central Air | Standard Mini-Split | DIY-Specific Mini-Split |
|---|---|---|---|
| Ductwork Required | Yes (Extensive) | No | No |
| Refrigerant Handling | Professional Charging | Vacuum Pump Required | Pre-Charged / Quick-Connect |
| Wall Penetration | Large Vents/Returns | 3-inch Hole | 3-inch Hole |
| Electrical | High Voltage to In/Out | High Voltage to Out | High Voltage to Out |
| Average Install Time | 3–5 Days | 1–2 Days | 4–6 Hours |
| Specialized Tools | Recovery Machine, Gauges | Vacuum Pump, Flaring Tool | Basic Hand Tools |
Cost-Efficiency and Labor Savings
The "ease" of installation translates directly into financial savings. In 2026, the average cost to have a professional HVAC company install a single-zone mini-split ranges from $3,500 to $6,000, with labor often accounting for 50% or more of that total. By choosing a DIY-friendly model, a homeowner can purchase the equipment for $1,200 to $2,500 and bypass the labor costs entirely.
Furthermore, because these systems are ductless, they avoid the "duct tax"—the inherent 20% to 30% energy loss associated with air traveling through leaky or uninsulated ducts in attics and crawlspaces. This makes the system easier to maintain over its lifespan, as there are no ducts to clean or repair.
Important Considerations and Potential Difficulties
While it is easy, it is not "effortless." There are several areas where DIY installers often run into trouble if they rush the process:
- Condensate Drainage: The drain line relies on gravity. If the line has a "trap" or an upward kink, water will back up and leak out of the indoor unit onto the floor.
- Electrical Safety: Even though the wiring is simplified, working with high-voltage electricity at the breaker box is dangerous. Many homeowners choose to do the mechanical installation themselves but hire an electrician for the final hookup to the main panel.
- Bending the Line Set: Copper tubing is prone to kinking. If a line set is bent too sharply when being fed through the wall, it can restrict refrigerant flow and damage the compressor.
- Sizing (BTUs): Ease of installation doesn't matter if the unit is too small for the room. Proper Manual J calculations or at least accurate square-footage assessments are necessary to ensure the system is effective.
Future-Proofing and 2026 Standards
As we move through 2026, the "ease" of these systems is also tied to their smart-home integration. Most units now come with built-in Wi-Fi and are compatible with Matter or Thread protocols. This makes the "setup" phase—the software side of installation—just as easy as the hardware side. Once the unit is powered on, connecting it to a smartphone app allows for immediate testing of the inverter technology and variable-speed compressor, ensuring the system is modulating correctly to save energy.
Frequently Asked Questions
Do I need a vacuum pump for all mini-split installations?
No. While professional-grade units (like those from Mitsubishi or Daikin) usually require a vacuum pump to remove air from the lines, DIY-specific models from brands like MrCool come with pre-charged line sets that eliminate this step. These use specialized valves that keep the refrigerant contained until the connection is tightened.
Can I install a multi-zone mini-split as easily as a single-zone?
Multi-zone systems (one outdoor unit with multiple indoor air handlers) are more complex but follow the same logic. The primary challenge is cable and line set management, as you must run a separate line set for every indoor unit back to the central condenser. This requires more drilling and more careful routing but does not necessarily require more specialized tools.
Is it legal to install my own mini-split?
In most jurisdictions, it is perfectly legal for a homeowner to perform the mechanical installation. However, local building codes often require a licensed electrician to make the final connection to the home's electrical panel. Additionally, some manufacturers may limit the warranty if the system is not inspected by a licensed professional. Always check local permit requirements before beginning.
What is the most common mistake during DIY installation?
The most common mistake is improper drainage. Because the indoor unit creates condensation as it cools, that water must flow out via a drain tube. If the hole through the wall is not drilled at a downward angle, or if the drain tube is pinched, the water will leak inside the house. Ensuring a consistent downward slope is the most critical part of the physical setup.
How long does a typical DIY installation take?
For a single-zone unit, a first-time installer can expect to spend 4 to 6 hours. This includes the time spent reading the manual, mounting the brackets, drilling the wall hole, and connecting the lines. A professional can often do it in under 3 hours, but for a homeowner, it is a very manageable one-day project.
Final Recommendations
If you are considering a mini-split for a home project in 2026, prioritize a DIY-certified kit if you want the easiest experience. These kits are designed with the non-professional in mind, providing clearer manuals and eliminating the need for specialized refrigerant tools. Before you buy, measure your space accurately to choose the correct BTU rating and ensure you have a clear path for the line set to travel from the indoor unit to the outdoor location. If you are uncomfortable working with your home's electrical panel, plan to hire an electrician for that final 30-minute task; it is a small price to pay for the peace of mind that the system is safely powered.
Image Gallery
Select an image to open it in a new tab.


Mateo Castillo
Decentralized Finance and E-Payments Strategist
