
Installing a solar panel on a car safely requires mounting a photovoltaic panel to the roof or rack using mechanical fasteners or high-bond adhesives and connecting it to a charge controller and battery via fused wiring. To ensure safety, you must use appropriately sized fuses, weather-resistant cable entries, and structural mounts capable of withstanding highway-speed wind loads.
Understanding the Fundamentals of Mobile Solar Integration
As we move into 2026, the integration of solar power into daily-drive vehicles and overlanding rigs has transitioned from a niche hobby to a mainstream utility. Whether you are looking to keep a starter battery topped up during long periods of inactivity or powering a 12V portable refrigerator for weekend camping, the principles of safety remain identical.
A "safe" installation is defined by two primary criteria: structural integrity and electrical protection. Structural integrity ensures the panel does not become a projectile at high speeds, while electrical protection prevents short circuits that could lead to vehicle fires. Before picking up a drill or ordering parts, it is essential to understand that a car is a harsh environment characterized by constant vibration, extreme temperature fluctuations, and significant wind resistance.
Assessing Your Energy Needs
The first step in a safe installation is sizing. Overloading a vehicle with more glass and aluminum than necessary increases the center of gravity and reduces fuel efficiency.
- Trickle Charging (20W – 50W): Ideal for maintaining a starter battery in a car that sits for weeks.
- Light Utility (80W – 115W): Sufficient for charging laptops, phones, and running LED camp lights.
- Heavy Utility (160W – 320W+): Necessary for 12V compression fridges, diesel heaters, and small inverters.
In 2026, most DIY installers opt for 100W to 200W monocrystalline panels, as they offer the best balance of footprint and efficiency.
Selecting the Right Components for Safety and Durability
The hardware you choose dictates the longevity of the system. Cutting corners on wiring or controllers is the most common cause of system failure and electrical hazards.
Solar Panels: Rigid vs. Flexible
Rigid panels are encased in tempered glass with an aluminum frame. They are heavy but extremely durable and allow for an air gap underneath, which helps with cooling. Flexible panels are thin and can contour to the roof's shape. While lighter, they are prone to "hot spotting" if they cannot dissipate heat, which can damage the vehicle's paint or the panel itself.
The Solar Charge Controller
Never connect a solar panel directly to a car battery. Panels can output 18V to 22V, which will boil a 12V battery and lead to a fire or explosion. A Maximum Power Point Tracking (MPPT) controller is the current gold standard in 2026. It is up to 30% more efficient than older PWM (Pulse Width Modulation) controllers and provides critical safety features like overcharge protection and short-circuit recovery.
Wiring and Fusing
Automotive environments require marine-grade, tinned copper wire. Standard household wire will vibrate and brittle over time. Furthermore, every positive wire in the system must be fused. A fuse should be placed between the panel and the controller, and another between the controller and the battery. These fuses protect the vehicle's electrical system in the event of a wire casing rubbing through against a metal edge.
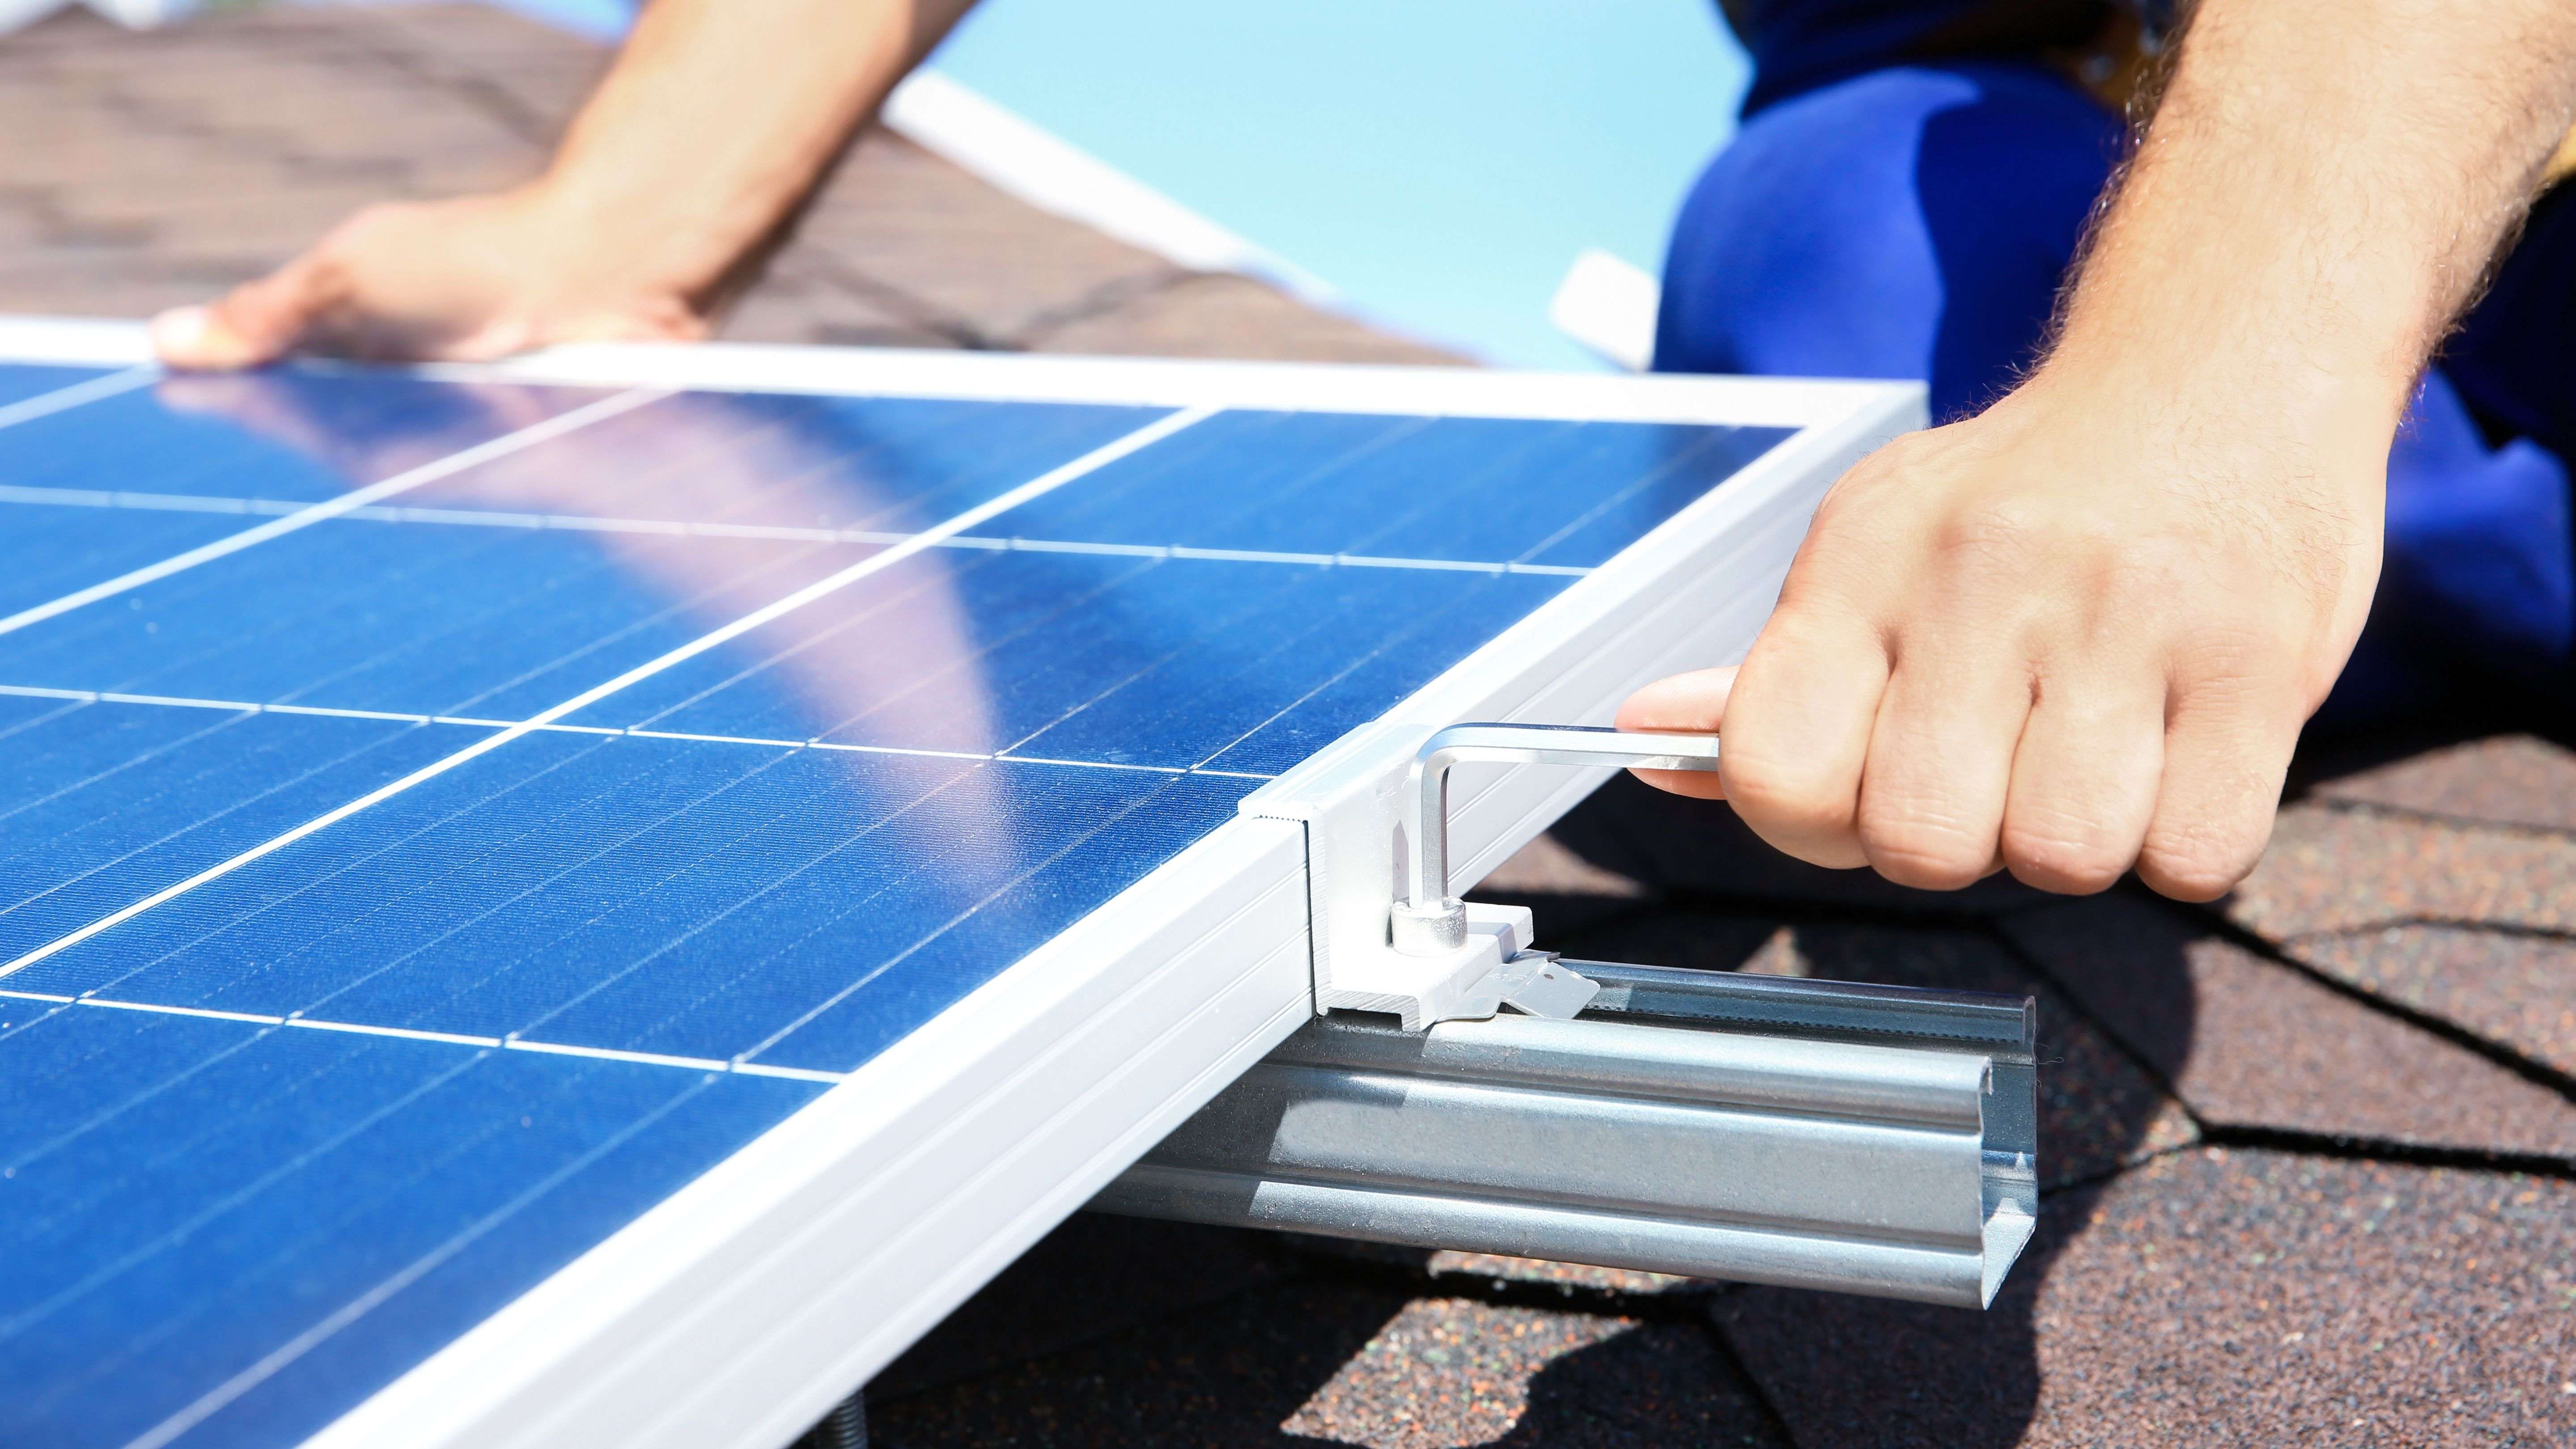
Mechanical Installation: Securing the Panel to the Vehicle
The most dangerous part of a solar installation is the risk of the panel detaching at highway speeds. A 100W panel acts like a wing; at 70 mph, the upward lift can exceed 100 pounds if air gets trapped underneath it.
Method 1: Roof Rack Mounting (Safest)
If your vehicle has a roof rack or crossbars, this is the most secure method. Use stainless steel M6 or M8 bolts with nylon-insert lock nuts (Nyloc). Standard nuts will vibrate loose within hundreds of miles.
- Position the panel on the crossbars.
- Use aluminum "Z-brackets" or specialized rack mounts.
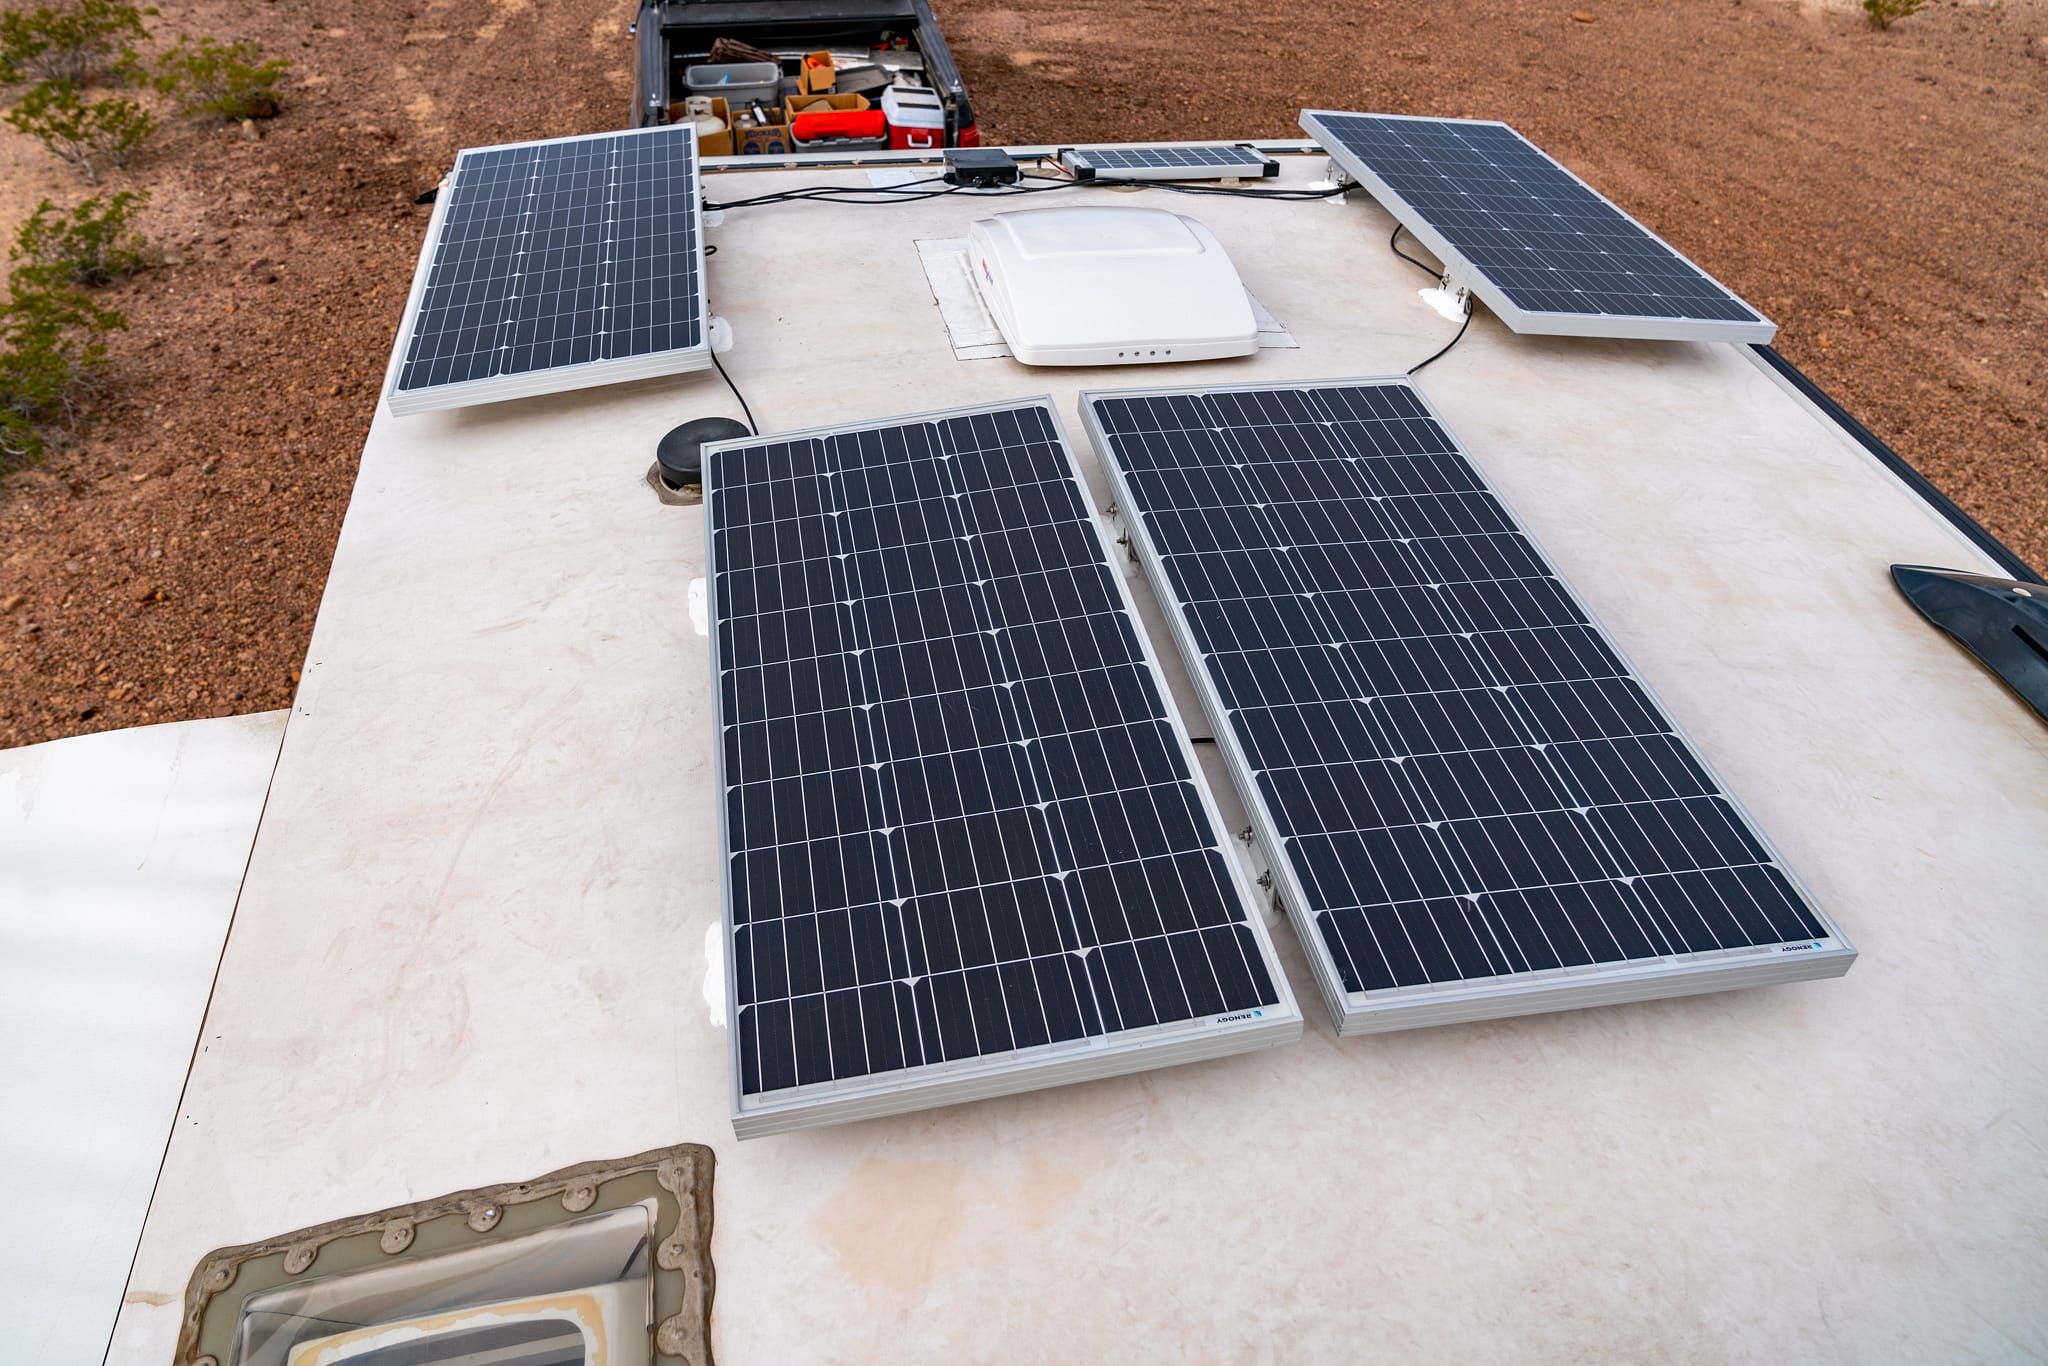
- Ensure at least a 1-inch gap between the panel and the roof to allow airflow, which keeps the panel efficient and the roof cool.
Method 2: Direct Adhesive Mounting (Flexible Panels)
For those without racks, flexible panels are often glued down. Use a high-quality structural adhesive like Sikaflex 252 or 3M VHB Tape.
- Caution: Before adhering, clean the roof surface with isopropyl alcohol.
- Heat Management: In 2026, many installers use a "coroplast" (corrugated plastic) backing between the flexible panel and the roof. This creates a small air buffer, preventing the panel from overheating and failing prematurely.
Method 3: Magnetic Mounts (Temporary)
Magnetic mounts are only suitable for stationary use or very low speeds. They are generally discouraged for permanent "safe" installations on passenger vehicles due to the risk of shifting during emergency braking.
Electrical Integration: Wiring the System
Once the panel is mounted, the electrical "run" must be executed with precision.
1. The Cable Entry Point
To get wires from the roof to the interior, you must use a weatherproof cable entry gland. This is a plastic housing that sits over a hole drilled in the roof (or passes through a rear hatch seal). It uses rubber compression fittings to prevent water from leaking into the vehicle's headliner, which could cause mold or electrical shorts in factory wiring.
2. Sizing the Wire (AWG)
Using wire that is too thin causes voltage drop and heat buildup. For a standard 100W–200W system, 10 AWG (American Wire Gauge) is the industry standard. It is thick enough to handle the current over a 10-to-15-foot run without significant loss.
3. Connecting the Controller
Always connect the Battery to the Charge Controller first, then the Solar Panel to the Charge Controller second. Most modern controllers need to "sense" the battery voltage (12V vs 24V) before they can safely process solar input. Reversing this order can damage the controller's internal circuitry.
| Component | Purpose | Safety Feature |
|---|---|---|
| Solar Panel | Converts sunlight to DC energy | Tempered glass for impact resistance |
| Z-Brackets | Attaches panel to roof/rack | Stainless hardware prevents rust/failure |
| 10 AWG Wire | Transports energy | UV-resistant jacket prevents cracking |
| MPPT Controller | Regulates voltage/current | Over-current and thermal shutdown |
| Inline Fuses | Protects against shorts | Melts to break circuit during surges |
| Battery Gland | Entry point for roof wires | Waterproofing to prevent interior damage |
Critical Safety Protocols and Legal Considerations
Installing solar on a vehicle involves high-current DC electricity. While 12V won't typically shock a human, it carries enough amperage to melt metal and start fires instantly if shorted.
- Grounding: Ensure the charge controller is grounded to the vehicle's chassis or the negative terminal of the battery. An ungrounded system can cause "stray current," which accelerates galvanic corrosion of the vehicle's body.
- Wind Fairings: If your panel sits high on a rack, install a wind fairing in front of it. This deflects air over the panel rather than under it, significantly reducing the "lift" forces that stress your mounting hardware.
- Weight Limits: Check your vehicle's manual for the Dynamic Roof Load Limit. A heavy rigid panel plus the weight of a rack can exceed the limit of smaller cars, affecting handling and roll-over safety.
- Legal Compliance: In many jurisdictions, any modification that extends beyond the original width of the vehicle or creates a glare hazard for other drivers can result in a citation. Ensure the panel is mounted flat and does not overhang the sides of the roof.
Long-Term Maintenance for Continued Safety
A solar installation is not a "set it and forget it" project. The vibrations of the road are relentless.
- Monthly Bolt Check: Every 1,000 miles, physically check the mounting bolts. Use a wrench to ensure the Nyloc nuts have not moved.
- Cleaning: Dust, salt, and bird droppings can reduce efficiency by 20% or more. Clean the panels with plain water and a soft microfiber cloth. Avoid harsh chemicals that can degrade the seals of the panel.
- Wire Inspection: Check the wiring on the roof for signs of UV degradation or fraying. Zip-tie any loose wires; if a wire is allowed to flap in the wind, it will eventually work-harden and snap.
Troubleshooting Common Issues
If your system isn't charging, follow the flow of energy safely.
- Zero Volts at Controller: Check the fuse between the panel and the controller. If the fuse is intact, use a multimeter to check the "Open Circuit Voltage" (Voc) of the panel at the roof connectors.
- Low Charge Rate: This is often due to shading. Even a small shadow from a roof rack bar can drop a panel’s output by 50%. Ensure the panel has a clear "view" of the sky.
- Controller Error Lights: Most 2026 MPPT controllers have Bluetooth apps. Check the app for specific error codes like "Overvoltage" or "Battery Temperature High."
Frequently Asked Questions
Can I install a solar panel on a car without a roof rack? Yes, you can use flexible solar panels adhered directly to the roof with structural adhesives like Sikaflex or high-bond VHB tape. However, you must ensure the surface is perfectly clean and that the adhesive is rated for automotive speeds and temperatures. Rigid panels should generally not be glued directly to a roof without a mechanical frame.
Will a solar panel drain my car battery at night? No, provided you use a charge controller. Solar panels have a natural tendency to allow a small "backflow" of current at night, but all modern charge controllers (and even the panels themselves via blocking diodes) prevent this from happening.
Is it safe to go through a car wash with a solar panel? Only if the panel is mounted to a low-profile rack or adhered flat to the roof. High-clearance rigid panels on tall brackets can be snagged by the heavy brushes of an automated car wash. Touchless car washes are generally safe for all well-secured solar installations.
Do I need a second battery for car solar? It is not strictly required, but it is highly recommended. If you use solar to charge your primary starter battery, there is a risk that you might over-drain it while camping, leaving you unable to start the engine. A "dual battery" system, where solar charges a secondary "house" battery, is the safest configuration for overland and camping use.
How much does a professional car solar installation cost in 2026? While DIY costs range from $200 to $600 for parts, a professional installation typically costs between $1,200 and $2,500. This higher price includes the labor for internal wire routing, professional mounting, and often a warranty on the waterproofing of the roof penetrations.
Final Recommendations
To install a solar panel on your car safely, prioritize mechanical security first. Use stainless steel locking hardware for rack mounts or automotive-grade structural adhesives for flexible panels. Secondly, ensure electrical safety by installing at least two inline fuses and using an MPPT controller to regulate voltage.
For your next action, perform a "dry fit" of the panel on your vehicle's roof to check for clearance issues with hatches or antennas before drilling any holes. If you are uncomfortable with electrical wiring, consult a local marine or RV technician to verify your fuse sizes and wire gauges before final connection.
Image Gallery
Select an image to open it in a new tab.



Declan O'Connor
Higher Education and Campus Culture Reporter
