
Learning fidget spinner beginner tricks starts with mastering basic grip pressure, hand placement, and rotational stability. Beginners should focus on core moves like the single-hand flick, the two-finger balance, and hand-to-hand transfers before progressing to aerial tosses and multi-step combinations. With proper bearing preparation and deliberate practice, anyone can build hand-eye coordination and transition smoothly into continuous skill-toy flow routines.
Understanding Fidget Spinner Mechanics and Setup for Tricks
Before attempting tricks, understanding how a fidget spinner behaves mechanically makes learning techniques significantly easier. A fidget spinner functions on the principles of rotational inertia and gyroscopic precession. When the outer weights of a spinner rotate around the center bearing at high velocity, the angular momentum generates a stabilizing force. This force resists changes in the spinner's axis of rotation, allowing it to stay upright while balancing on a single finger or traveling through the air during a pass.
The anatomical components of a fidget spinner directly dictate how well it performs during trick practice:
- Center Bearing: The engine of the spinner. The most common sizes are R188 and 608 bearings. R188 bearings feature smaller balls and smaller overall dimensions, delivering quieter performance, higher rotational speeds, and longer spin times. The older, larger 608 standard (commonly found in skateboards) offers higher weight resistance but lower overall spin efficiency.
- Bearing Material: Full ceramic, ceramic hybrid (silicon nitride or zirconia balls inside steel races), and stainless steel are standard. Ceramic hybrid bearings are widely preferred for skill tricks because they run dry without grease, achieving maximum velocity and lower rotational resistance.
- Center Caps (Buttons): The removable covers that clamp onto the inner race of the center bearing. High-quality caps feature a subtle concave dip or textured ridges that accommodate finger pads, giving you the grip needed to prevent the toy from sliding off during single-finger maneuvers.
- Body Profile & Geometry: Spinners generally come in tri-spinner (three wings) or dual-bar (two wings / torpedo shape) designs. Tri-spinners feature symmetrical three-axis weight distribution, making them far more stable when landing aerial catches or transferring between fingers. Dual-bar spinners look dynamic but suffer from "flutter"—an erratic wobble that occurs when changing rotational planes mid-trick.
For beginners, a medium-weight metal or high-density plastic tri-spinner equipped with an R188 ceramic hybrid bearing and concave center caps provides the ideal combination of rotational balance, forgiving landings, and long spin durations.
Step-by-Step Guide to Essential Fidget Spinner Beginner Tricks
Mastering fidget spinner tricks requires building muscle memory through progressive difficulty. Do not rush to jump or toss the spinner before establishing complete control over basic grip and release dynamics.
- Level 1: Single-Hand Flick
- Level 2: One-Finger Balance
- Level 3: Finger-to-Finger Transfer
- Level 4: Hand-to-Hand Pass
- Level 5: Basic Aerial Toss
1. The Single-Hand Flick (The Foundation)
The single-hand flick is the baseline maneuver for all fidget spinner manipulation. It allows you to start, sustain, and manipulate the spin using only one hand, freeing your opposite hand for transfers or secondary movements.
- Establish the Pinch Grip: Hold the center caps between your thumb and middle finger of your dominant hand. Keep your grip firm enough to secure the body, but loose enough to prevent pinching the rotating outer wings.
- Position the Flicking Finger: Curl your index finger back inward toward your palm until the tip rests firmly against the edge of one outer wing.
- Execute the Release: Extend your index finger rapidly outward in a snapping motion. The tip of the finger pushes against the wing tangential to the curve, initiating high-speed rotation.
- Clear the Wings: Immediately after flicking, extend all fingers outward away from the perimeter so the spinning body does not hit your knuckles.
Pro Tip: Practice the reverse flick using your ring finger pulling inward toward your palm. Learning both forward (index finger flick) and backward (ring finger pull) directions gives you complete single-handed operational control.
2. The One-Finger Balance
The one-finger balance relies directly on the gyroscopic stability of a fast-spinning spinner. It serves as the gateway to all off-center balances and finger transfers.
- Initiate a Strong Spin: Hold the spinner horizontally and flick it as hard as possible using a two-handed flick (holding center caps with one hand and spinning forcefully with the index finger of the other).
- Shift to the Target Finger: Place your non-dominant index finger under the bottom cap center.
- Release Top Pinch: Gently raise your top thumb off the upper cap while keeping your lower index finger centered and level.
- Absorb Gyroscopic Feedback: Keep your index finger relaxed. If the spinner begins tilting toward one edge, make micro-adjustments with your hand to bring the central axis back perpendicular to the floor.
Common Mistake: Do not tense up your hand. A rigid arm amplifies micro-tremors, causing the center cap to slip off the fingertip. Keep your wrist, elbow, and shoulder relaxed.
3. The Finger-to-Finger Transfer (Single Hand)
This trick involves hopping the spinning body from one finger to another on the same hand without stopping the rotation or using your second hand.
- Start in a Balanced Position: Begin with the spinner spinning rapidly while balanced on your thumb (or index finger).
- Prepare the Landing Pad: Bend your middle finger so it sits slightly lower than your index finger.
- Execute a Micro-Hop: Give a tiny, deliberate upward wrist pulse—moving the hand upward no more than half an inch—and tilt your hand subtly so the cap shifts toward the adjacent fingertip.
- Catch on the Target Finger: Move the tip of your middle finger directly under the falling center cap to catch it cleanly on the padded center of the fingertip.
Key Focus: The key is minimizing vertical jump height. The spinner should barely leave contact with the first finger pad; you are essentially sliding or hopping the point of contact laterally across finger pads rather than throwing it into the air.
4. The Hand-to-Hand Pass
The hand-to-hand pass is a classic core trick where you toss or pass the spinner horizontally from one hand to the other.
- Align Your Hands: Hold your non-dominant hand approximately 4 to 6 inches away from your dominant hand at equal height, palm facing upward.
- Set Up the Launch Pinch: Spin the toy rapidly while holding it horizontally in your dominant hand between your thumb and index finger.
- Release and Toss: Give a gentle wrist lift toward the receiving hand and release your pinch grip completely at the peak of the motion. Keep the body flat to preserve horizontal angular momentum.
- Pinch to Catch: As the spinner descends toward the target hand, position your receiving thumb and index finger around the top and bottom center caps. Clamp down gently on the center caps to catch it without touching the spinning outer wings.
5. The Gravity Drop & Aerial Catch (The Pop Toss)
Once hand-to-hand passes are consistent, the pop toss introduces vertical elevation and short airtime flight dynamics.
- Establish High Rotational Speed: Maximize the spin speed; high angular momentum increases stability in mid-air.
- Vertical Launch: Push upward with your knees and arm, releasing the pinch grip as your hand moves vertically. Aim for a straight, 6-to-12-inch vertical pop above your hand.
- Track the Center Cap: Keep your eyes locked strictly on the center cap rather than the spinning outer arms. The outer wings will blur, but the center cap stays visually still.
- Soft Cushion Catch: Match the downward speed of the falling spinner with your receiving hand. Move your hand slightly downward as you catch the caps between your thumb and index finger to cushion the landing.
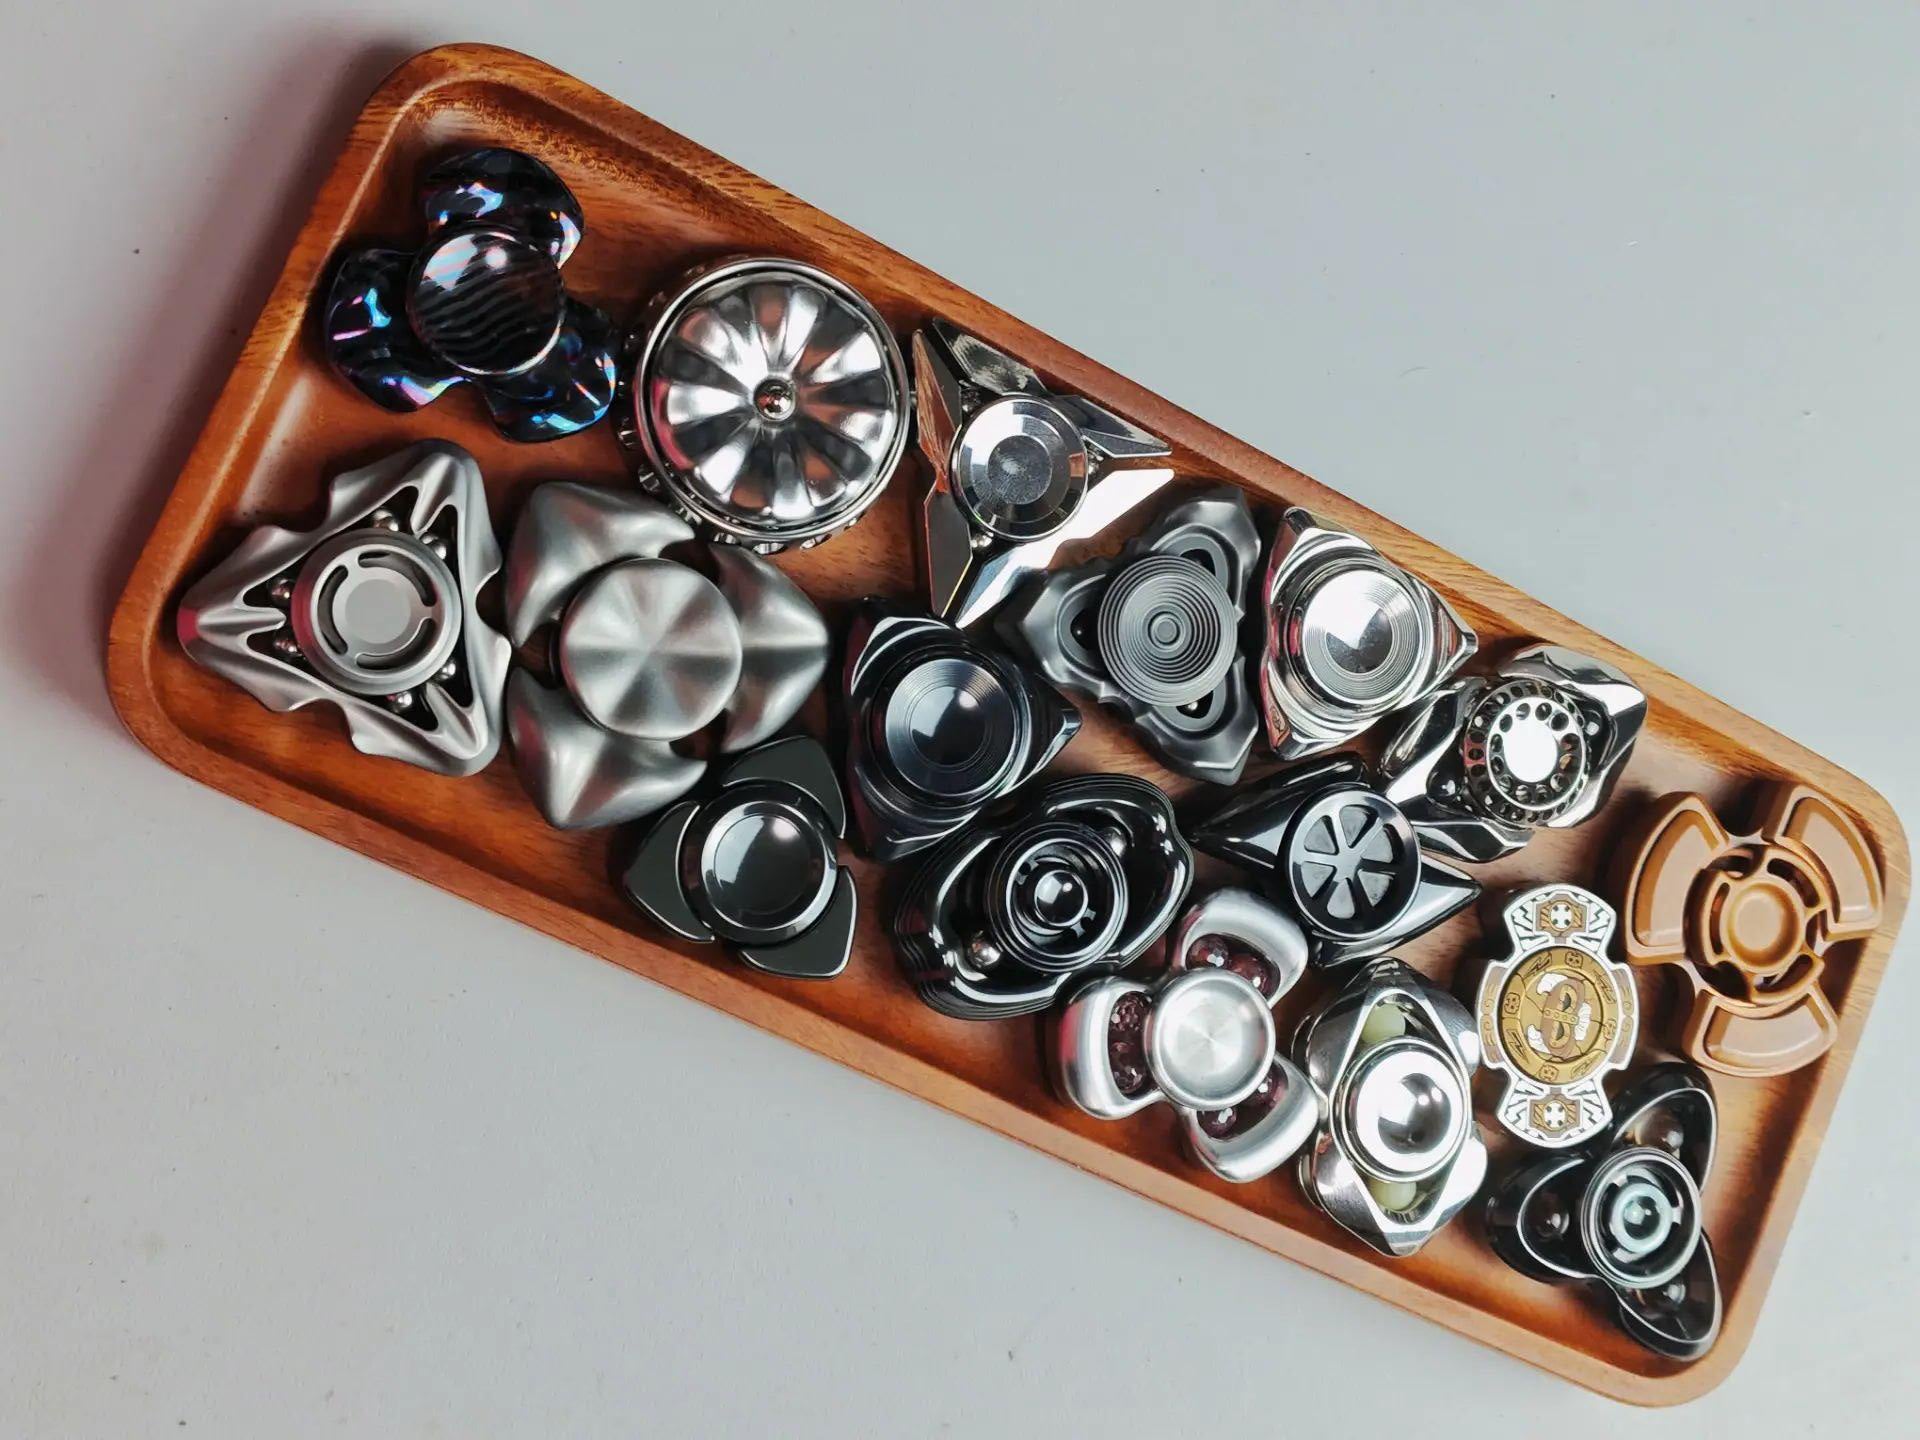
Quick Reference Matrix: Beginner Fidget Spinner Tricks Compared
| Trick Name | Skill Level | Primary Axis | Core Mechanics | Primary Failure Point |
|---|---|---|---|---|
| Single-Hand Flick | Absolute Beginner | Horizontal | Tangential index flex against outer wing edge | Touching the outer wings with knuckles during spin |
| One-Finger Balance | Beginner | Horizontal | Gyroscopic self-leveling on stable center point | Tilting the hand off-level, causing center cap slide |
| Finger-to-Finger Transfer | Beginner–Intermediate | Horizontal / Slanted | Lateral micro-hop using wrist pulse | Throwing the spinner too high instead of sliding |
| Hand-to-Hand Pass | Beginner–Intermediate | Horizontal | Short distance linear pass with synchronized pinch catch | Snapping fingers shut on the outer wings instead of caps |
| Basic Aerial Toss | Intermediate | Vertical | Straight vertical release with soft cushion landing | Looking at outer arms instead of visual center cap |
How to Prepare and Maintain Your Fidget Spinner for Trick Practice
A neglected, dirty, or uncalibrated fidget spinner directly impairs your ability to land tricks smoothly. Dirt in the bearing introduces friction spikes, while loose caps cause lateral wobble during balancing maneuvers.
- Disassemble Center Caps
- Submerge Bearing in 99% Isopropyl Alcohol
- Agitate to Remove Dirt & Grit
- Air Dry Completely with Compressed Air
- Reassemble Caps Firmly (No Oil for Trick Speed)
Bearing Cleaning Protocol
- Remove Center Caps: Unscrew or press out the center caps from the main body bearing housing.
- Solvent Bath: Submerge the bearing completely in a small container filled with 99% Isopropyl Alcohol (IPA). Avoid water or lower-grade rubbing alcohol, as water content causes microscopic rust on carbon steel components.
- Agitate: Spin the bearing while submerged in the solvent bath for 30–60 seconds to break down dried grease, dust, and lint particles.
- Drying: Remove the spinner from the bath and blow compressed air directly through the bearing cage until all liquid solvent evaporates completely.
The Dry vs. Lubricated Bearing Debate for Tricks
- Dry Bearings: Highly recommended for pure skill tricks. Dry bearings allow maximum rotational velocity and fast response feedback. They produce a pleasant metallic sound and spin longer, giving you more time to align your transfers.
- Lubricated Bearings: Adding heavy machine oil or grease slows down the rotational speed dramatically. However, adding a micro-drop (less than half a pinhead) of ultra-thin electronic bearing lubricant can dampen harsh vibration, providing a smoother tactile grip during transfers if your spinner feels uncomfortably flighty.
Tightening and Cap Adjustments
Center caps must sit completely flush against the inner ring (race) of the bearing without dragging against the outer body frame. If you hear a scratching sound when flicking your spinner, the caps are pressed in too far or rubbing against the outer bearing seal. Ensure threaded caps are screwed together firmly so they do not back out mid-trick.
Troubleshooting Common Beginner Trick Mistakes
Even straightforward tricks require minor physical adjustments to overcome common mechanical issues.
The Spinner Wobbles or Flutters Mid-Air
- Cause: Uneven torque applied during release, or using a dual-bar spinner off-axis.
- Solution: Ensure your wrist releases the spinner completely flat relative to the ground plane. Switch to a heavy tri-spinner body, which inherently resists rotational flutter due to its three-point moment of inertia.
The Spinner Immediately Stops Upon Catching
- Cause: Your thumb or fingers are making physical contact with the spinning outer wings instead of clamping cleanly onto the center caps.
- Solution: Focus on expanding the gap between your catching thumb and index finger. Create a wide "C" shape with your hand and narrow your target focus onto the raised ridge of the center cap.
The Center Cap Keeps Slipping off the Fingertip
- Cause: Smooth plastic center caps combined with skin oil, or excessive hand tilt during balance moves.
- Solution: Clean the cap surfaces with rubbing alcohol to remove natural skin oils. Consider using concave caps made of textured anodized aluminum or matte-finished brass, which provide a subtle recess that naturally cradles the tip of your finger pad.
Drops and Damage Prevention
Practice all aerial tosses and hand passes over a soft surface—such as a thick rug, carpeted floor, bed, or couch. Hard landings on tile or concrete can warp center bearing races, chip outer arms, or throw precision ceramic balls out of alignment, permanently ruining the balance of your spinner.
Next Steps: Combining Beginner Tricks into Continuous Routines
Once you can comfortably execute individual tricks in isolation, the next step in skill-toy progression is linking movements into continuous flow routines. Fluid movement relies on seamless transitions where the end position of one trick becomes the setup launch position for the next.
Example Beginner Flow Combo
- Start: Perform a rapid Single-Hand Flick with your dominant hand.
- Transition 1: Immediately transition into a One-Finger Balance on your dominant index finger.
- Transition 2: Execute a lateral Finger-to-Finger Transfer from your index finger to your middle finger.
- Transition 3: Launch a smooth Hand-to-Hand Pass across to your non-dominant hand.
- Finish: Cushion the landing into a second One-Finger Balance on the opposite hand before bringing the move to a stop.
Once you master this flow sequence on both hands, you can explore intermediate skill-toy maneuvers, including behind-the-back transfers, under-the-leg passes, continuous fingertip rolls, and multi-spinner stacking setups.
Frequently Asked Questions
What is the easiest fidget spinner trick to learn first?
The single-hand flick is the easiest trick to learn first. It teaches you how to hold the center caps securely while using your index or ring finger to generate rotational speed without interfering with the spinning wings.
Why does my fidget spinner stop spinning when I try to catch it?
Your spinner stops because your fingers are coming into contact with the rotating outer arms rather than pinching only the center caps. Practice broadening your catching hand into a clear pinching shape and focus entirely on gripping the raised central cap buttons.
Are tri-spinners or dual-bar spinners better for doing tricks?
Tri-spinners are significantly better for beginners learning tricks. Their three-point weight distribution provides consistent balance across all axes, reducing wobble during single-finger balances, transfers, and aerial tosses. Dual-bar spinners tend to wobble off-center when tilted.
Should I oil my spinner's bearing if I want to do tricks?
For optimal trick performance, it is usually best to run the center bearing clean and dry without heavy oil or grease. Dry bearings achieve higher spin speeds and maintain rotation longer, giving you more time to execute transfers and balances.
How high should I throw the fidget spinner when practicing aerial tosses?
When starting out, throw the spinner no higher than 6 to 12 inches above your hands. High tosses make tracking the center caps difficult and increase the impact force when catching, which often causes the outer arms to hit your fingers and stop the spin.
How can I practice tricks without damaging my fidget spinner when I drop it?
Practice over soft surfaces like carpet, a couch, or a bed. Dropping a metal or plastic spinner onto hardwood or concrete can deform the inner bearing races, strip cap threads, or cause permanent rotational vibration.
Final Recommendation
To master fidget spinner beginner tricks efficiently, structure your practice sessions in short, focused 10-to-15-minute daily intervals. Start by perfecting single-hand flicks on both your dominant and non-dominant hands to ensure balanced hand-eye coordination. Once flicking becomes second nature, move systematically through finger balances, lateral finger transfers, and basic hand passes before attempting aerial tosses over a cushioned surface. Keep your center bearings clean using isopropyl alcohol, ensure your center caps are tightened securely, and focus on precise, relaxed movements rather than forcing speed.
Image Gallery
Select an image to open it in a new tab.


Celine Dubois
Contemporary Living and Global Arts Columnist
