
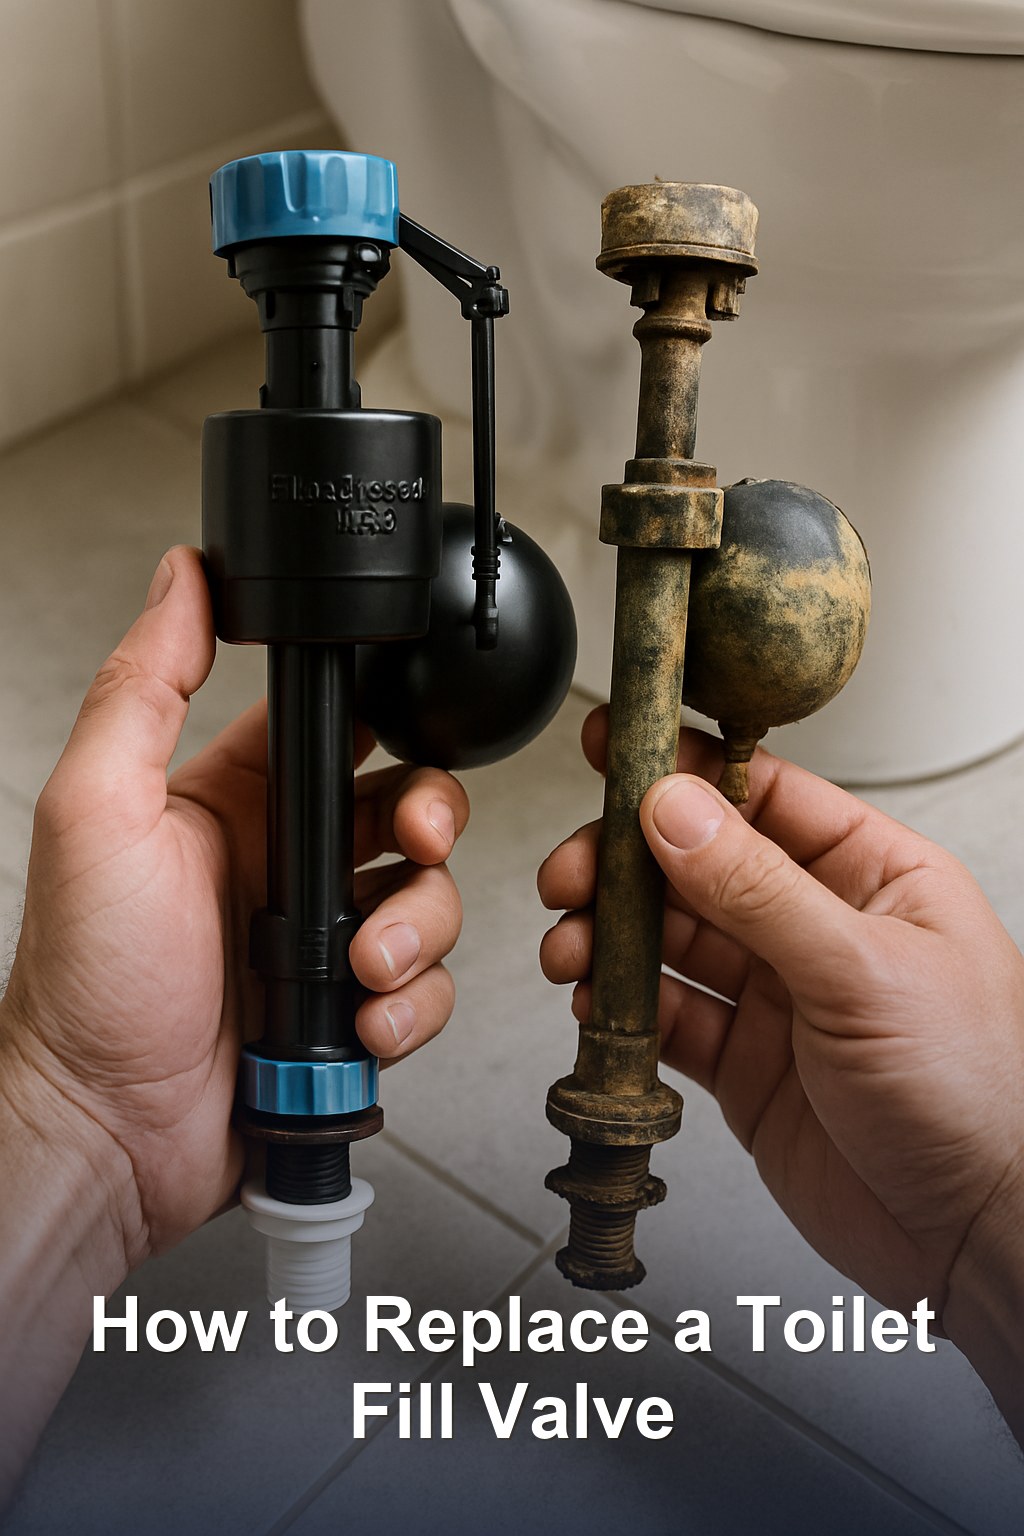
Replacing the fill valve in an American Standard toilet requires shutting off the water supply, draining the tank, removing the old assembly, installing the new adjustable fill valve, and adjusting the water level. This step-by-step plumbing repair resolves continuous running, slow tank filling, and high water bills without needing a professional plumber.
Understanding Your American Standard Toilet Fill Valve
Before beginning any plumbing repair on an American Standard toilet, understanding the internal mechanics of the tank prevents unnecessary mistakes. The fill valve—often referred to as the ballcock in older models—is the plumbing fixture responsible for refilling the toilet tank with water after every flush. When you press the trip lever, the flush valve opens to release water into the bowl, dropping the water level in the tank. As the water level falls, the fill valve float drops, triggering the valve to open and allow fresh water from the supply line to refill the tank until the float reaches the calibrated fill line.
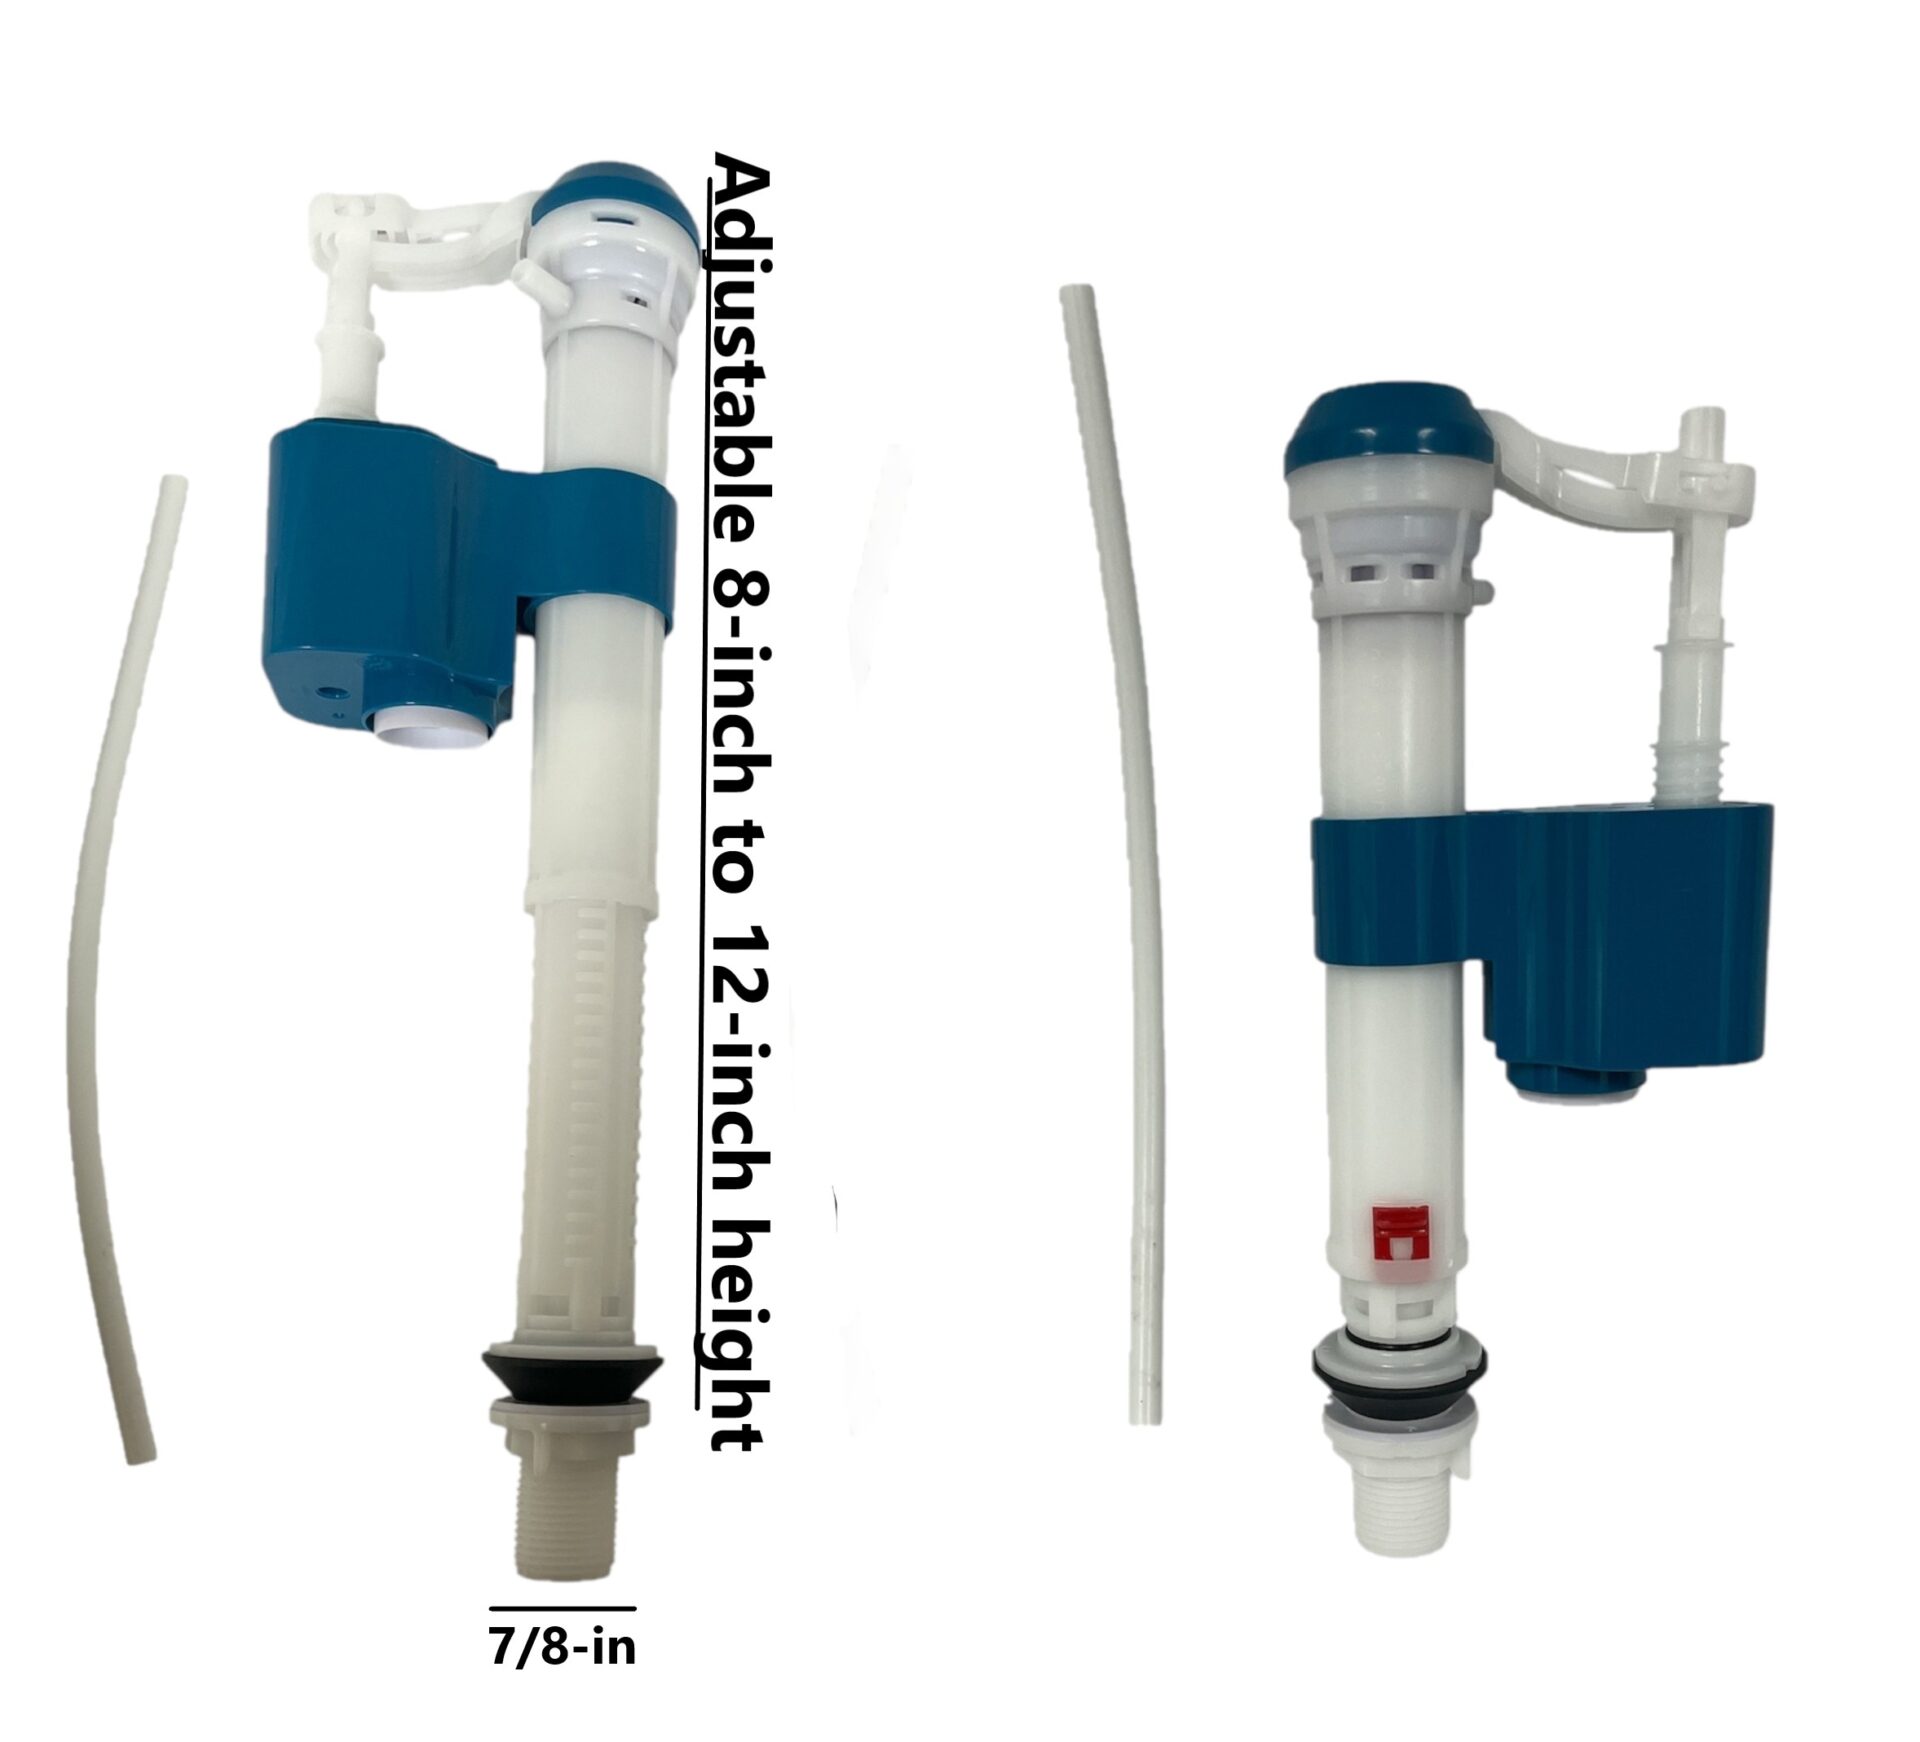
Modern American Standard toilets typically use modern diaphragm-style fluidmaster or fluidmaster-compatible vertical plastic fill valves rather than traditional brass piston ballcocks with copper floats. These modern units rely on a sliding plastic float mechanism that moves vertically up and down a cylindrical shaft. Recognizing which type of valve you have determines how you measure and adjust the replacement part.
Failing fill valves manifest in several distinct ways. A worn-out internal rubber seal or diaphragm can cause water to constantly trickle into the bowl, creating a faint hissing sound and driving up municipal water consumption. Conversely, a stuck or mineral-clogged valve might fail to open at all, leaving you with a dry tank that requires manual bucket-filling. Replacing the valve completely is often more cost-effective and reliable than attempting to rebuild an old, brittle plastic assembly that has degraded over years of chemical exposure from drop-in toilet bowl cleaners.
Preparation and Tools Required for the Repair
Proper preparation ensures that a routine toilet repair does not turn into an emergency plumbing leak. Before touching any hardware, gather the necessary tools and replacement parts. Having everything within arm's reach minimizes the time your water supply must remain shut off.
Essential Tools and Materials List
- Replacement Fill Valve: Purchase a universal vertical fill valve compatible with American Standard toilets (such as a Fluidmaster 400A or an OEM American Standard equivalent).
- Adjustable Wrench or Pliers: Used for loosening and tightening the supply line coupling nut and the locknut underneath the tank.
- Large Sponge and Bucket: Required for bailing out and absorbing remaining water from the toilet tank.
- Towels or Rags: Placed on the floor around the base of the toilet to catch inevitable residual drips.
- Rubber Gloves: Recommended for sanitary reasons, as toilet tank water can harbor bacteria.
Safety and Pre-Repair Considerations
Always work during daylight hours or ensure adequate task lighting in your bathroom so you can clearly inspect the tank connections. Inspect the water supply valve on the wall behind the toilet. Turn it clockwise to test if it shuts off completely. If the shut-off valve is old, corroded, or spins freely without stopping the water flow, you will need to shut off the main water supply to your home before proceeding. Do not force a stuck wall valve, as breaking it will cause a catastrophic leak.

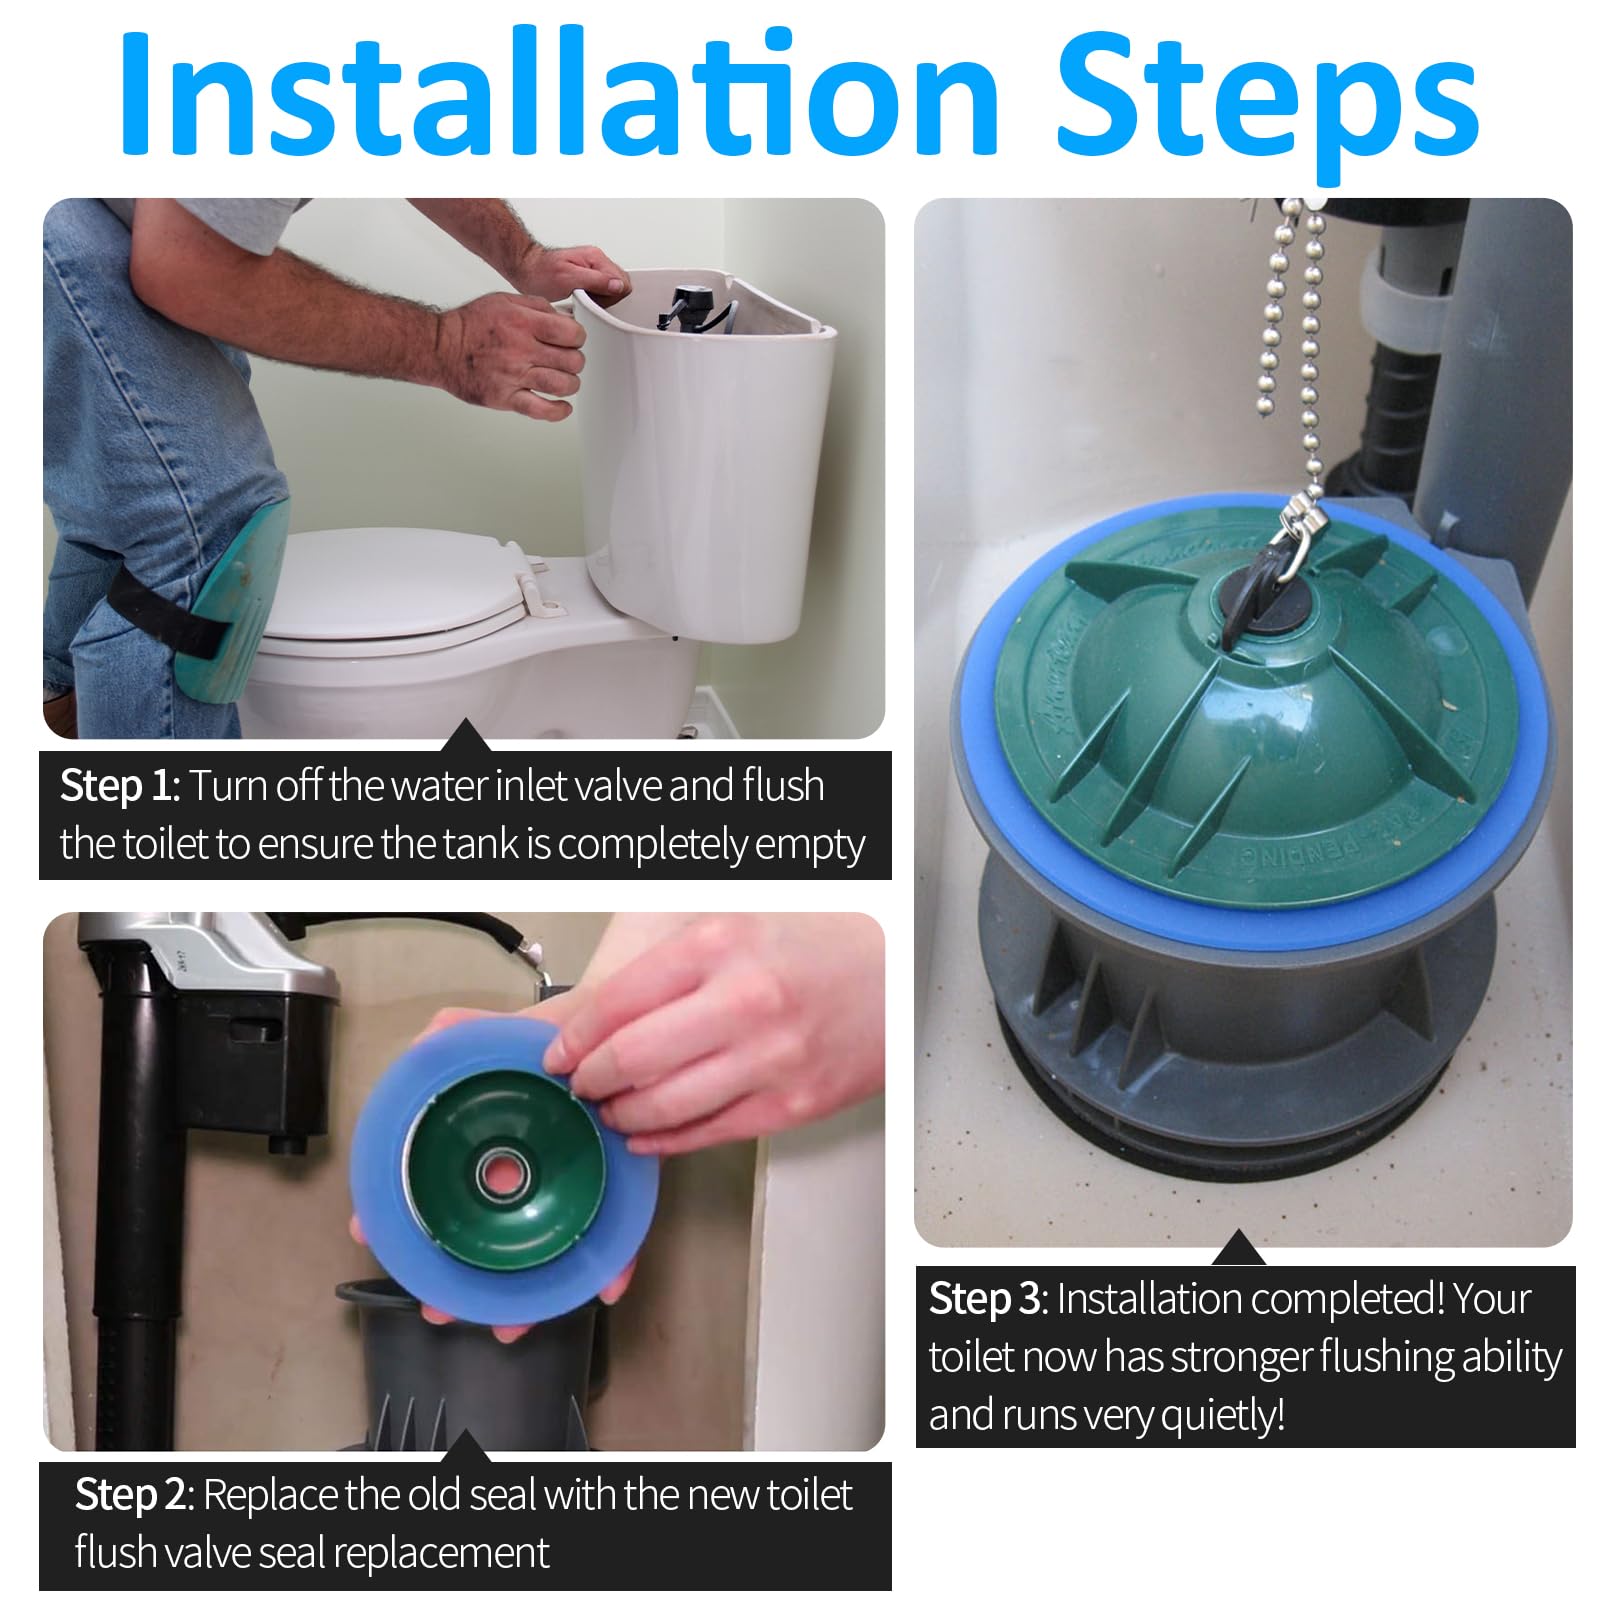
Step 1: Shutting Off the Water Supply and Draining the Tank
The first physical step of the replacement process is isolating the toilet from your home's water pressure. Locate the shut-off valve on the wall or floor directly beneath the left side of the toilet tank. Turn the handle firmly clockwise until it stops.
Once the water is off, flush the toilet and hold down the handle to drain as much water out of the tank as possible. Because gravity cannot drain the final cup or two of water sitting in the bottom trough of the tank, use a small plastic cup or a sponge to bail out the remaining liquid into your bucket. Soak up the absolute last traces of moisture with an old towel. A dry tank prevents water from spilling onto your bathroom floor when you disconnect the bottom locknut and water supply line.
Place a folded towel directly underneath the supply line connection. Place your bucket right beneath the water inlet shank as well. This catches any trapped water remaining inside the flexible supply hose.
Step 2: Removing the Old Fill Valve
With the tank drained and protected by towels, you can disconnect the plumbing connections attached to the bottom of the toilet tank.
Disconnecting the Supply Line and Locknut
- Unscrew the Supply Line Coupling Nut: Using your adjustable wrench, grip the plastic or metal coupling nut connecting the flexible water supply line to the threaded bottom shank of the fill valve. Turn the nut counterclockwise. Allow any residual water in the line to drain into your bucket or onto the towel. If the supply line is old, kinked, or shows signs of rubber degradation, plan to replace the supply line concurrently with the fill valve.
- Remove the Plastic Locknut: Look underneath the toilet tank where the threaded shank of the fill valve protrudes through the porcelain hole. Unscrew the large plastic mounting locknut by turning it counterclockwise. You may need to hold the body of the fill valve inside the tank with one hand to prevent it from spinning while you loosen the nut underneath.
- Disconnect the Refill Tube: Inside the tank, pull the thin plastic refill tube off the overflow pipe. This tube directs a small stream of water into the vertical overflow pipe during the refill cycle to maintain the water level in the toilet bowl.
- Pull Out the Old Valve: Lift the old fill valve straight up and out of the toilet tank. Take it over to your sink or bucket, as it will likely still contain dirty water inside its hollow shaft.
Step 3: Inspecting and Cleaning the Tank Mounting Area
Before installing the new fill valve, take advantage of the open access hole to clean the porcelain tank bottom. Mineral scale, lime deposits, and mold frequently accumulate around the tank hole where the old rubber gasket sat.
Wipe down the interior bottom surface of the tank using a non-scratch scouring pad or a sponge with mild soapy water or white vinegar. A clean, smooth porcelain surface ensures that the rubber gasket of the new fill valve creates a 100 percent watertight seal. Check the plastic or rubber washer that comes with your new fill valve to make sure it sits flat against the bottom shank without any debris trapped underneath it.
Step 4: Installing and Adjusting the New Fill Valve
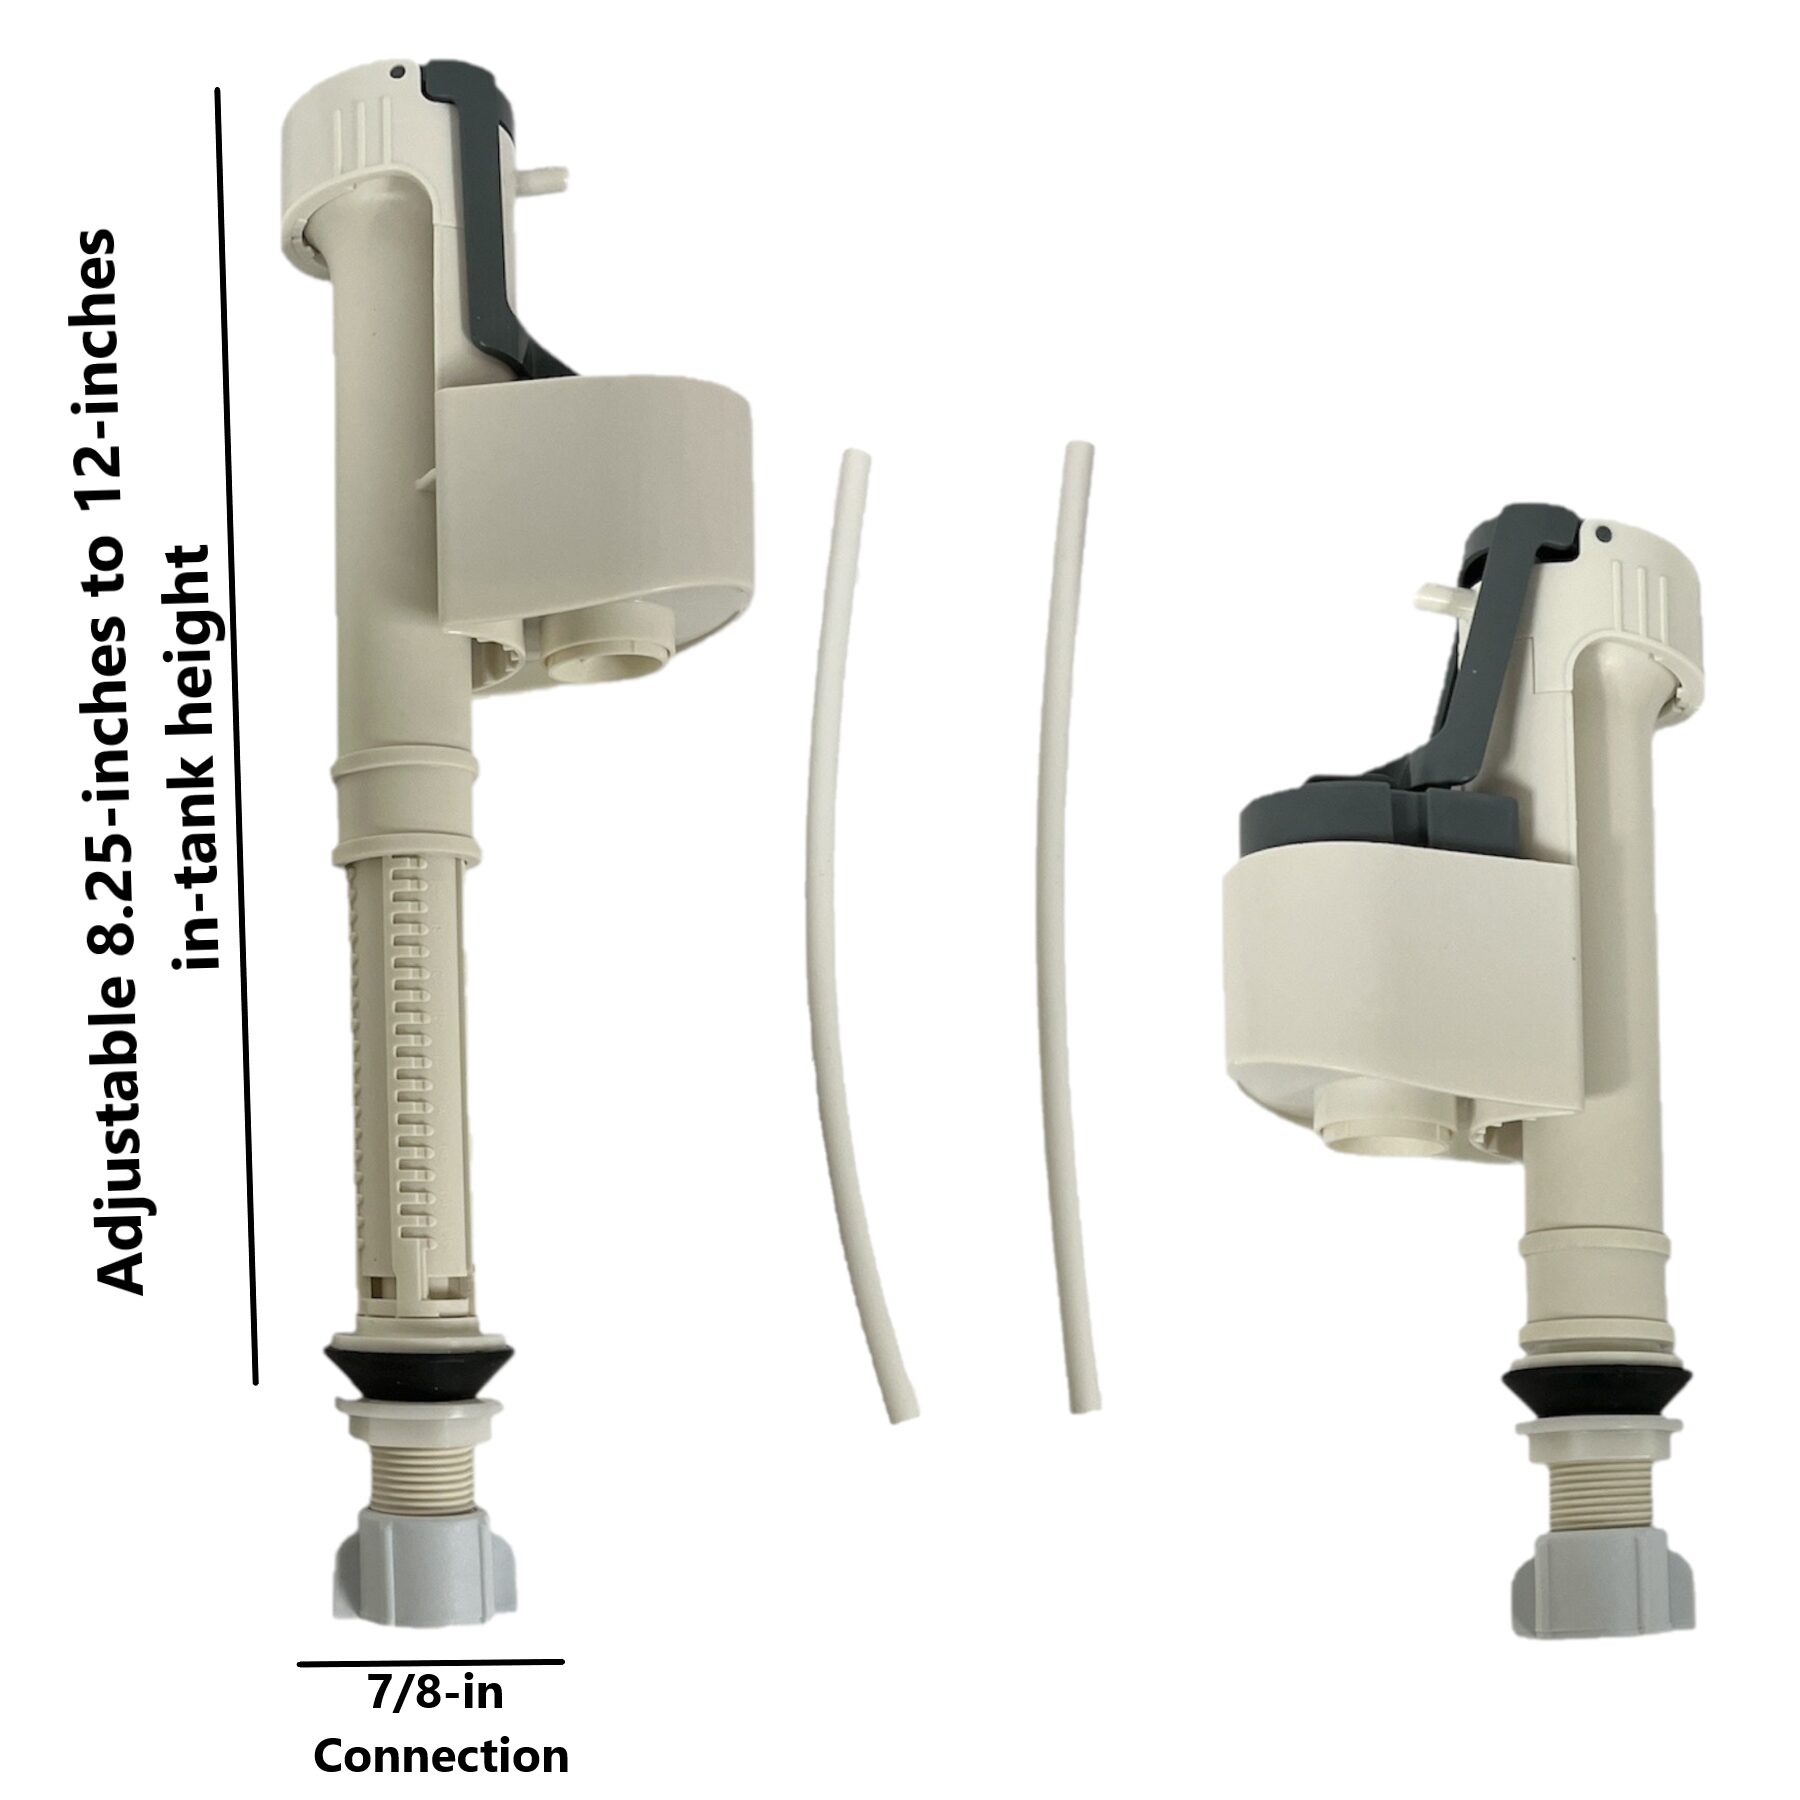
Modern universal fill valves feature an adjustable height design to fit various toilet tank depths. Before putting the valve into the tank, adjust its physical height to match your specific American Standard model.
Adjusting Height and Positioning
- Measure and Set Height: Hold the new fill valve next to the old one. Twist the upper body of the valve counterclockwise to unlock it, slide it up or down so the critical level mark (often stamped on the valve body as "CL") aligns approximately one inch above the top of the overflow pipe, then twist clockwise to lock it in place. The top of the fill valve cap must sit higher than the overflow pipe to prevent cross-contamination of the water supply.
- Insert the Valve: Place the threaded shank through the hole in the bottom left of the toilet tank, ensuring the rubber washer is positioned on the inside bottom of the tank. The float cup must move freely up and down without touching the tank walls, the flush valve assembly, or the trip lever chain.
- Secure the Locknut: Thread the plastic mounting locknut onto the shank underneath the tank. Tighten it by hand until it is snug. Give it an additional quarter-turn with your adjustable wrench, but do not overtighten. Overtightening plastic locknuts can crack the porcelain tank, resulting in a costly fixture replacement.
Step 5: Reconnecting the Water Supply and Refill Tube
Once the fill valve is physically secured to the tank base, reattach the external and internal water connections.
- Attach the Refill Tube: Push one end of the flexible refill tube onto the nipple port on the new fill valve. Clip the plastic refill clip onto the top rim of the overflow pipe. Cut the tube to length if it is excessively long, ensuring it does not kink or dip below the water line inside the overflow pipe (which can create a siphon effect).
- Reconnect the Water Supply Line: Screw the flexible water supply line coupling nut onto the threaded shank of the fill valve. Tighten it by hand first to ensure the threads catch properly, then gently snug it with your wrench. Do not cross-thread the plastic or brass fitting.
Step 6: Testing, Calibrating, and Troubleshooting
With all connections secured, it is time to restore water service and test your installation.
Water Restoration and Level Calibration
- Slowly open the wall shut-off valve by turning it counterclockwise. Watch the connection points underneath the tank closely for any signs of weeping or dripping water.
- Allow the tank to fill completely. Listen to the shut-off mechanism; the valve should shut off completely and abruptly when the water reaches the designated fill line marked on the inside rear of the porcelain tank.
- Adjust the Water Level: If the water level is too low or too high, locate the adjustment screw or clip on the fill valve. Turning the adjustment screw clockwise lowers the float and the water level; turning it counterclockwise raises the float and increases the water level. The correct water level should sit approximately one-half inch to one inch below the top of the overflow pipe.
Troubleshooting Common Installation Issues
- Continuous Hissing or Running: If water continues to trickle into the bowl after the tank is full, debris may be trapped inside the valve diaphragm. Turn off the water, snap off the top cap of the valve following manufacturer instructions, flush the line by turning the water on briefly with a cup over the valve, and reassemble.
- Slow Filling: Check the wall shut-off valve to ensure it is fully open. Alternatively, sediment from older galvanized or copper supply pipes may clog the internal screen filter inside the fill valve inlet shank.
- Leaking at the Bottom Nut: If water drips from the bottom locknut, tighten it slightly with your wrench. If it continues to leak, the rubber gasket inside the tank may be pinched or misaligned.
Comparison of Toilet Fill Valve Types
| Valve Type | Mechanism | Pros | Cons | Best Suited For |
|---|---|---|---|---|
| Vertical Float Cup (e.g., Fluidmaster 400A) | Plastic cylinder float sliding on a vertical shaft | Highly reliable, easy height adjustment, inexpensive, widely available | Can be noisy during refill cycle; float can catch on tank levers if misaligned | Most modern American Standard gravity-flush toilets |
| Traditional Brass Ballcock | Copper or plastic ball floating on the end of a horizontal arm | Durable historical design, repairable leather/rubber washers | Bulky mechanism takes up tank space; prone to sticking and water hammer | Vintage or antique American Standard toilets |
| Fluidmaster PerforMAX | High-performance float cup with integrated bowl water adjuster | Maximizes flush performance, adjustable refill rate, quiet operation | Slightly more expensive than standard models | High-efficiency American Standard toilets requiring precise bowl refill tuning |
Frequently Asked Questions
How do I know if my American Standard toilet fill valve needs to be replaced?
Signs that your fill valve requires replacement include a toilet that constantly runs or makes a faint hissing sound, a tank that takes an excessively long time to refill after flushing, water failing to shut off entirely, or visible cracks and mineral degradation on the plastic valve body.
Can I replace an American Standard fill valve without turning off the main water supply?
Yes, provided the dedicated shut-off valve located directly on the wall behind your toilet is fully functional and turns off the water completely. If your wall valve is stuck, corroded, or leaks when manipulated, you must shut off your home's main water supply before starting the repair.
Do I need to replace the entire fill valve, or can I just fix the old one?
While minor issues like a worn diaphragm seal can sometimes be fixed with a replacement cap assembly, replacing the entire fill valve unit takes only about 15 to 20 minutes and costs very little. Installing a brand-new valve provides a long-term fix and eliminates the risk of aging plastic snapping unexpectedly.
Why is water running into the overflow tube after filling?
If water continues spilling into the overflow tube even after the float reaches the top, your water level is set too high, or the fill valve shut-off mechanism is stuck. Adjust the water level screw on the valve downward so the water stops at least half an inch below the top of the overflow pipe.
What should I do if the plastic locknut underneath the tank is stuck?
If mineral deposits have seized the plastic locknut, spray a small amount of penetrating oil or white vinegar around the threads and let it sit for ten minutes. Use your adjustable wrench carefully, supporting the inside valve body to prevent it from twisting against the fragile porcelain tank.
Conclusion and Next Actions
Replacing the fill valve in an American Standard toilet is a straightforward, cost-effective plumbing maintenance project that restores proper flush performance and prevents wasted water. By systematically shutting off the supply, draining the tank, adjusting the new valve to the correct height, and testing for leaks, you complete the repair safely and efficiently. If you encounter cracked porcelain, stripped threads, or a broken wall shut-off valve during the process, turn off the main water supply and consult a licensed professional plumber immediately.
Image Gallery
Select an image to open it in a new tab.



Simon Caldwell
Enterprise Technology and Systems Editor
