
Repairing a fieldstone foundation safely requires shoring up structural loads, removing degraded lime mortar, repointing with compatible breathable materials like type O mortar or lime putty, and managing moisture to prevent future destabilization. Unlike modern poured concrete, fieldstone walls rely on gravity, friction, and interdependent stone placement rather than tensile strength.
Fieldstone foundations are defining features of historic homes, barns, and rural structures built centuries ago. While these dry-laid or lime-mortared stone walls possess incredible load-bearing capacity and timeless aesthetic charm, time, water infiltration, and soil pressure inevitably take a toll. Knowing how to repair a fieldstone foundation safely is essential for preserving structural integrity without causing irreversible damage to historic masonry. Because these walls behave completely differently from modern poured concrete or concrete block, standard modern repair techniques can easily cause structural failure. A safe, successful restoration demands an understanding of historic masonry physics, meticulous preparation, and the right materials.
Understanding the Unique Physics of Fieldstone Foundations
Before picking up a trowel or a chisel, you must understand how a fieldstone foundation functions. Unlike modern poured concrete walls that act as a single, rigid, monolithic unit, a fieldstone foundation is a dynamic assembly. Irregularly shaped rocks are fitted together like a massive three-dimensional puzzle, held in place by gravity, internal friction, and mortar.
Crucially, historic fieldstone foundations were almost universally built using lime mortar, not modern Portland cement. Lime mortar is soft, flexible, and vapor-permeable. As the ground freezes, thaws, and shifts, a lime-mortared stone wall flexes slightly to accommodate ground movement. Furthermore, lime mortar allows moisture traveling up from the ground to evaporate harmlessly through the joints.
The Dangers of Incompatible Materials
The single most common and destructive mistake homeowners make when repairing stone foundations is using modern Portland cement for repointing or patching. Portland cement is rigid, dense, and impermeable. If you pack hard Portland cement into the soft joints of a fieldstone wall, several catastrophic things happen:
- Loss of Flexibility: When the ground moves, the rigid cement cannot flex. Instead, the stress transfers directly into the surrounding stones, causing them to crack, split, or pop out of alignment.
- Trapped Moisture: Portland cement traps groundwater inside the wall. During freezing weather, this trapped moisture expands, a process known as freeze-thaw spalling, which shatters the stones and destroys the surrounding mortar from the inside out.
- Irreversible Damage: Modern cement bonds aggressively to old stone. If you need to remove it later, the chisel will usually destroy the face of the historic stone in the process.
Essential Safety Preparations and Structural Assessment
Safety in masonry repair operates on two levels: personal physical safety and structural safety. Fieldstone walls are heavy, unstable when disturbed, and frequently located in cramped, damp, and hazardous basements.
Personal Protective Equipment (PPE) and Environmental Hazards
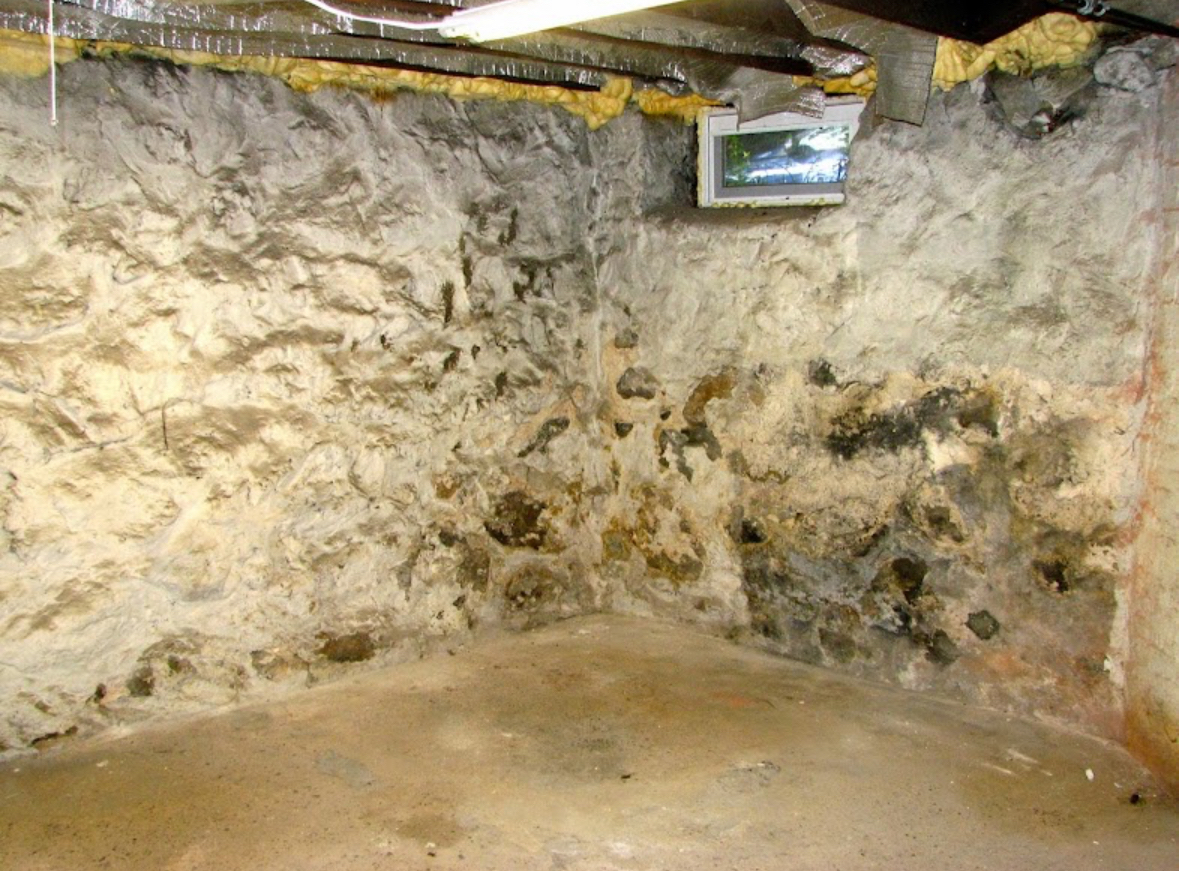
Basements containing crumbling stone foundations often harbor mold, mildew, historic rodent debris, and radon gas. Always wear a properly fitted respirator (N95 or P100 depending on mold and dust conditions), heavy-duty work gloves, safety glasses, and steel-toed boots. When chipping out old mortar, airborne silica dust is a severe health hazard, making dust extraction and respiratory protection mandatory.
Structural Assessment and Shoring
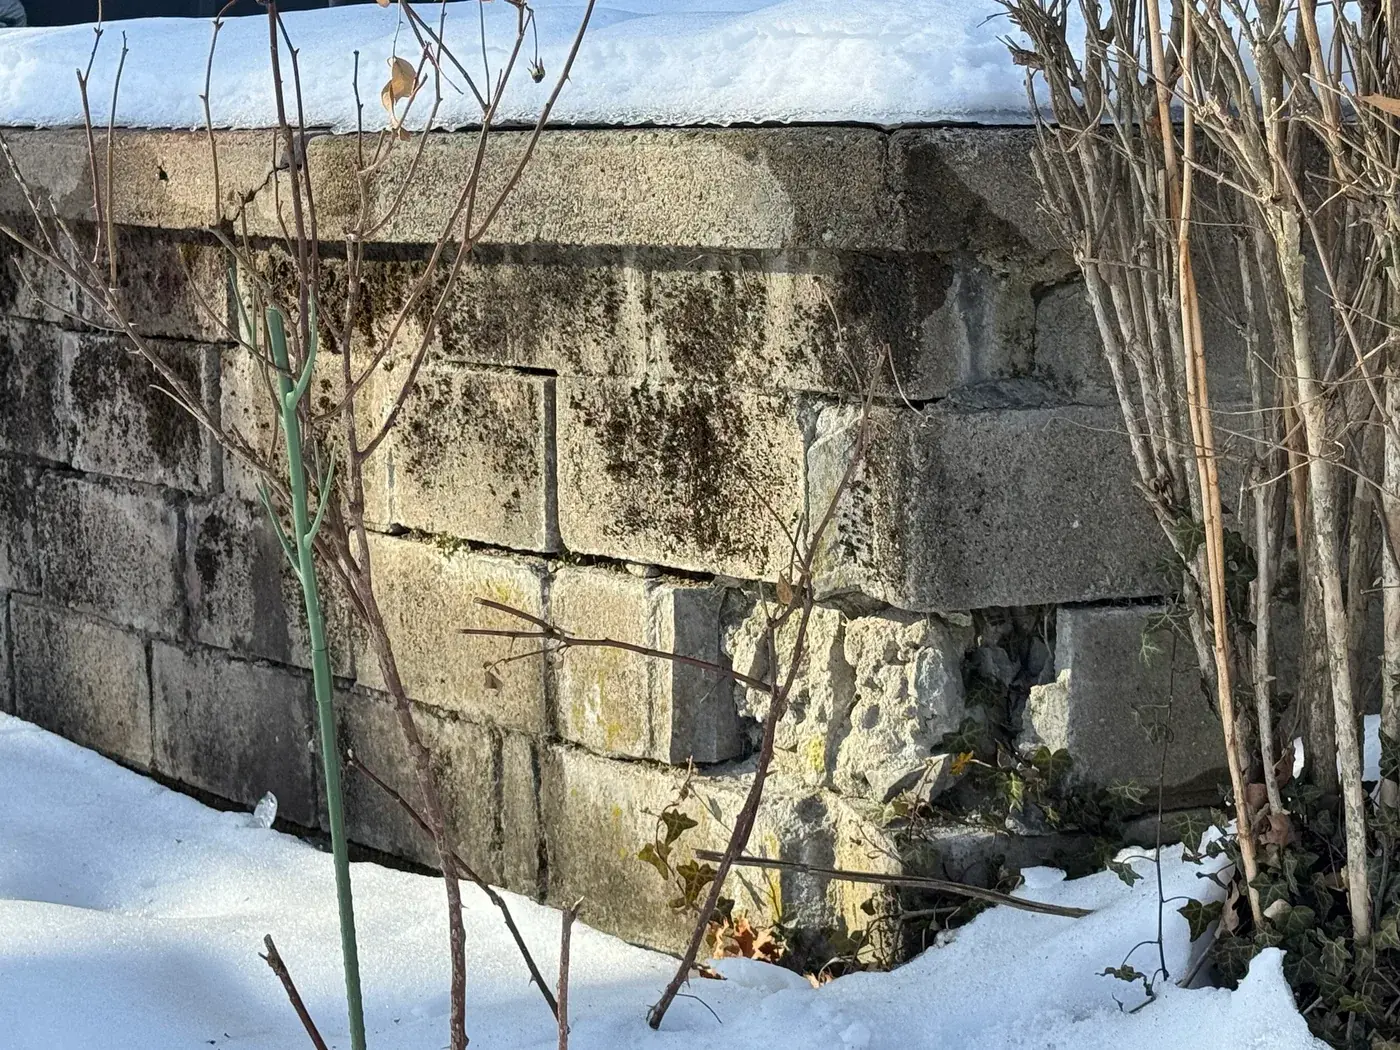
Never assume a fieldstone wall is self-supporting while you work on it. If a section of mortar has completely eroded, the stones are essentially loose rocks held in place only by lateral pressure from the surrounding soil.
- Inspect for Bulging and Bowing: Walk the perimeter of the foundation inside and out. Use a long straightedge or a string line to check for bowing inward or outward. A wall that bulges more than a few inches out of plumb, or one with visible diagonal shearing cracks, requires immediate professional structural engineering intervention before any DIY repair begins.
- Install Temporary Shoring: If you plan to rebuild a localized section of a wall or replace a severely compromised corner, you must install temporary steel or timber shoring posts (lally columns) with beam headers to support the floor joists and sill plates above the work area. Never remove more than two to three feet of stone at one time in a load-bearing wall.
Step-by-Step Guide to Safe Fieldstone Repair
Repairing a fieldstone foundation generally involves repointing (replacing degraded mortar joints) and localized resetting of loose stones. Major structural rebuilding should be left to specialized historic masons.
Phase 1: Raking Out Old Mortar
You must remove damaged, soft, or crumbly mortar to create a clean, deep cavity for the new mortar to grip.
- Tools Needed: Manual joint rakers, masonry chisels, a lightweight mason’s hammer, and a HEPA-filtered vacuum or wire brush. Avoid high-powered angle grinders unless you are highly experienced; a slip with an angle grinder can permanently mar the face of historic stones.
- The Process: Carefully chip away loose, crumbling mortar from the joints. Rake out the mortar to a depth of at least twice the width of the joint—typically 1 to 2 inches deep. The cavity must have a squared-back profile rather than a V-shape to ensure the new mortar locks securely into place.
- Cleaning: Flush the raked joints thoroughly with water or use a HEPA vacuum to remove all dust, sand, and loose debris. A dusty joint will prevent the new mortar from bonding.
Phase 2: Mixing and Selecting the Right Mortar
Selecting the correct mortar mix is the most critical technical step in the entire process.
- The Formula: For historic fieldstone, use a lime-rich mortar. A standard historic restoration mix is 1 part hydraulic lime (such as NHL 3.5) to 2 or 3 parts clean, well-graded mason’s sand. Avoid high-strength Portland cement mixes. Type O mortar can be acceptable for some mid-20th-century stone foundations, but natural hydraulic lime (NHL) is the gold standard for pre-1900 structures.
- Mixing Consistency: Mix the dry ingredients thoroughly first, then add clean water slowly until the mixture reaches the consistency of damp earth or stiff peanut butter. It should hold its shape when squeezed in a gloved hand without oozing water or crumbling apart.
Phase 3: Repointing the Stone Joints
Applying mortar to a fieldstone wall requires patience and an understanding of historic aesthetics.
- Dampening the Wall: Mist the stone joints with clean water shortly before applying the mortar. If the old stones and remaining mortar are bone-dry, they will suck the moisture straight out of your fresh mix, causing it to chalk, crack, and fail prematurely.
- Packing the Mortar: Using a small pointing trowel and a hawk, or a masonry grout bag for deep voids, push the mortar firmly into the back of the cleaned joints. Compact the mortar tightly in layers (lifts) if the joints are deep, ensuring there are no air pockets.
- Tooling and Finishing: Allow the mortar to set up partially (until it reaches a thumbprint-hard consistency). Then, use a joint jointer or a stiff brush to finish the surface. Crucial Aesthetic Rule: Recess the mortar slightly behind the face of the stones. Never smear mortar over the faces of the stones (a sloppy technique known as "ribbon pointing" or "parging over"). The stones should remain proud and visible, showcasing their natural texture and lines.
| Mortar Type | Composition & Characteristics | Best Use Case | Avoid On |
|---|---|---|---|
| Natural Hydraulic Lime (NHL 3.5) | Highly vapor-permeable, flexible, sets via carbonation and chemical reaction. | Pre-1900 historic fieldstone foundations. | Modern poured concrete foundations. |
| Type O Mortar | Low-compressive strength, high lime content, good flexibility. | Late 19th to early 20th-century stone and brick walls. | High-load structural retaining walls. |
| Type S / M Portland Cement | Extremely rigid, high compressive strength, impermeable, waterproof. | Modern concrete block and below-grade structural footings. | Historic fieldstone and lime-mortared walls. |
Managing Moisture and Drainage Around Fieldstone
The root cause of 90% of fieldstone foundation failures is water. Because fieldstone walls lack waterproofing membranes on the exterior, managing surface and subsurface water is mandatory to protect your repair work.
Exterior Grading and Gutters
- Slope Away from the Foundation: Ensure the ground immediately surrounding your foundation slopes away at a minimum drop of 6 inches over the first 10 feet.
- Extend Downspouts: Roof runoff is the single largest contributor to basement moisture. Route all roof downspouts at least 6 to 10 feet away from the foundation perimeter via underground solid pipes or splash blocks.
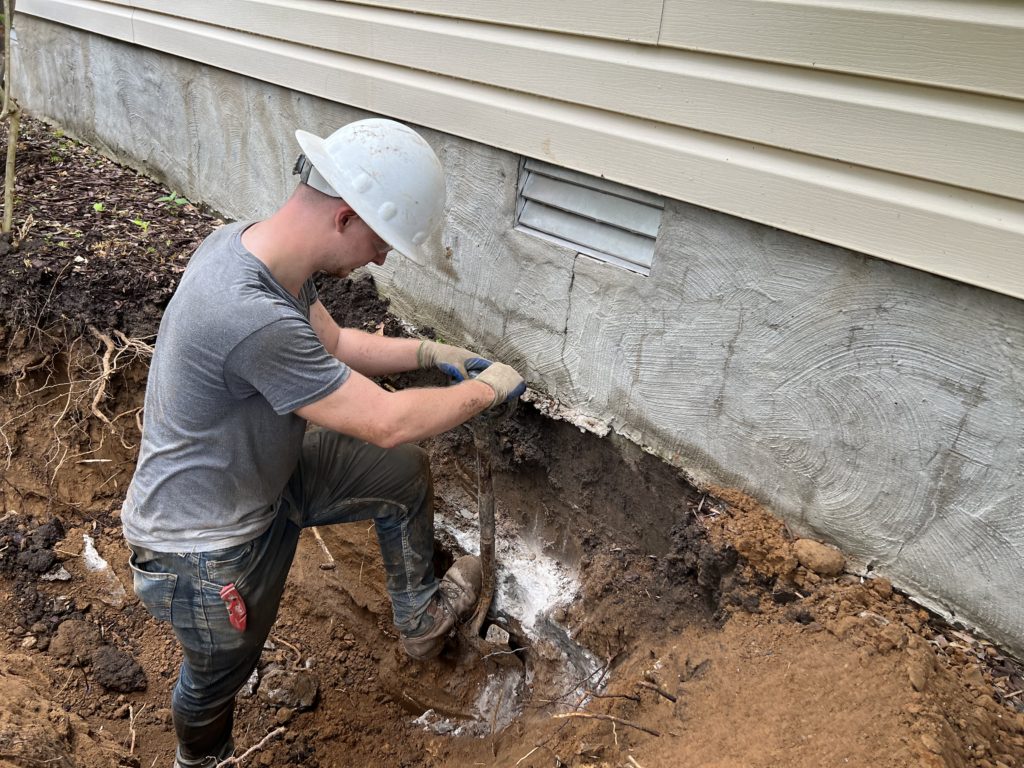
- Manage Groundwater: If your property sits in a high-water-table area or against a slope, installing a French drain on the exterior or an interior perimeter drain tile system connected to a sump pump will relieve hydrostatic pressure against the stone walls.
Common Mistakes to Avoid
When undertaking fieldstone foundation repairs, avoiding common pitfalls saves time, money, and structural integrity.
- Parging Over Damaged Walls: Applying a thick coat of concrete plaster (parging) over the face of a failing stone wall hides the problem while trapping moisture behind the concrete, accelerating total wall collapse.
- Ignoring Drainage: Repointing a wall without fixing exterior water issues means the new mortar will wash out or freeze and crack within a few seasons.
- Using Expanding Foams or Silicones: Packing modern sealants, caulks, or expanding polyurethane foams into large stone gaps traps moisture and looks unsightly. Use proper stone and mortar packing instead.
- Rushing the Curing Process: Lime mortar cures through carbonation (absorbing carbon dioxide from the air), not just drying. Keep fresh mortar damp by misting it lightly with water for 3 to 5 days after application to ensure maximum strength development.
Frequently Asked Questions
Can I repair a bulging fieldstone foundation myself?
No. A bulging or bowing fieldstone wall indicates a serious structural failure driven by exterior soil pressure. Attempting to DIY a bulging wall can lead to catastrophic collapse. Consult a structural engineer specializing in historic foundations immediately.
Why is my fieldstone foundation turning to powder?
If the mortar or stones are turning to powder, it is usually caused by chronic moisture infiltration combined with freeze-thaw cycles or the historical use of inferior lime mixed with excessive impurities. Once lime mortar loses its chemical bond, it must be completely raked out and replaced.
Can I use hydraulic cement to stop water leaks in fieldstone?
Hydraulic cement sets very fast and creates a rigid, waterproof plug. While it can temporarily stop an active water leak in a concrete wall, applying it to isolated spots on a fieldstone wall creates hard, rigid anchor points that stress the surrounding soft lime mortar during ground shifts, causing new leaks nearby.
How often does a fieldstone foundation need repointing?
A well-maintained fieldstone foundation repointed with breathable lime mortar can last anywhere from 50 to 100 years before requiring selective maintenance, depending heavily on local climate, groundwater conditions, and roof drainage management.
Next Actions and Professional Guidance
If your fieldstone foundation exhibits minor mortar degradation, dusting joints, or small gaps, gathering the correct lime mortar mix, safety gear, and hand tools allows you to tackle the project methodically section by section. However, if you observe severe wall displacement, major structural cracking, sinking corners, or shifting floor joists, stop immediately and contact a licensed structural engineer or a preservation mason experienced in historic stone stabilization.
Image Gallery
Select an image to open it in a new tab.



Ingrid Bjornson
Global Cyber Policy and Regulation Analyst
