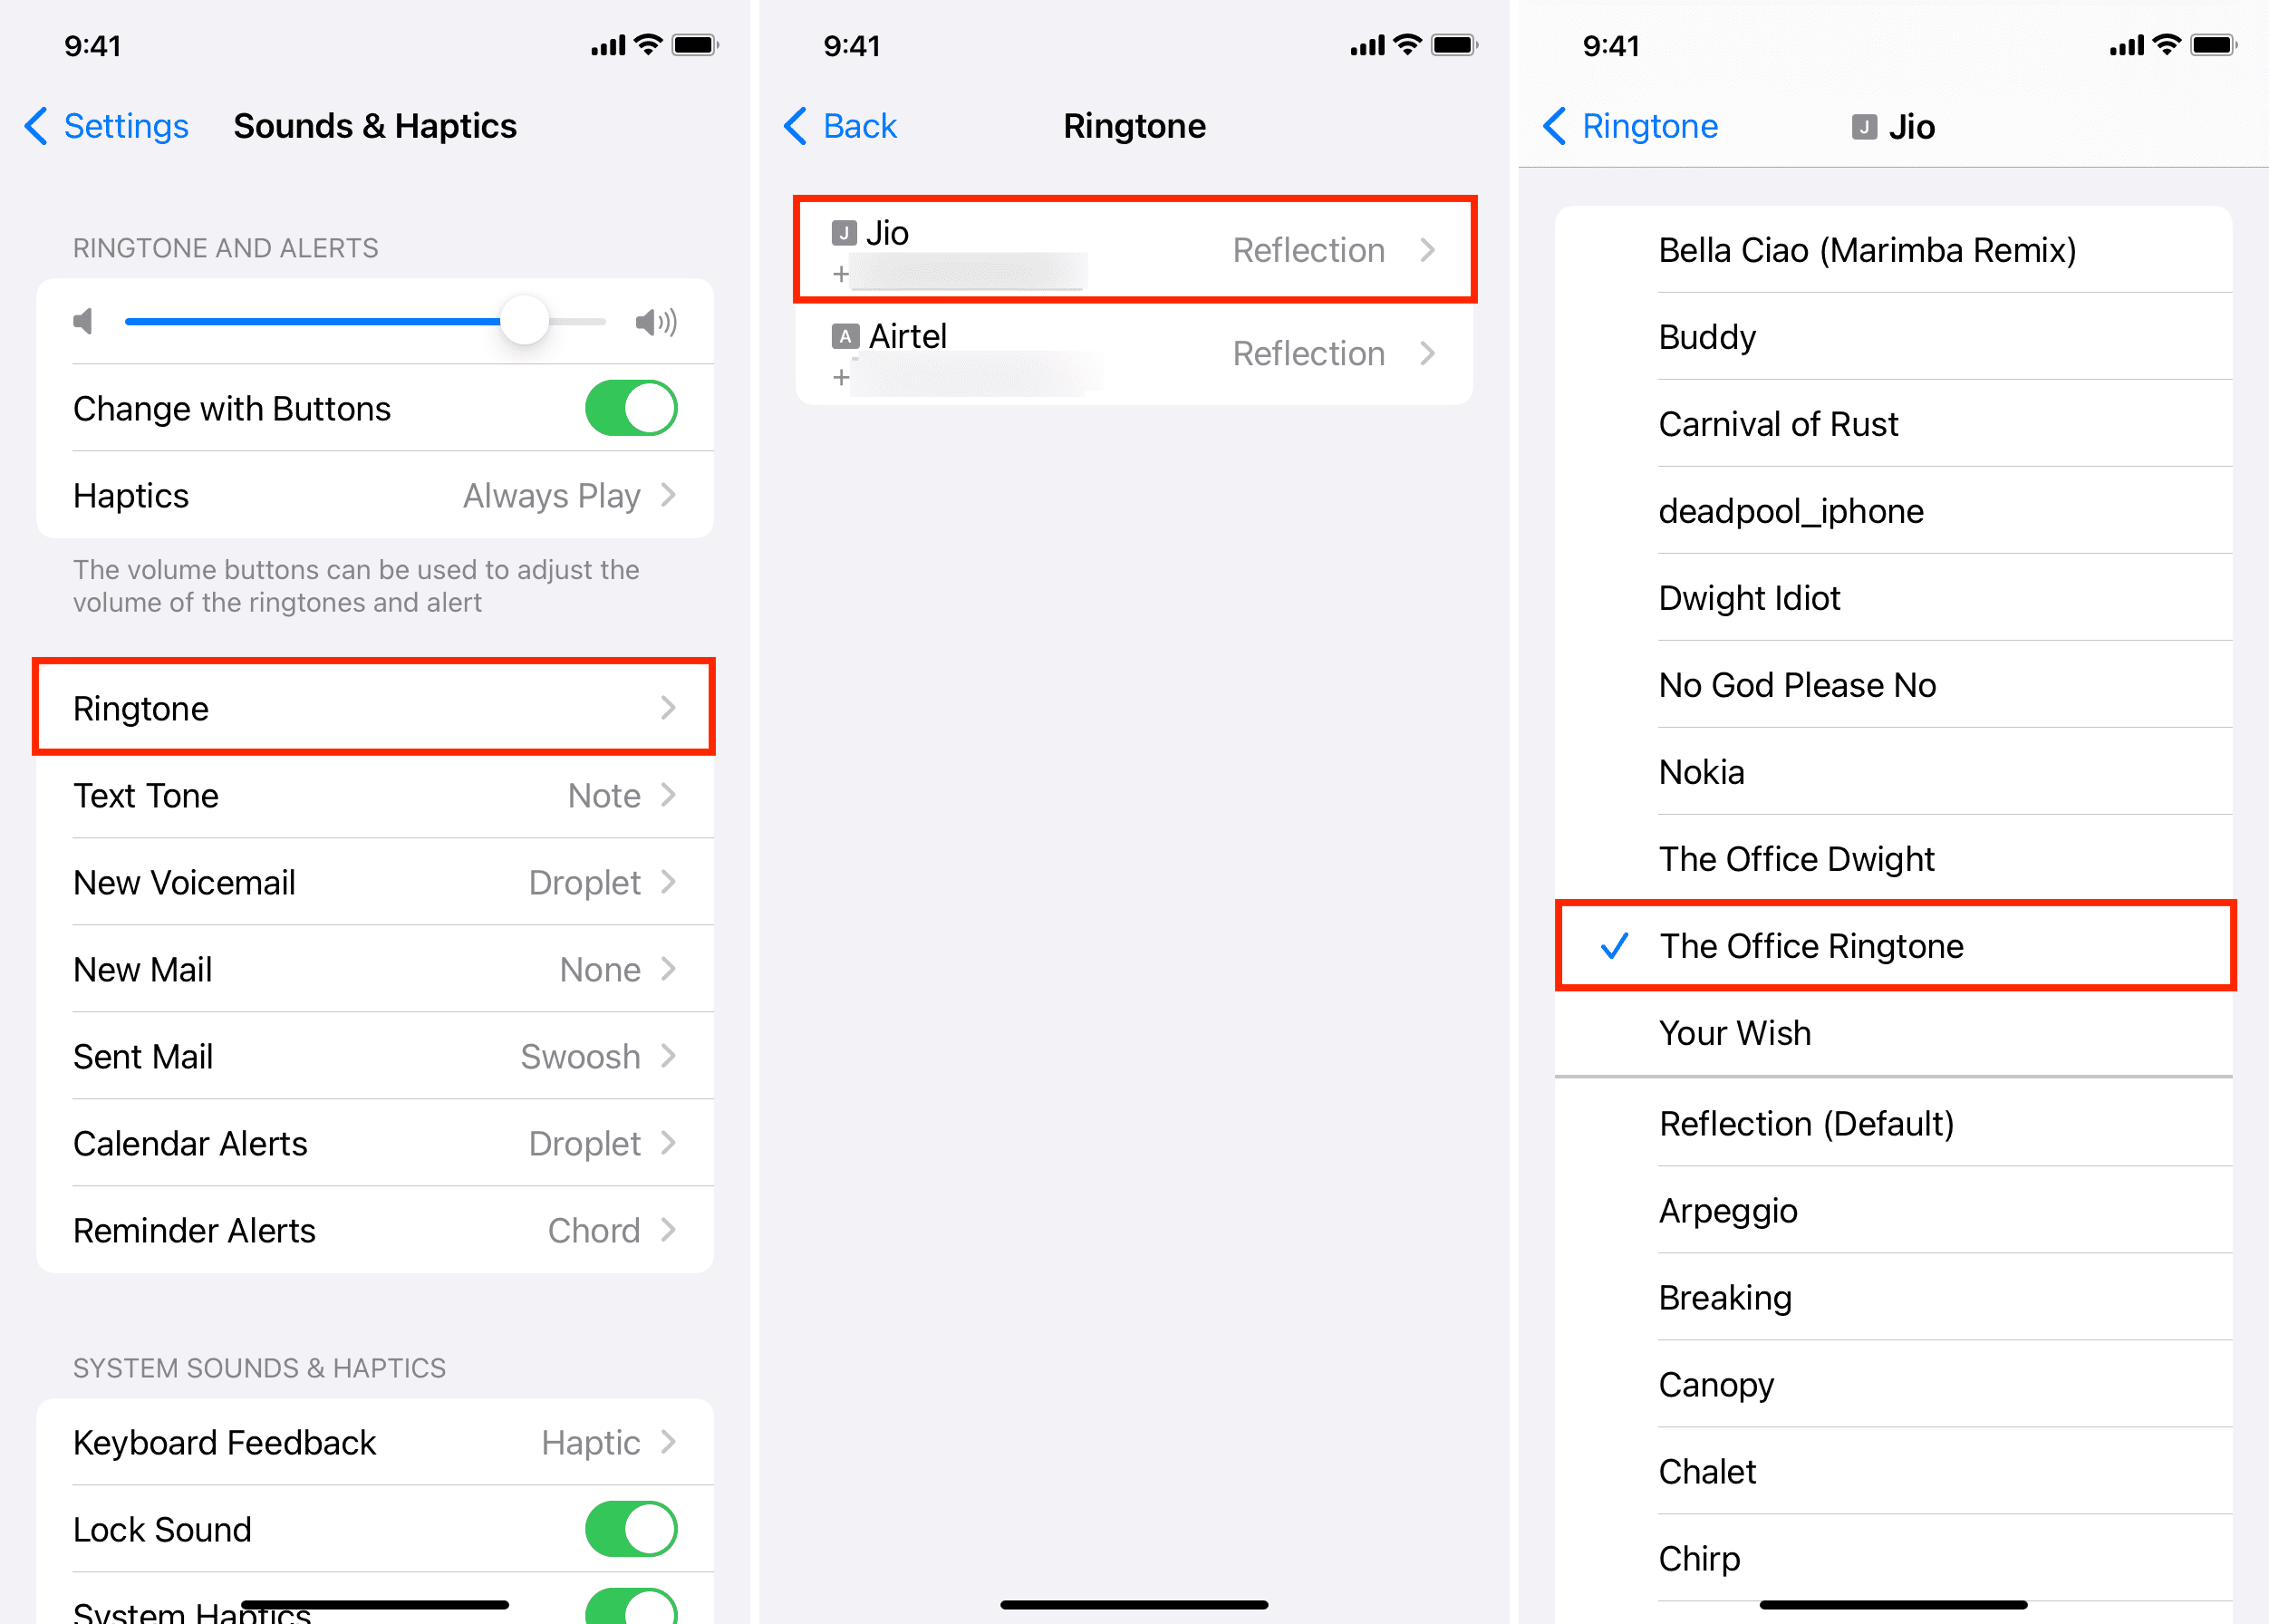
Setting a personalized ringtone on an iPhone involves assigning a custom audio file, a purchased tone, or a contact-specific alert so you can immediately identify who is calling without looking at your screen. Whether you want to use a song from your library, convert an audio clip using GarageBand, or buy a tone directly from the iTunes Store, iOS provides multiple pathways to customize your audio experience.
Introduction to iPhone Ringtone Customization
Apple devices offer deep customization options, yet setting up custom ringtones has historically involved a few specific steps across iOS and macOS or Windows ecosystems. While the default "Opening" and "Marimba" tones are universally recognizable, personalizing your device lets you assign specific audio cues to family members, close friends, or business contacts.
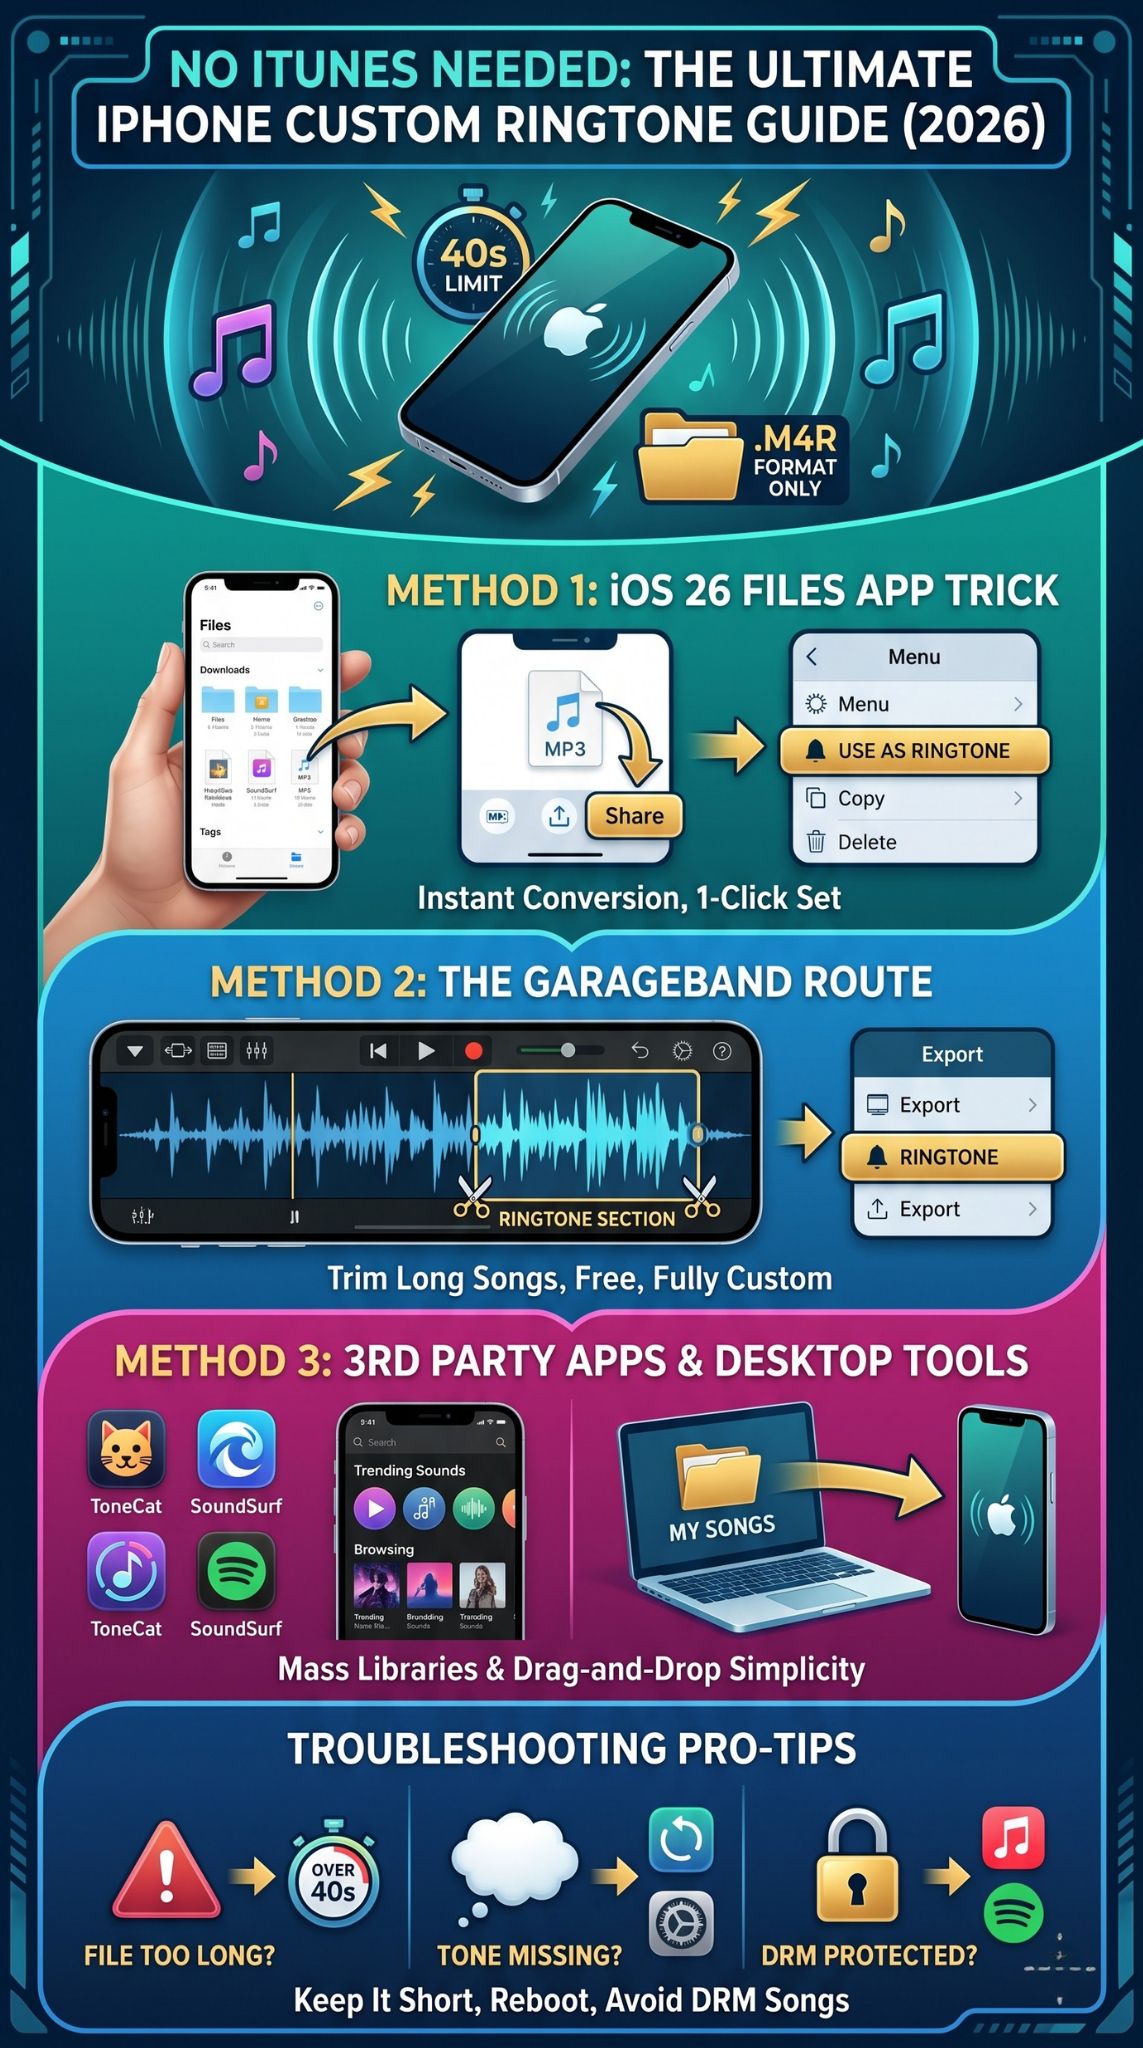
Understanding how ringtones work on an iPhone requires looking at file formats and system directories. iOS requires ringtones to be in the .m4r format and typically under 40 seconds in length. By leveraging native applications like the iTunes Store, Apple Music, and GarageBand, users can bypass third-party desktop software and create custom tones directly on their devices or sync them seamlessly via a computer.
Understanding Ringtone Prerequisites and File Formats
Before attempting to create or assign a personalized ringtone, you must understand the technical specifications that iOS enforces. Unlike Android devices, which frequently allow users to set raw .mp3 or .wav files as ringtones simply by selecting them in a file manager, Apple enforces strict container and extension requirements.
Supported Formats and Specifications
- File Extension: Ringtones must use the
.m4rfile extension. An.m4rfile is structurally identical to an AAC.m4aaudio file, but iOS specifically recognizes the.m4rextension as an eligible alert sound. - Duration Limit: Standard ringtones must not exceed 40 seconds. Text tones and alert sounds must be even shorter, generally lasting 30 seconds or less.
- Digital Rights Management (DRM): Songs protected by Apple Music DRM cannot be converted into ringtones. The source audio file must be DRM-free, such as an unprotected track purchased from the iTunes Store or imported from a personal audio collection.
Comparison of Ringtone Creation Methods
| Method | Cost | Complexity | Requires Computer? | Time Required |
|---|---|---|---|---|
| iTunes Store Purchase | Paid ($0.99–$1.29 per tone) | Very Low | No | 1 minute |
| GarageBand iOS App | Free | Medium | No | 5–10 minutes |
| Mac/PC File Conversion | Free | Medium-High | Yes | 5–10 minutes |

Method 1: Purchasing Ringtones Directly on Your iPhone
The most straightforward method for acquiring a personalized ringtone without editing audio files yourself is purchasing one directly through the built-in iTunes Store app on your iPhone.
Step-by-Step Purchasing Guide
- Open the iTunes Store app on your iPhone. If you cannot find the app, check your App Library or use Spotlight Search to locate it.
- Tap the More tab (represented by three dots) in the bottom right corner, then select Tones.
- Browse or search for the song or artist you want. You can tap the track to preview the 30-second snippet designated as the ringtone.
- Tap the price button next to the desired tone.
- Authenticate the purchase using Face ID, Touch ID, or your Apple ID password.
- Once purchased, a prompt will appear asking if you want to Set as Default Ringtone, Set as Default Text Tone, or Assign to a Contact. Select your preferred option, or choose Done to save it to your library for later use.
Method 2: Creating Free Ringtones Using GarageBand on iOS
If you want to use a specific song or audio clip from your personal files without paying for a pre-made ringtone, you can use Apple's free GarageBand application for iOS. This method allows you to import an audio track, trim it to the required 40-second window, and export it directly as a ringtone.
Preparing Your Audio File
- Ensure the audio file (such as an
.mp3or.m4afile) is saved locally on your iPhone within the Files app, or in iCloud Drive. - Download and install GarageBand from the App Store if it is not already installed on your device.
Recording and Exporting the Ringtone
- Open GarageBand and swipe through the instrument selector until you find Audio Recorder. Tap it.
- Tap the Tracks icon in the upper-left corner (it looks like three vertical brick lines) to switch from the recording view to the timeline view.
- Tap the Loop browser icon in the upper-right corner (resembling a small loop or rope knot).
- Select the Files tab at the top of the browser window, then tap Browse items from the Files app to locate your audio track.
- Touch and hold the audio file, then drag it onto the timeline track to import it.
- Tap the track segment to adjust its length. Drag the left and right edge handles to isolate the exact 30-to-40-second segment you want to use.
- Tap the downward-facing triangle icon in the upper-left corner and select My Songs. Your project will automatically save.
- Touch and hold your saved project thumbnail, then tap Share from the pop-up menu.
- Select the Ringtone icon (shaped like a bell).
- If the song is longer than 30–40 seconds, a prompt will appear stating that the ringtone needs to be shortened. Tap Continue, and GarageBand will automatically trim it for you.
- Name your ringtone, tap Export, and once the export is successful, tap Use sound as... to assign it immediately as your standard ringtone or text tone.
Method 3: Assigning Custom Tones to Specific Contacts
Once you have added personalized ringtones to your device, you can assign them to individual contacts. This ensures that you instantly know who is calling based on the audio cue alone.
- Open the Contacts app on your iPhone, or open the Phone app and tap the Contacts tab at the bottom.
- Search for and tap the name of the contact you want to personalize.
- Tap Edit in the upper-right corner of the contact card.
- Scroll down and tap on Ringtone (which currently displays "Default").
- Select the custom ringtone you purchased, created, or downloaded from your list of alerts.
- Optional: You can also tap Text Tone on the same screen to assign a unique vibration or sound for incoming text messages from that specific person.
- Tap Done in the upper-right corner to save your changes.
Troubleshooting Common Ringtone Issues
Even when following precise instructions, users occasionally encounter roadblocks where custom ringtones fail to appear or play correctly.
Ringtone Does Not Appear in Settings
- Check File Length: If you created a custom ringtone via computer or GarageBand and it exceeds 40 seconds, iOS will hide it from the ringtone list automatically.
- Verify File Extension: Ensure the file extension is strictly
.m4rand not.m4a. On a computer, you may need to rename the extension manually. If your operating system hides file extensions by default, enable them in your folder view settings to avoid naming a file.m4r.m4a. - Restart the Device: Sometimes iOS needs a simple reboot to refresh the media library and display newly synced or exported ringtones.
Sound Plays Incorrectly or Loops Abruptly
- Fade In/Out: If an audio clip cuts off harshly, use an audio editing tool to apply a fade-in and fade-out effect before exporting the
.m4rfile. - Volume Levels: Some imported tracks have significantly lower mastering volumes than default iOS tones. Ensure your source audio file is normalized or amplified properly before conversion.
Frequently Asked Questions
Can I use any downloaded song as a ringtone for free?
You can use any DRM-free audio file as a ringtone for free by utilizing the GarageBand method or by converting files on a computer. However, songs protected by streaming service digital rights management (such as active Apple Music subscription tracks) cannot be edited or converted into ringtones due to copyright protection mechanisms.
What is the maximum length allowed for an iPhone ringtone?
Standard ringtones on an iPhone cannot exceed 40 seconds. If an audio file is longer than 40 seconds, iOS will either refuse to recognize it as a ringtone or automatically truncate it during the GarageBand export process. Text tones and alert sounds must be even shorter, typically capped at 30 seconds.
Why won't my .m4r file show up in my ringtone settings?
If your .m4r file is not appearing, it is usually due to an incorrect file extension (such as accidentally saving it as .m4r.m4a), exceeding the 40-second length limit, or storing the file in an unsupported directory. Try re-exporting the file via GarageBand or verifying the file details on a computer.
Can I assign different ringtones for text messages versus phone calls?
Yes, iOS allows you to set independent alerts for phone calls and text messages. You can configure a default text tone system-wide under Settings > Sounds & Haptics > Text Tone, or assign individual text tones to specific contacts directly within the Contacts app card.
Next Actions and Recommendations
To maintain a clean and organized device, audit your custom ringtones periodically. Delete unused audio projects from your GarageBand app to free up local storage space. If you frequently purchase tones, keep track of your Apple ID purchase history to redownload tones if you ever upgrade to a new iPhone or perform a clean factory reset.
Image Gallery
Select an image to open it in a new tab.
Celine Dubois
Contemporary Living and Global Arts Columnist
