How to Root Peach Tree Cuttings at Home: A Comprehensive Propagation Guide
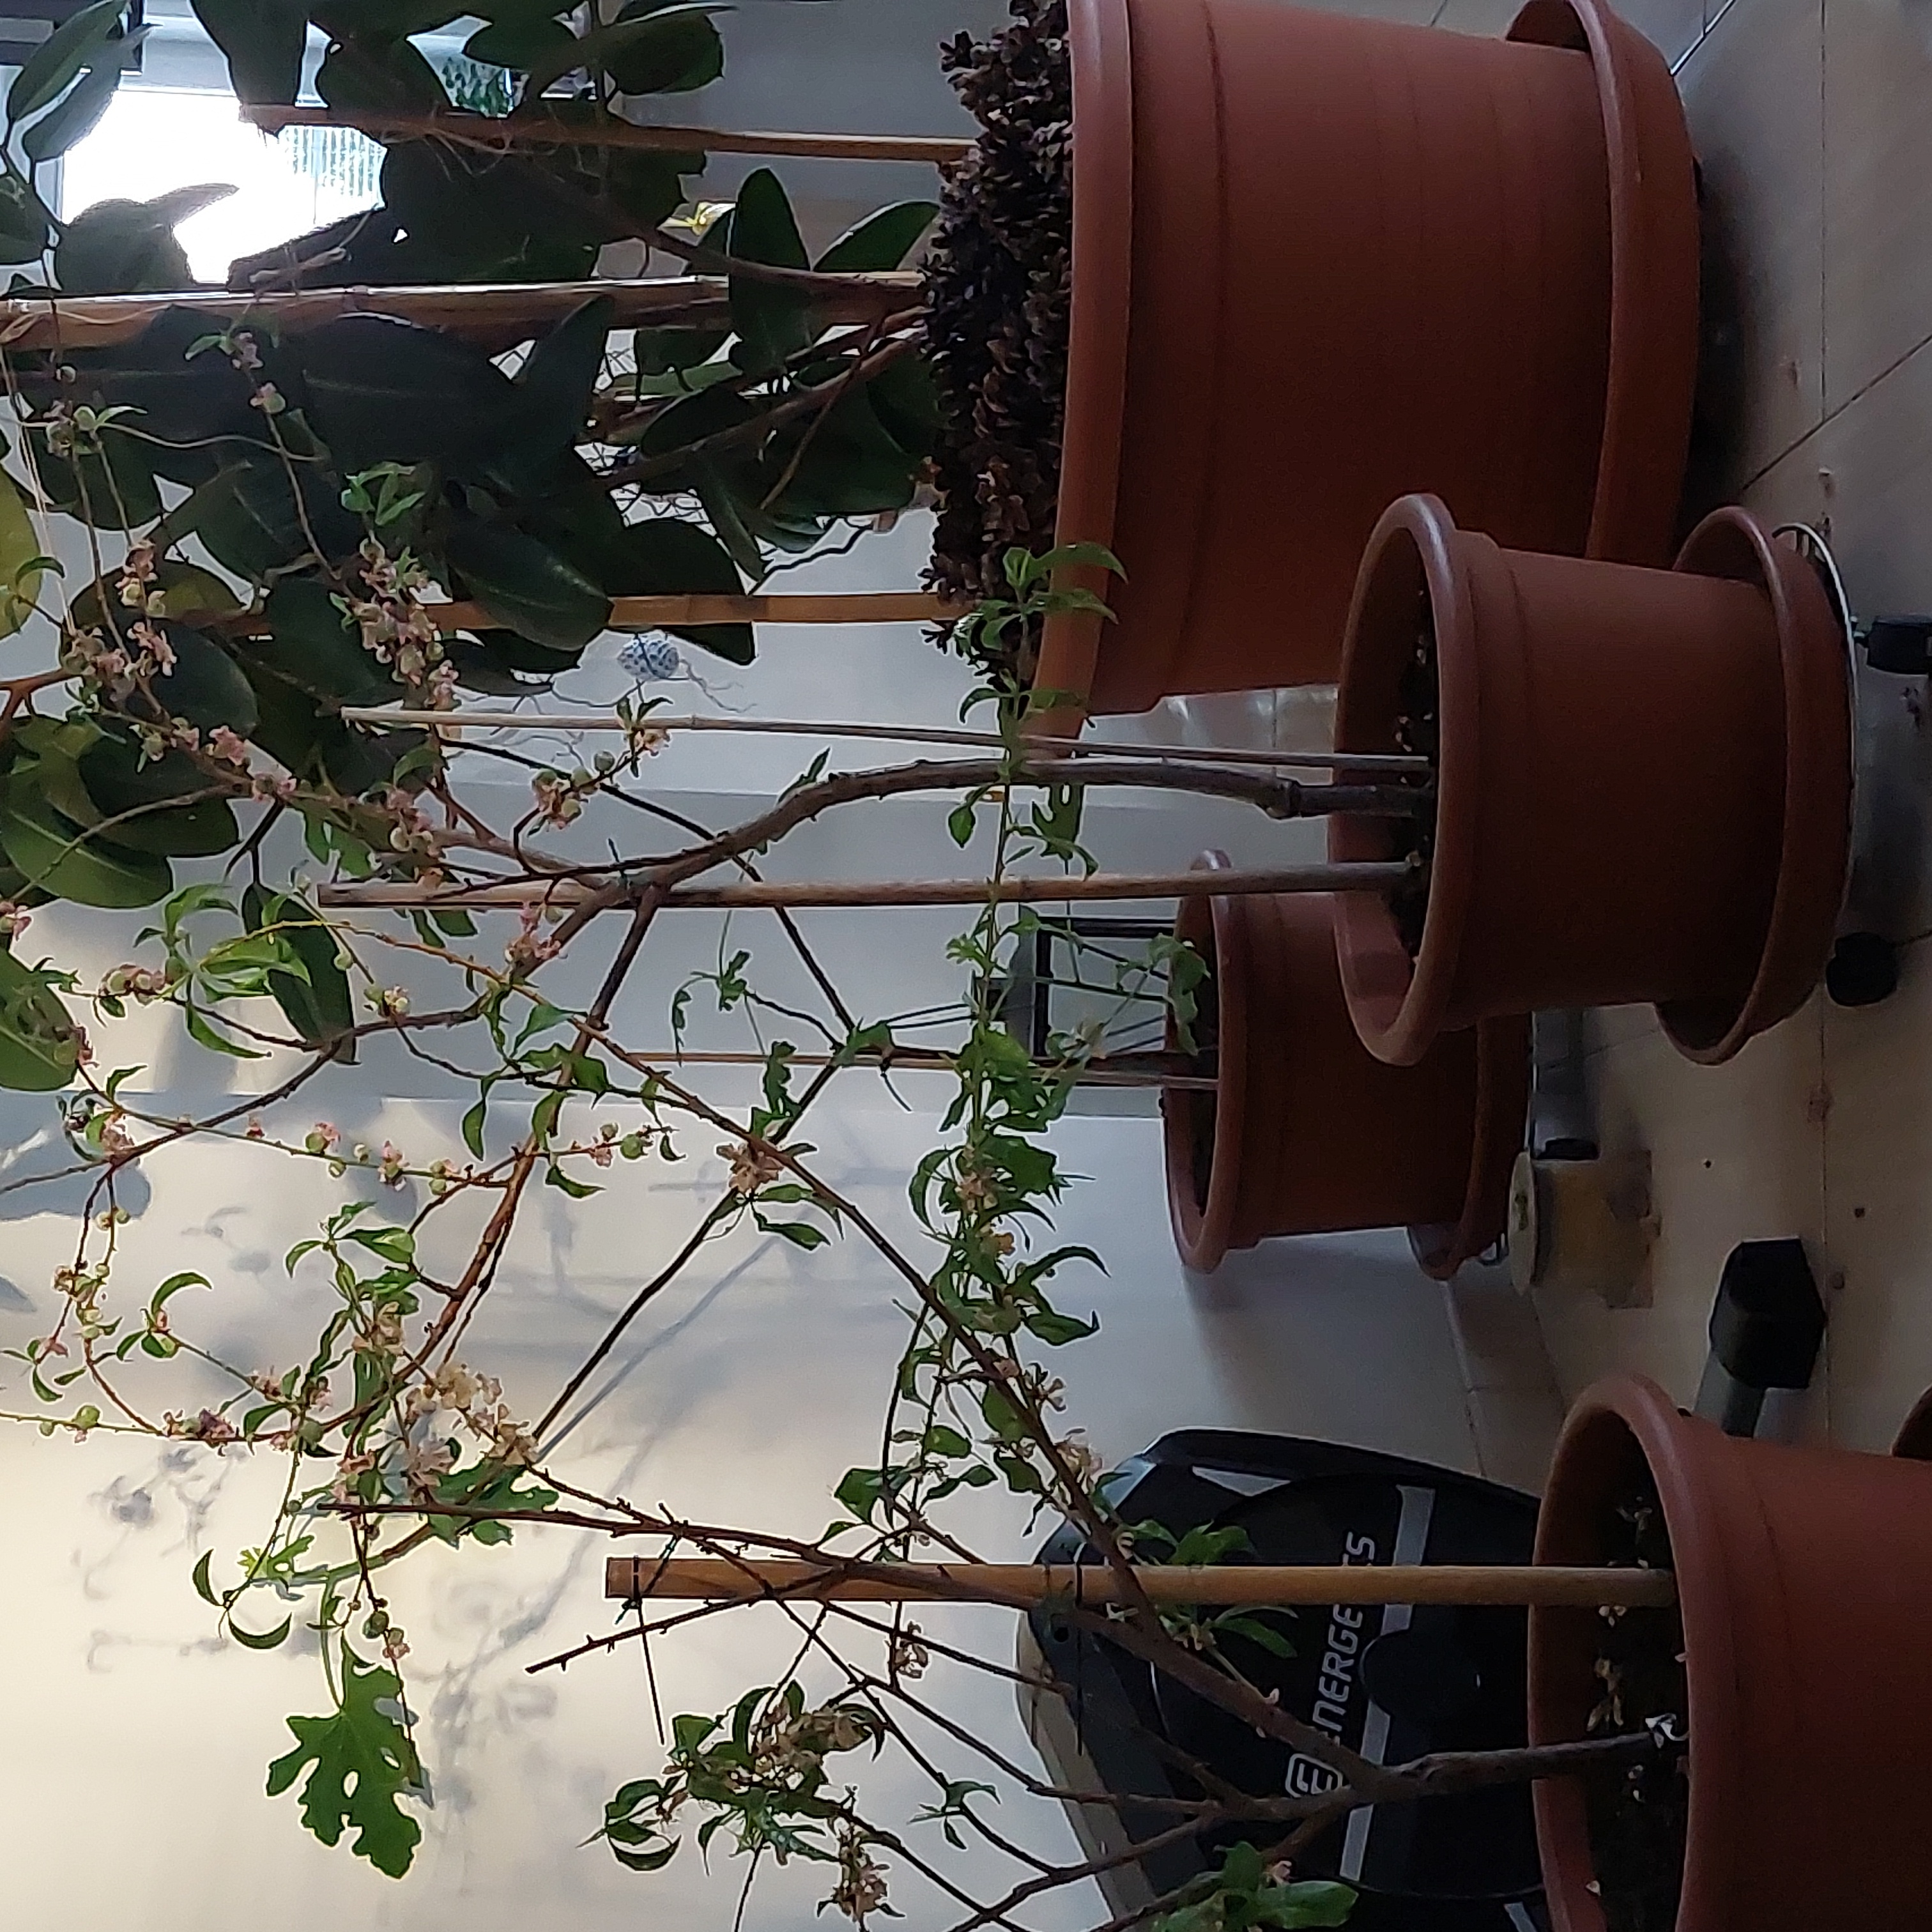
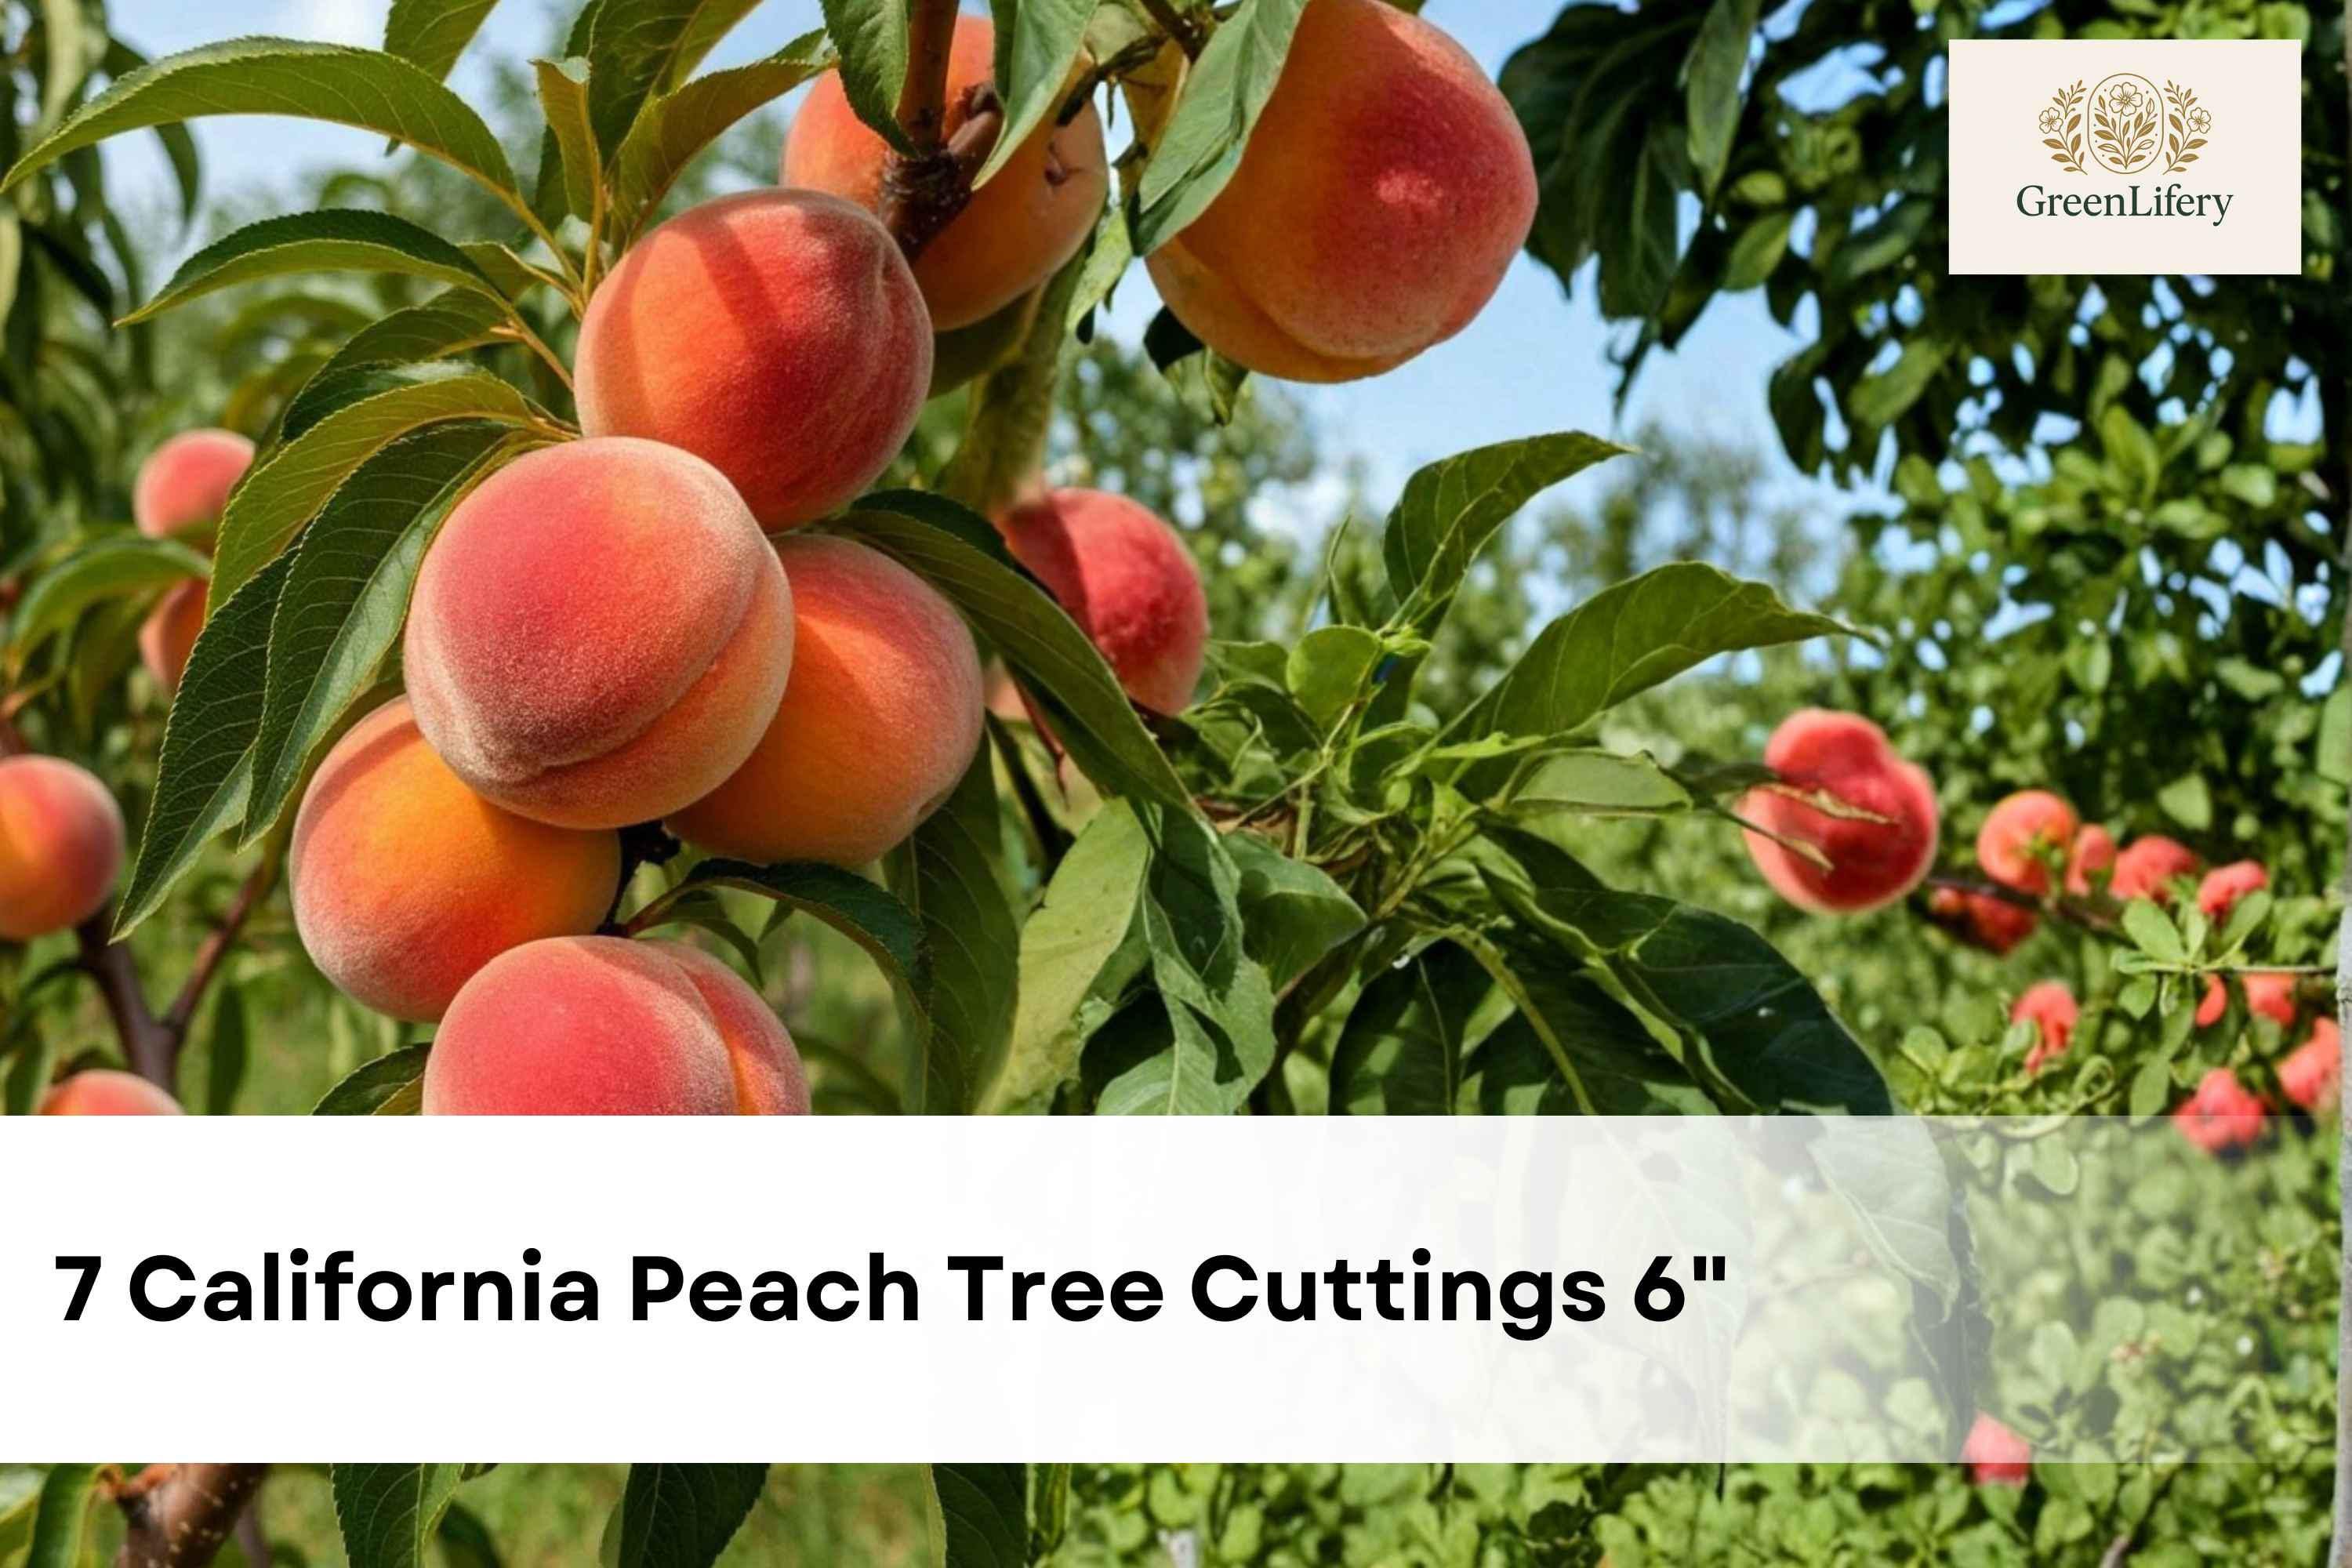
Rooting peach tree (Prunus persica) cuttings at home is a challenging yet rewarding botanical endeavor that allows gardeners to clone specific cultivars. Unlike many soft-wood herbs or common shrubs, peach trees are notoriously difficult to propagate via cuttings because they possess a high level of lignification and do not readily form adventitious roots. Success requires precise timing, sterile conditions, hormonal support, and careful environmental control to maintain cutting viability until a root system establishes.
Understanding the Botanical Challenge
Peach trees are typically propagated commercially through grafting or budding rather than stem cuttings. Grafting onto established rootstocks ensures disease resistance, vigor, and predictable fruit quality. When you attempt to root a cutting, you are forcing a piece of mature wood to perform a biological function it is not naturally optimized for. While it is possible to achieve successful rooting at home, gardeners must anticipate higher failure rates than they might encounter with easier species like willow or rosemary.
The primary hurdle is the "juvenility" of the wood. Cuttings taken from younger, more vigorous branches are significantly more likely to produce roots than wood from older, hardened branches. Furthermore, the tree must be in an active growth phase for the hormonal signals—specifically auxins—to be present in sufficient concentrations to trigger root development rather than decay.
Prerequisites for Success
Before taking your first cutting, assemble the necessary tools and environment. Attempting this without the proper setup almost guarantees failure due to the length of time peach cuttings take to root.
- Sanitization Tools: A sharp, bypass pruner and a razor blade or scalpels, sterilized with 70% isopropyl alcohol.
- Rooting Hormone: A high-quality indole-3-butyric acid (IBA) gel or powder. Commercial concentrations around 0.3% to 0.8% are generally appropriate for semi-hardwood cuttings.
- Propagation Medium: A sterile, well-draining mix consisting of equal parts perlite and peat moss or coarse vermiculite. Do not use standard garden soil, as it contains pathogens that will cause the cutting to rot.
- Controlled Environment: A high-humidity dome or a clear plastic bag, and a location with bright, indirect light. Avoid direct sun, which will cook the cutting inside the plastic.
- Bottom Heat: A heat mat set to approximately 70°F to 75°F (21°C to 24°C). This is a critical component for encouraging root growth while keeping the ambient air slightly cooler.
Step-by-Step Propagation Procedure
Successful propagation follows a strict, orderly process. Each step serves to minimize stress on the cutting and maximize its biological potential.
1. Selecting the Ideal Cutting
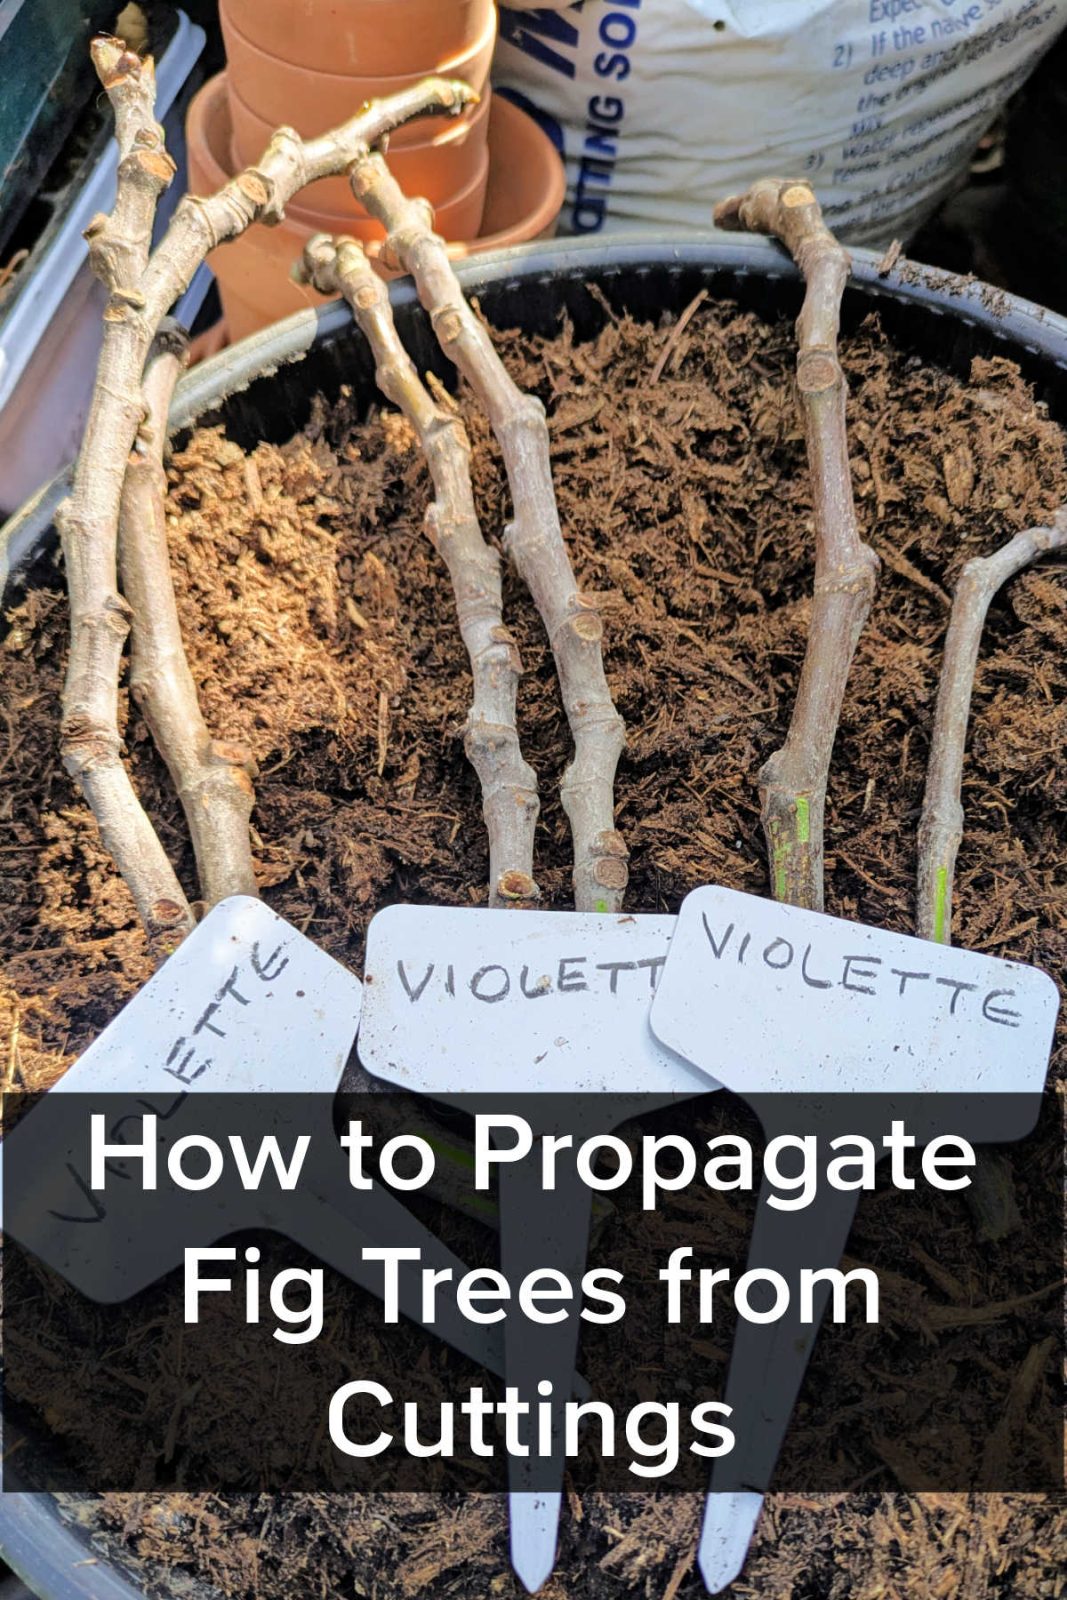
In mid-to-late summer, identify a "semi-hardwood" shoot. This is wood that has matured slightly but is not yet fully woody or brittle. The ideal cutting is roughly 6 to 8 inches long and pencil-thick. Ensure the branch has no signs of disease, such as leaf curl or spots.
2. Preparing the Stem
Using your sterilized pruners, cut the branch just below a node (the point where a leaf meets the stem). Strip off the lower leaves, leaving only two or three leaves at the top. If the remaining leaves are large, trim them in half with scissors to reduce the transpiration rate (water loss).
3. Wounding and Hormone Application
Gently scrape a thin layer of the outer bark (about 1 inch) from the bottom of the cutting with your sterile razor blade. This creates a "wound" that stimulates the tree’s natural healing response and allows for better absorption of the rooting hormone. Dip the wounded end into the IBA rooting hormone, shaking off any excess.
4. Planting
Use a pencil to create a pre-drilled hole in your damp propagation medium. Insert the cutting, ensuring the hormone is not rubbed off against the sides of the hole. Firm the medium gently around the stem.
5. Humidity Management
Place the pot inside a clear plastic bag or under a humidity dome. The goal is to maintain 90%–100% relative humidity. This prevents the cutting from dehydrating while it is unable to uptake water through its non-existent root system.
Table: Comparison of Propagation Methods for Peach Trees
| Method | Success Rate | Time to Maturity | Ease of Execution |
|---|---|---|---|
| Stem Cuttings | Low (5–15%) | 3–4 years | Difficult |
| Grafting | High (80–90%) | 2–3 years | Advanced |
| Budding | High (85–95%) | 2–3 years | Advanced |
| Seed (Pit) | N/A | 5–7 years | Easy (Genetic Variation) |
Troubleshooting Common Issues
If your cuttings fail to root, they will usually succumb to one of two problems: desiccation (drying out) or rot.
- Rotting Cuttings: If the stem turns black or mushy at the base, your medium was likely too wet, or you introduced bacteria via unclean tools. Ensure the medium is damp but never waterlogged. Always use sterile equipment.
- Drying Out: If the leaves turn brown and crispy, the humidity level is too low. Ensure your seal is airtight and check the moisture level of the medium every few days.
- Lack of Growth: If the cutting remains green but shows no signs of roots after eight weeks, it may be stuck in a dormant phase. Check if the bottom heat mat is functioning correctly.
Frequently Asked Questions
Can I grow a peach tree from a grocery store peach pit? Yes, but the resulting tree will likely not produce fruit identical to the parent. Peaches do not "come true from seed." The offspring may have different fruit size, flavor, and pest resistance characteristics due to genetic recombination.
Why does my peach cutting have leaves but no roots? This is a common issue known as "leafing out." The cutting is utilizing stored energy in the stem to push out foliage, but it has not yet developed a root system to support that growth. Do not pull the cutting out to check for roots; this often breaks delicate new root hairs.
How do I know if the cutting has successfully rooted? After 8 to 12 weeks, gently tug on the cutting. If you feel resistance, it has likely formed a root system. Alternatively, watch for new, vigorous leaf growth at the tips, which signals the plant is now effectively taking up water and nutrients from the medium.
Is it necessary to use a rooting hormone? While some gardeners experiment with natural alternatives like willow water or honey, scientific evidence consistently shows that synthetic IBA hormones provide the most reliable results for hardwood and semi-hardwood woody species like the peach tree.
When is the best time of year to start this project? The window of opportunity is narrow. Late June through July is generally the optimal time, as the tree has completed its spring flush of growth and the wood is in the appropriate semi-hardwood stage.
Moving to the Next Stage
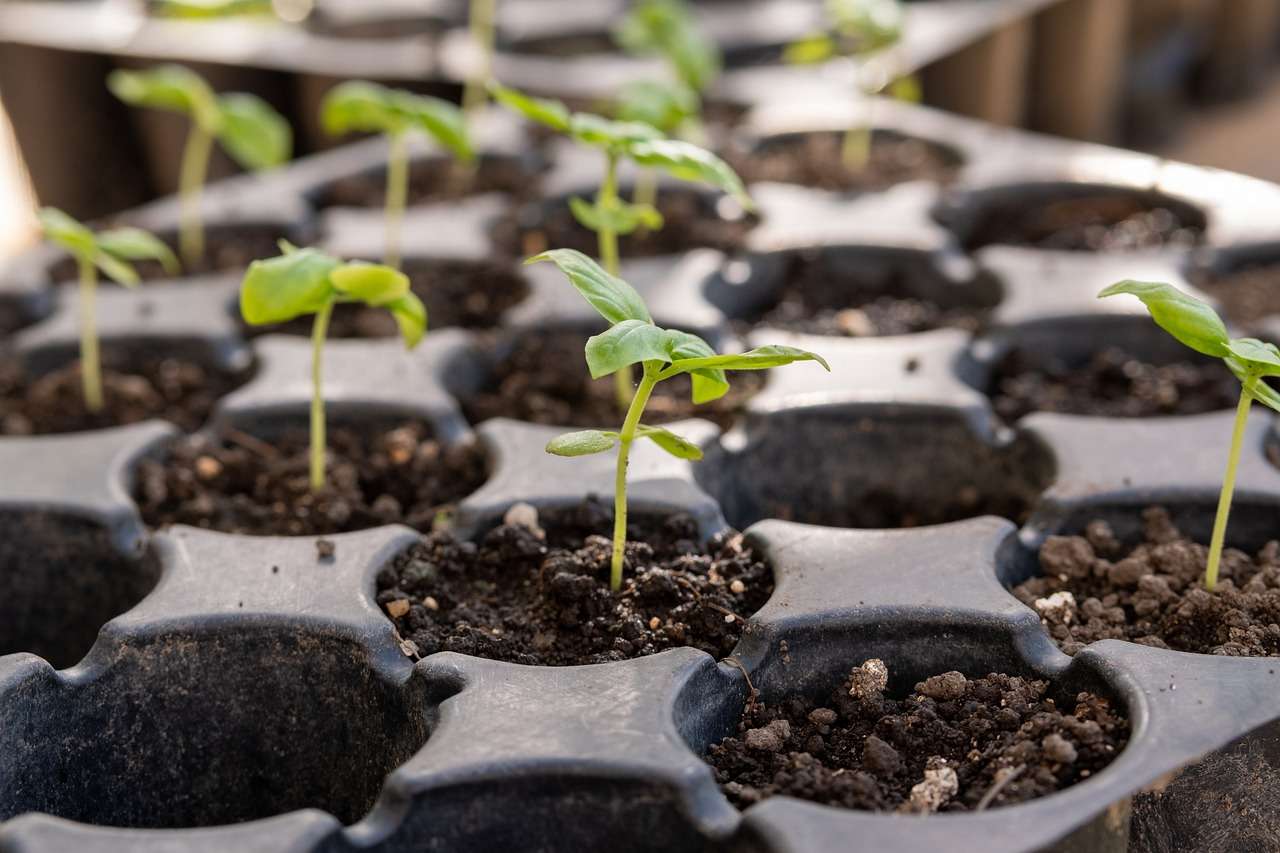
Once your peach cutting has successfully rooted—indicated by significant new growth and physical resistance—you must transition it out of the high-humidity environment gradually. Over the course of a week, incrementally open the plastic bag or remove the dome for longer periods each day. This "hardening off" process allows the plant to adapt to lower ambient humidity.
After the hardening process is complete, transplant the cutting into a slightly larger pot with a high-quality, well-draining potting mix. Allow it to overwinter in a protected, frost-free location (such as an unheated garage or a cold frame) before eventually planting it into its permanent garden location in the spring. Remember that a young rooted cutting is highly vulnerable to temperature swings and requires consistent moisture and protection during its first year of life.

Image Gallery
Select an image to open it in a new tab.

Celine Dubois
Contemporary Living and Global Arts Columnist
